 FREE 1 to 3-Day Delivery on Orders $119+ Details
Best Sellers


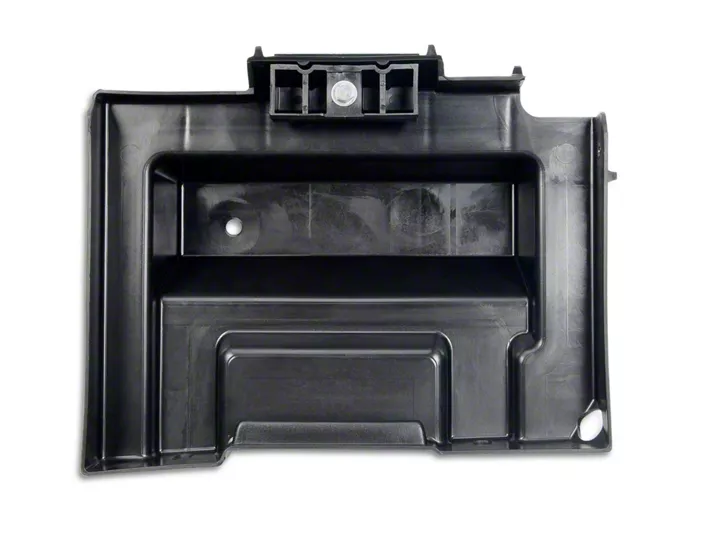
How to Install a Replacement Battery Tray in your 1987-1993 Mustang
Installation Time
45 minutes
Tools Required
- 1/2 in. open end/box end wrench
- 3/8 or 1/4 drive ratchet, 8mm and 10mm sockets
Shop Parts in this Guide
Installation
1. Open the hood and disconnect the negative battery terminal with a 1/2 inch open end or box end wrench.
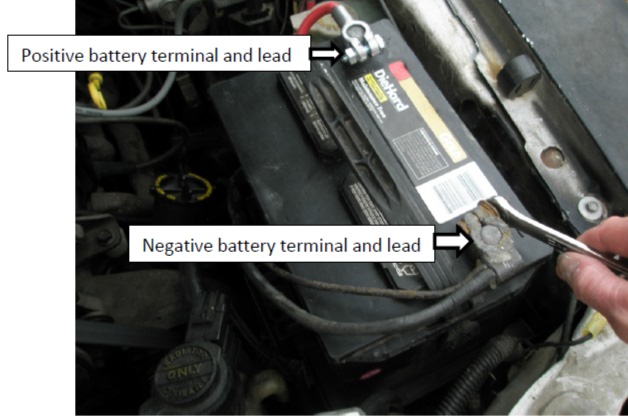
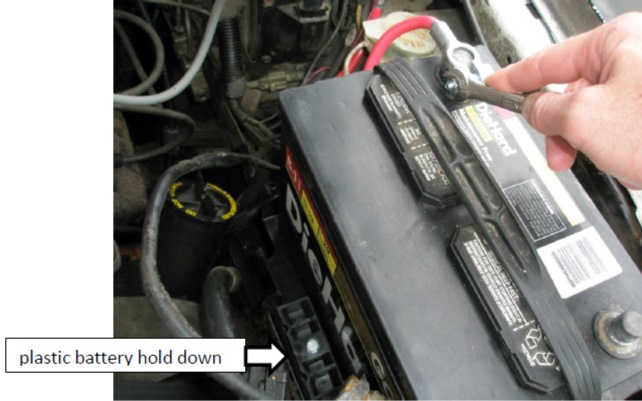
2. Disconnect the positive battery terminal with a ½ inch open end/box end wrench. Using a 10mm socket and ratchet, remove the battery hold down bolt and remove the plastic hold down. Remove the battery from the car.
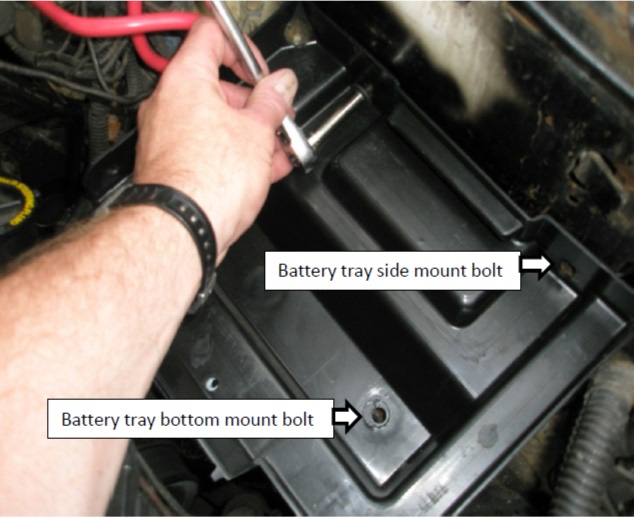
3. Prepare to remove current battery tray from vehicle using an 8mm socket and ratchet for the side mount bolts and a 10mm socket and ratchet for the bottom mount bolt. After hardware is removed, remove the battery tray from the car.
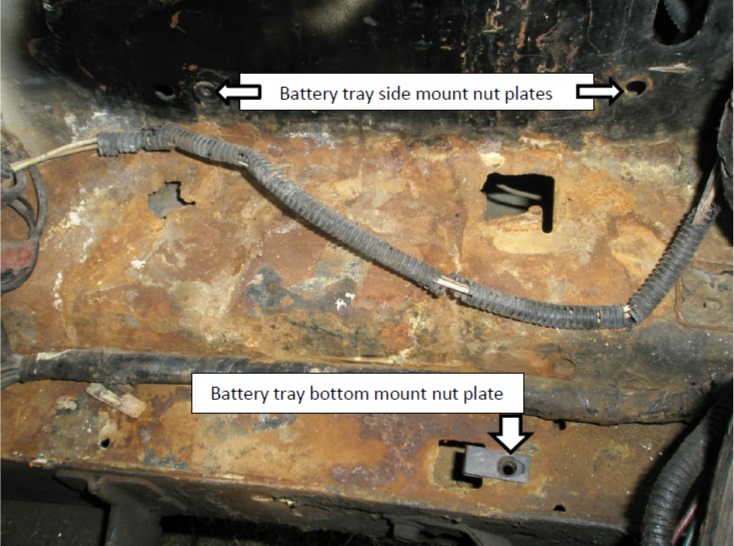
4. Area below the battery tray will look something like this (probably not this rusty) with the (2) side tray mounting points and the bottom battery tray nutplate in place.
5. Install battery tray side mount bolts using an 8mm socket and 1/4 or 3/8 inch drive ratchet. Leave this bolt loose for alignment of the other mount bolts.
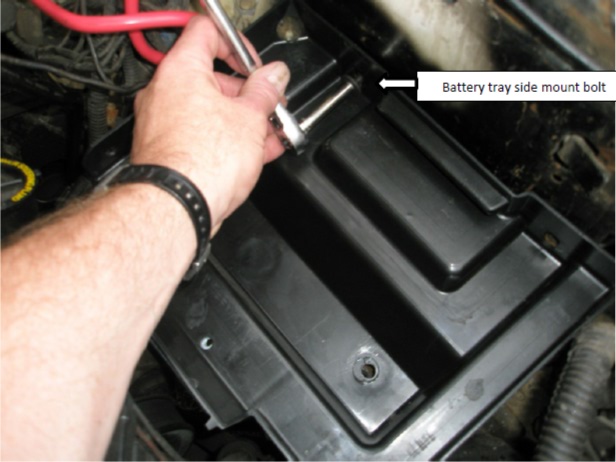
6. Install the forward side mount bolt for the battery tray to the inner fender in the same manner. Leave the bolt loose for alignment.
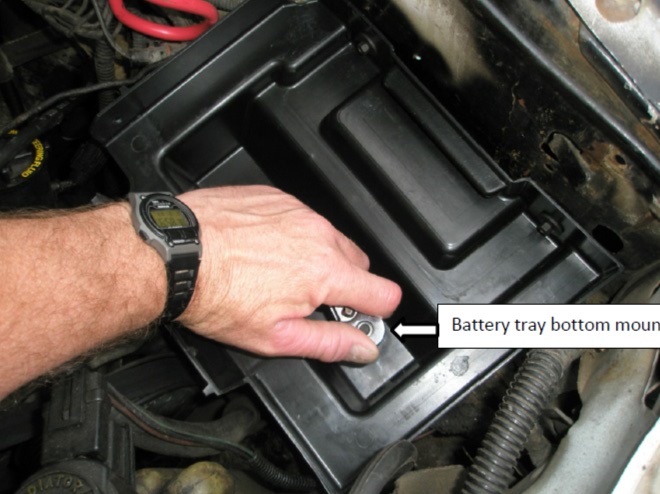
7. Install the lower battery tray mount bolt with a 10mm socket and 1/4 or 3/8 inch drive ratchet. Tighten all mount bolts at this time.
8. Reinstall the battery positive and negative leads and tighten with a 1/2 inch open end/ box end wrench.
9. The battery and tray should look like the picture below when finished

Installation Instructions written by AmericanMuscle customer Aaron Neff 7/18/12
