 FREE 1 to 3-Day Delivery on Orders $119+ Details
Best Sellers


How to Install Roadwire Designer Series Leather Black Seat Covers - Red Stripe w/ Sterling Piping
NOTES: Read All Instructions Before Beginning Installation
• Only qualified mechanics experienced in the installation and removal of suspension components should perform this installation.
• Use of a hoist and screw jack is highly recommended and will substantially reduce installation time.
• Installation time: Is approximate .5 hour with the use of a hoist.
• Never work on or under a vehicle unless it is properly supported. • Tire Rotation: In order to increase the life of your tires, it is recommended to rotate your tires every 3,000 miles.
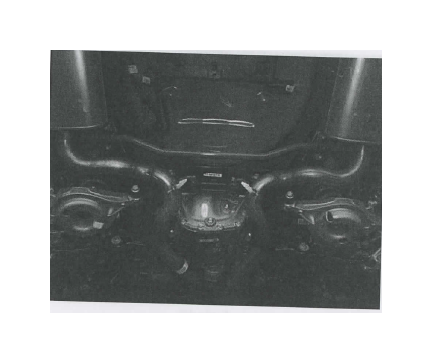
FACTORY REAR BAR REMOVAL
1. Raise the vehicle off the ground and firmly support it with safety stands, then, remove both of the rear tires. NOTE: Do not work on or underneath a vehicle without the proper safety equipment.
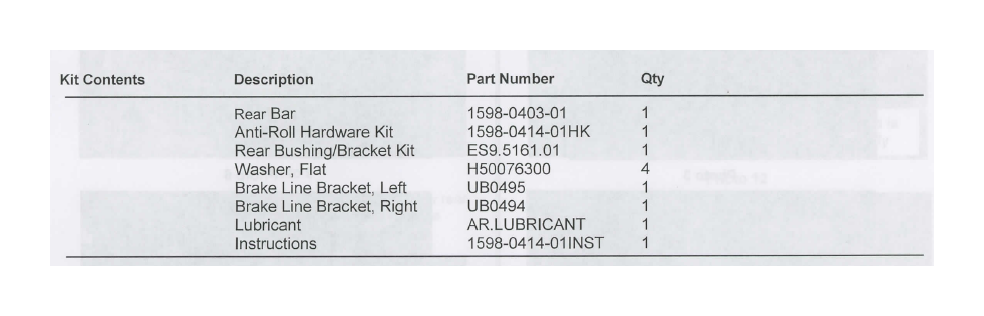
2. Loosen and remove the nuts that secure the end links to
both ends of the factory anti roll bar. (See Photo 1)
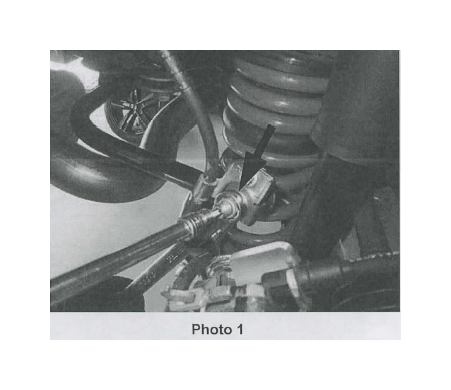
3. Loosen and remove the screws that secure the bushing brackets to the frame. (See Photo 2)
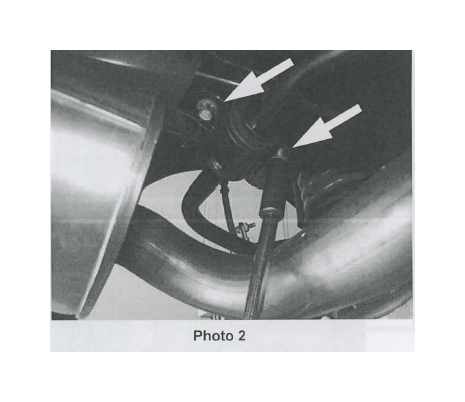
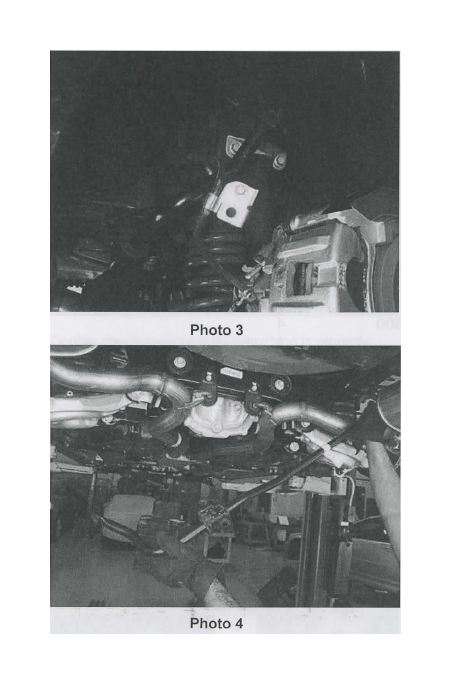
4. Remove the OE bar by sliding it towards the passenger side, then, downward and out towards the driver side of the vehicle. Note: Be careful to note the orientation of the OE bar as the RTR bar will be installed in the same orientation. (See Photos 3 & 4)
RTR REAR BAR INSTALLATION
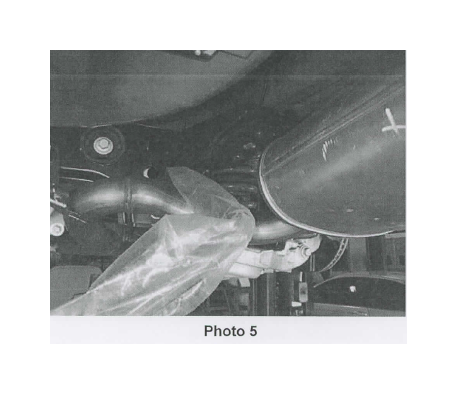
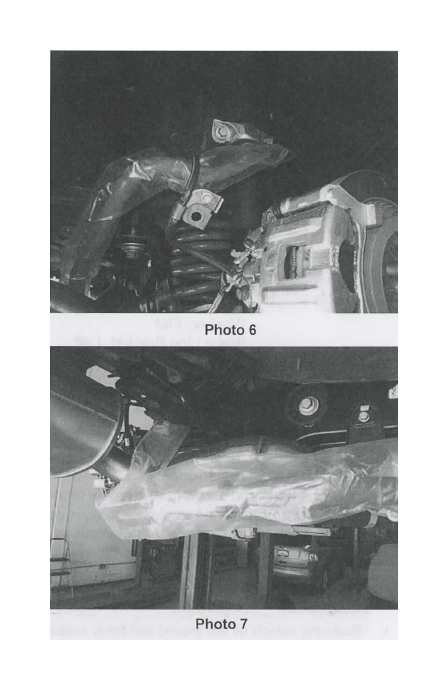
1. Install the RTR anti roll bar, in the reverse manner of the OE bar removal. Note: Leave the plastic packaging on the RTR bar during the installation. It is a tight fit and this will help to alleviate any scratching of the bar during the installation. Once the bar is in place, the plastic packaging can be removed. (See Photos 5, 6, & 7)
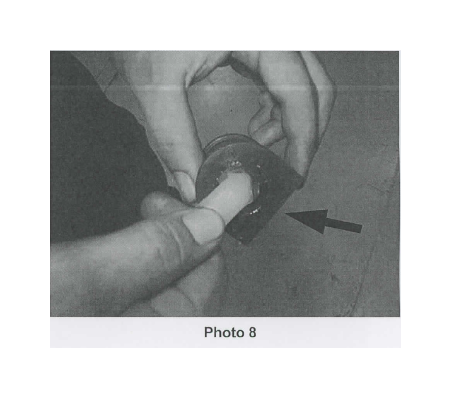
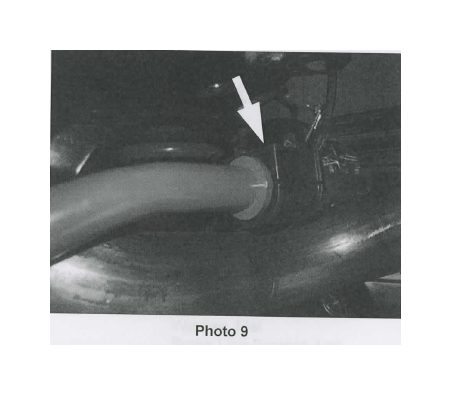
2. Apply some poly lubricant to the inside of the new rear bushings and install them onto the RTR bar. (See Photos 8 & 9)
3. Install the provided bushing brackets and secure them using the provided washers and OE hardware. (See Photo 10) Note: Discard the smaller washers that are included in the bushing/bracket kit, and use the larger provided washers.
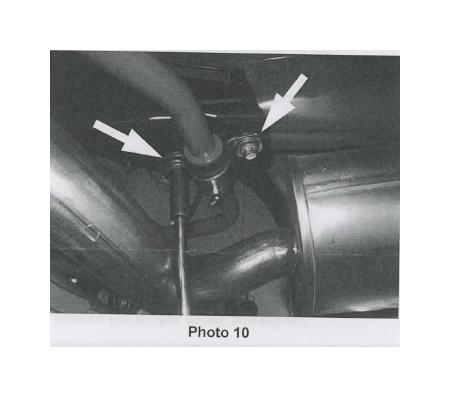
Disregard OE bracket. Photo is 1 for illustrative purposes only
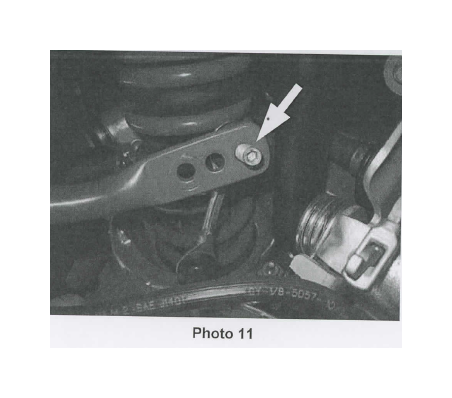
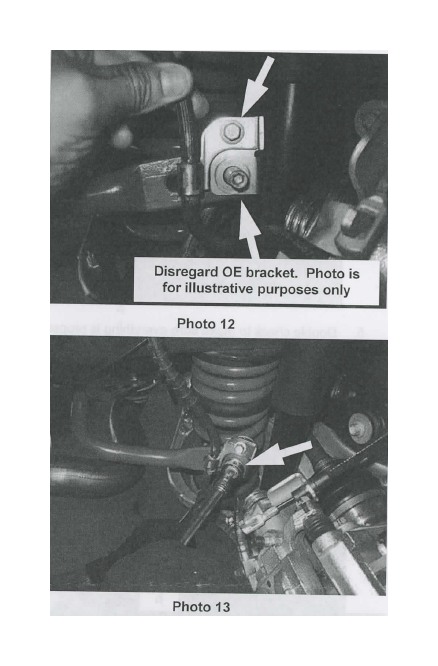
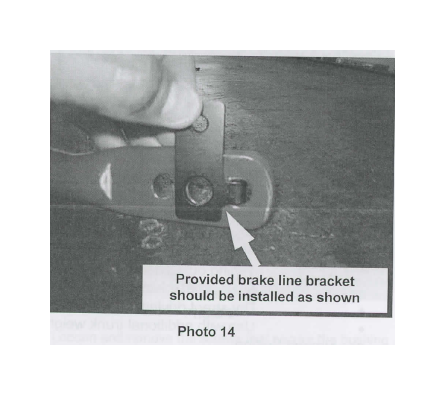
4. Connect the end links to the ends of the bar and install the new brake line brackets, and secure it with the OE hardware as shown. (See Photos 11, 12 & 13) Note: Photo 12 is for illustrative purposes only. The OE bracket will not be reused. Please use the provided bracket in the orientation as shown and secure the brake line (See Photo 14)
5. Double check to make sure everything is properly positioned, then, tighten all the hardware.
6. Road test the vehicle.
Tuning The Rear Bar.
a) Softest Setting.
• Reduces over-steer
• Use in rain or on slick roads.
• Use on rough or bumpy roads.
• Increases comfort.
b) Mid Setting / Street Performance Setting.
• Tuning out under or over-steer.
• For normal driving conditions.
• Dry street driving.
• Use with additional trunk weight.
c) Firmest Setting.
• Reduces under-steer
• Use on dry roads and tracks.
• Use on smooth roads and tracks.
• Do not use on wet or slick roads

