 FREE 1 to 3-Day Delivery on Orders $119+ Details
Best Sellers


How to Install Axle-Back Exhaust on your 2011-2013 Mustang V6
Shop Parts in this Guide
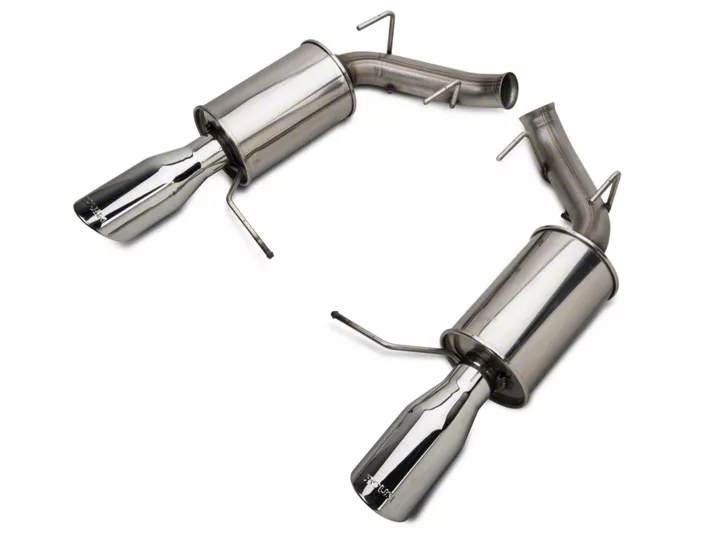
Roush Axle-Back Exhaust (11-13 V6)
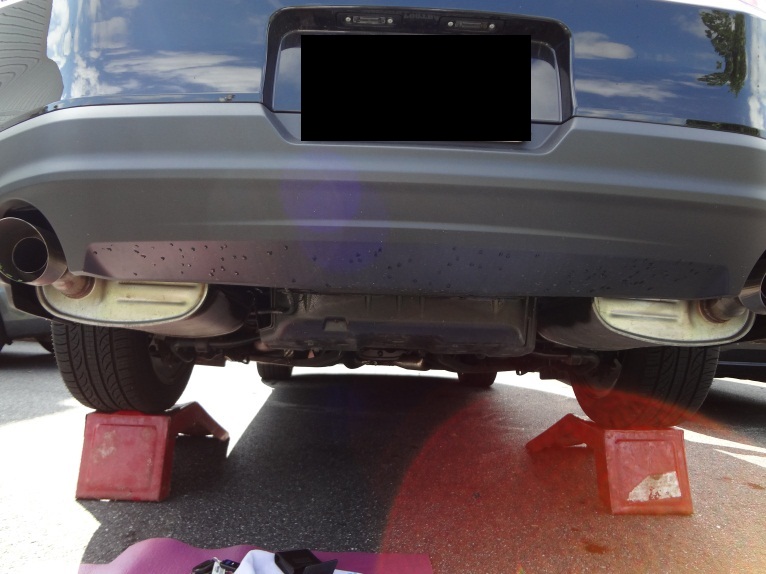
CAUTION- DO NOT PERFORM THIS INSTALL WITH A REGULAR JACK THAT COMES WITH YOUR VECHILE. USE A LIFT, JACK STANDS, OR RAMPS AS PICTURED BELOW. USING A JACK CAN BE VERY DANGEROUS.
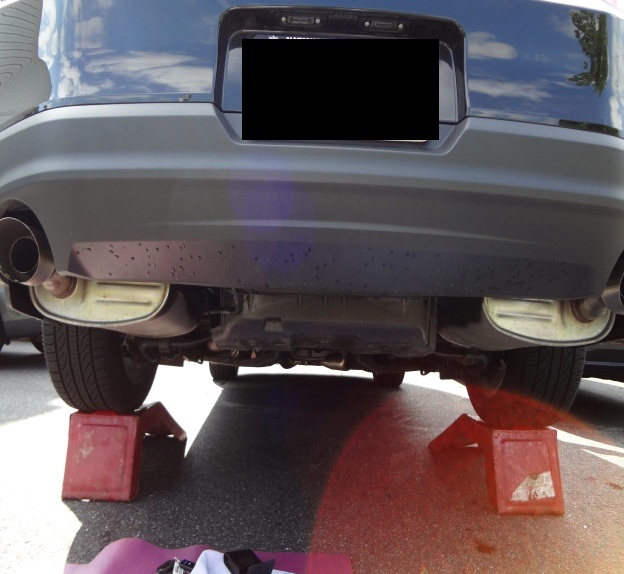
1. Lift the car up wither using a jack and jack stands or ramps(Pictured Below)
2. Loosen the bolt on the clamp that is holding the stock muffler to the over axel pipe. (Do one side at a time).
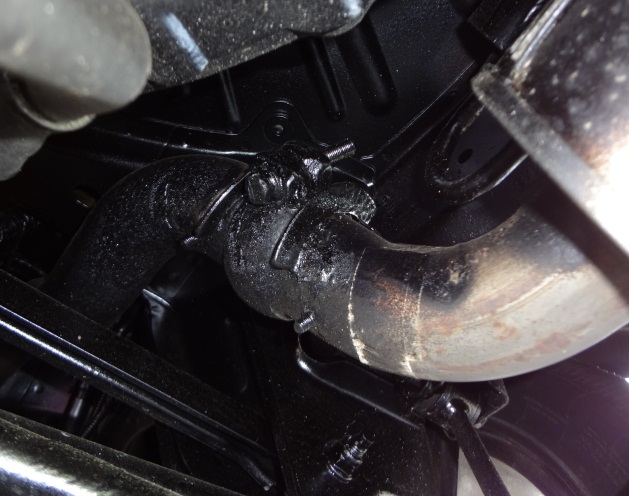
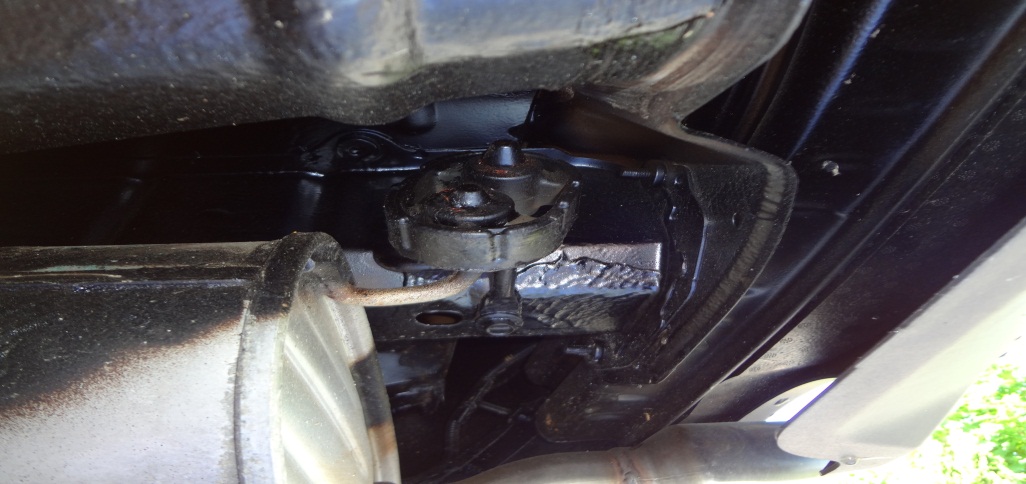
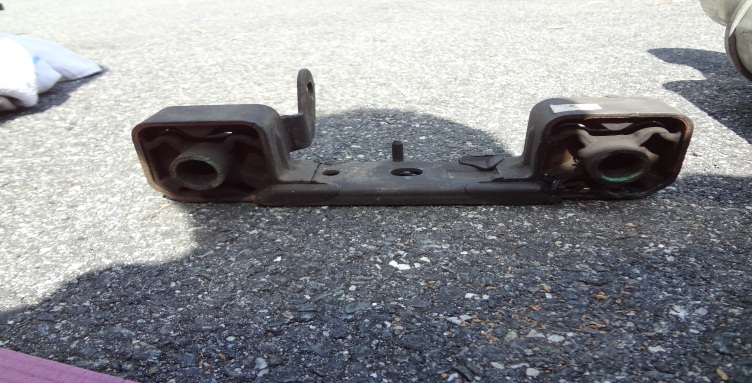
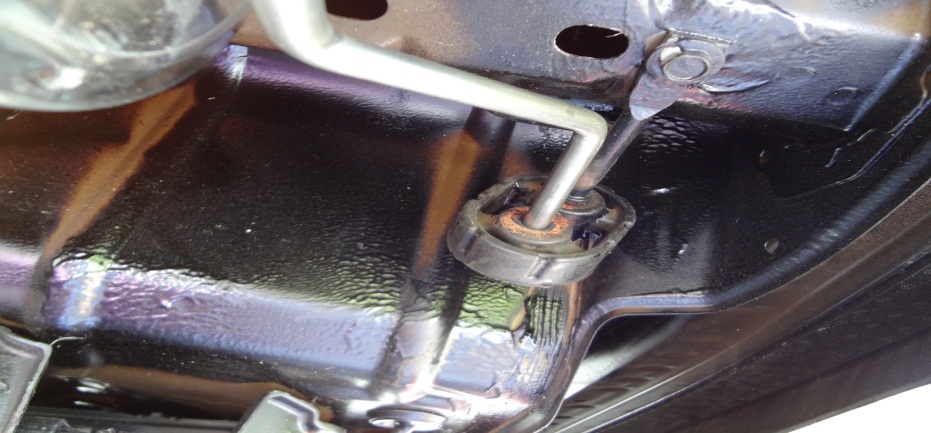
3. Remove the metal rod from the rubber grommet of the rear most bracket.
** This is the hardest part of the install. The removal of the stock mufflers. **
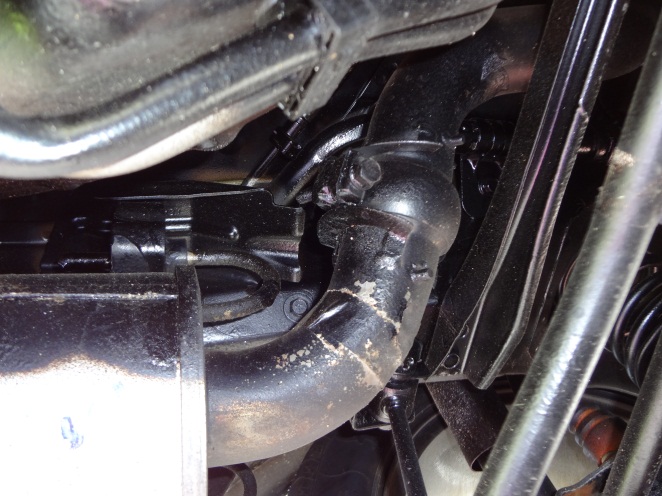
Pictured below is the front most rubber bracket which two metal rods are through, and are attached to the stock muffler.
4. Remove the (3) 13mm bolts on the front most exhaust hanger bracket on the driver side (Some are very tricky to get to so have patience.) Then remove the muffler from the over axel pipe. *Be careful as the muffler may drop and they are quite heavy, a second person will help this situation.*
5. Repeat for the passage side however there are only (2) 13mm bolts and they are a little easier to get to. Both stock mufflers are now off the car.
** You are now through the hardest part of the install, since the ROUSH mufflers are much smaller than the stock ones you will have a lot more room to work.**
6. Re- install the rubber grommet brackets to the frame.
7. Slide (1) of the bigger clamps onto the muffler pipe that connects to the over axel pipe.
8. Then take one of the new ROUSH mufflers and slide the two rear metal rods into the two Rubber grommets on the bracket that you just installed. THE “ROUSH” ON THE MUFFLER SHOULD BE FACING DOWN TO THE GROUND.
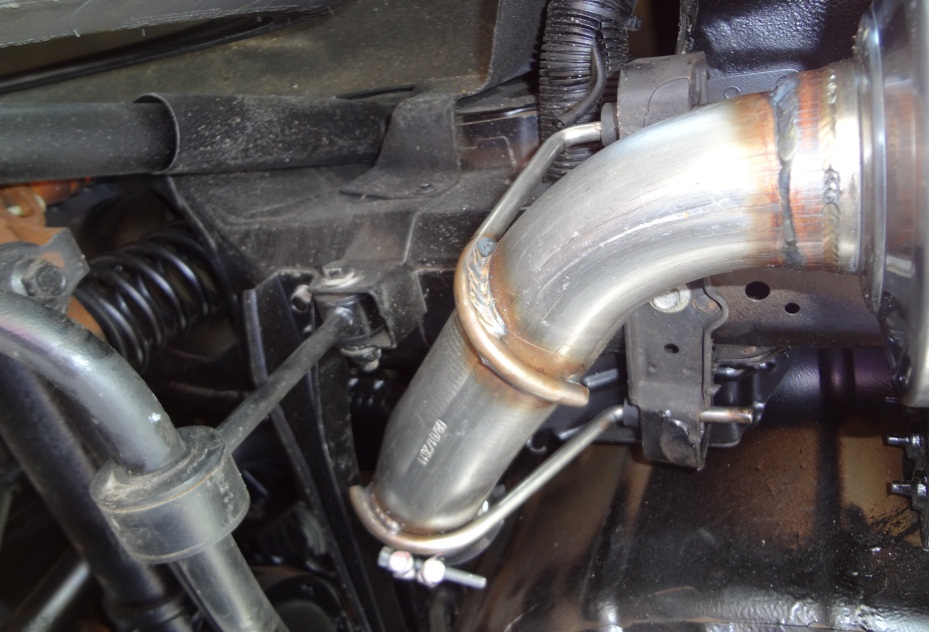
9. Insert the rear most metal rod into the rear most rubber grommet.
10. The pipe leading to the over axel pipe should be fairly lined up. The over axel pipe will go around the outside of the ROUSH muffler. Slide the clamp so that half is on the muffler and half is on the over axel pip. Make sure that the muffler is inserted fully into the over axel pipe and then tighten it down until the two metal ends are touching.
11. REPEATE THE BULLETED STEPS FOR THE PASSANGER SIDE MUFFLER. *NOTE There are two bolts on the passenger side bracket.*
12. After installing both mufflers and making sure that both clamps are tight it should look like this.
13. We will now install the last component, the tips.
14. Slide one of the remaining two clamps over one of the tips, insert it onto the muffler and tighten down the screw until the metal ends touches, just as the previous clamps.
15. Repeat for the passenger side.
16. You have now installed your new ROUSH axel backs. Get your car back on to the ground, being careful when lowering your car.
17. Start your car up and rev a few times.
18. Look at the clamps to check for any leaks or other problems.
19. If there is a leak tighten up the clamps and check the positioning. Then repeat steps 10 and 11.
20. ENJOY!
Installation Instructions written by AmericanMuscle customer Alex Hosier 6.13.2012
