 FREE 1 to 3-Day Delivery on Orders $119+ Details
Best Sellers


How to Install a SR Performance Short Throw Shifter on your 2011-2013 Mustang GT and V6
Installation Time
1 hours
Tools Required
- 10mm socket
- 10mm deep well socket
- 3" socket extension
- 10" socket extension
- Prying tool
- Drive up ramps or other means of lifting the front of the car
Installation
1. Safely and securely lift the front of the vehicle using ramps or jackstands.
2. From inside the car, unscrew and remove the shifter knob.
3. Open the rear door of the center console and gently pry up to unclip the console cover.
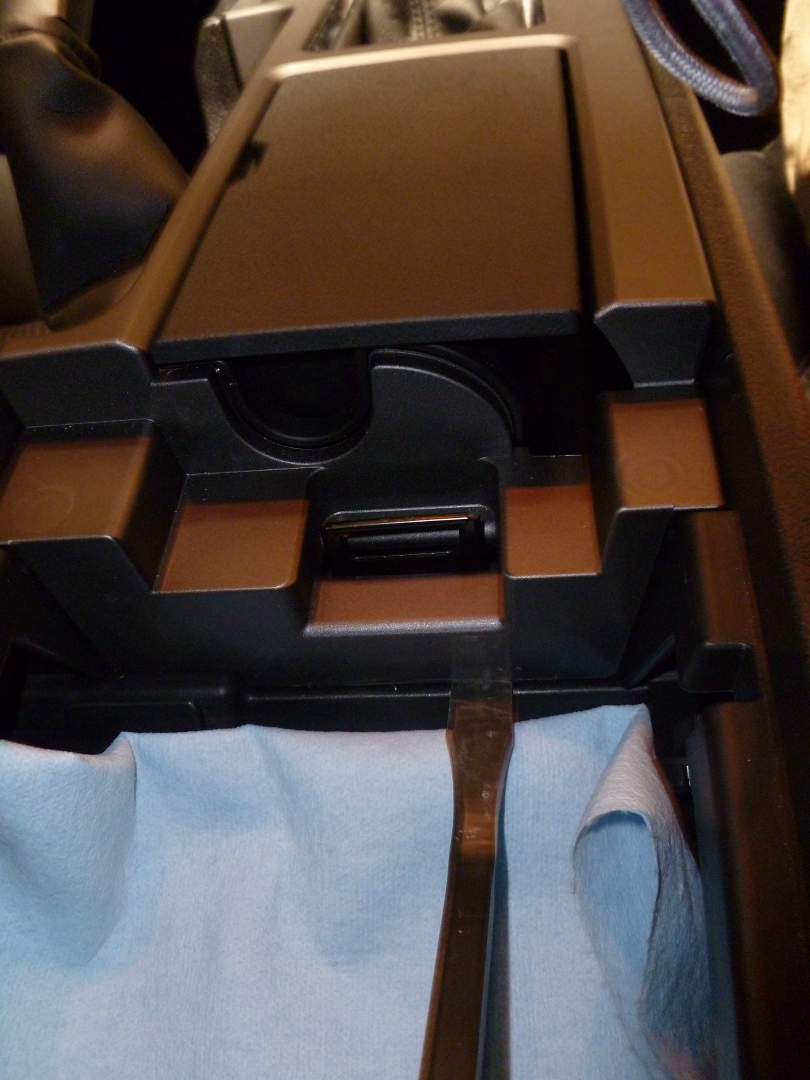
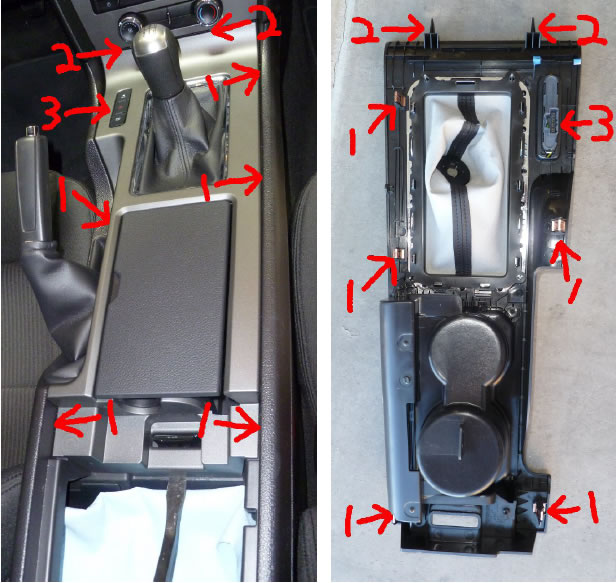
4. Work forward to unclip the rest of the console cover. Unplug any electrical connectors, pull the cover towards the rear of the car to release the front tabs, and lift the console cover off. Gently guide the shifter boot collar over the threads of the shifter to avoid breaking the small tabs. See illustrations below for reference from top and bottom of the console cover.
(1) Console cover clips
(2) Console cover forward tabs
(3) Electrical connection (may be more than one if you have cupholder illumination)
5. Set aside the console cover and pull back the insulation. Note: It may be easier to pull back the insulation over the shift lever if you place the transmission in 2nd or 4th gear.
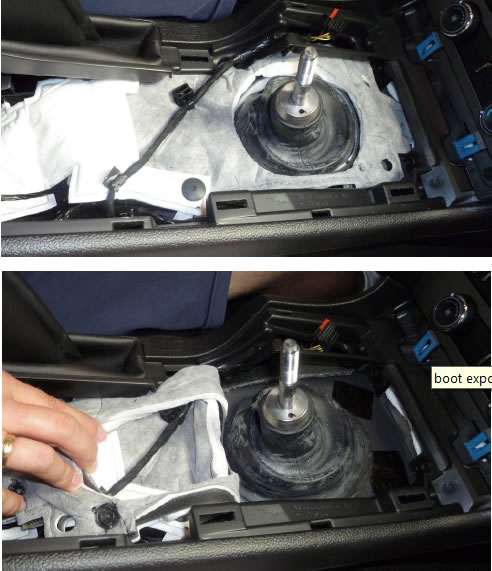
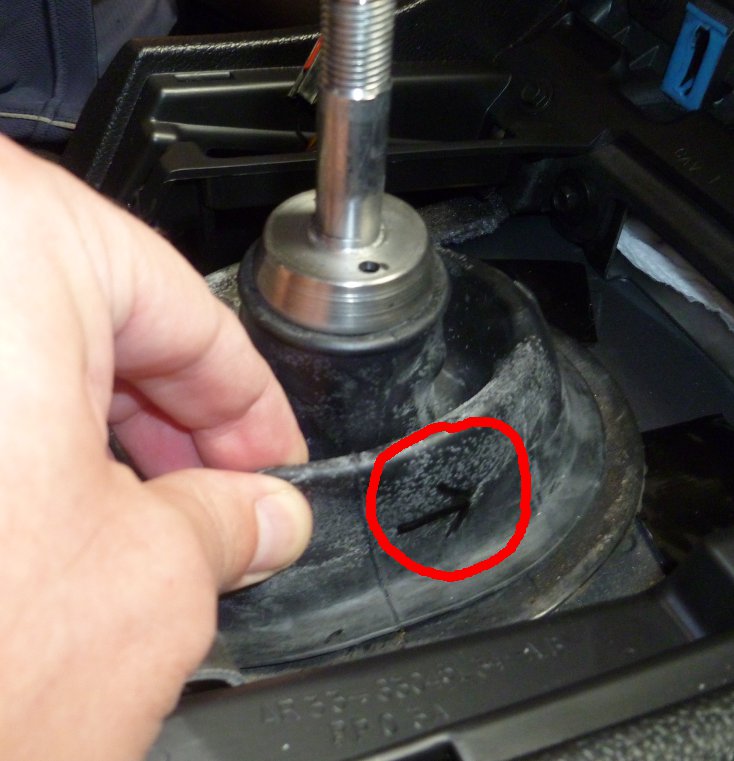
6. Mark the orientation of the boot and note how it attaches to the upper shift lever, floor plan, and shifter base for reassembly. It is designed to only go one on way.
7. Carefully lift the rubber boot off the shift lever, shifter base, and floor pan to remove.
8. From under the car, remove the two 10mm nuts securing the shifter base bracket to the underside of the car.

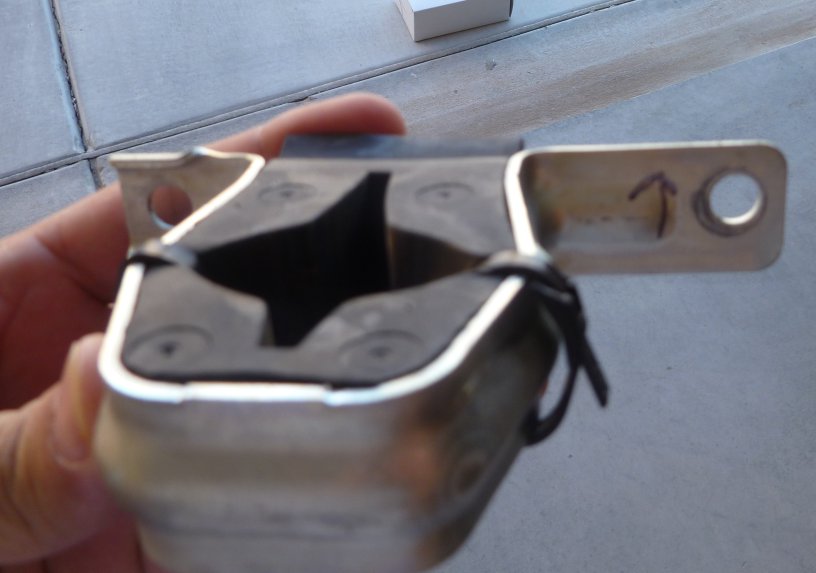
9. Mark the orientation, then pull shifter base bracket down off the studs and slide it off the rear of the shifter assembly, allowing the shifter assembly to rest on the drive shaft.
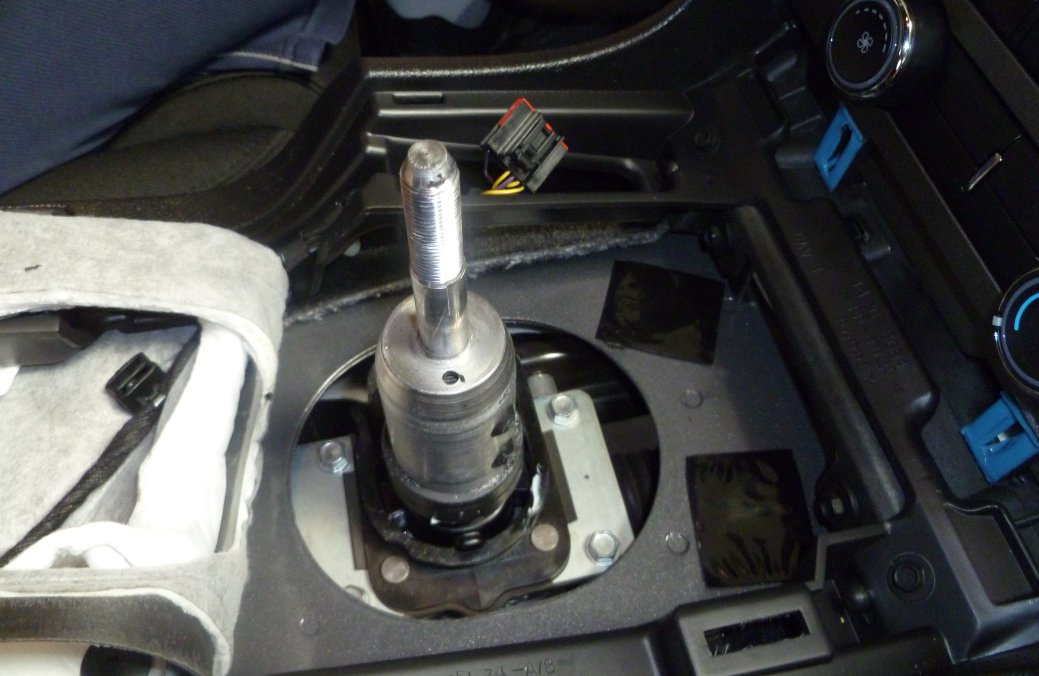
10. From inside the car, remove the (4) 10mm bolts securing the shifter to the base assembly. Pull straight up to remove the shifter, being careful not to damage the thin gasket.
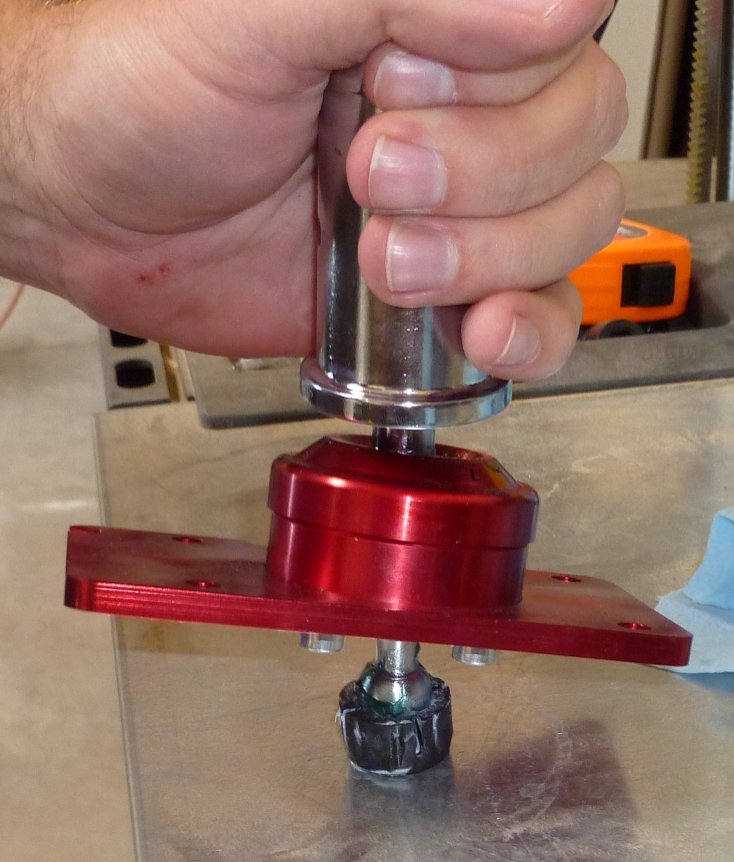
11. Carefully remove the plastic cup attached to the bottom of the stock shifter. Apply some grease to the inside of the plastic cup and install it on the new shifter by placing it on a flat surface and pressing the new shifter down onto it. Also, grease the outside of the cup before reassembly.
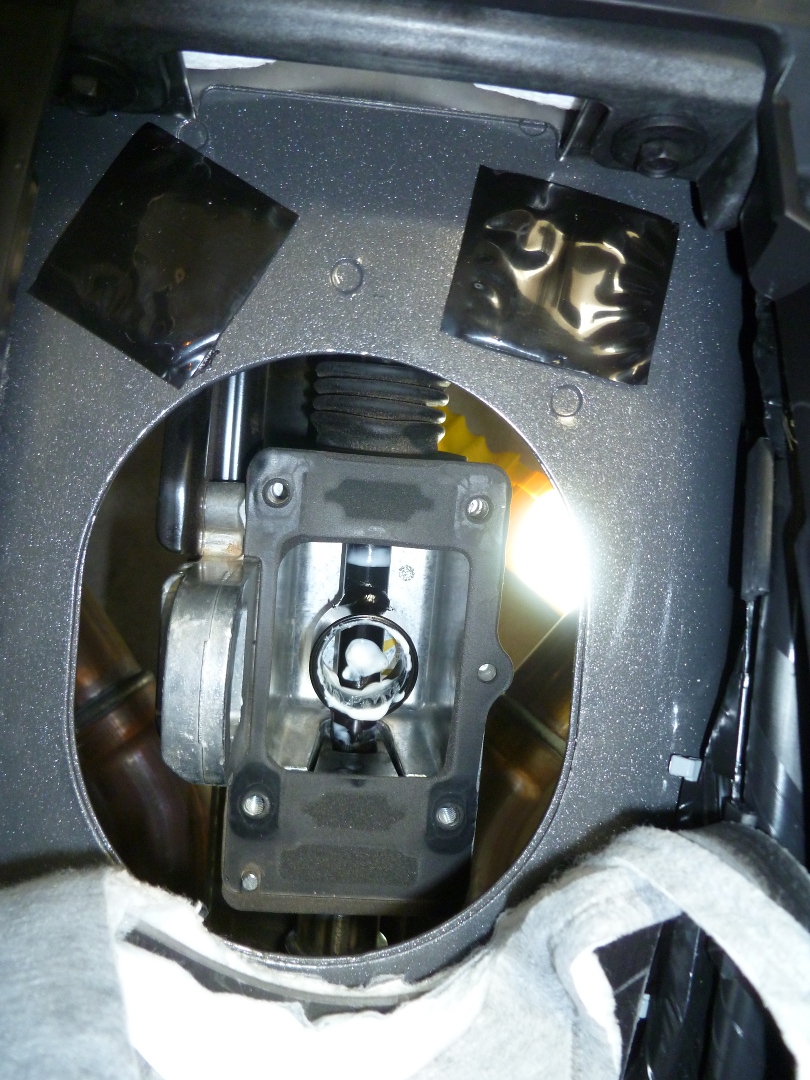
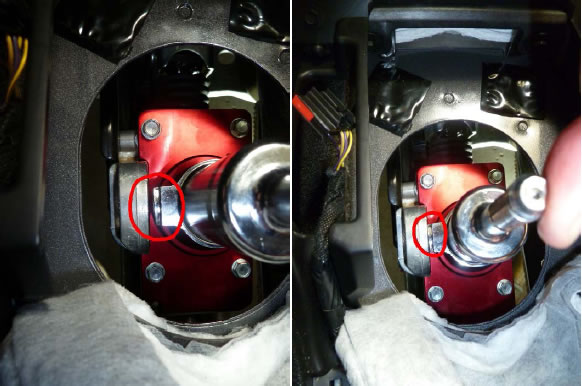
12. Install the new shifter into the shifter base assembly; ensuring that the plastic cup seats back into the linkage rail and the gasket is still in place. Secure using the (4) original 10mm bolts. Before final tightening of the bolts, ensure that the shifter is able to engage all the gears, especially first and second. The reverse lockout tab should just touch, or almost touch the ear when selecting first and second gear as illustrated below. Adjust the shifter left or right as necessary.
13. From under the car re-install the shifter base bracket using the original 10mm nuts, leaving the nuts about ¾ of an inch loose to make the shifter boot installation easier.
14. From inside the car, reinstall the rubber boot. Be sure that the bottom hole of the boot goes OVER the lip on the reverse lockout ear and the base of the shifter before installing the rubber boot lip around the floor pan. Slide the top of the boot down over the upper shift lever.
15. From under the car, finish tightening the shifter base bracket nuts to proper torque. BE VERY CAREFUL, the studs can easily break off of the floor pan if tightened excessively.
16. From inside the car, reinstall the insulation material and lower the console cover back into place. Again, be careful not to break the shift boot collar tabs while pulling it down over the shift lever. Reattach the electrical connections, push the front tabs into place, and press down on the console cover to snap the clips back into place.
17. Reinstall the shift knob and make sure you can select all gears, including reverse, before operating the vehicle.
18. Go out and enjoy your new short shifter!
Installation Instructions written by AmericanMuscle customer David Westgate 5.29.12
