 FREE 1 to 3-Day Delivery on Orders $119+ Details
Best Sellers


Mustang Short Throw Sport Shifter (All 83 - Early 01 & '01-'04 V6 T-5/T-45 Transmission) - Installat
Installation Time
60 minutes
Tools Required
- Socket Wrench
- 8 mm Socket
- 10 mm Socket
- 13 mm Socket
- 14 mm Socket
- 4 mm Allen Wrench
- 5 mm Allen Wrench
- 6 mm Allen Wrench
- 8 mm Allen Wrench
- Silicone Gasket Maker
- Needle-Nose Pliers
- Razor Blade
- 8, 10, 13 and 14mm Wrenches (Used where sockets don't fit)
Shop Parts in this Guide
Installation
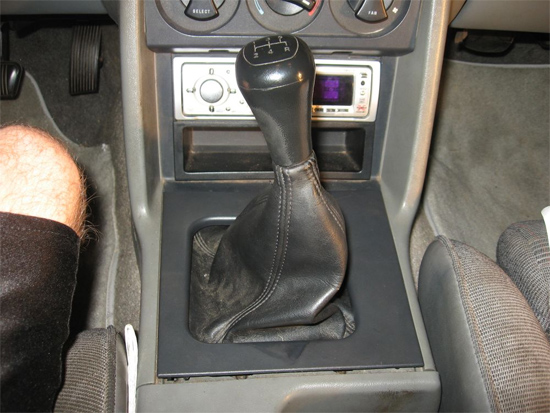
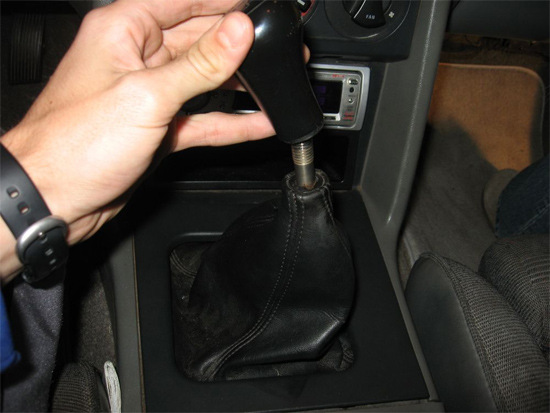
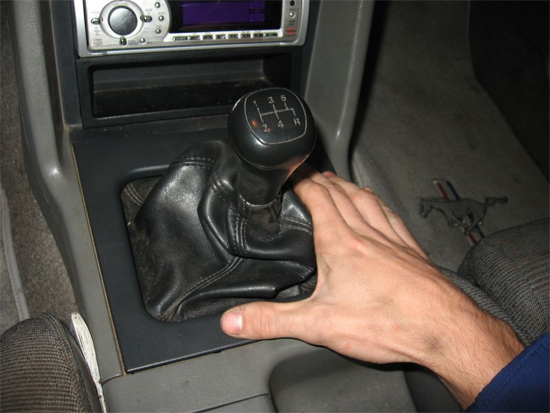
2. Remove shifter knob by twisting it off.
3. Remove shifter console trim, which should pop off with a bit of force. Make sure the metal clips are attached to the 4 tabs for reinstallation.
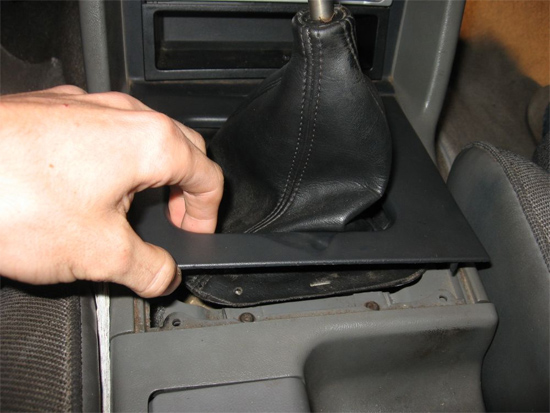
4. Remove leather shifter boot by pulling it up.
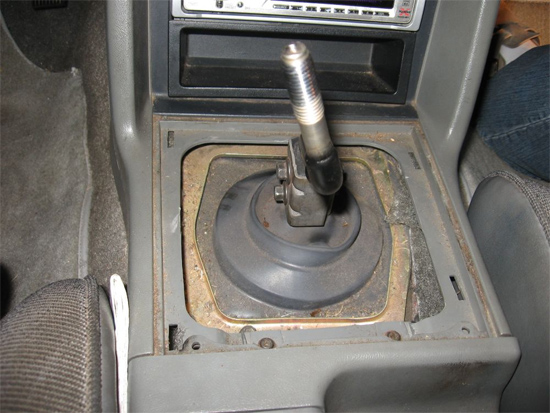
5. Using the 10mm socket, remove the two screws attaching the shifter handle to the shifter and remove the old shifter handle.

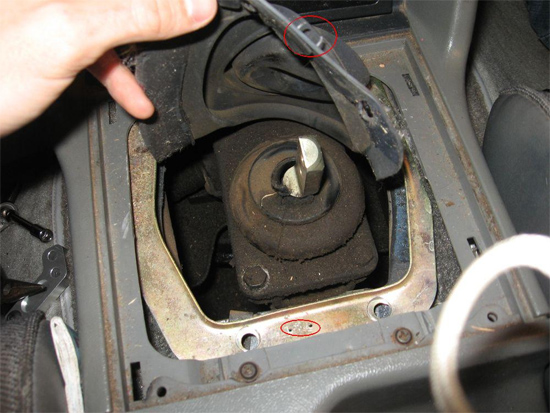
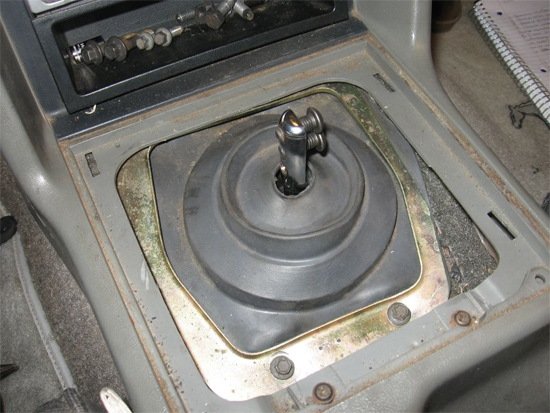
6. Use the 8 mm socket wrench to remove the two visible bolts retaining the metal ring around the second shifter boot. Then use an 8 mm wrench to remove the two bolts securing the front of the metal ring. This may take a while, unless you want to remove the whole console. If you don’t remove the console, you will need to use the needle nose pliers to remove the staple holding the rubber boot to the metal retaining ring. You will then be able to move the rubber boot out of the way when necessary.
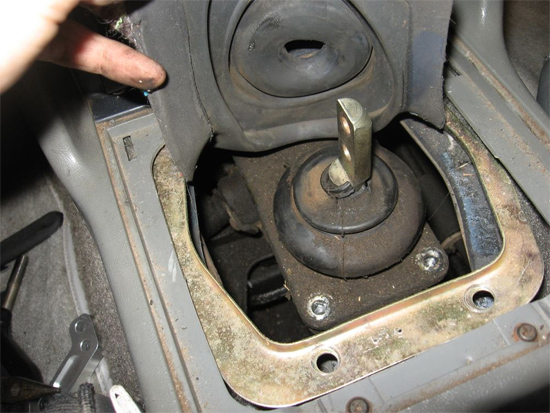
7. Now you have access to the shifter. Use a 13 mm wrench and/or socket wrench to remove the 4 bolts securing the shifter to the transmission.
8. Lift the old shifter out of the way. This may require some force as the old silicone is still holding it to the transmission. Be careful trying not to let dirt or dust fall into the transmission.
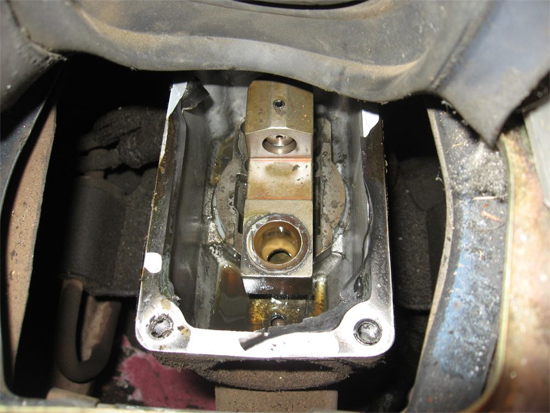
9. Use the razor blade to fully remove the old silicone to prepare the surface for the new shifter.
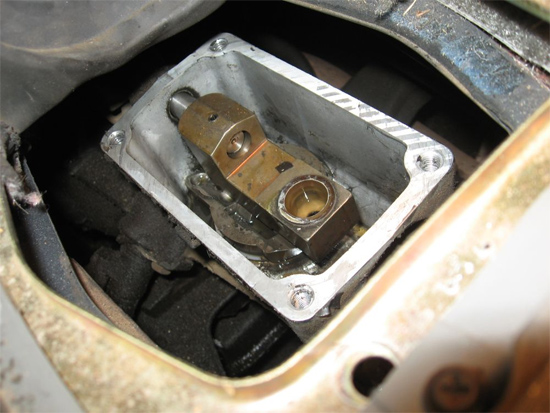
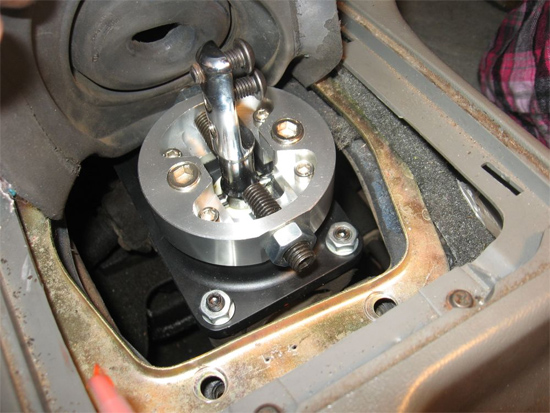
10. With the 4 mm Allen wrench, attach the four screws to the transmission in preparation for the new shifter. Make sure they are tight.
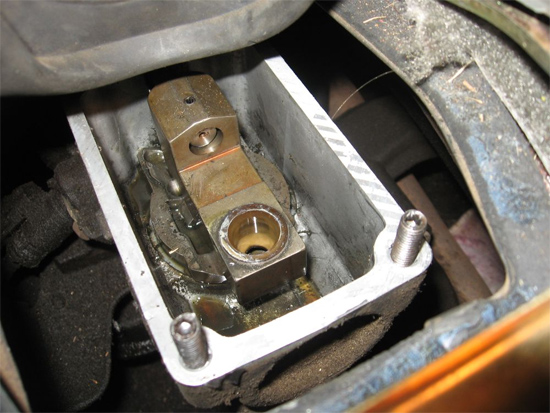
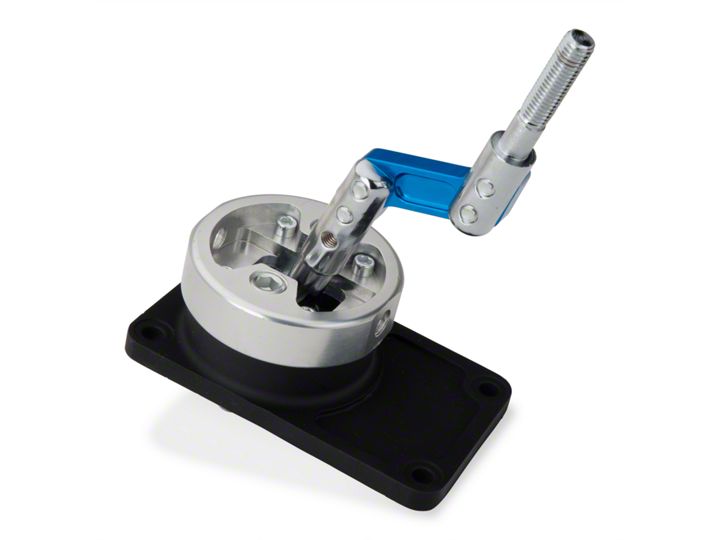
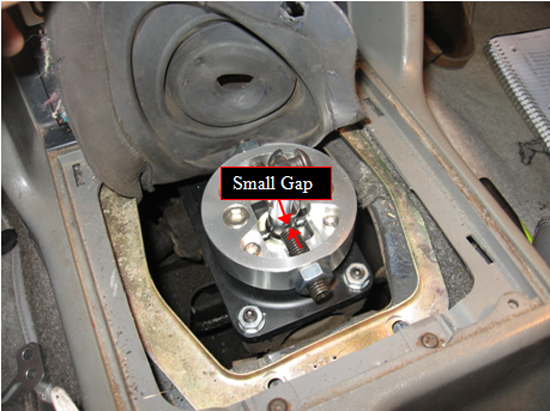
11. Set the new shifter in to check fitment, be sure to remove the shifter bushing from the bottom of old shifter and transfer it over to the new shifter. Using the 6 mm Allen wrench, adjust the screws included with the kit so that when the transmission is in gear, there is only a small gap between the shifter and the end of the screw (~1/16”). Then fasten the nut to hold the screws tight. Also make sure the transmission shifts through all the gears as it should.
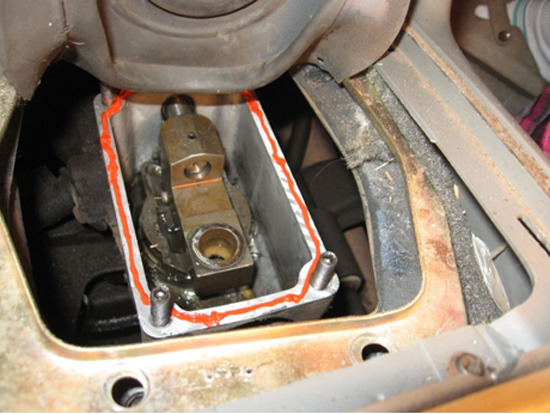
12. Remove the shifter and apply a bead of silicone all the way around the surface, to be bonded to the transmission as shown Be sure to follow instructions on silicone package for proper use.
13. Position the new shifter on the screws already installed, which will make attachment simple. Push the new shifter all the way down and attach the four, 14 mm nuts until tight.
14. Again, verify that the shifter shifts it through all the gears properly. Reinstall the rubber boot over the new shifter and fasten the ring using the four, 8 mm bolts removed earlier, making sure the rubber boot is secured properly.
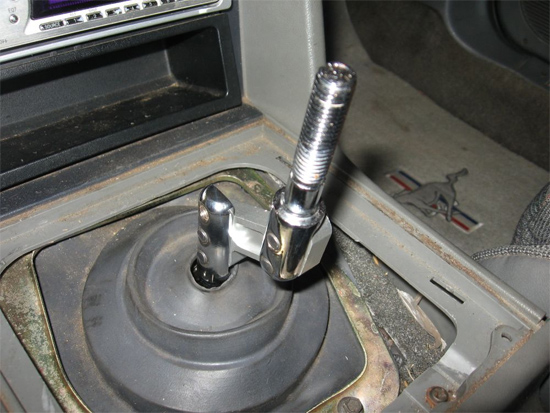
15. Using the 5 mm Allen wrench and the screws provided in the kit, attach the new shifter handle to the new shifter as shown. When attaching the new handle, select the height you want, as the new kit has two height settings, as shown in the height comparison photo earlier. Use the top two holes for the medium height or the bottom two holes for the low height setting.
16. Replace leather shifter boot over new shifter and reinstall the shift knob.
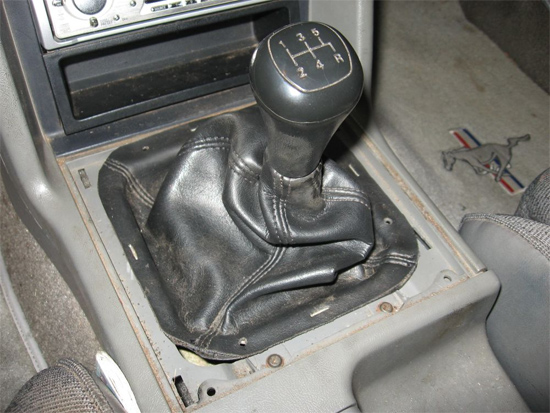
17. Snap the shifter console trim back on and you’re done. If you have time, however, you may want to wait to give the silicone proper drying time, as instructed by silicone package (usually about 24 Hrs if possible).
18. Enjoy your new shifter!
Installation instructions provided by AmericanMuscle customer Callaway Turner 12.23.08
