 FREE 1 to 3-Day Delivery on Orders $119+ Details
Best Sellers


How to Install SR Performance Adjustable Front Sway Bar End Links (05-14 All)
Installation Time
90 minutes
Tools Required
- Ratchet
- 8mm Wrench and Socket
- 18mm Wrench and Socket
- 13/16 Inch Socket (for tire removal)
- Jack
- 2 Jack Stands
- Torque Wrench (optional)
- 4 Wheel Chocks or Bricks
- Adjustable Wrench (optional if multiple wrenches of same size are not available)
Time needed: approx.1.5 hours
Tools Required:
• Ratchet
• 8mm wrench and socket
• 18mm wrench and socket
• 13/16 socket (for tire removal)
• Jack
• 2 Jack Stands
• Torque Wrench (optional)
• 4 wheel chocks or bricks
• Adjustable wrench (optional if multiple wrenches of same size are not available)
Removal:
1. Engage parking brake
2. Put the tire chocks on the rear tires, one behind and in front of both tires.
3. Jack up the car and place the jack stands under the vehicle (the vehicle does not need to be lifted high)
4. Remove both front tires
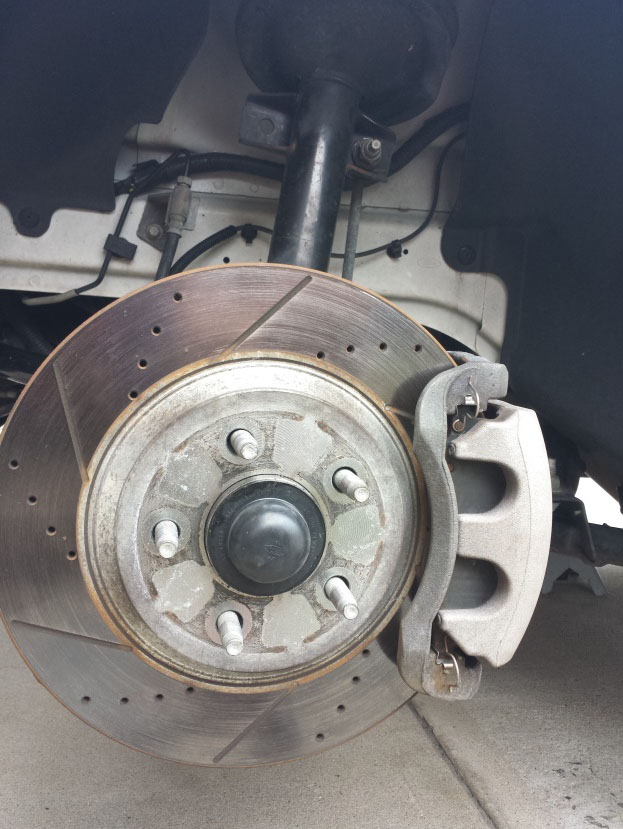
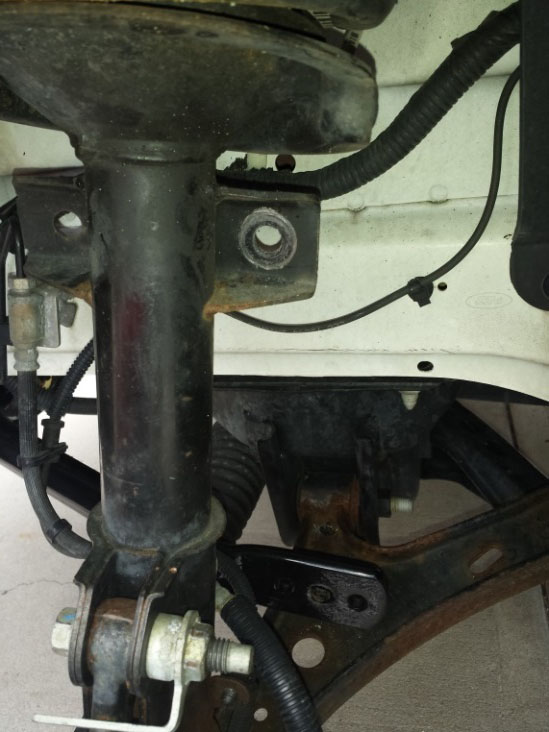
5. Remove the top end link, first use the 18mm socket to break the nut loose. Next (I found this to be easiest due to there being limited room to move the nut) use the 18mm wrench to hold the nut and turn the small end of the bolt with the 8mm socket. You will actually need to leave the ratchet on tightening since you are pushing the whole bolt out and not loosening the nut
6. Remove the bottom bolt the same way as the top and then remove the whole end link
7. Go to the other side and do the same.
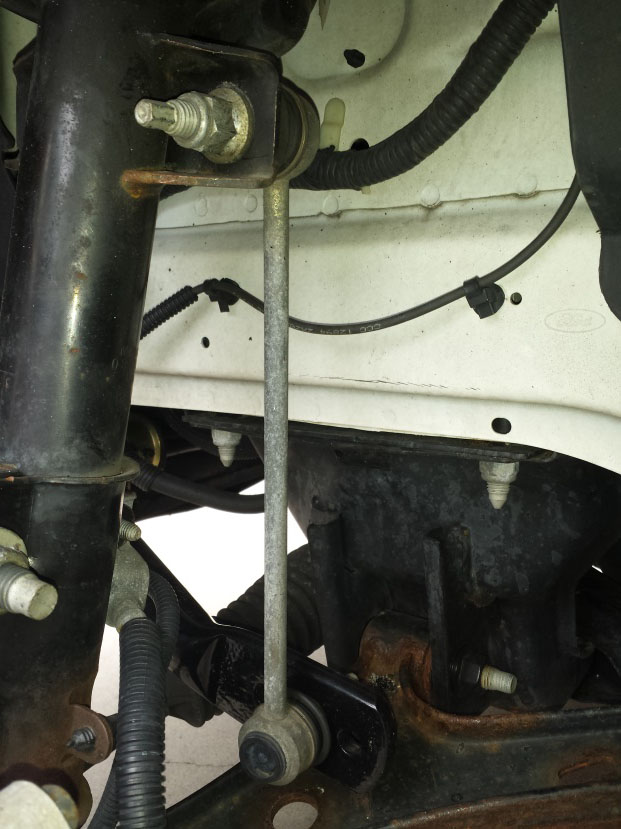
NOTES – There are two different sides to the end link. The side with the extra kick out on it goes against the front sway bar and against the strut
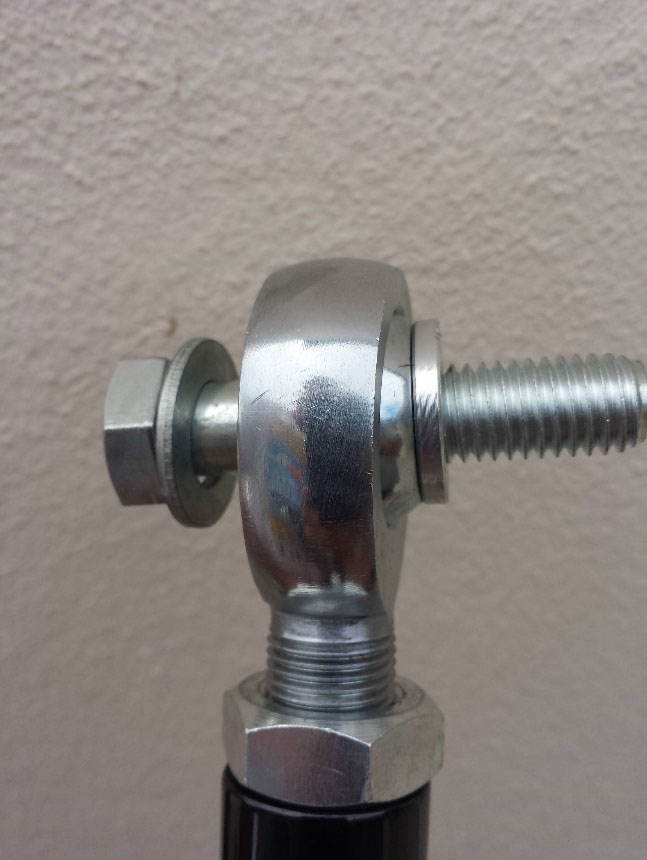
An easy way to size and align the new end link is to place the old end link next to the new one and make them the same size before installation

Installation:
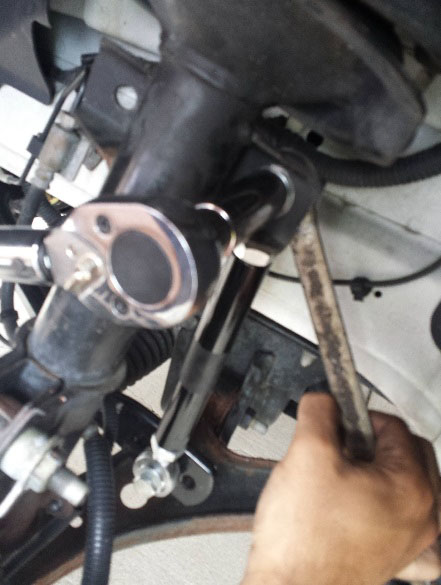
1. Start by first inserting both the top and bottom of the end link in position in the holes found on the strut and sway bar. The bolt will be coming towards you on the top strut and going away from you on the bottom attaching to the sway bar.
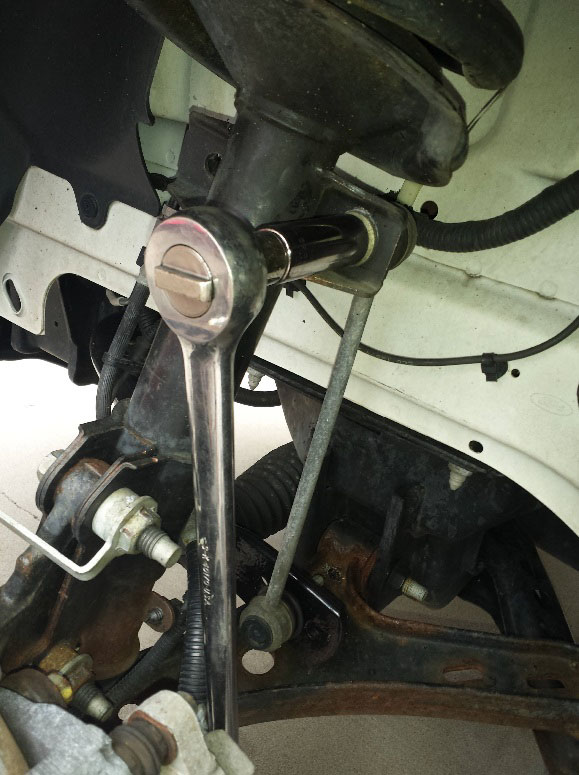
2. Tighten the top bolt down by using the 18mm wrench in the back and then using the 18mm socket in the front (if you are missing the correct size wrench an adjustable can be used.)
3. Torque the nut to 85 ft/lbs, if a torque wrench is available.
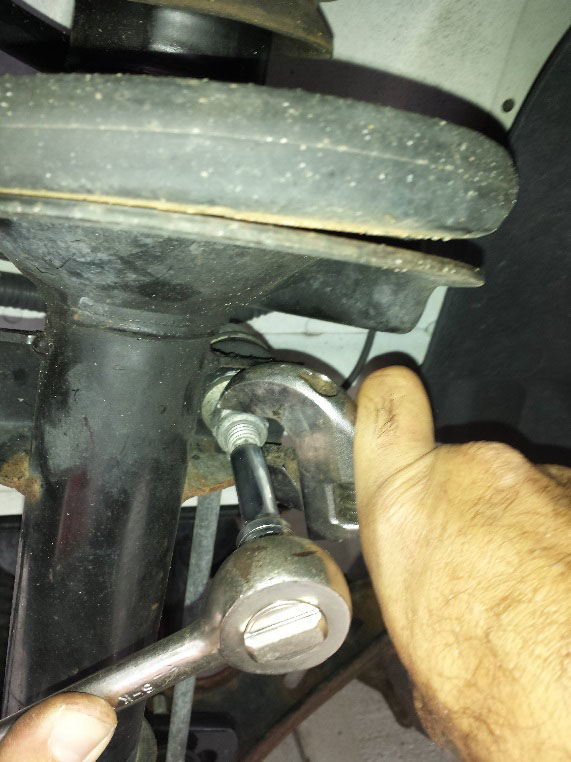
4. The bottom nut is a little trickier since it is facing towards the car. For this one I tightened the actual bolt itself. Use the 18mm wrench to hold the nut and tighten the bolt with the 18mm socket.
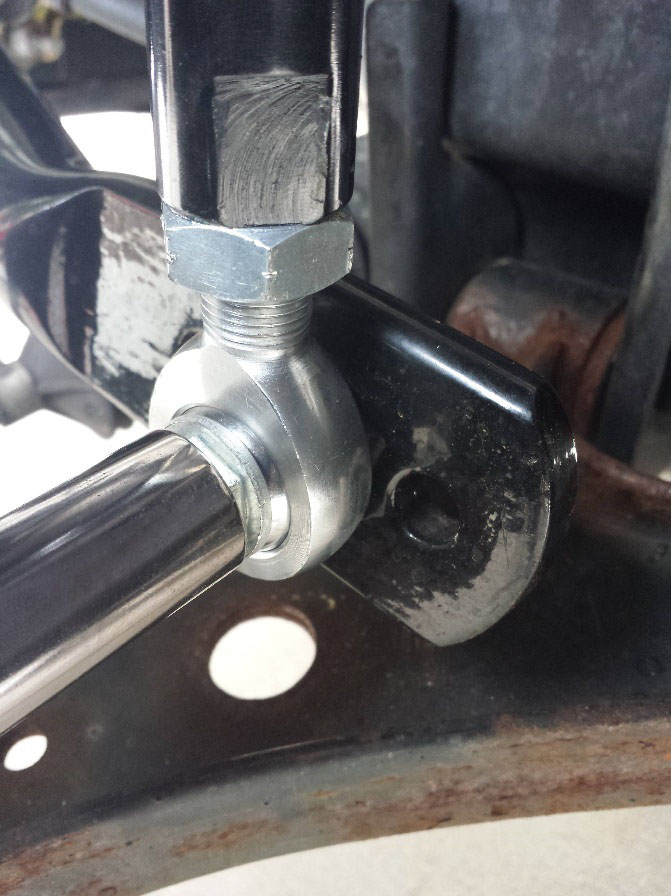
5. Tighten this bolt to 85 ft/lbs if a torque wrench is available.
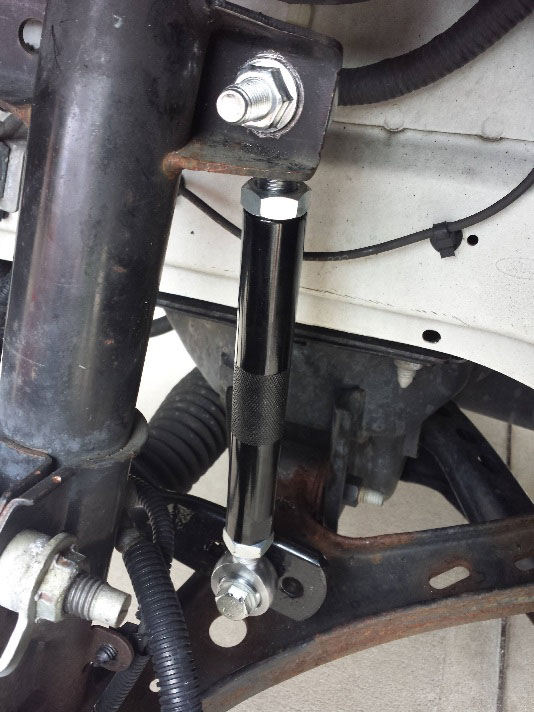
6. Go to the next side and do the same. Finished install should look like this

7. Make sure you tighten the nuts on the End Link to prevent the end link from twisting and changing the size you set it to.
8. Install the tires
9. Remove the jack stands and lower the car
10.Remove the wheel chocks from the rear tires
11.Lastly, enjoy your new SR Performance Adjustable Front Sway Bar End Links and improved ride quality.
Installation instructions written by American Muscle Customer David Marino Jr 9.30.2014
