 FREE 1 to 3-Day Delivery on Orders $119+ Details
Best Sellers


How To Install SR Performance Lower Control Arms on your 2005-2014 Mustang
Installation Time
2 hours
Tools Required
- Jack
- Jack Stands
- 18mm Wrench
- Flat Head Screwdriver
Shop Parts in this Guide
Installation Instructions:
1. Loosen the lug nuts for the rear wheels while the car is on the ground
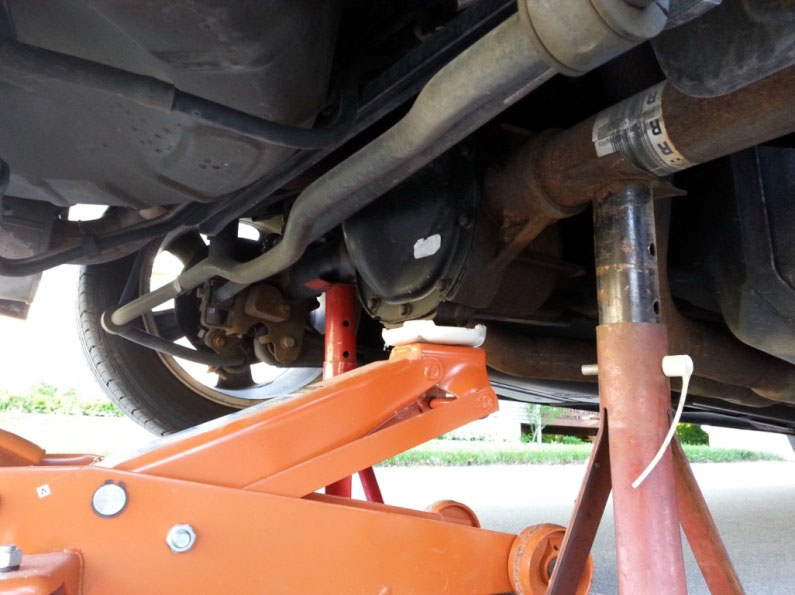
2. Jack up the car and place the rear axle on jack stands This removes the tension from the control arms. Remove the wheels for easier access to the brake lines that have to be removed and to access the control arm.
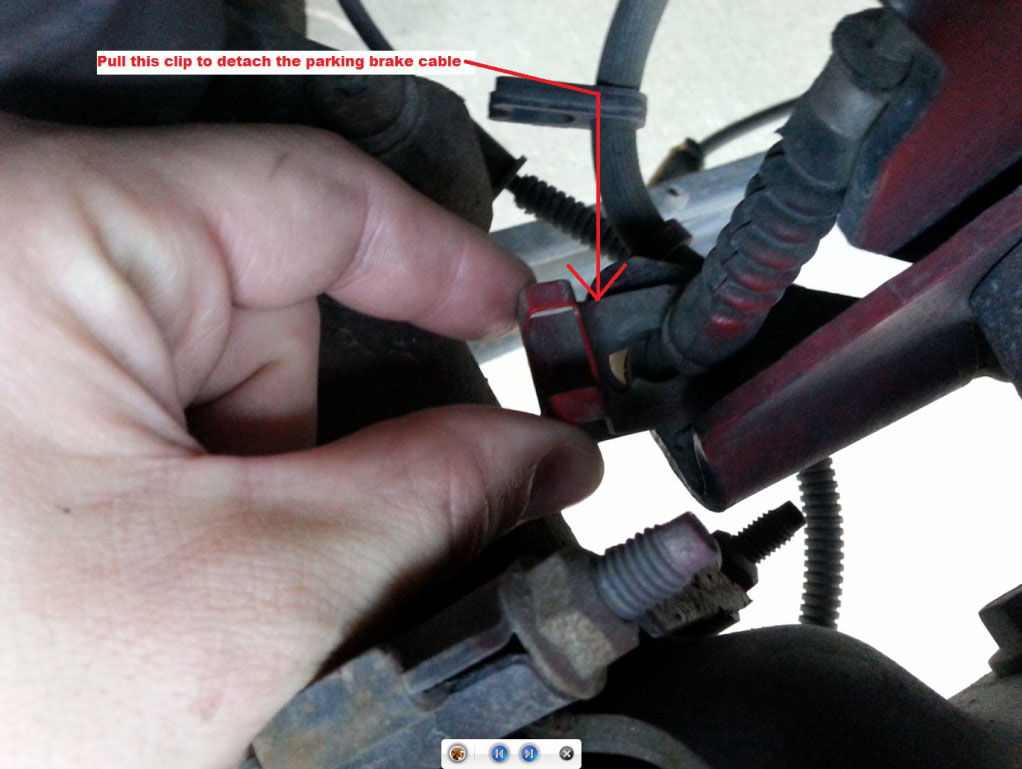
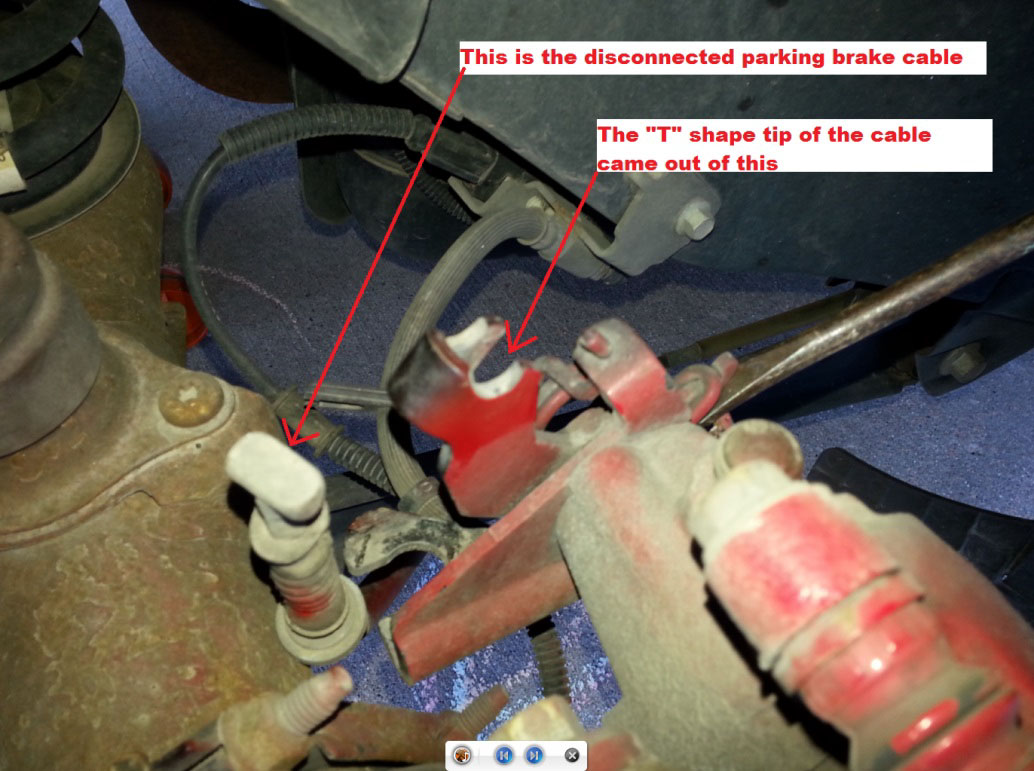
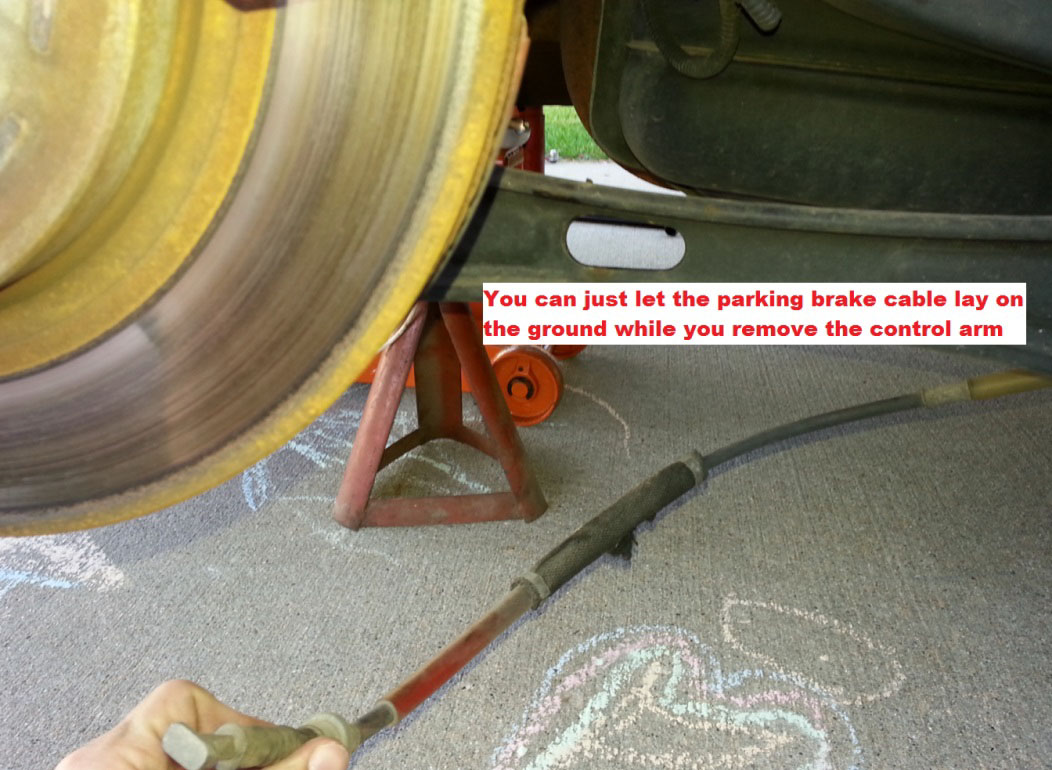
3. Removing the brake cable is pretty simple, just use the flat head screw driver as a lever to free the tension of the cable.

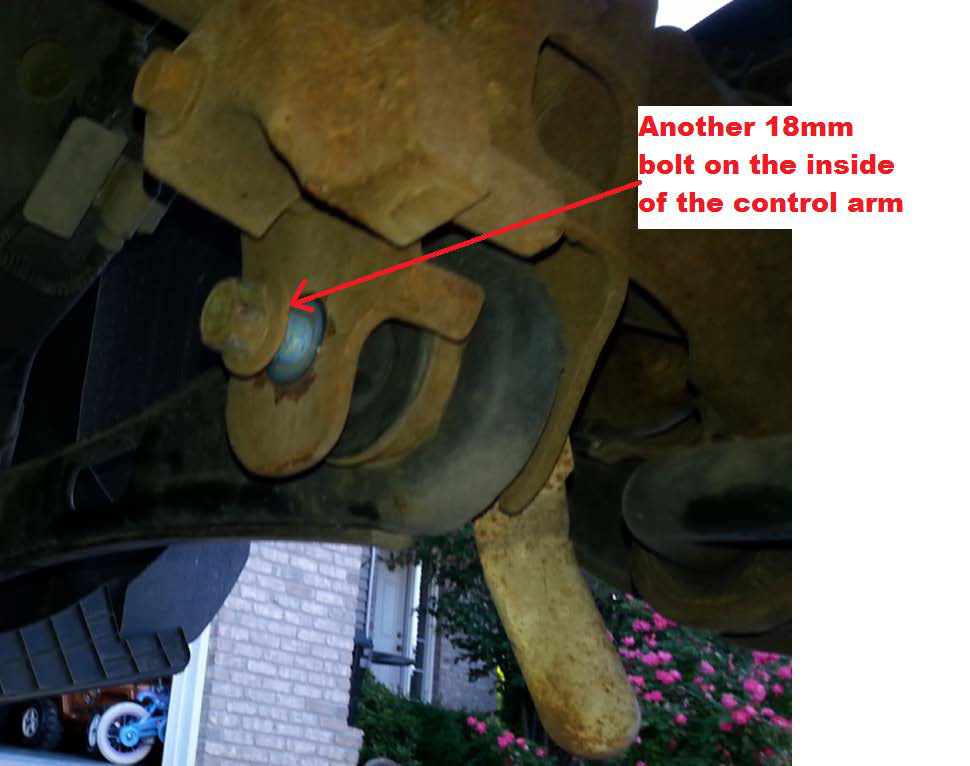
4. Remove the rear control arm using an 18mm wrench. Start with side that is connected to the car.
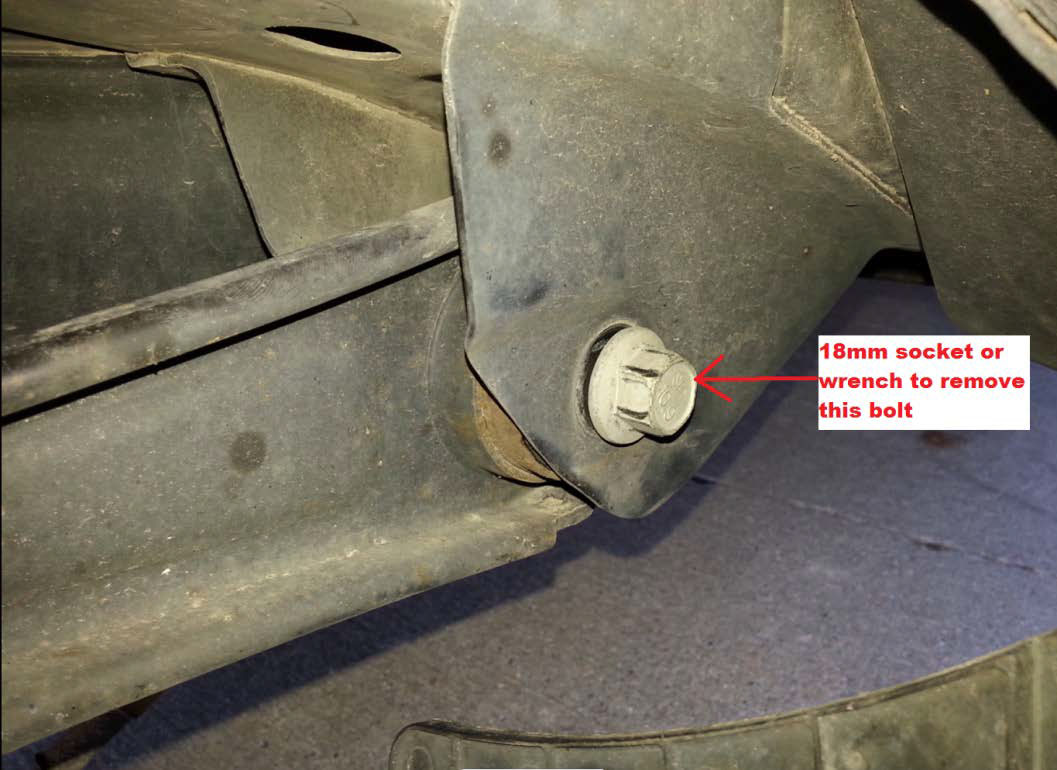
*NOTE – This particular bolt, on the passenger side of my 2011 GT was seized up. The bolt was seized directly to the metal sleeve of the bushing in the factory control arm. I spent a few DAYS working with this bolt, trying a number of methods of removal before I finally purchased a new bolt from the Ford Dealership then proceeded to cut through the bolt with a Sawzall. I had to cut through both the head (just on the other side of the black flange in this picture) and also the tip (just inside the flange on the other end of the bolt). It took quite a few saw blades; I think I went through 6-7 Sawzall blades before I finally got all the way through the bolt in both places.
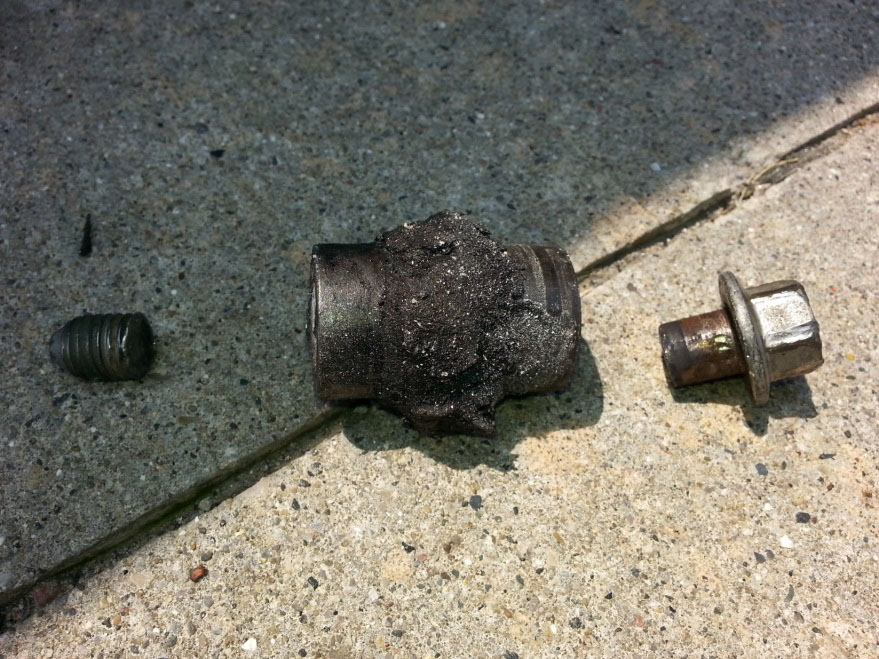
Moral of the story…if you have a seized up bolt, save yourself some time by cutting from the very beginning, you can buy a new bolt for $7 from the dealership.
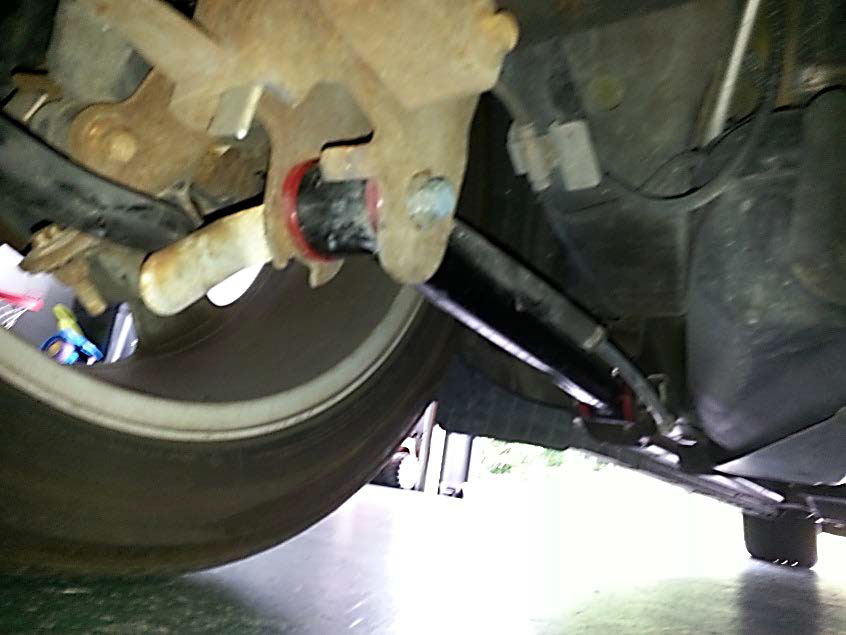
Here is a picture of the bolt with the bushing attached, the rest of the bolt is inside that metal sleeve of the bushing.
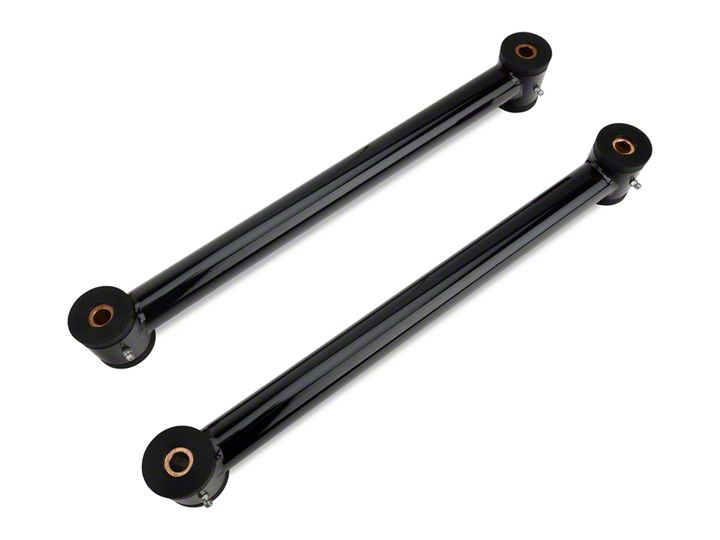
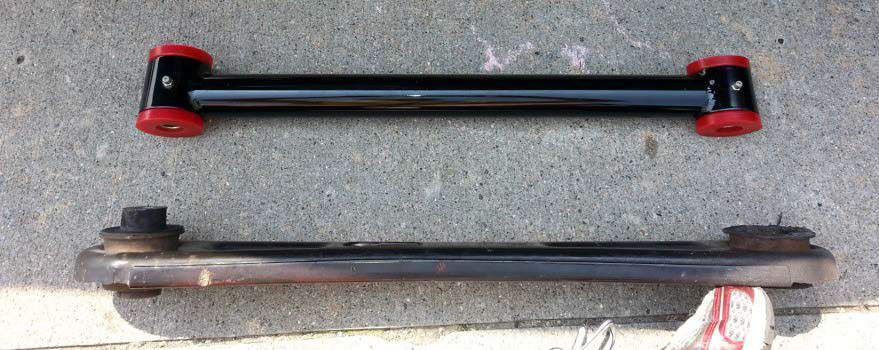
Here is a side-by-side of the SR Performance Control Arm next to the factory control arm. It’s important to note the orientation of the control arm upon removal, because you want to make sure the offset part of the new control arm is installed in the same place as the offset part of the factory unit.
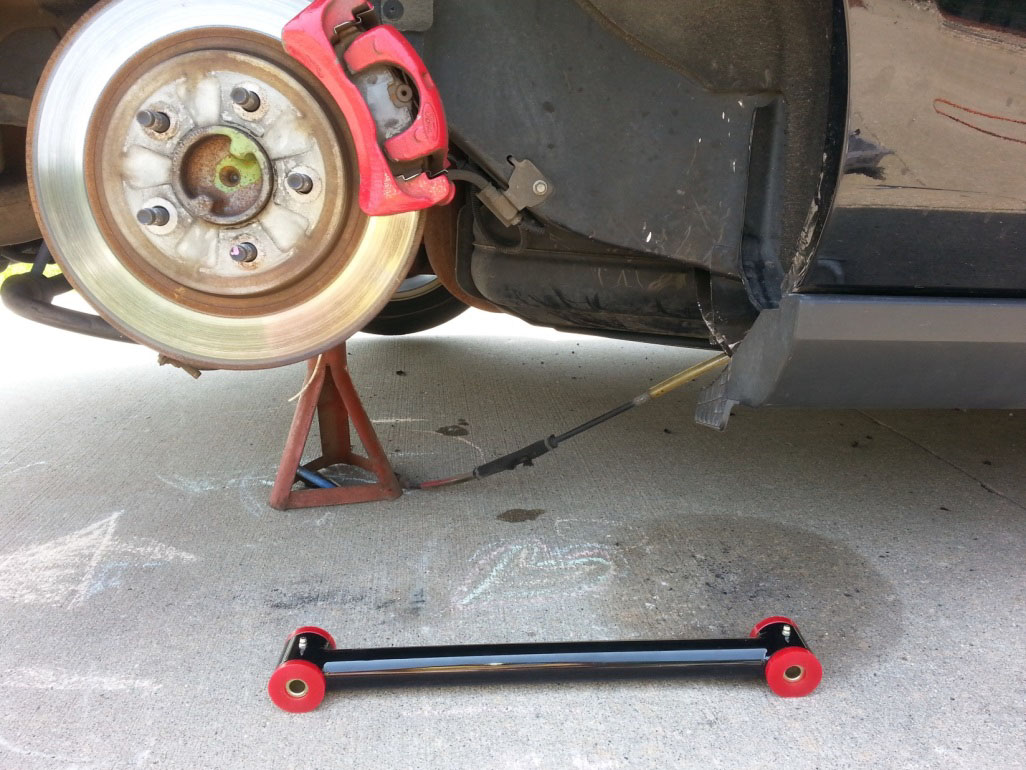
5. Get your SR Control Arm lined up and ready to install
6. Install the new control arm into the car.
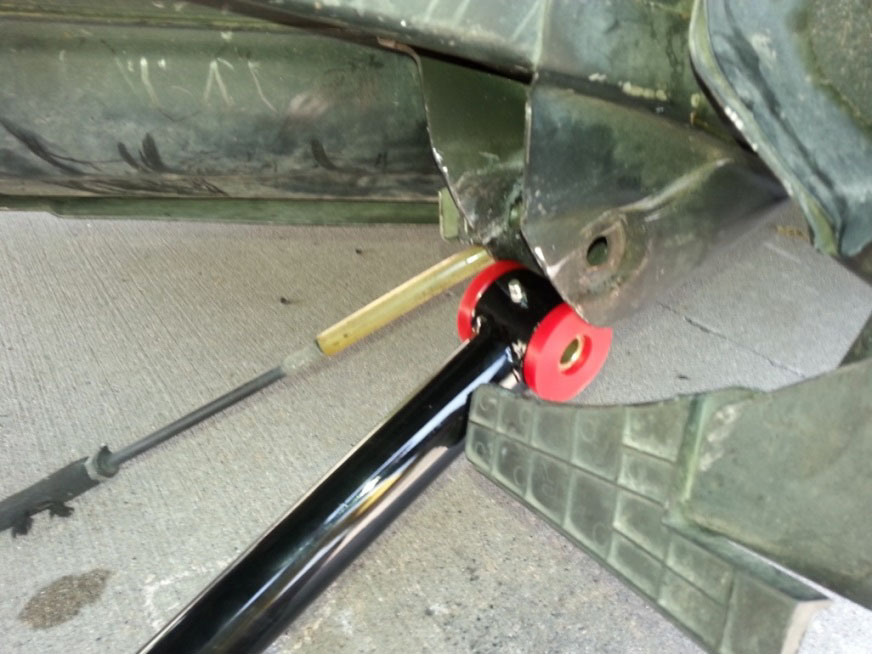
Getting the new control arm into place can be a little work; the red bushings are a pretty tight fit. I ended up using my jack with some padding on it to jack the control arm up into place. For small incremental adjustments I used a rubber mallet. Begin with the front bolt, once the front bolt is in, make sure you DO NOT tighten it all the way, that way you can more easily maneuver the control arm to get the rear bolt in.
If the alignment of the rear bushing in the control arm is a little off you can use your jack to lift the car up a little bit, since you just removed the factory control arm it should be in place, but even if the car moved a fraction of an inch once you removed the factory arm it will make it very difficult to insert the new unit.
7. Tighten control arm bolts to 129 ft/lbs.
8. Installation Is Complete!
Installation Instructions Written By AmericanMuscle Customer Nick Mckendry 7.05.2013
