 FREE 1 to 3-Day Delivery on Orders $119+ Details
Best Sellers


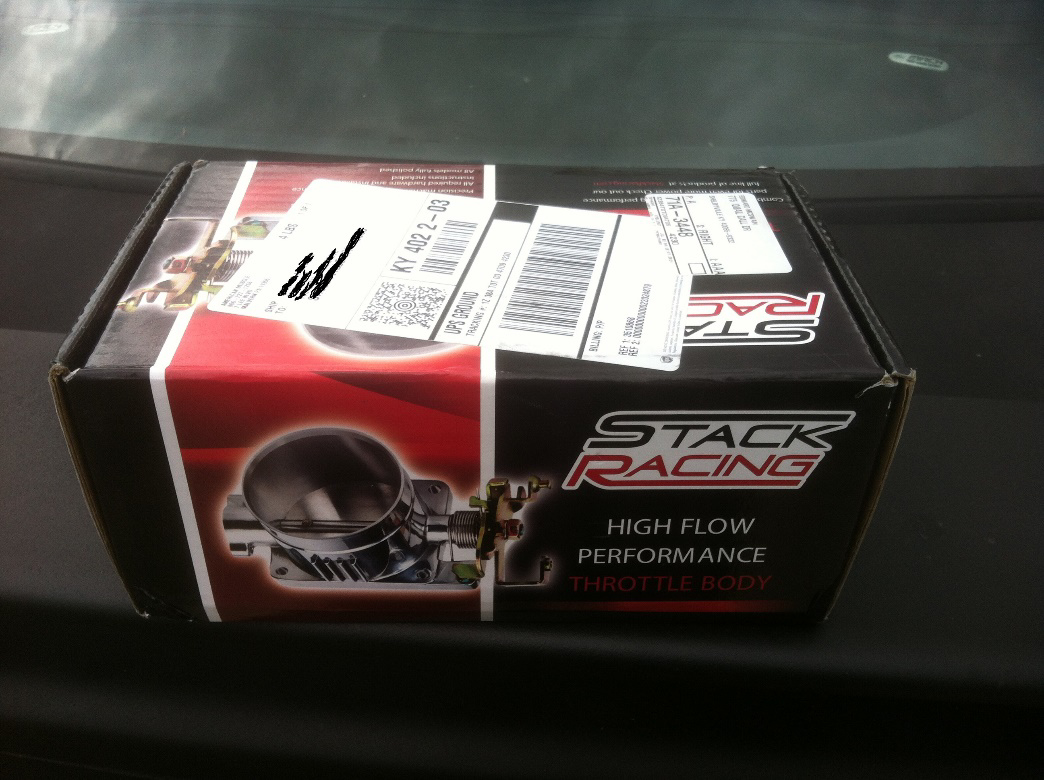
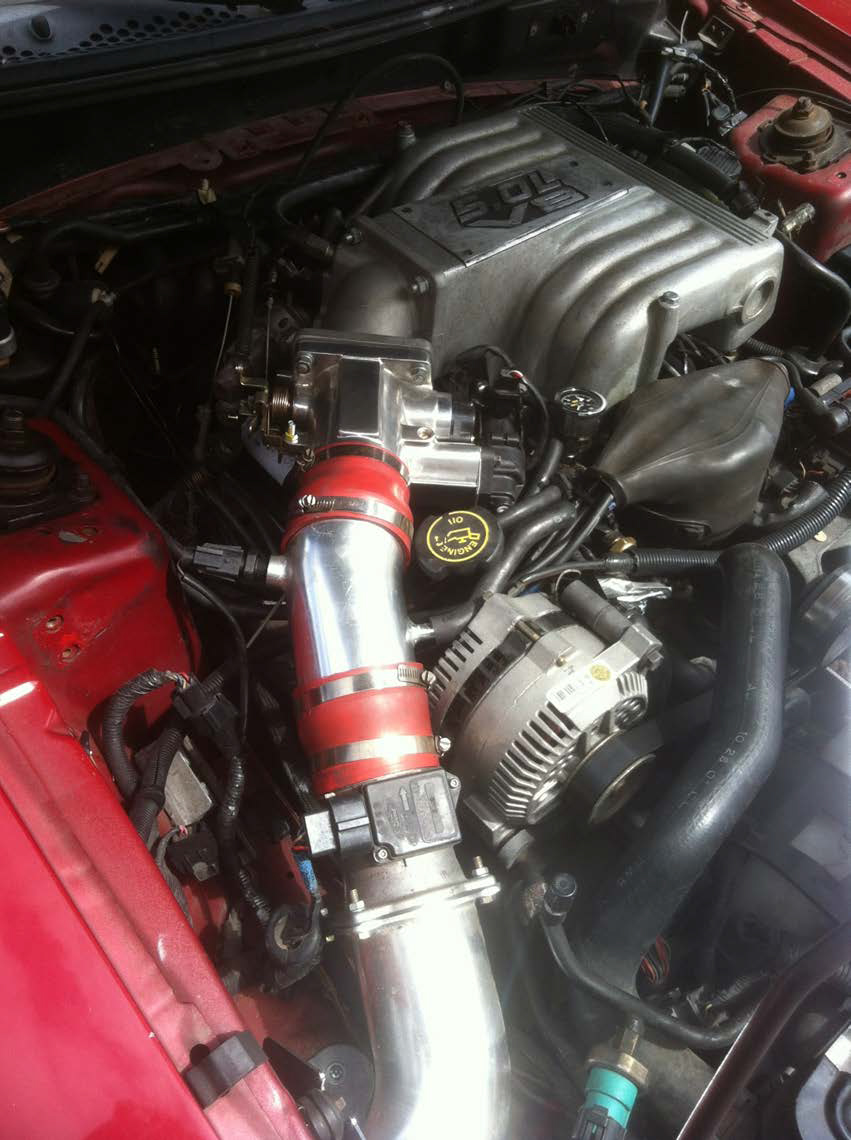
How To Install a SR Performance 70mm Throttle Body on your 1994-1995 5.0L Mustang
Installation Time
1 hours
Tools Required
- Flat head screwdriver
- Phillips head screwdriver
- ¼” or 3/8” ratchet
- 6-9” extension bar
- ½” socket
- 5/16” socket
- Battery terminal wrench or appropriate wrench to disconnect battery
- Razor blade or gasket scraper
- Magnetic pick up tool is very handy if available
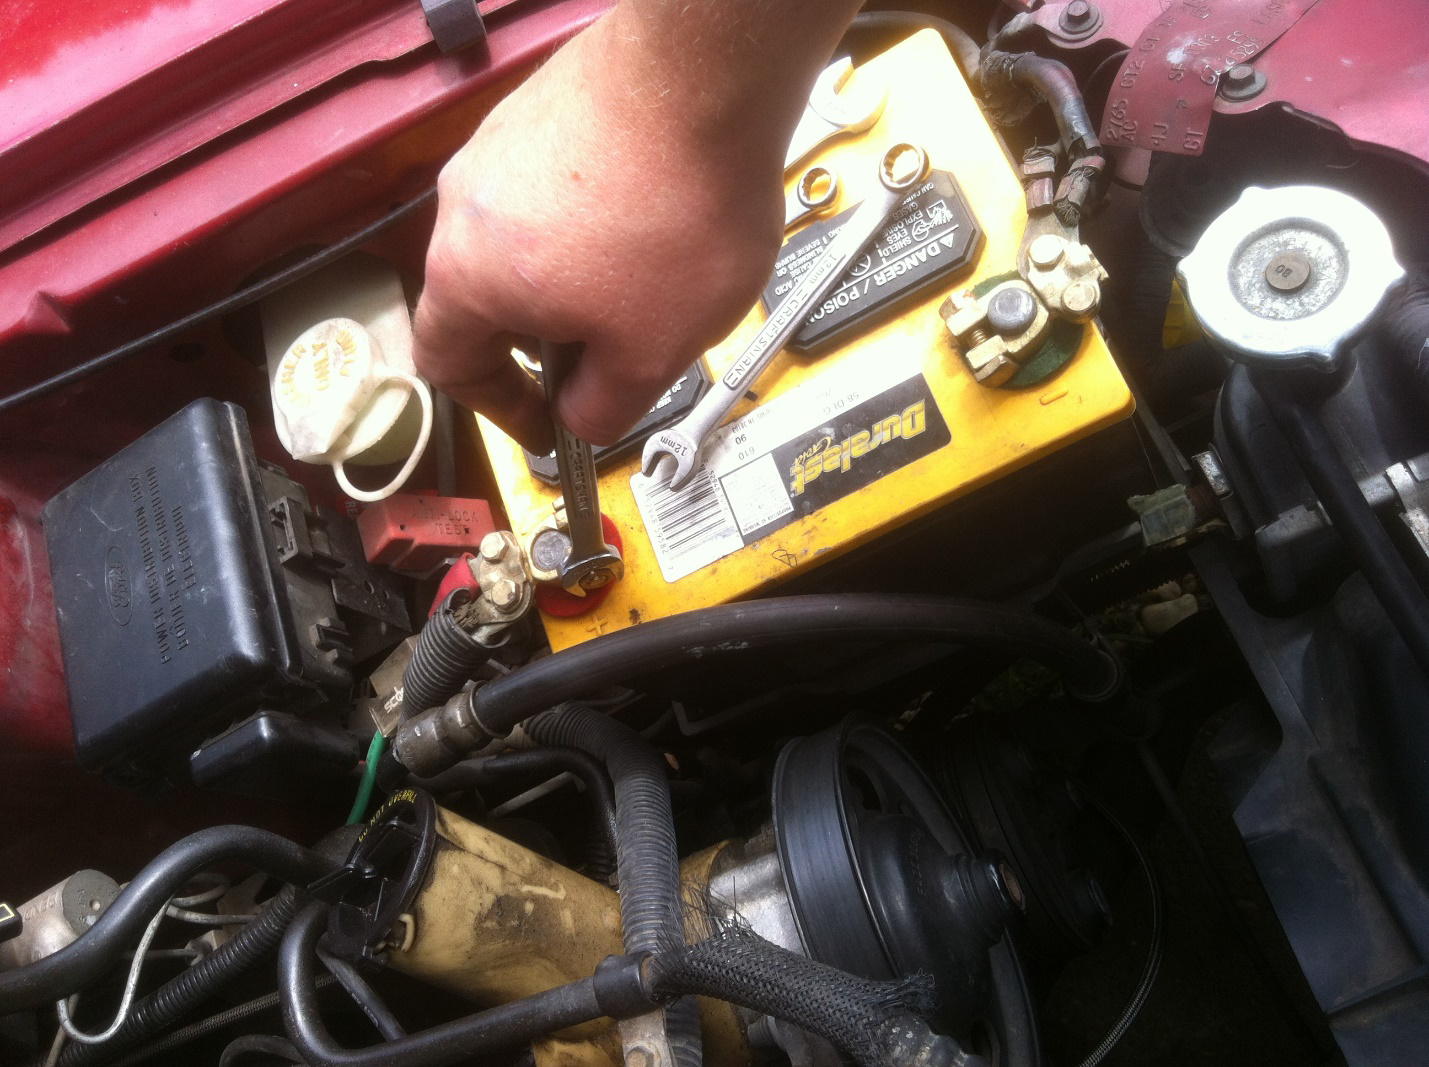
1). Disconnect battery terminal for computer to clear any learned memory (base idle reset procedure).
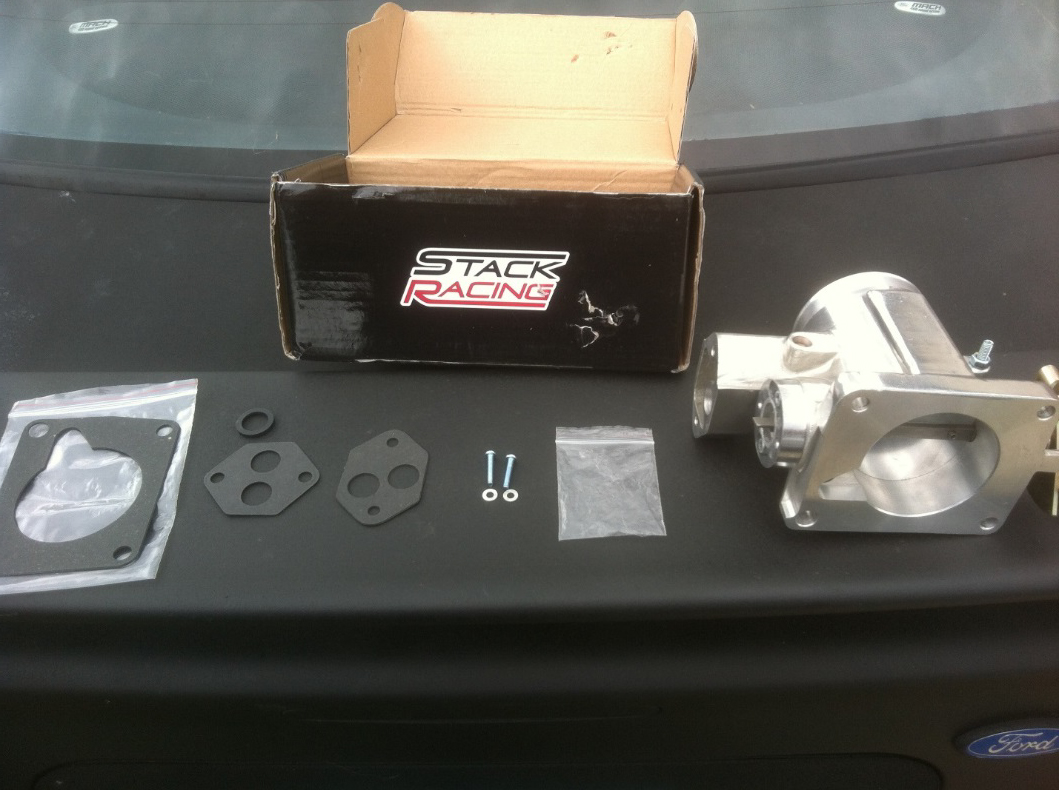
2). Open your Stack Racing 70mm throttle body box. Contained inside will be the throttle body with 1 gasket for mounting throttle body to your intake manifold and 1 gasket for your idle air control valve (IAC valve). The other IAC valve gasket provided does not fit your car and can be set aside. There is a small throttle position sensor (TPS) spacer that is not needed for your car either. You also receive two TPS screws and washers that are really not needed but set aside in case you drop and lose one of your original ones.
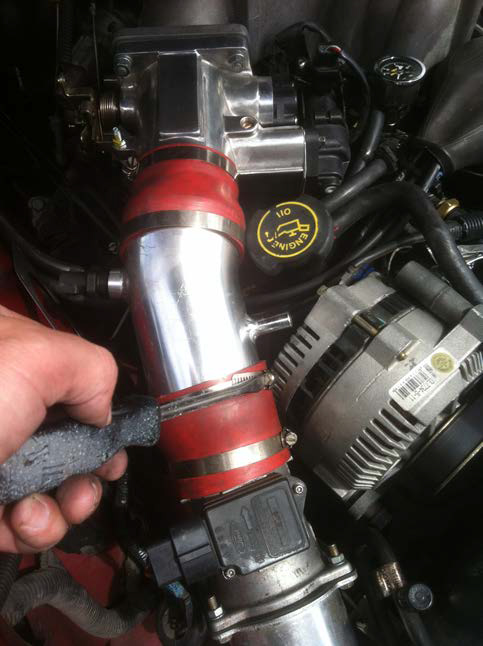
3). Begin by disconnecting your air intake from the throttle body. In these instructions I have a cold air intake, but a factory airbox is almost identical steps to remove. Use screwdrivers to loosen the clamps holding air inlet tubing to the throttle body.
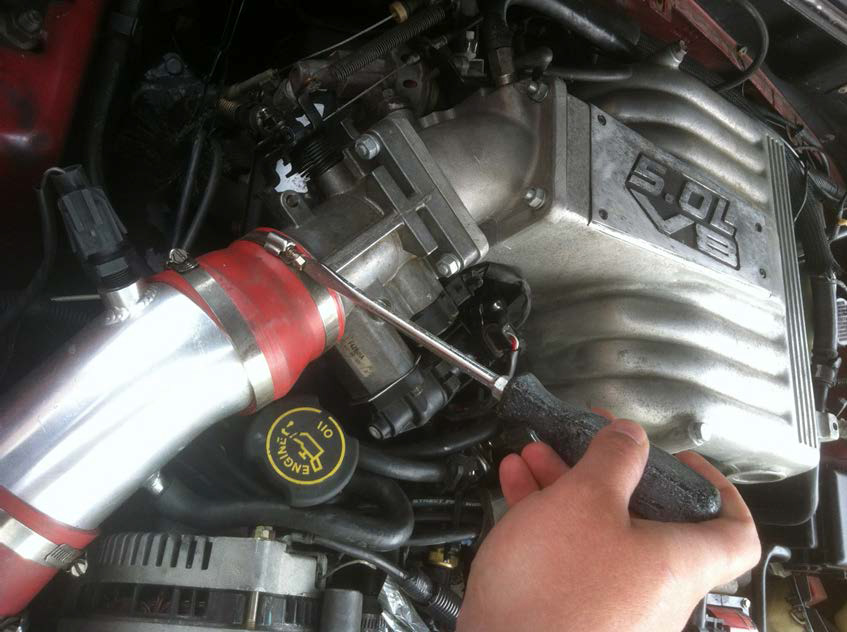
4) Disconnect the vacuum hose from air inlet tubing that connects to the passenger side valve cover.

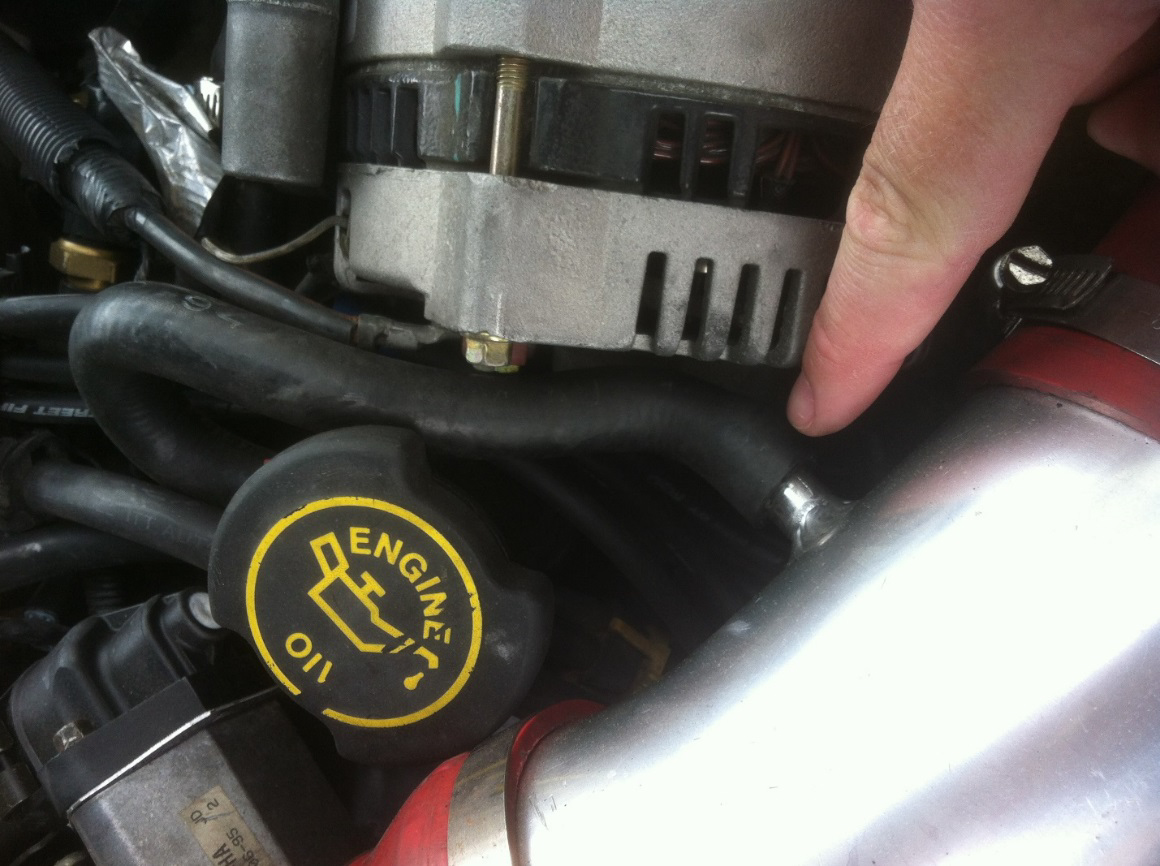
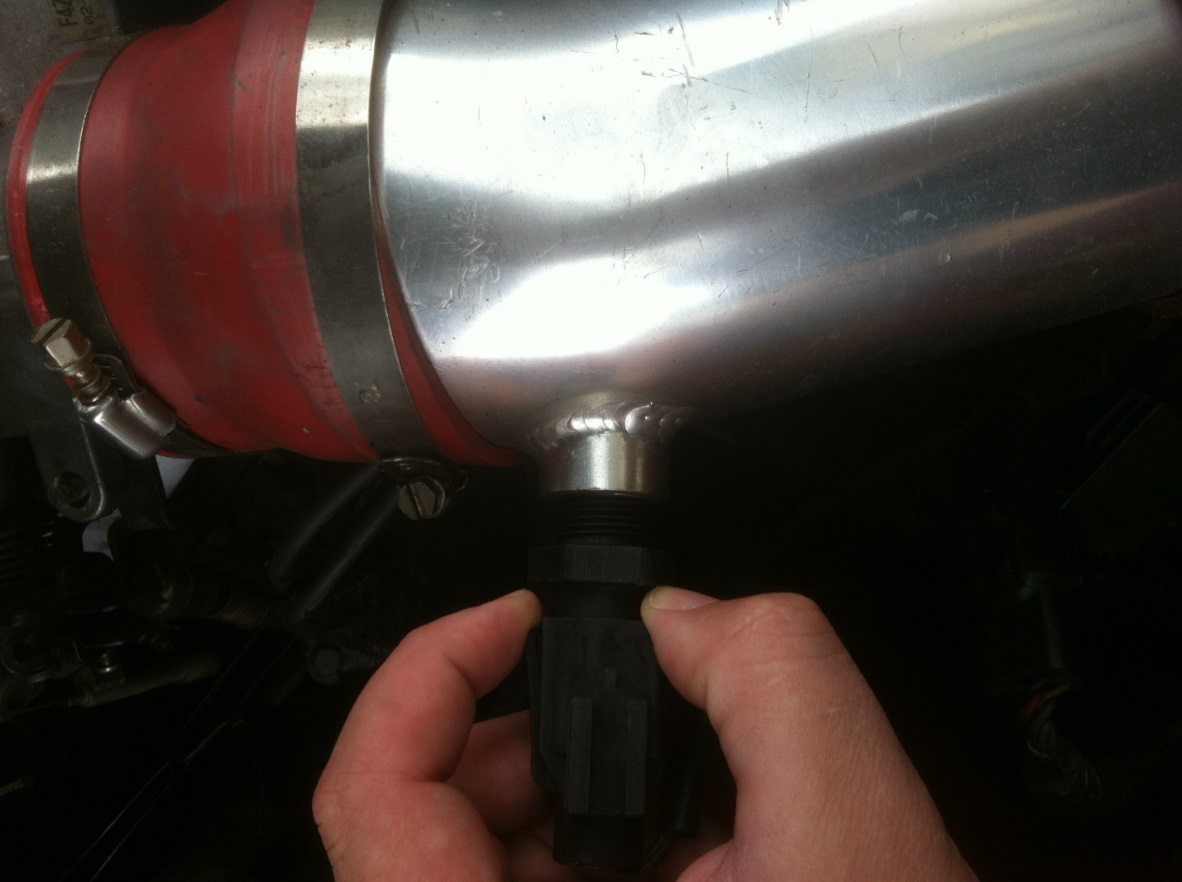
5) Disconnect intake air temperature sensor (IAT). You should be able to set the air inlet tubing to theside now.
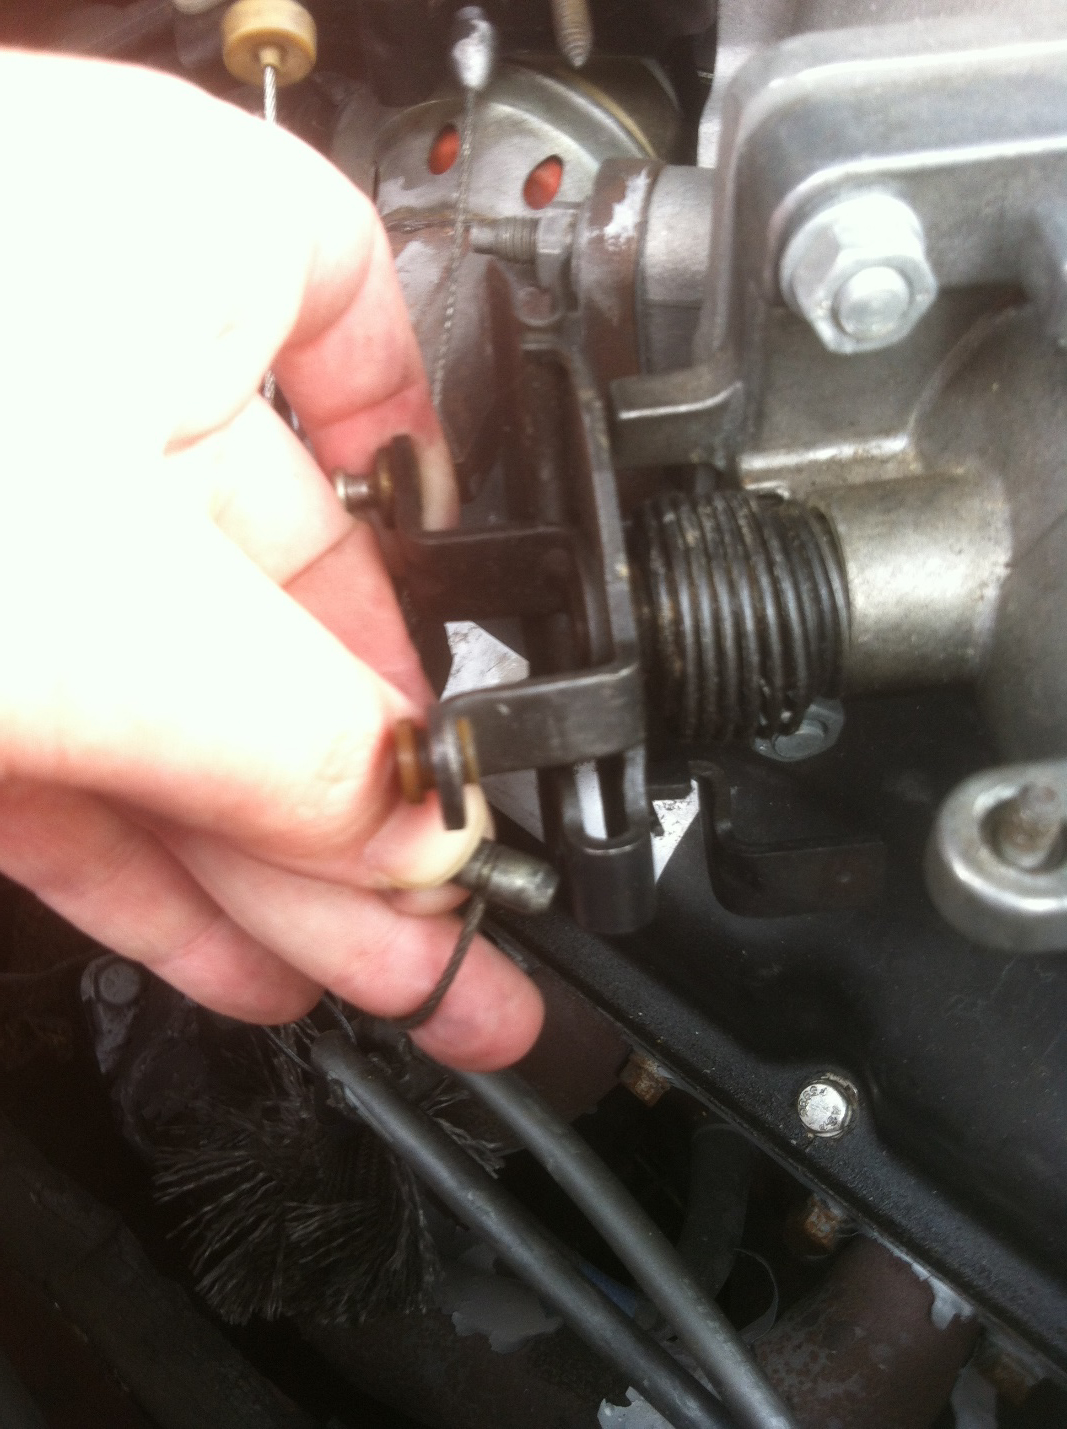
6) Unhook throttle return spring and set aside, be sure to keep good grasp on it so that it does not fly off under pressure during removal.

7) Unhook cruise control cable by simply gently pulling upward and out.

8) Rotate throttle fully open with one hand and use your other to pull throttle cable towards yourself and the pin securing the throttle cable can be easily pulled out from its recess, gently close throttle to avoid damage or pinched fingers.
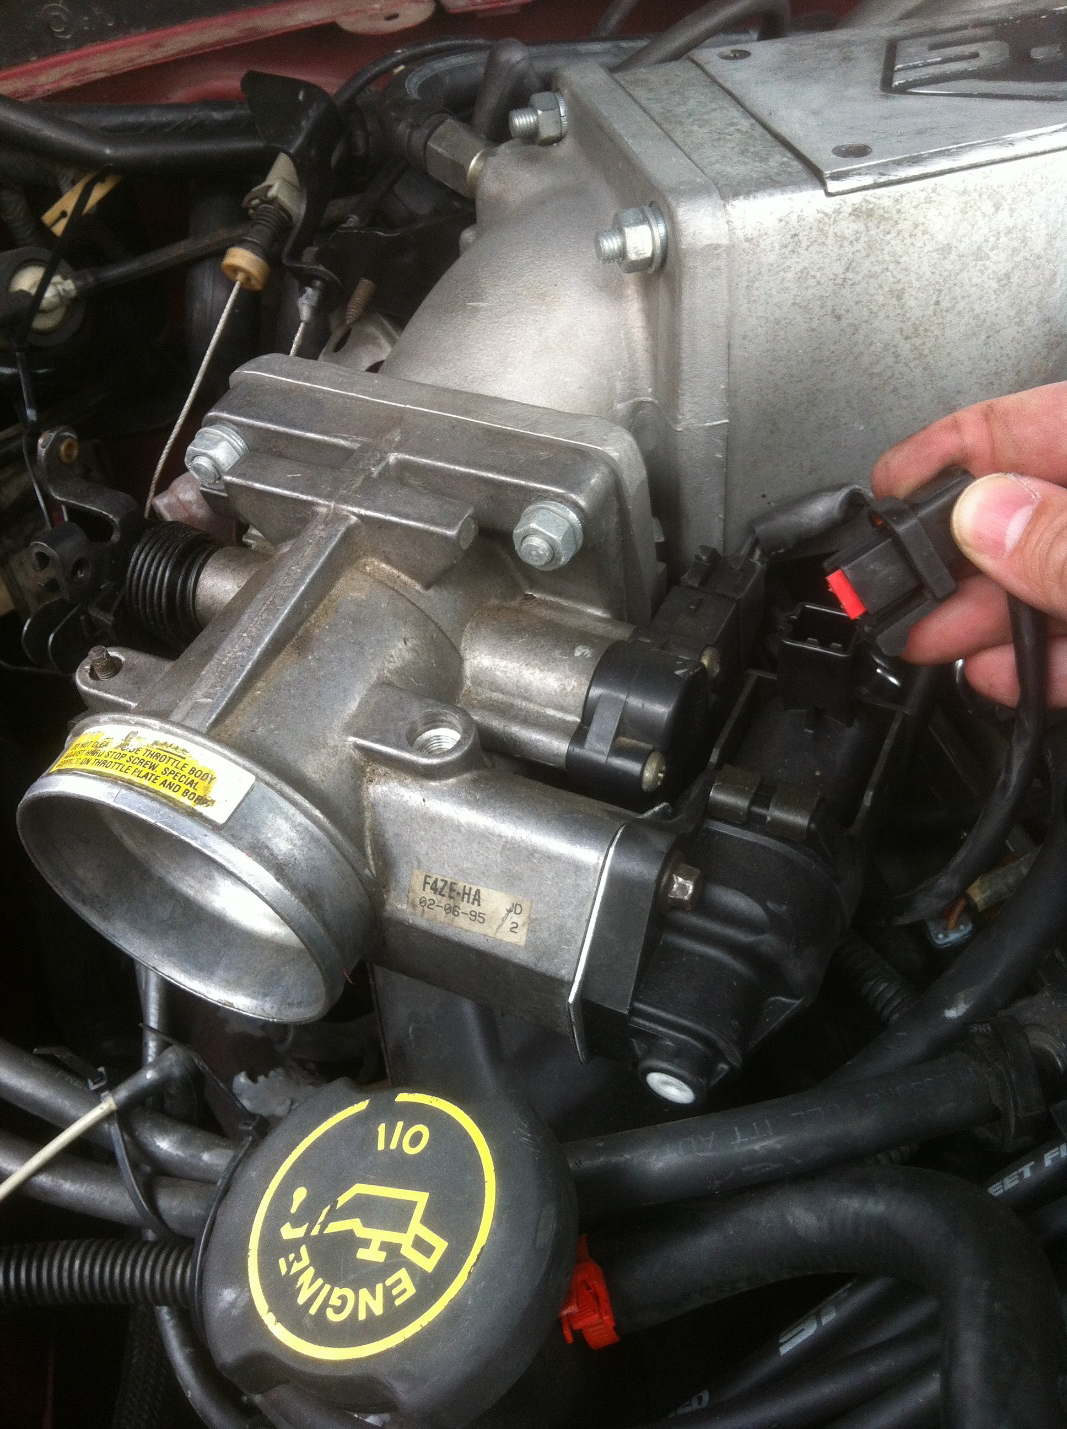
9) Disconnect the TPS connection and IAC, a small flat screwdriver can be used to gently pry the plastic clips that retain them, be careful not to break them, age makes them very brittle.
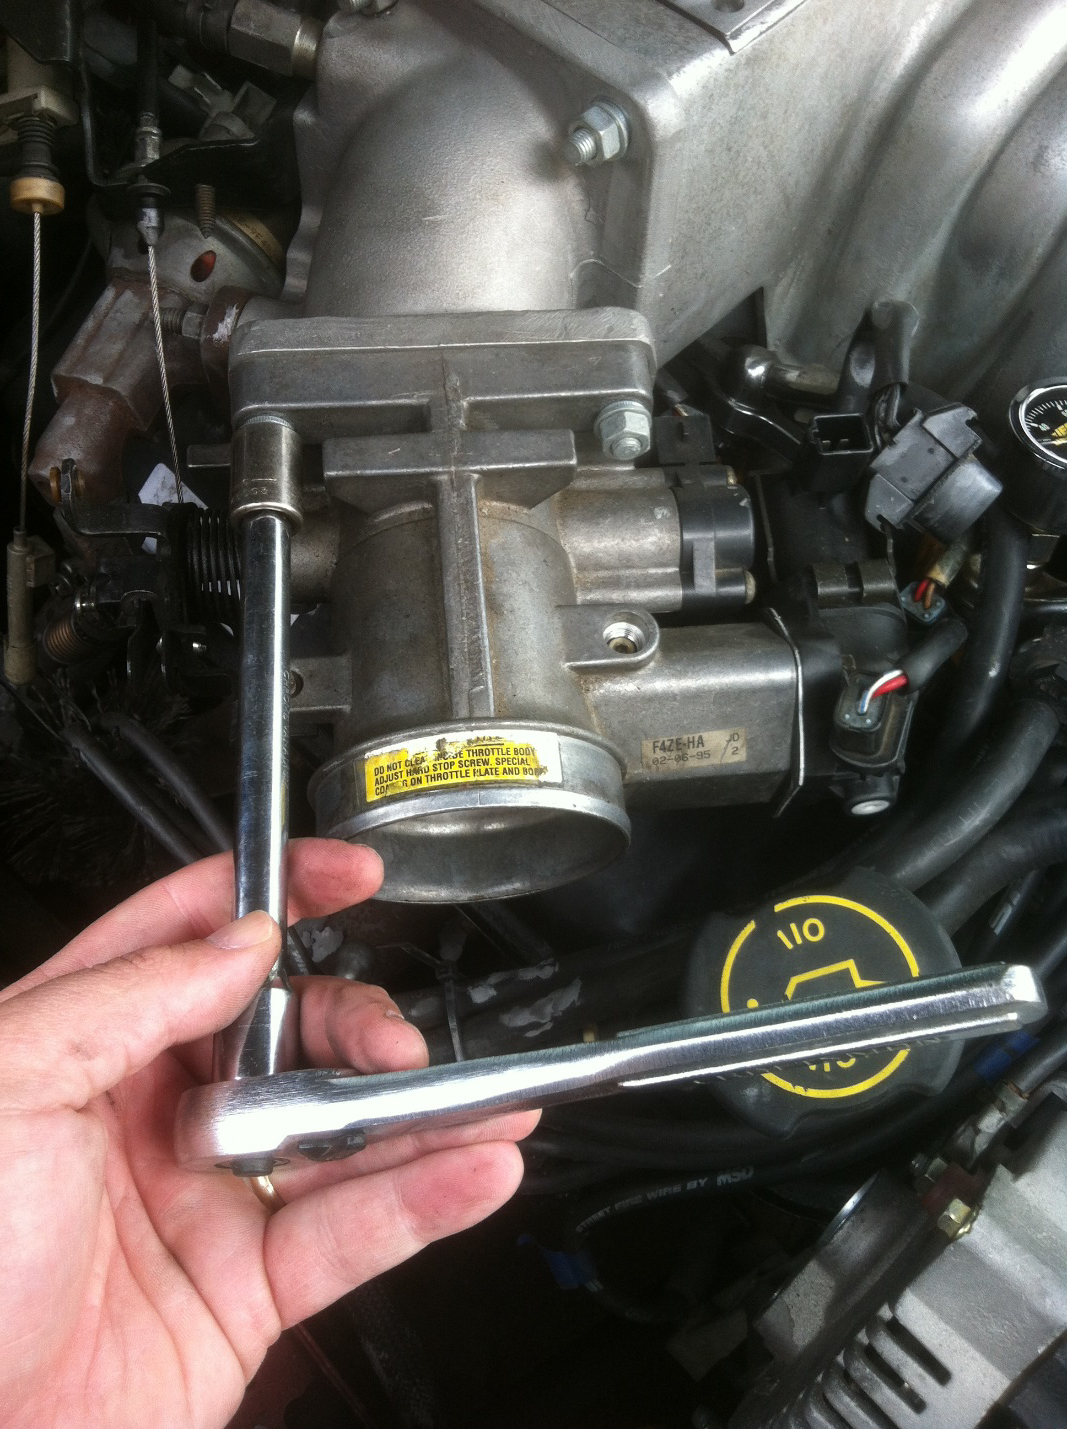
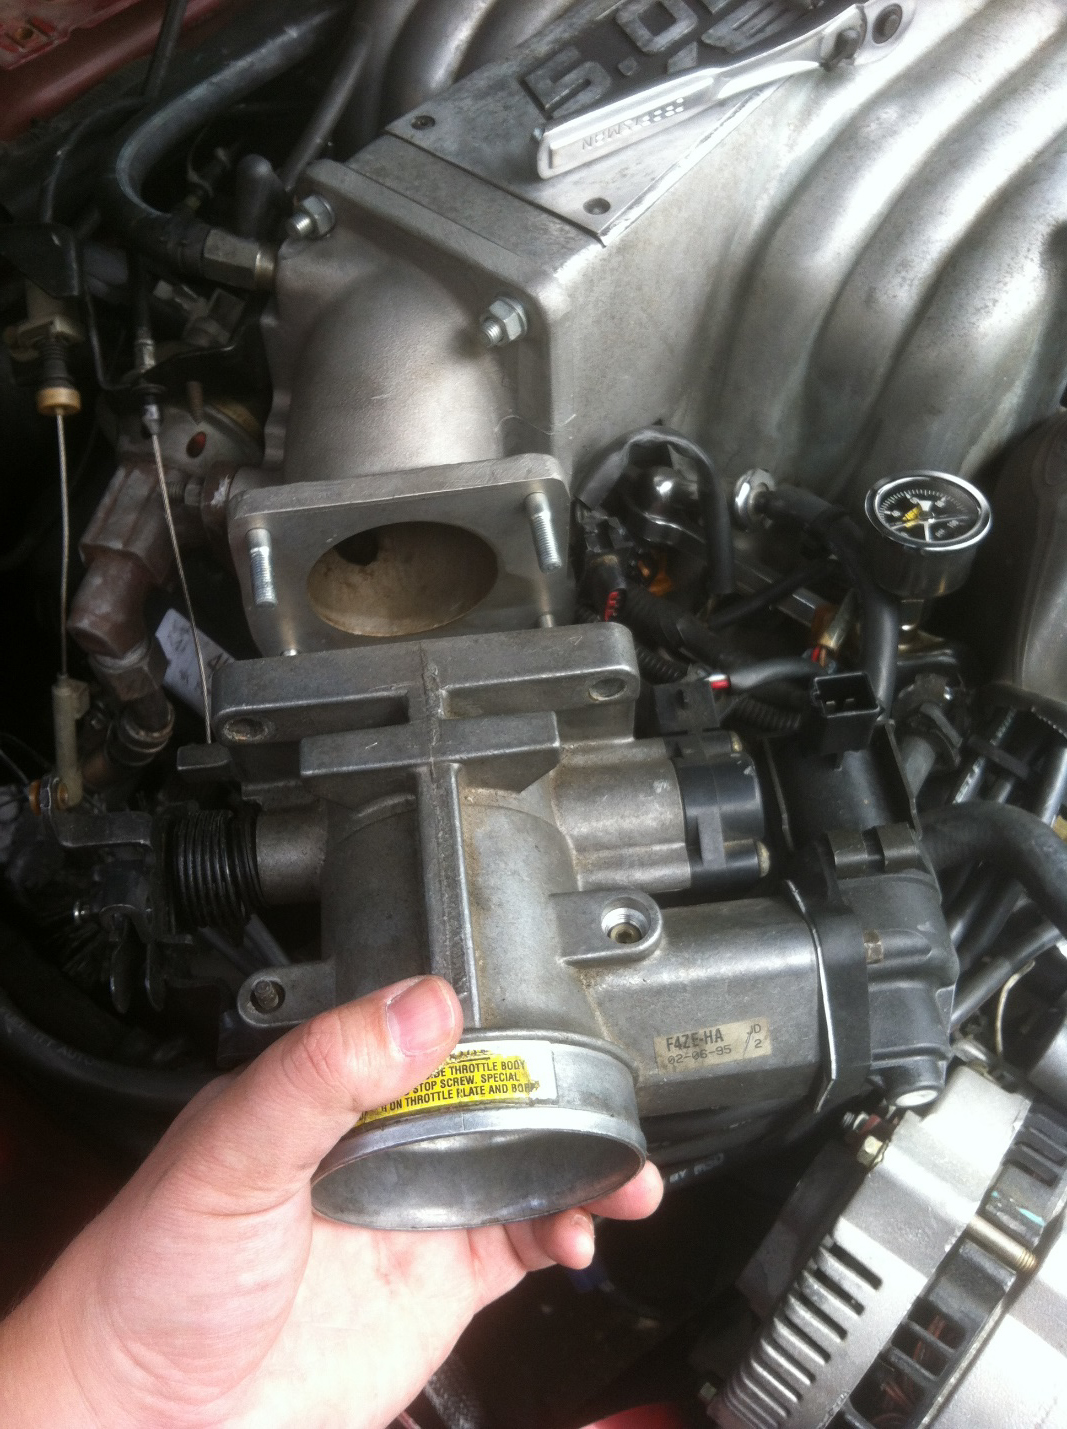
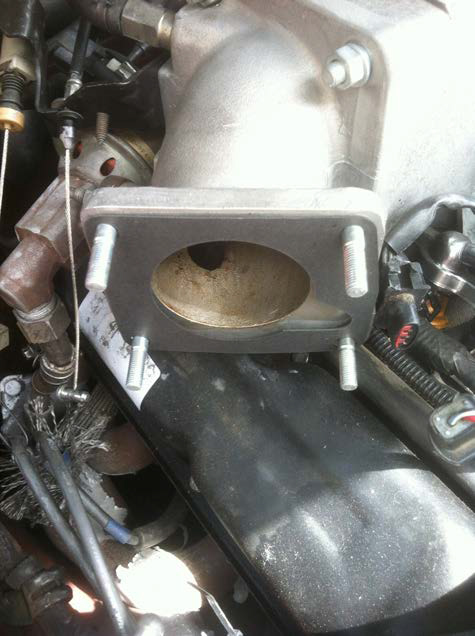
10) You are now ready to unbolt the throttle body from the intake manifold. Using ½” socket with extension bar remove the four nuts securing the throttle body and keep safe, a magnetic pick up tool is very useful to prevent bolts and nuts from becoming lost.
11) Once the nuts are removed, slide the throttle body off of the intake manifold, if stuck then using small rubber mallet to gently tap the top of throttle body is usually all that is needed to free it loose.
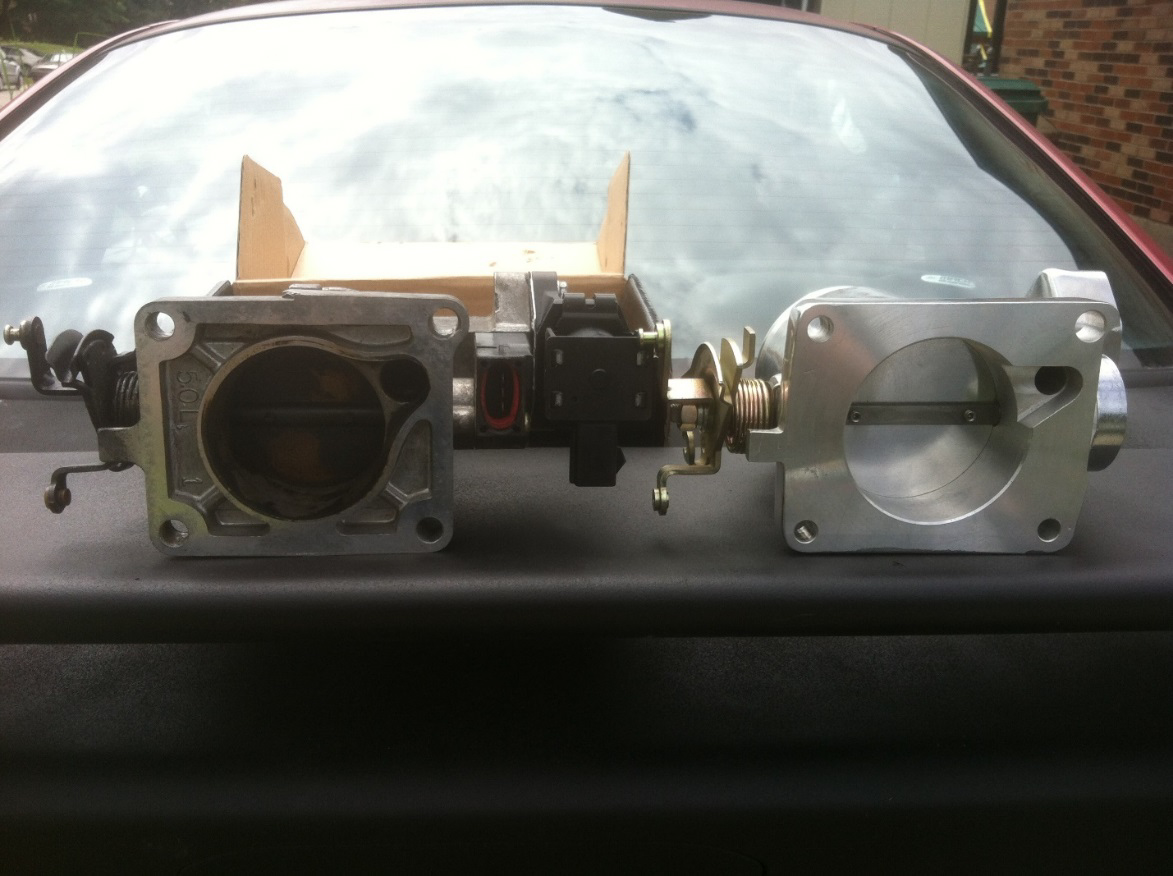
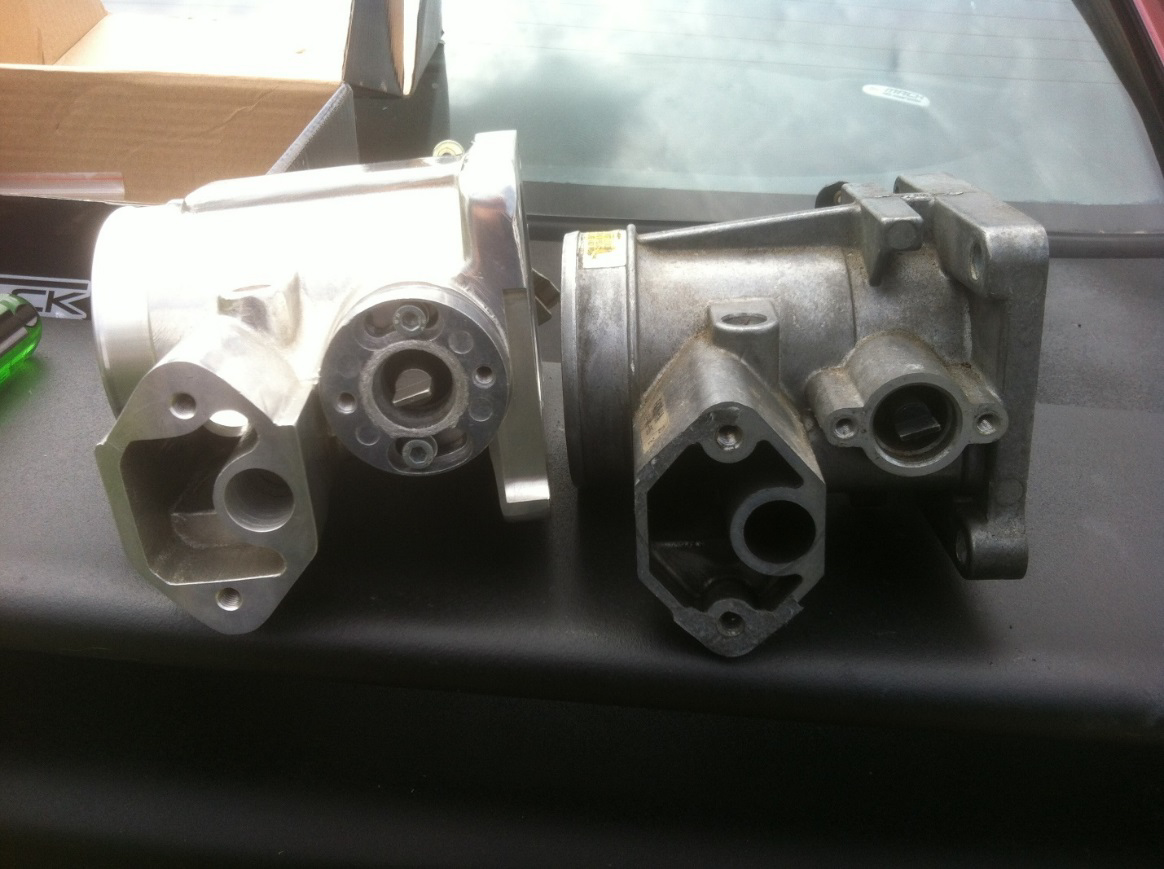
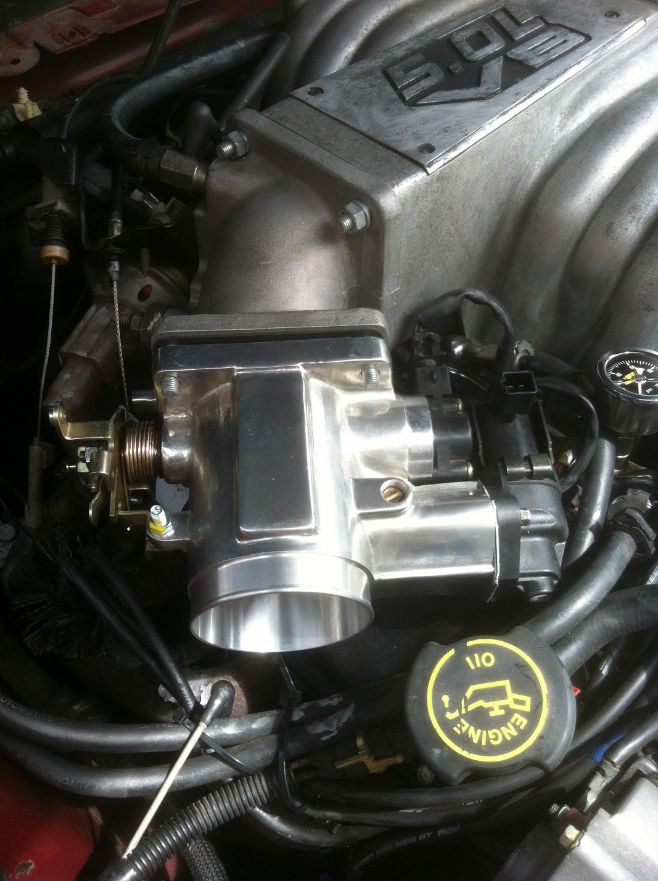
12) Compare your old throttle body to the new Stack Racing one. You will notice that the new SR throttle body TPS sensor mounting location appears different than a stock throttle body, this is fine and the stock TPS sensor simply mounts to the new throttle body and can be secured using original screws, or if you wish you can use the provided SR screws with washers. *Special note, the TPS sensors on 94’ and newer mustangs are non-adjustable and zero out themselves every time you start the car, so you do not need to worry about checking TPS voltage after reinstalling TPS sensor, it is simply bolt on install.

13) Use a razor blade and scrape off any old gasket material left behind on your intake manifold and on the IAC gasket surface. This would be an ideal time to clean your IAC if you have not done so in a while. In my instructions you will notice I have a homemade IAC restrictor plate, this is due to my aftermarket camshaft and is not normally needed.
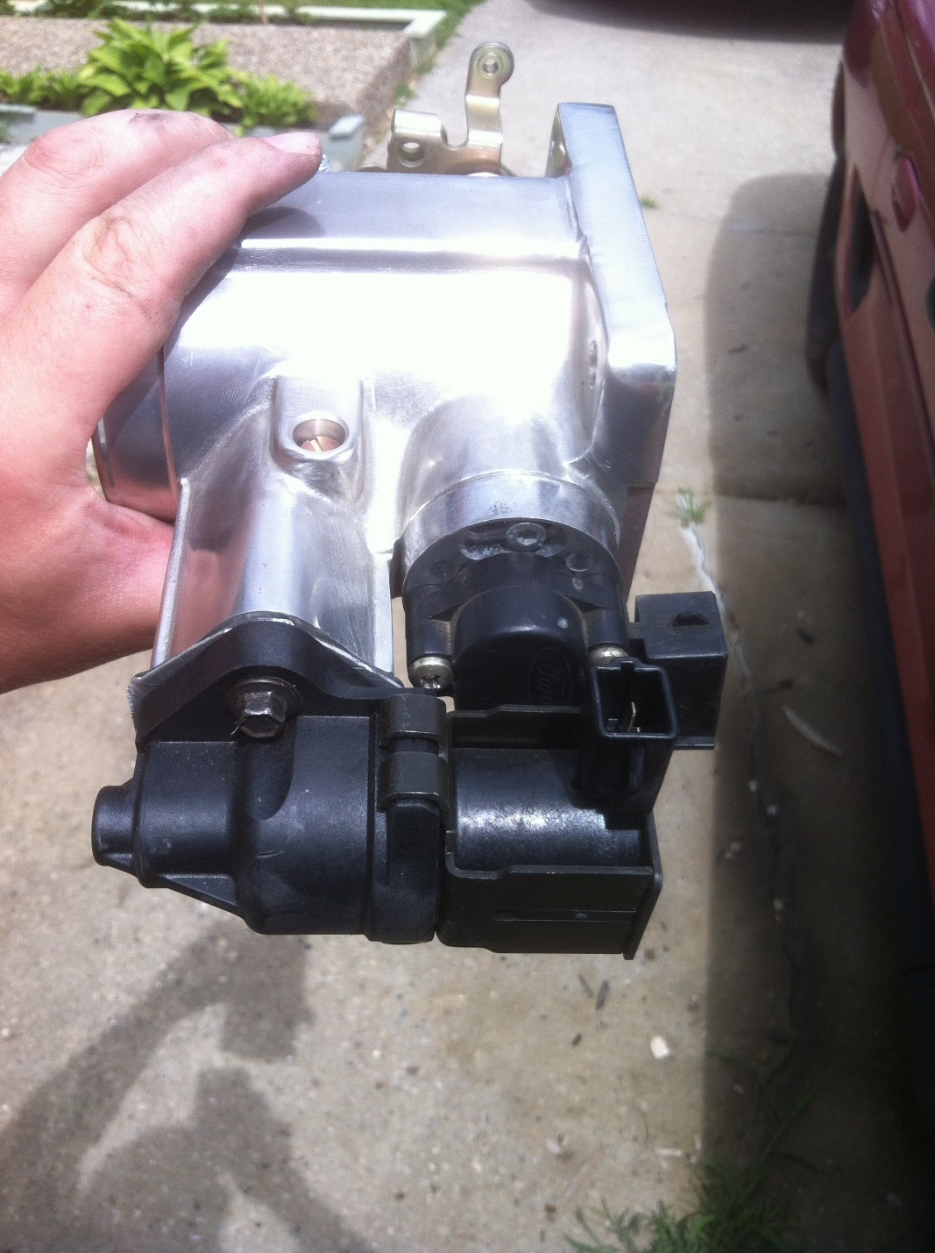
14) Reinstall new IAC gasket and bolt IAC onto new SR throttle body, be careful not to over tighten.
15) You are now ready to install the throttle body. Slide new throttle body gasket over the studs on intake manifold and then slide throttle body into place. Secure throttle body with ½” nuts and washers and tighten down careful not to over tighten.
16) Re-attach remaining components in reverse of removal instructions. Take note, the throttle body will feel much firmer than stock, working the gas pedal a few times after install with car turned off will loosen up the new springs and let you get the feel for the new gas pedal feel.
17) Re-attach battery and double check all connections. Turn on the car and allow it to idle with all accessories turned off for several minutes so the computer can relearn the new idle.
18) It will take several miles of driving before the computer will totally relearn everything, by the end of seven miles there should not be any idle issues.
19) If you have surging idle, high hanging idle or rough idle then recheck all connections and check for any vacuum leaks.
20) Do not adjust the throttle body adjustment screws without first calling American Muscle customer service to ask for assistance.
21) Enjoy your new Throttle Body!
Installation Instructions written by AmericanMuscle Customer Edward McSwain 7.03.2014
