 FREE 1 to 3-Day Delivery on Orders $119+ Details
Best Sellers


How To Install a Steeda Tubular Radiator Support for your 2005-2010 GT, V6 Mustang
Steeda GT500 Tubular Front Crossmember
Steeda S197 Tubular Front Crossmember
Part # 555-5079 & 555-5075
NOTE: Installation of this kit requires above average mechanical skills. This procedure should only be undertaken by a competent individual with the necessary skills to properly complete the installation. We strongly recommend that a factory shop manual be available for reference during the installation. If you are not confident you can complete the job safely, have the work performed by a certified technician who is familiar with the front end of a Mustang. Failure to reassemble properly can lead to serious injury.
1. Raise the entire vehicle. If working from the floor, secure with jack stands.
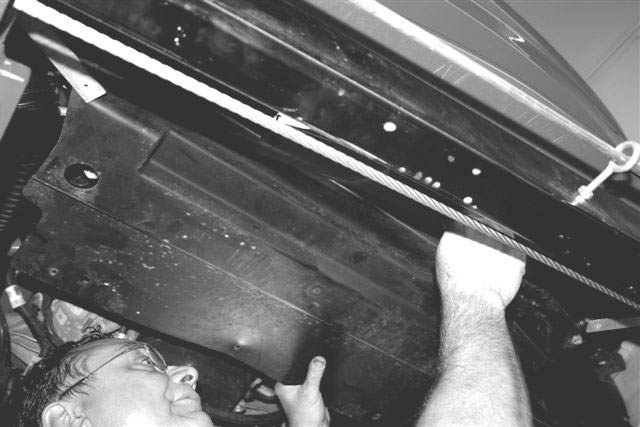
2. Remove the front lower splash guard. It is fastened to the lower portion of the bumper cover and the bottom of the front crossmember.
Pic.1
1
3. Disconnect the two stabilizer bar mounts by removing the two nuts on each side. Pic. 2
2
4. Once disconnected, slide the stabilizer bar toward the rear of the vehicle to allow yourself room to remove the front crossmember. Note: it is not necessary to remove the mount bushings.
Pic. 3
3
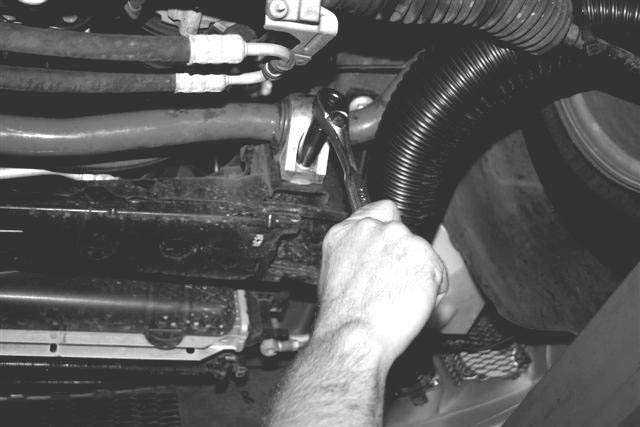
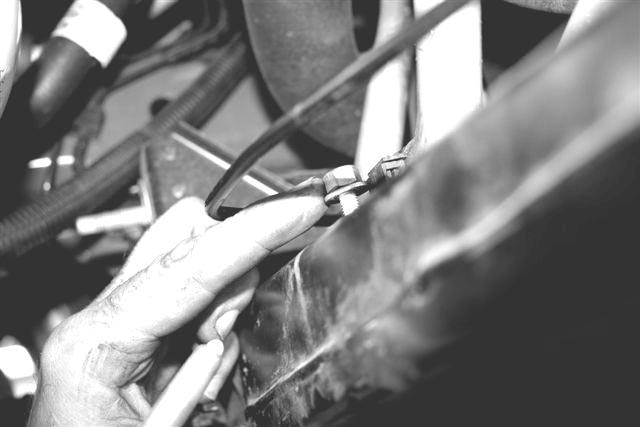
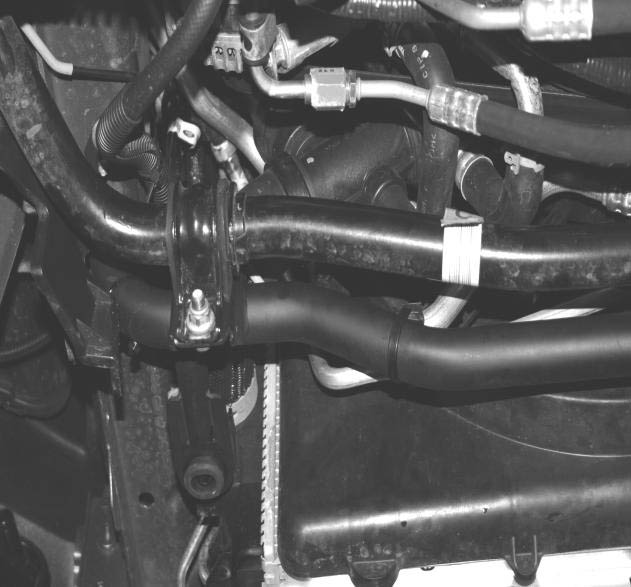
5. Remove the auxiliary attachments to the crossmember. The brake lines and power steering lines are connected by plastic barbed push pins. The a/c line is connected with a nut on the top side. Note, the power steering line attachment is removed easiest from under the hood or as the crossmember is being lowered. Pic.4, 5
4
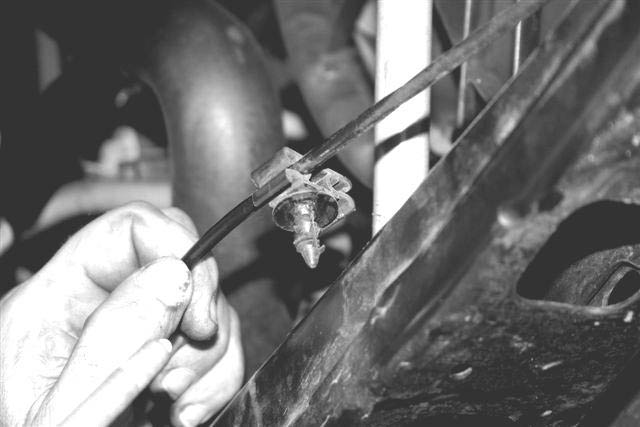
5
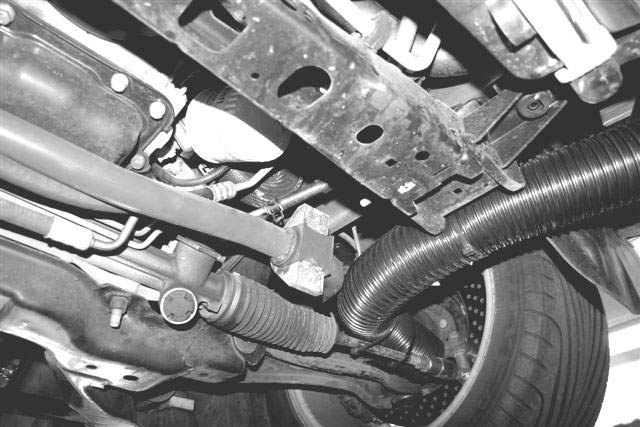
6. Using a jack stand, carefully support the weight of the radiator core. Pic.6
6
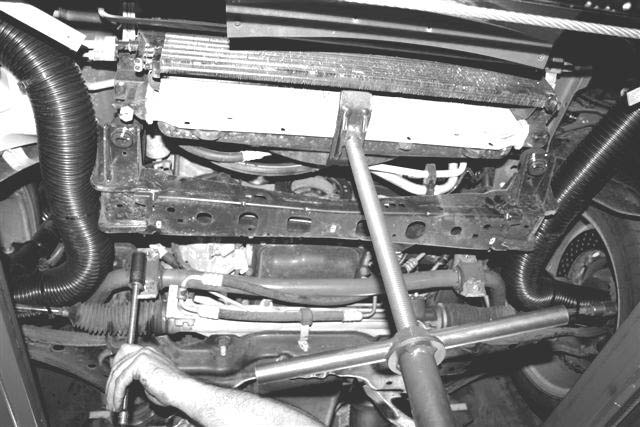
7. Remove the four nuts holding the front crossmember at both ends. Then carefully lower the crossmember down and out of the vehicle. If the power steering or any other attachment have not been removed, do so now prior to complete removal.
8. Remove the rubber lower crossmember bushings from the OE front crossmember and transfer them to the Steeda crossmember. Pic. 7
7 - GT bar in this picture, but install is the same
10. Re-fasten the crossmember to the frame rail, re-using the OE nuts. Tighten to 85 lb-ft.
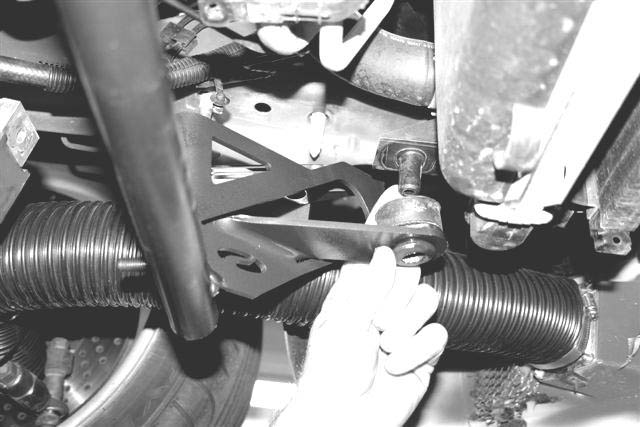
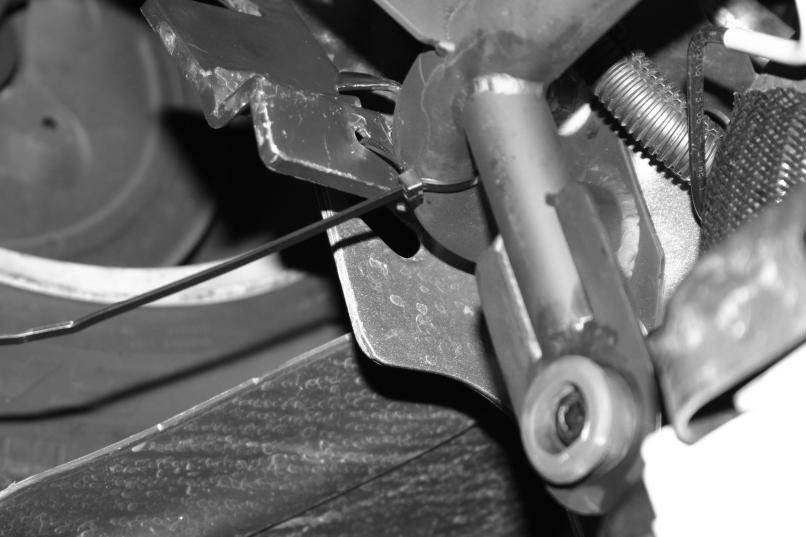
11. The Steeda front crossmember allows you the option of running your vehicle with or without your front stabilizer bar. If you choose to use your front stabilizer bar, pull the bar forward and use the included 10mm bolts, washers and locking nuts to attach it on the Steeda crossmember. Tighten to 52 lb-ft. If you choose not to use the front stabilizer bar, disconnect both end links from both the left and the right strut. Then, remove the front stabilizer bar carefully with both end links attached. Pic. 8
8
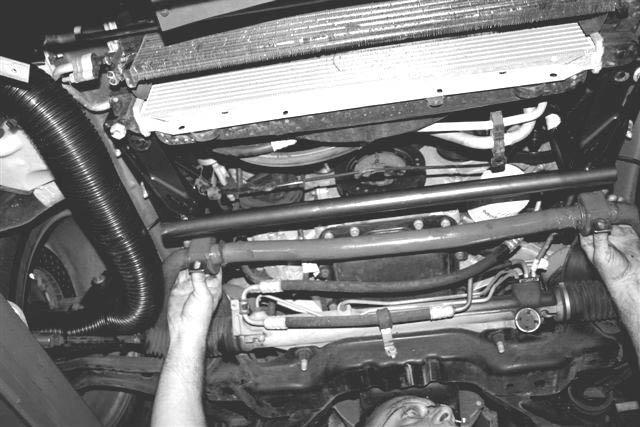
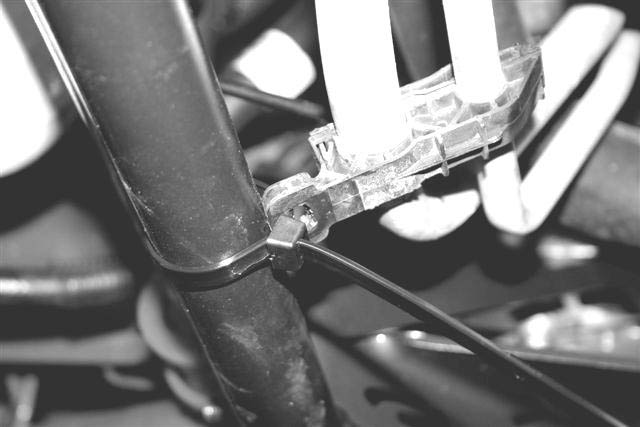
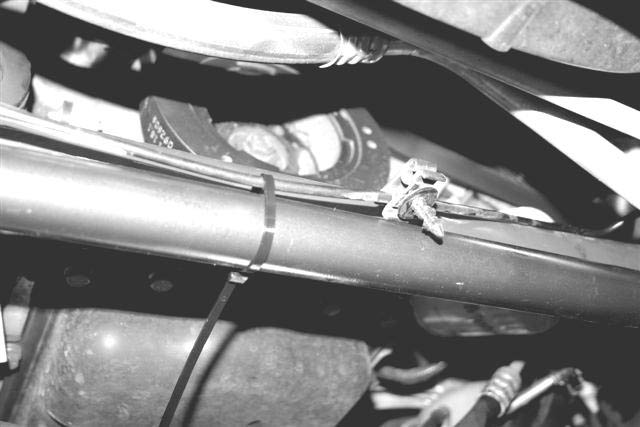
12. Re-attach the auxiliary items removed in step 5 using the provided zip ties.
Pic. 9, 10
9
10
13. Replace the splash guard removed in step 2. The original hardware should be re-used to re-attach the guard to the bumper cover in the front. Then fasten the rear of the cover with the provided zip ties as shown. Pic. 11
11 - Use Large Zip Tie for A/C line
14. Carefully test drive the vehicle in a controlled environment. Then recheck all fasteners to be sure everything is secure. Enjoy!!
12
Thank you for choosing STEEDA. Any questions and/or comments on these instructions please contact us at (954) 960-0774 or e-mail us at [email protected]
Steeda Autosports Inc. All Rights Reserved 2009 555-5079 S197 Front Crossmember.doc
