FREE 1 to 3-Day Delivery on Orders $119+ Details
How to Install Barricade Tail Light Guard - Polished SS on your F-150
Contents:
(1) - Driver side Tail Light Guard
(1) - Passenger side Tail Light Guard
(2) - Support Brackets
(2) - Screws
(2) - Locking washers
(2) - Flat Washers
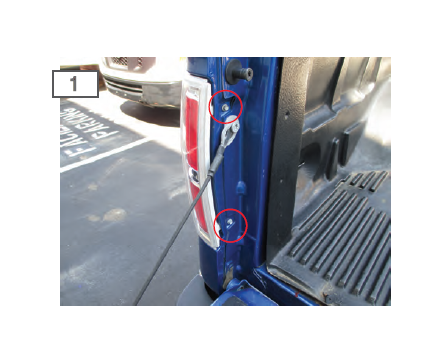
Start by opening the tail gate to access the two (2) factory bolts that hold the tail light in place. Remove bolts (these will be reused).
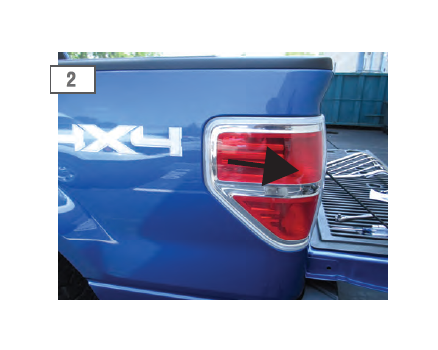
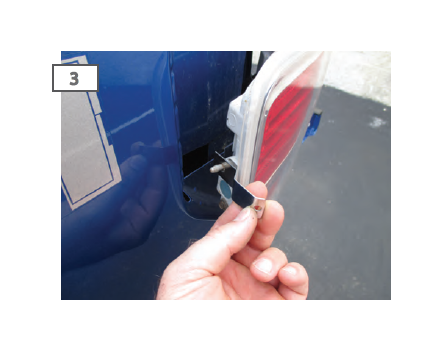
Apply firm pressure on the tail lights. There is one(1) clips that holds the front of the tail light in place. This clip will pop out with pressure.
**Note: I used the palm of my hand to dislog the clip.
Attach one of the support bracket to the alignment pin located behind the taillight, Hold the support bracket in place as you re-install the taillight back onto the vehicle.
Secure the taillight with the two factory bolts. Do not tighten at this time.
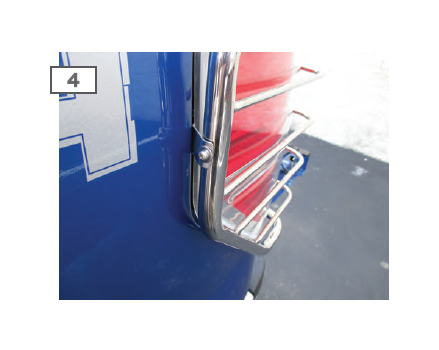
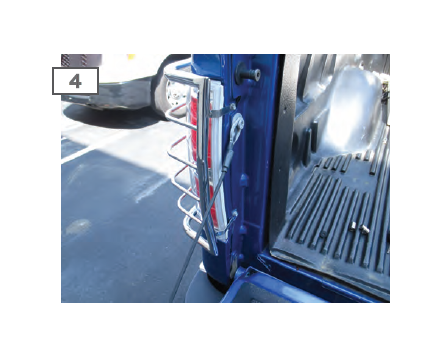
Attach the taillight guard to the support bracket using the supplied hardware.
**Slowly close the tailgate to ensure the tailgate doesn’t make contact with the bracket. If it does, manipulate the guard so that the bracket doesn’t make contact with the tailgate.