 FREE 1 to 3-Day Delivery on Orders $119+ Details
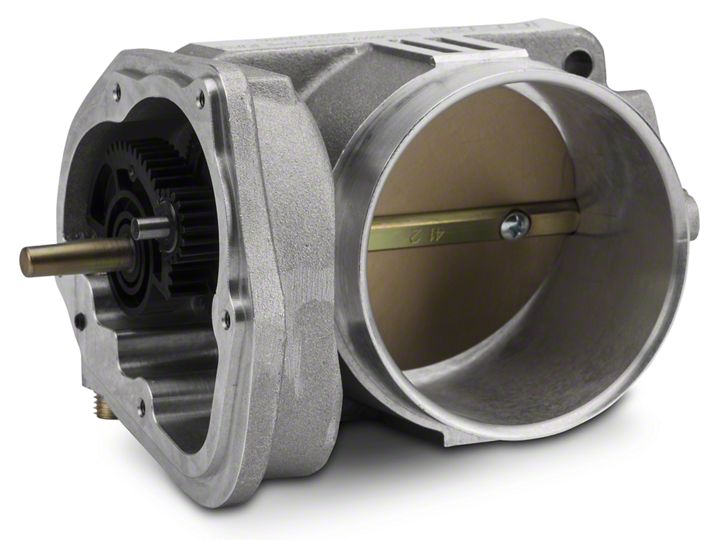
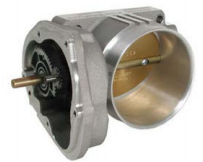
How to Install a BBK 80mm Throttle Body on your Ford F-150
Shop Parts in this Guide
Follow these instructions carefully to ensure correct fitment and operation.
STEP 1: Disconnect the negative battery terminal.
STEP 2: Unplug the mass air meter by sliding the red colored locking clip back, and then squeezing the tab on the wiring connector while pulling it away from the air box.
STEP 3: Disconnect the PCV tube by gently twisting the green locking tab and pulling the tube away from the air box.
STEP 4: Remove the four bolts that attach the air filter box to the intake manifold and the one bolt that attaches it to the bracket near the power steering reservoir. Lift the box up away from the throttle body, and pull the tube away from the fender well. Remove the stock air box from the vehicle.
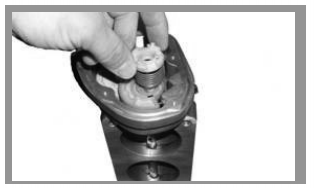
STEP 5: Unplug the throttle body electric motor and TPS by sliding the red colored locking clips back, and then squeezing the tabs on each wiring connector while pulling them from their connections. Unbolt and remove the throttle body. NOTE!!! Be careful not to damage the throttle body motor housing as you will be re-using it.
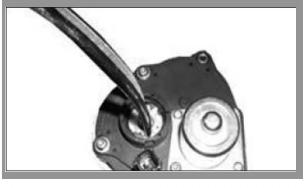
STEP 6: Using the T-20 Torx remove the motor housing, plastic capped spring, and TPS from the stock throttle body. NOTE!!! The plastic capped spring will be under tension load. You will be reloading the spring in step 10. When removing the TPS, lift it straight up off the throttle body. Do not twist or rotate the TPS.
STEP 7: Pop the removable circular cap off the motor housing.
STEP 8: Place the plastic capped spring over the end of the throttle shaft of the BBK Throttle Body and line the pig tail hook on the spring up with the catch slot in the gear.
STEP 9: Install the motor housing minus the removable cap onto the BBK Throttle Body over the plastic spring cap and tighten the screws.
STEP 10: Using needled nose pliers, rotate the plastic spring cap COUNTER-CLOCKWISE (approximately 180 degrees) until the 2 tabs line up with their matching landings in the motor housing, then gently pull up on the cap until it pops up into a latched position.
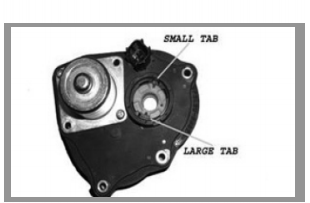
STEP 11: Align the tabs on the removable cap with the slots on the motor housing and snap It into place. Install the TPS onto the BBK Throttle Body by lining up the locating tab and tightening the screws. THE TPS DOES NOT NEED TO BE ROTATED OR “CLOCKED”
STEP 12: Install the BBK Throttle Body onto the vehicle using the 4 supplied bolts, then re-establish the wiring connections. Re-install the air cleaner and start vehicle to check for any leaks.
