 FREE 1 to 3-Day Delivery on Orders $119+ Details
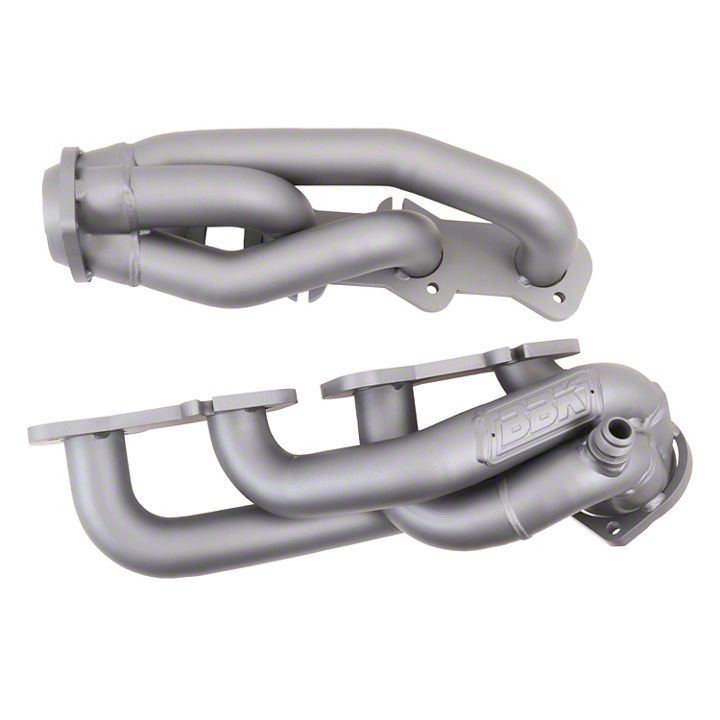
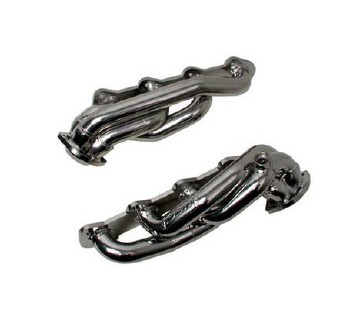
How to Install BBK 1-5/8 in. Chrome Shorty Headers on your F-150
Shop Parts in this Guide
Follow these instructions carefully to ensure correct fitment and operation.
NOTE!!! WILL NOT FIT F-250 OR SUPER DUTY!!!
STEP 1: Disconnect the negative battery terminal. Remove the front fender liners/splash guards. These are secured by push pin type fasteners.
STEP 2: Disconnect the EGR fitting from the driver side manifold where applicable. NOTE!!! On 4x4 Models- Set the parking brake first! Then unbolt the front drive shaft from the front differential where it connects near the driver side exhaust collector.
Disconnect any oxygen sensors that attach the stock exhaust manifolds.
STEP 3: Remove the nuts that attach the mid pipe to the factory exhaust manifolds. Unbolt and remove the factory exhaust manifold and the gaskets.
STEP 4: If necessary, transfer the EGR Fitting and oxygen sensors from the factory manifolds to the BBK Headers.
STEP 5: Install the supplied collector studs onto the BBK Headers. Install the BBK Headers using the supplied gasket.
STEP 6: Re-connect the mid pipes, and tighten the collector flanges using the supplied hardware. Plug in all the oxygen sensors.
STEP 7: Re-connect and tighten the EGR Fitting if applicable. Re-connect drive shaft on 4x4 Model.
STEP 8: Re-install fender liners/splash guards. Re-connect the negative battery terminal.
NOTE!!! To prevent exhaust leaks after installation, BBK recommends that you go back and re-tighten the header bolts after 100 miles and that you add them to your regular maintenance checklist.
