FREE 1 to 3-Day Delivery on Orders $119+ Details
How to Install Bully Dog Paintable A Pillar Mount for GT Tuner on your F-150
Shop Parts in this Guide
STEP 1:
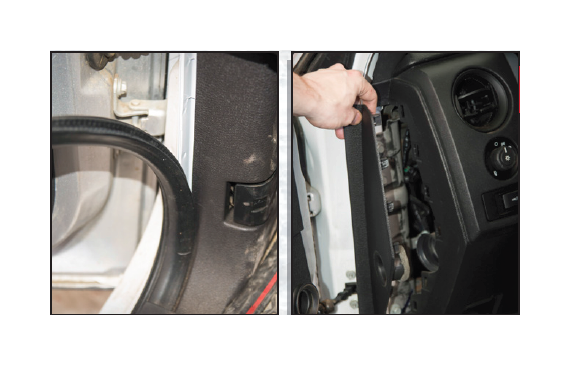
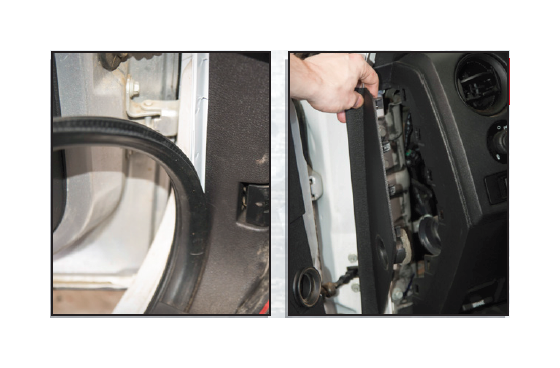
Pull back the weather stripping in the area of the A-Pillar and remove the side panel of the dash located near the driver’s door.
STEP 2:
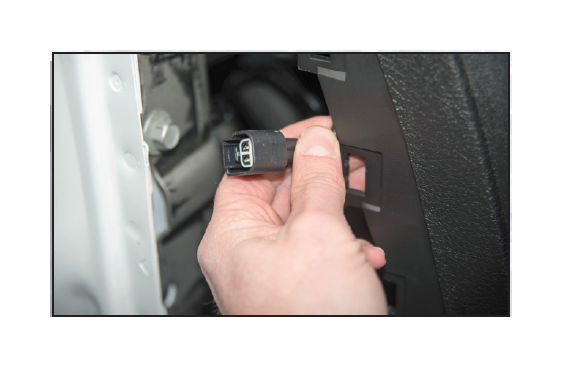
Locate the speaker wire connection plug inside the dash panel opening and disconnect the plug.
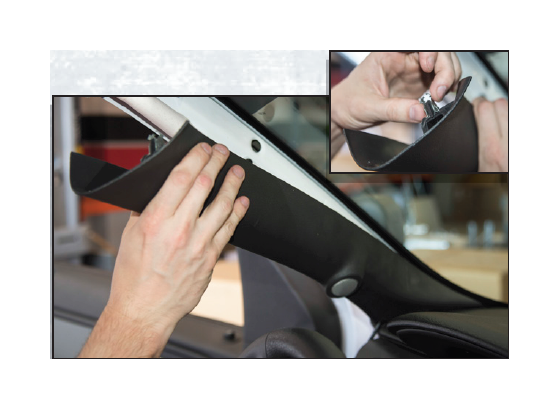
STEP 3:
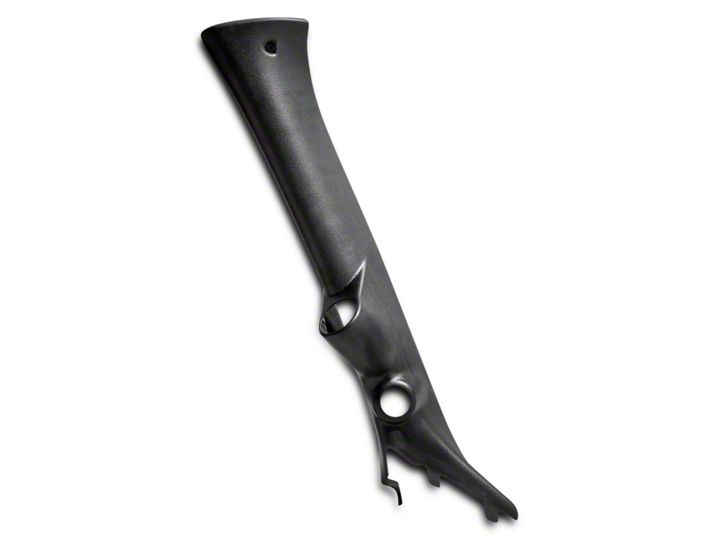
Remove the OEM A-Pillar by pulling on it to unsnap the retaining clips. You may need to use a flathead screwdriver to release top clip.
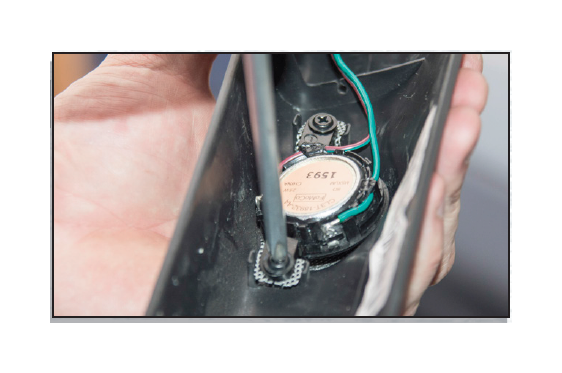
STEP 4:
Remove the speaker assembly screws from the OEM A-Pillar. Make sure to save all of the speaker assembly components for installation into the Bully Dog A-Pillar pod on the next page
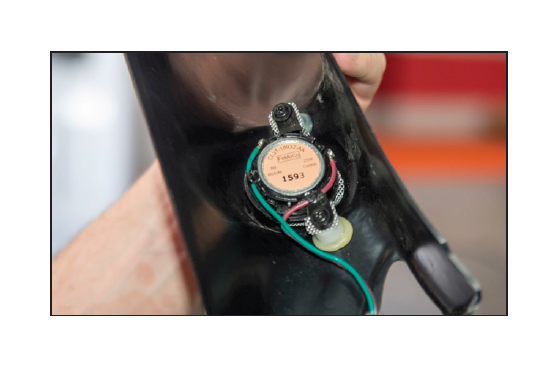
STEP 5:
Place the speaker assembly into the Bully Dog A-Pillar pod and secure it in place using the original screws.
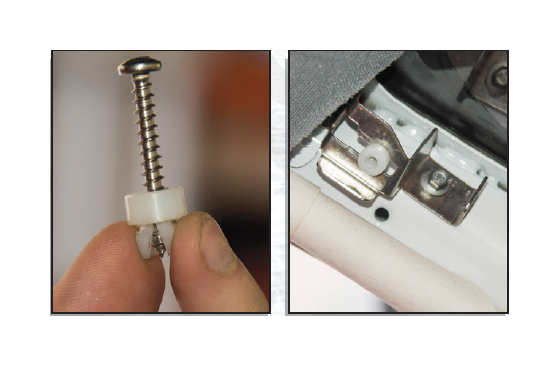
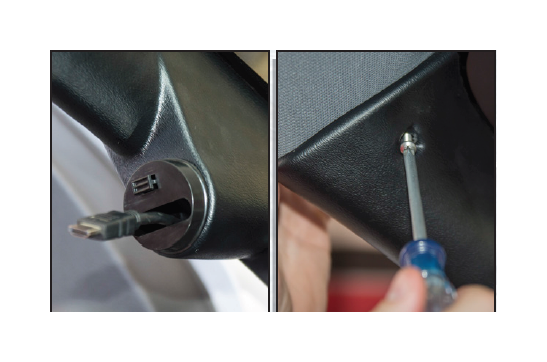
STEP 6:
Using the supplied screw, insert the screw into wellnut, then slide the wellnut into the top bracket as pictured. Slide the wellnut down about two thirds into groove in the bracket and remove the screw once the wellnut is installed.
STEP 7:
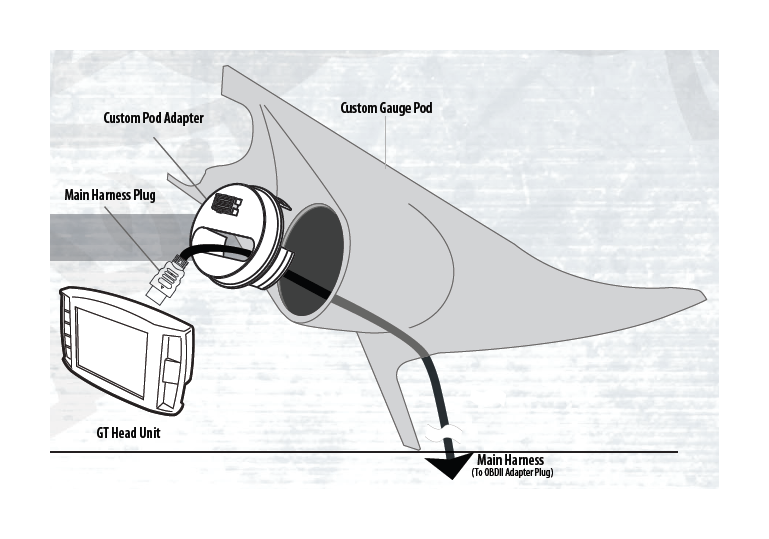
Install the Custom Pod Adapter into the Bully Dog A-Pillar pod and run the GT cable as needed through the dash to the A-Pillar pod. Run the speaker cable back down to the dash panel opening and reconnect the speaker plug. Slide the A-Pillar into place and fasten it in place using the screw into the wellnut through the hole in the A-Pillar.
STEP 8:
Install the dash panel door and reinstall the weather stripping that you removed in Step 1.
STEP 9:
Finally, plug main harness into the GT Head Unit and slide the GT device onto the T-Slot mount located on the Custom Pod Adapter to finish the installation.