 FREE 1 to 3-Day Delivery on Orders $119+ Details
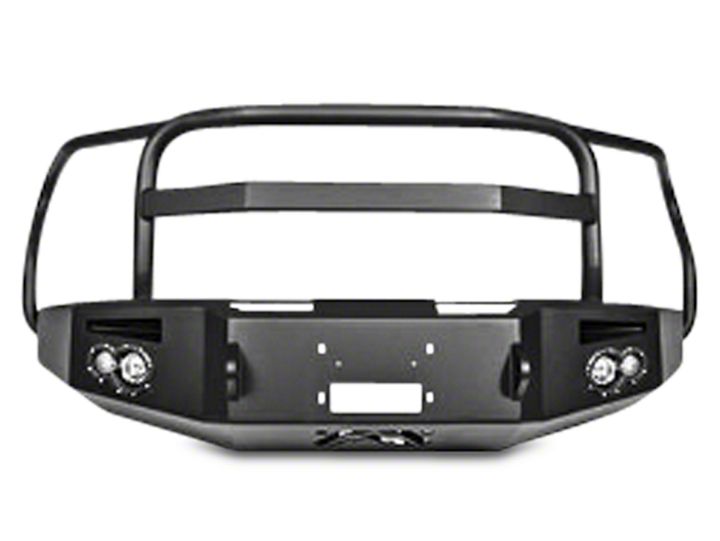
How to Install Fab Fours Premium Winch Front Bumper w/ Full Guard on your F-150
Installation Time
2 hours
Tools Required
- Socket wrench with extension
- 7mm, 8mm, 9mm, 10mm, 15mm , and ¾” sockets and box end wrenches
- T15 torx
- Hex key sets
- Flat head screw drivers
- Floor jack and wood block
Shop Parts in this Guide
I. Overview
Congratulations on your new purchase of the industries’ best and most stylish front bumper available for the 2015 Ford 150! This bumper has been engineered for strength while keeping the weight down.
Your front bumper designed in 3-D from digitized data, CNC laser cut, fabricated, and powder coated… all in the U.S.A.
Enjoy the fit and finish of a quality Ford F150 Front Bumper from Fab Fours Inc.

Parts List
H325X replacement bumper and brackets
50012-HW fastener kit
HDLA-HW
4 Stud plates
Light kitting [i.e. 20090(2), 61349(2), 61350(2)]
Instruction manual
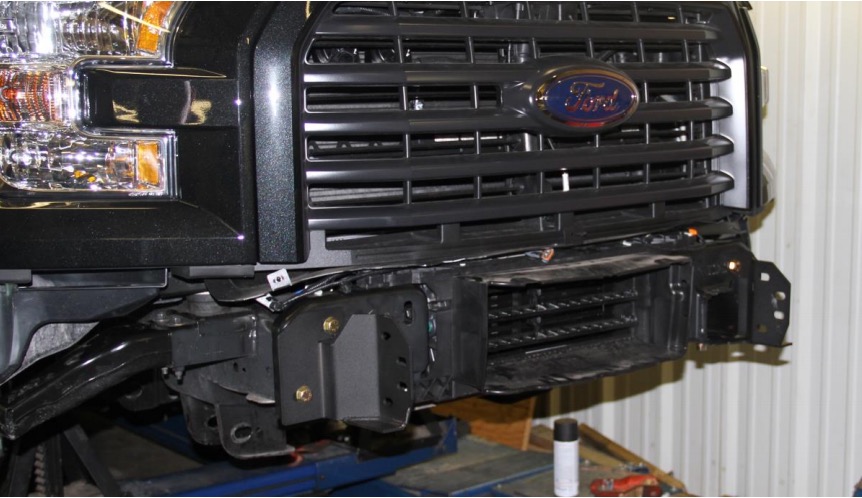
II. Removal of OEM Bumper
Note: Save all OEM parts until installation is complete!
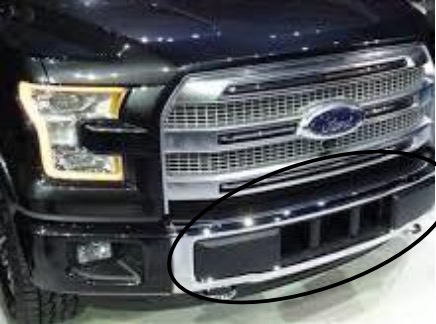
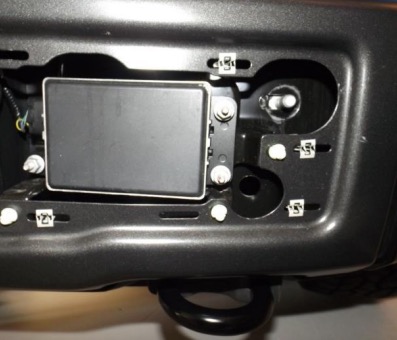
A. Using a flathead screwdriver, carefully remove center plastic piece, indicated by oval in the center of the OE bumper.
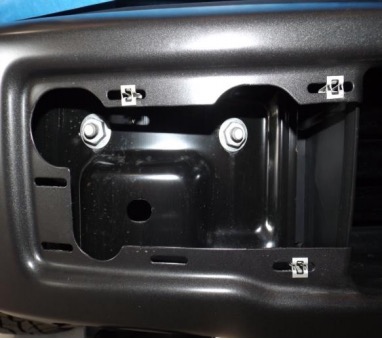
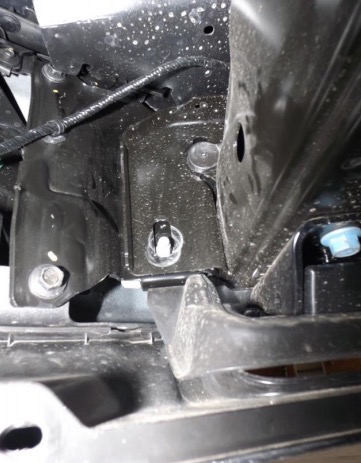
B. Using 21 mm socket, remove the three nuts per side, two are located under the plastic center piece (ref. fig. 2a-b) and the third accessible from the back of the frame (ref. fig. 2c). If front OEM bumper contains sonar (ref. fig. 2b), remove four bolts with 11 mm. If your bumper includes a sonar device, remove it now using a 12 point, 4mm socket. Unplug the device.
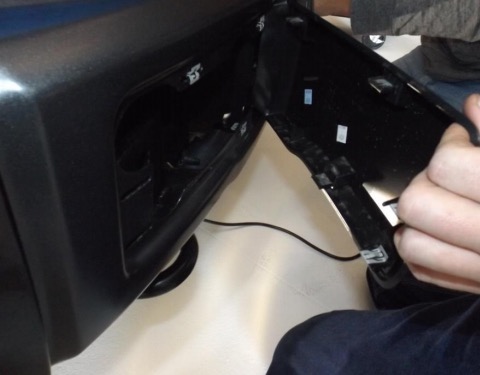
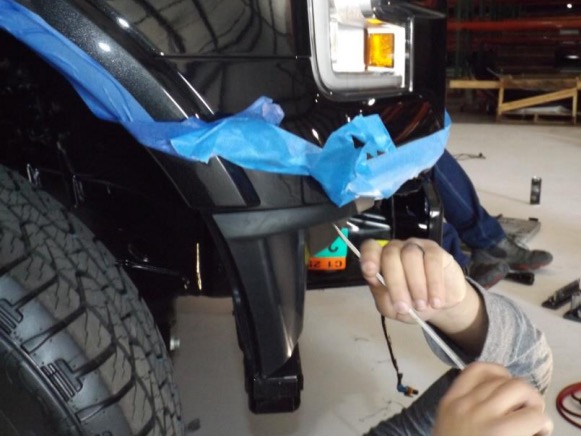
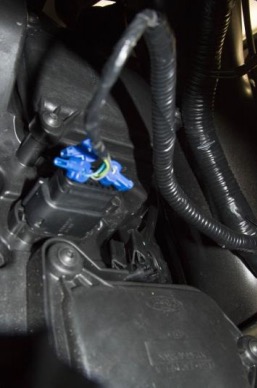
C. To remove the electrical harness, unplug fog light and remove one (1) Christmas tree plug on each side. At this time, carefully pull away bumper checking to make sure nothing is still connected.
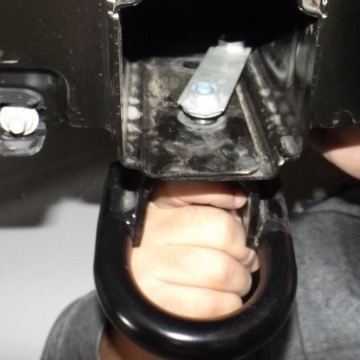
D. Pull rubber covers off the tow hooks. Use a 15 mm socket to remove the two bolts per side holding the tow hook in place.
E. Slide out both nut strips from the frame channel when done.
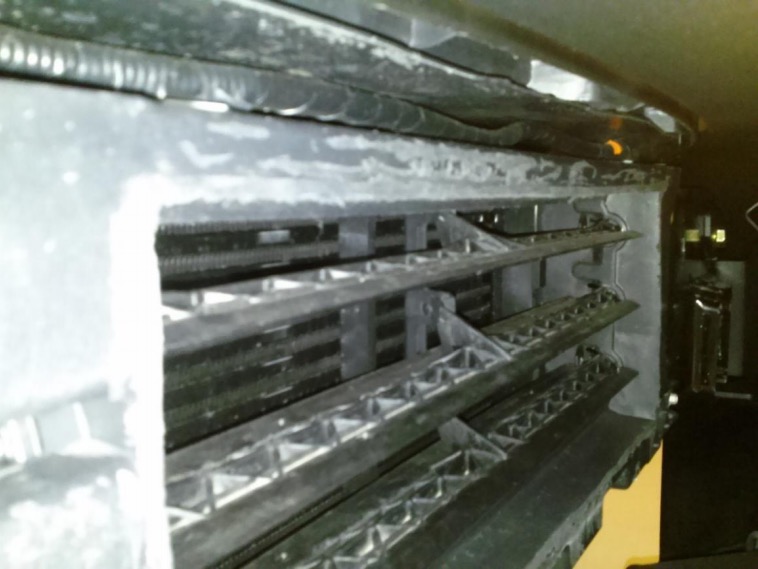
F. If your vehicle model includes a louver system for the intercooler located between the frame mounts, the shroud must be removed. Special care must be taken not to damage louvers when cutting around the base of the rectangular shroud, a cut off wheel is recommended.
G. Remove the push pins that hold the rubber piece under the headlights. Pull away.
III. Pre -Installation
NOTE: The following installation steps apply to the installation of the front bumper. PLEASE READ THE ENTIRE MANUAL BEFORE ATEMPTING INSTALLATION. Ignoring these steps will increase your probability of scratching the vehicle during product installation.
A. Remove the bumper from the shipping carton. Lay all items out on a blanket to prevent damage to the powder coating.
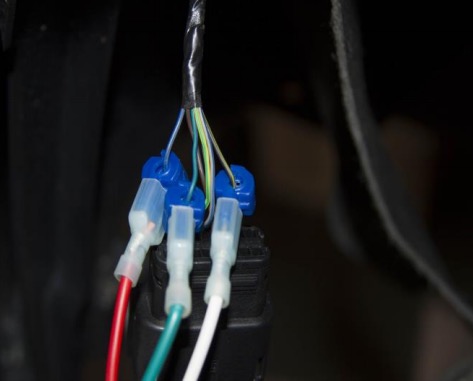
B. Tap into OEM electrical harness and wiring using supplied tap connectors using the diagram on the following page.
C. Connect supplied wiring harness to tap connectors. DO NOT CONNNECT LIGHTS UNTIL BUMPER IS INSTALLED.
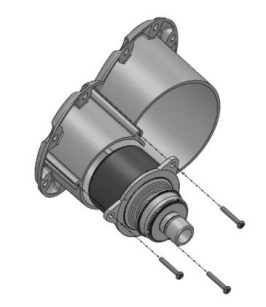
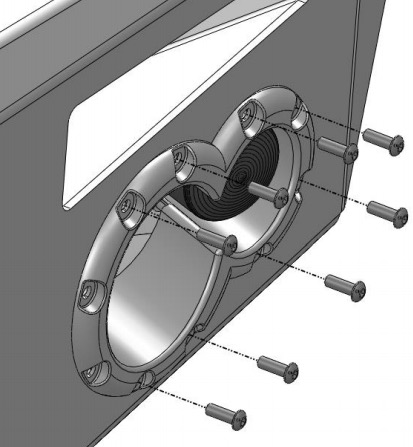
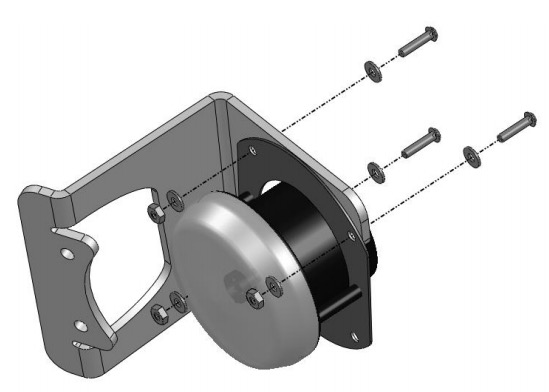
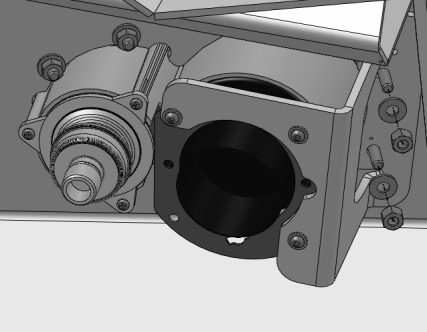
Optional: If installing winch and roller fairlead into bumper, do it at this time. Follow the winch manufacturer’s instructions for installation. If you are installing a winch with a pulling capacity of 12,000 lbs., the front face mounting holes must be used.
If not installing a winch, a license plate may be installed onto the front face of the bumper.
IV. Front Bumper Installation
A. Mount bracket to truck frame. Two bolts go through the bottom of the frame and two go through the front face of the frame.
B. Mount bracket to bumper. With the help of at least two others, and possibly a floor jack, to support the center of the bumper, lift the Fab Fours bumper into place.
C. Insert the set of stud plates from the inside facing out and tighten. Do Not Fully Tighten, Hand Tighten Only!
D. Align the bumper side to side and top to bottom to ensure a perfect fit to the truck. Allow 0.375” of clearance to all painted surfaces if possible. This is to allow for frame flex!
E. Fully tighten all fasteners between bumper and brackets as well as brackets and frame.

F. The fog light wiring may be installed at this time. To do so, connect wiring to fog light and tap into OEM fog light wiring using supplied tap connectors. Secure excess wiring to bumper.
G. Install turn indicators into the plastic light insert using three self- tapping screws as shown below:
H. Install the light inserts with turn indicators into the cutout in the bumper. Use the ¾” length ¼” stainless steel button head, ¼” washers and hex nuts to fasten the insert through the holes shown below:
I. Install the Fab Fours fog lights onto the mounting brackets as shown below using the #8 button head screws, washers, and hex nuts.
J. Install the fog light and bracket into the bumper using the remaining two holes available in the light insert. Use the 1-1/2” length ¼” stainless steel button heads with ¼” washers and nuts.
K. Secure OEM electrical harness to the Fab Fours bumper.
L. Repeat steps G through K for other side.
M. Enjoy your new rear replacement bumper from Fab Fours!
Maintenance/Care
Periodically check and tighten all fasteners.
Stripped, fractured, or bent bolts or nuts need to be replaced.
After washing of the vehicle make sure to fully dry all surfaces

