 FREE 1 to 3-Day Delivery on Orders $119+ Details
How to Install Putco Cab Length Boss Side Step Bars on your F-150
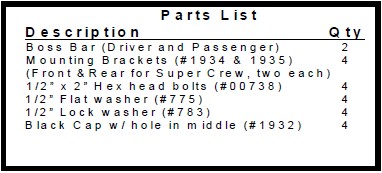
Please read all instructions before beginning installation and be sure to check to see that all part
Step 1: Remove the two nuts located nest to the rubber bushing for the body mount. On the Super Cab application, remove the plate attached to the rear body mount.
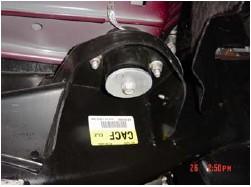
Step 2: Hold the mounting brackets up to the body mounts and slide the rubber bushing through the large hole in the bracket, align the two studs with the two curved slots in the bracket. The top of the bracket should fit inside the formed sheet metal of the body mount.
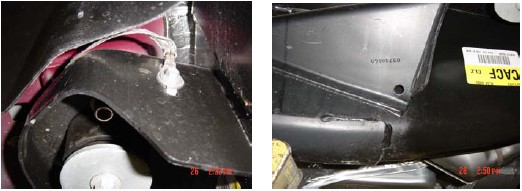
NOTE: You will need to relocate the braided ground cable on the passenger side front body mount to install the bracket. We recommend the location shown in the picture below, you will need to drill a hole to thread the bolt into and allow the tab on the harness sit inside the hole shown.
Step 3: Thread the nuts removed in Step 1 back onto the studs you removed them from. Leave hardware loose.
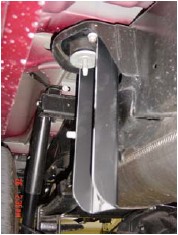
Step 4: Install the black caps with the holes in the middle onto the legs of the step bar. Hold the step bar up to the brackets and thread the 1/2"X2” bolt into the leg of the step bar, leave the bolts a little loose.
Step 5: Once both ends of the step bar have been attached to the brackets, push the step bar and brackets as close to the frame as allowed and tighten all hardware, starting with the 15mm nuts.
Step 6: Repeat Steps 1 through 5 for the other side.
Note: PUTCO recommends applying a high quality automotive wax to maintain the original appearance on your new Boss Bars.
