 FREE 1 to 3-Day Delivery on Orders $119+ Details
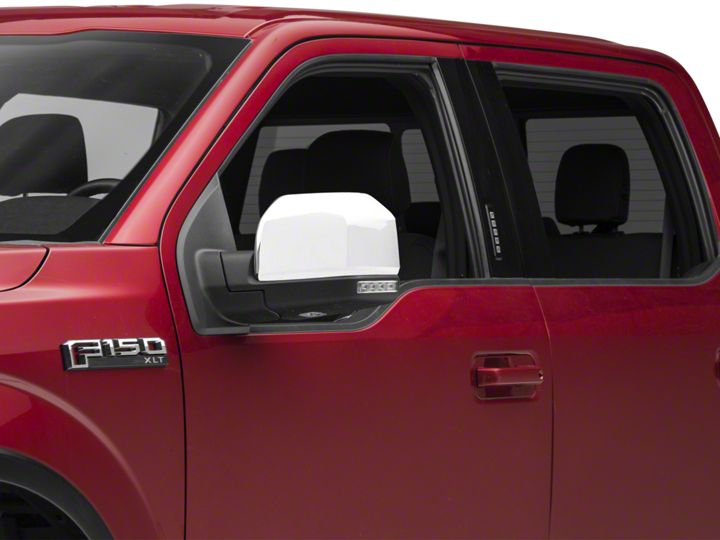
How to Install Putco Chrome Mirror Covers - Skull Cap Replacement on your F-150
Installation Time
15 minutes
Tools Required
- Clean Towel
- T15 Torx Driver
- Flat Blade Screwdriver
Shop Parts in this Guide
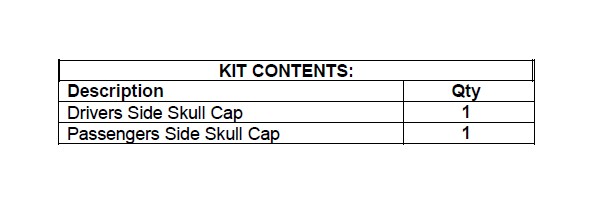
Please read all instructions before installation and to check to see that all parts are included.
Mirror Cap Installation- Drivers Side Shown
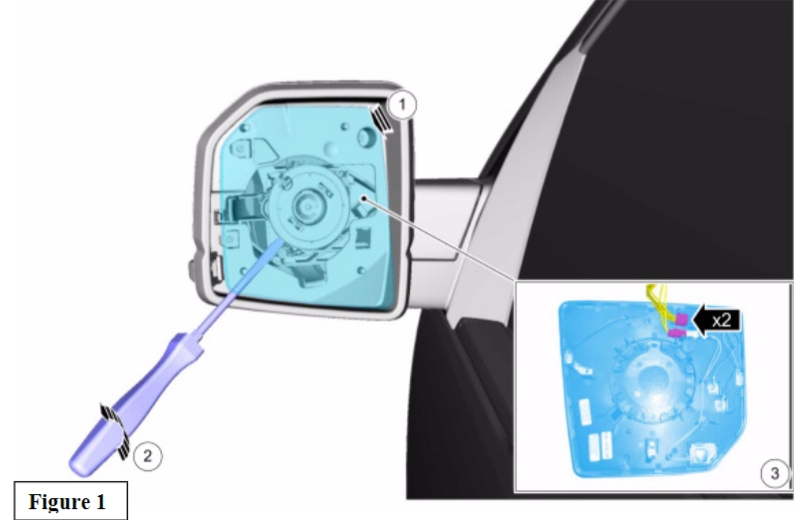
1. Remove exterior mirror glass by positioning the glass in and up (1). Use a flat blade
screwdriver to separate the exterior mirror glass from the exterior mirror Motor (2). Refer to Figure 1. Note: Position the screwdriver using the service slot in the mirror glass backing plate to remove the mirror glass. Prying on the backing plate in other locations may damage the mirror glass
2. Disconnect exterior mirror glass connectors (3). Refer to Figure 1. Note: The number and location of the electrical connectors will vary based on mirror option content.
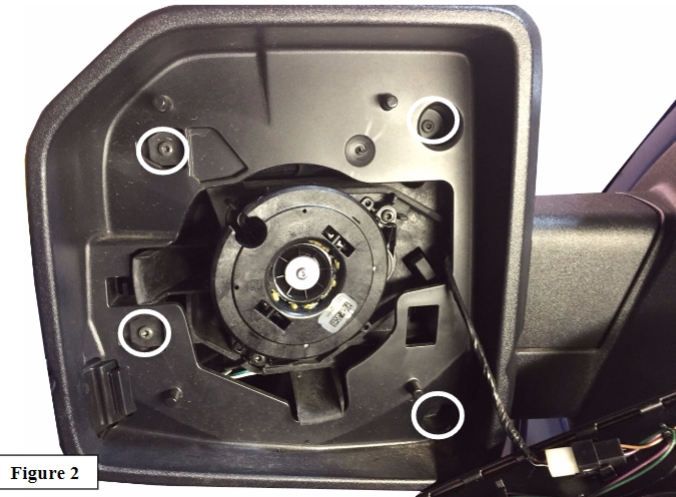
3. Remove (Qty 4) T15 Torx screws shown with circles. Refer to Figure 2.
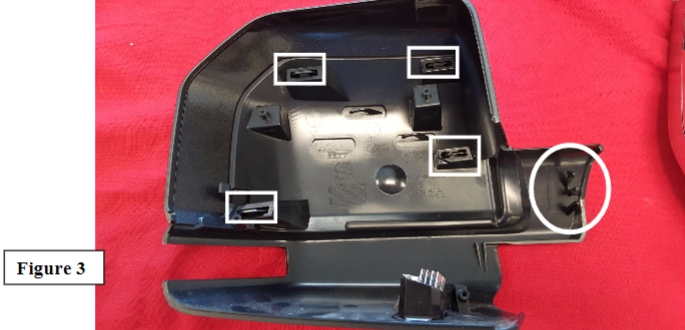
4. Position the mirror arm slightly in to gain clearance. Pull Mirror Cover Assembly straight out to release tabs (shown with circle). Refer to Figure 3.
5. Release the (Qty 4) tabs to release the Mirror Cap from the assembly (shown with
squares). Refer to Figure 3.
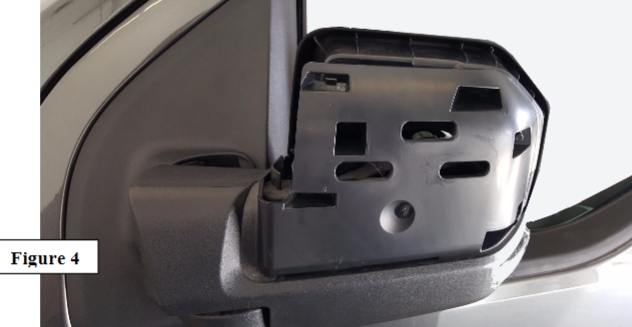
6. With mirror arm still slightly in, reinstall lower mirror cover being sure to align side marker (if equipped). Tighten all 4 torx screws. Refer to Figure 4
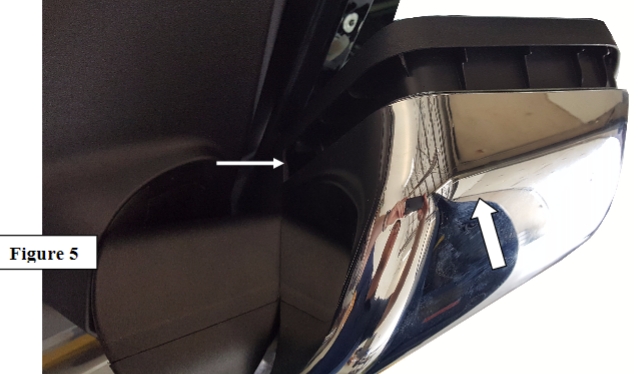
7. Install replacement mirror cap. Ensure replacement mirror cap is on the outside inner lip while sliding in. Press firmly to engage all 4 tabs. Refer to Figure 5.
8. Reconnect electrical connectors for glass from Step 2.
9. Snap Glass back onto mirror drive motor.
10. Repeat Steps 1-9 For Passengers side.
