 FREE 1 to 3-Day Delivery on Orders $119+ Details
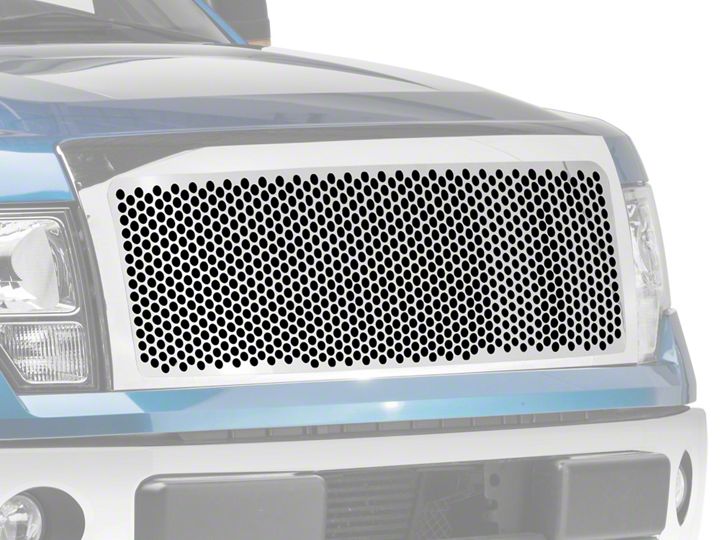
How to Install Putco Designer FX Punch Style Grille Insert on your F-150
Shop Parts in this Guide
Step 1: Verify kit contents. (one grille, 10 brackets, and hardware kit)
Step 2: Hold your grilles up to your factory grille to check for proper fit.
Step 3: Open the hood.
Step 4: Remove the 6 nuts and 2 bolts that secure the grille to the hood.

Step 5: Slightly pull on one corner of the grille outwards from the hood to release the 5 clips securing the grille to the hood.
Step 6: Lay the grille face down on a safe surface making sure not to scratch the chrome surround.
Step 7: Using a cut off wheel or suitable tool, follow the highlighted line in the picture below to cut away the factory grille.
Step 8: After the surround is cut, attach the L brackets with the included washers and nuts. Position the L brackets so it is arallel to the ed e of the rille like in the icture shown below.
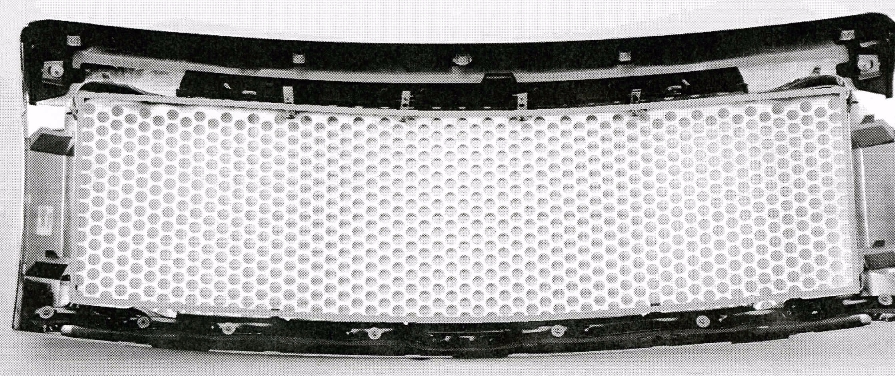
Step 9: Lay the Punch Grille in the surround making sure the grille is fully seated and all the gaps are consistent. Mark all the holes from the L bracket.
Step 10: Drill a 118th hole in the locations marked in the previous step.
Step 11: With the supplied Phillips screws attach the grille to the surround.
Step 12: Now that the grille is assembled, reverse the disassembly process to reinstall the grille to the vehicle.
