 FREE 1 to 3-Day Delivery on Orders $119+ Details
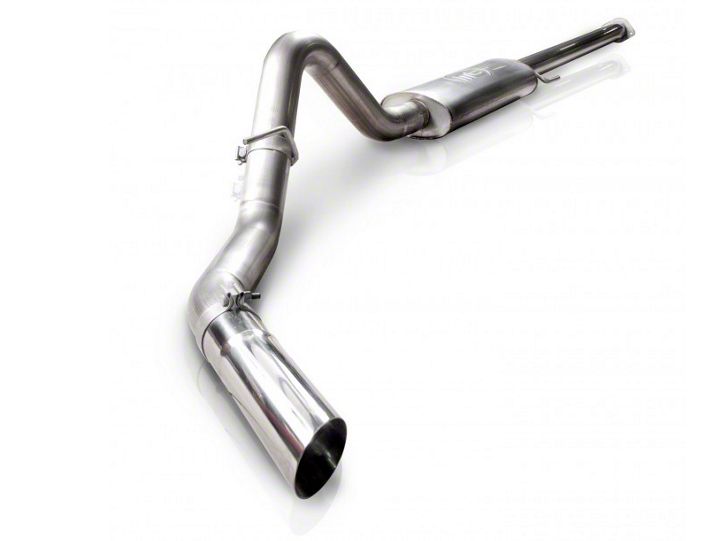
How to Install Stainless Works Turbo Chambered Cat-Back Exhaust - Single Side Exit - on your F-150
Shop Parts in this Guide
1. Stainless Works recommends the use of Hi-Temp RTV sensor safe silicon gasket
maker as an option to or in conjunction with the use of factory gaskets. The
recommended Oxygen Sensor Safe RTV is either Valco All-in-One Aluminum or
Permatex Copper P/N 101BR available at NAPA, Autozone and other retailers.
2. Disconnect the battery before starting work on the exhaust system for your
vehicle. Reconnect the battery when the job is completed.
3. Your exhaust system can be installed by a weekend warrior but the use of a lift is
recommended for ease of installation. If using a jack, the vehicle must be placed
on a level hard surface and jack stands are required for safety reasons.
4. You will assemble the components together as specified below, but only snug the
clamps as you move along from front to back. After aligning all the components
in the vehicle, you will tighten all the clamps working from front to back of the
vehicle.
5. Disconnect battery.
6. Raise and support vehicle.
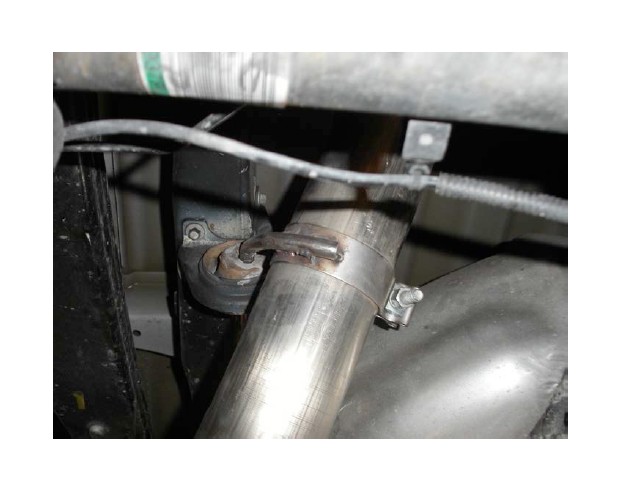
7. Unbolt exhaust at 2-bolt flange (2) 10 mm bolts.
8. Unbolt first hanger on exhaust (2) 8 mm bolts.
9. Remove exhaust from hangers and remove from vehicle.
10. The Catback front straight pipe in the box is 55” long and should be trimmed to
length using a hacksaw on the outlet end (opposite end from welded flange) to fit
different wheelbase lengths as follows:
a. 156.5” Wheelbase (SuperCrew with 6.5’ box) – no trimming required
b. 144.5” Wheelbase (SuperCrew with 5.5’ box, SuperCab with 6.5’ box,
Regular Cab with 8.0’ box) – remove 12” from the end opposite the flange
to make overall length = 43”.
c. 125.9” Wheelbase (Regular Cab with 6.5’ box) – remove 30.5” from the
end opposite the flange to make overall length = 24.5”.
11. Install the supplied donut gasket (31556) to this front pipe.
12. Install this pipe using supplied 3/8” dia. bolts and nuts: (2) 3/8” x 2-1/2” long, (4)
flat washers, (2) nyloc nuts. Assemble and leave loose.
13. Install front 3-1/2” SS Accuseal clamp with wire hanger.
14. Install muffler.
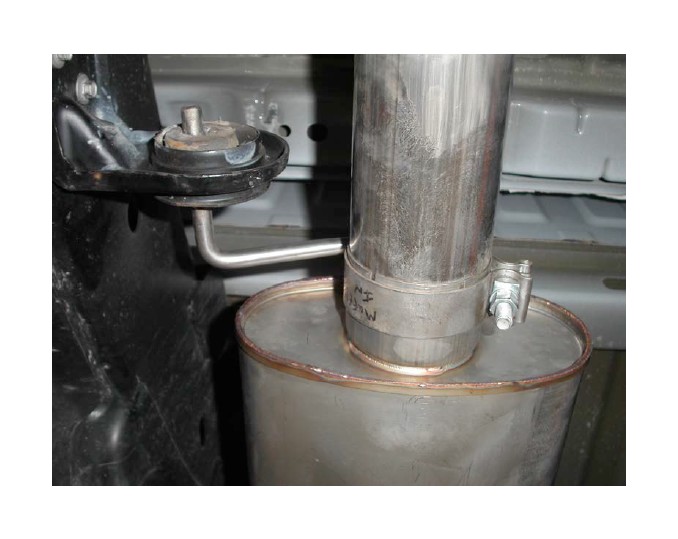
15. Install 3-1/2” SS Accuseal clamp with wire hanger.
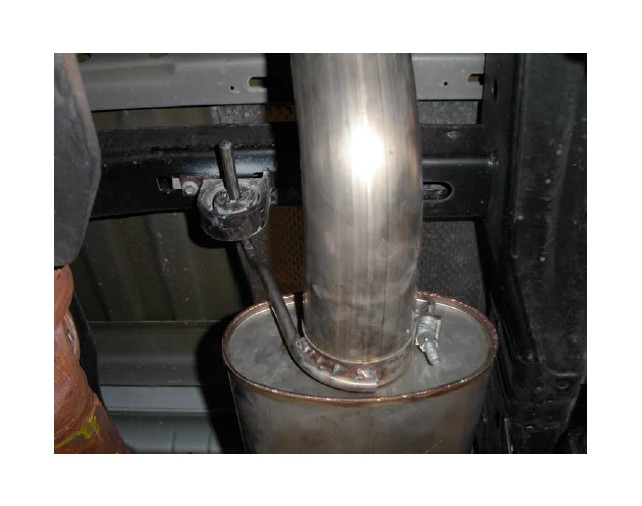
16. Install tail pipe and 3-1/2” SS Accuseal clamp with wire hanger.
17. Install tip using 3-1/2” SS Accuseal clamp.
18. Adjust exhaust for fitment and tighten all clamps.
19. Reconnect the battery.
20. Be sure to have adequate clearance around all wires, hoses and lines. If anything
is in contact with the exhaust system, it will melt. Make sure to have at least
½” of clearance and wrap any suspect areas with DEI thermal barrier wrap.
21. After double checking for clearance and making sure all lines, wires and hoses are
secured, drive the car for 10-20 miles and re-check all clamps and clearances.
Your system may be tack welded at the joints/ clamps to reduce shifting of the
system during heating and cooling cycles. Make certain to disconnect the battery
before performing any welding.
