FREE 1 to 3-Day Delivery on Orders $119+ Details
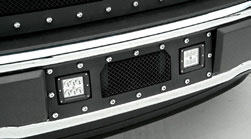
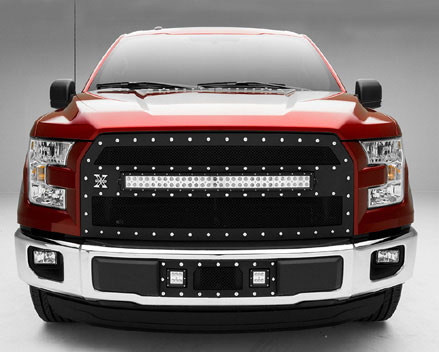
T-REX Torch Series Bumper Grille w/ Dual 3 in. Square LED Lights - Black (15-16 EcoBoost)
STEP 1 Turn off engine and chalk tires with stop block. Open Hood.
PRO TIP:
Before you begin, use “3M Painters Tape” to apply a protective guard around the work areas. Attend to the fender and bumper valance. This will help protect the paint and finish of your vehicle.
Fig 1
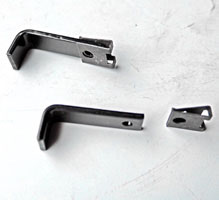
Fig 2
STEP 2
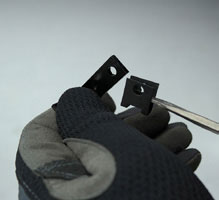
Fit the Screw Anchor Clip over the “L“ Bracket. STEP 3
Configure the screw through the T-REX Bumper Grille and into the mounting tab’s pre-determined hole.
Fig 3
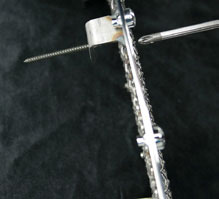
Fig 4
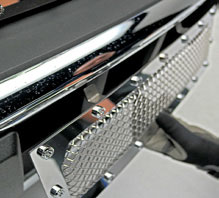
Fig 5
Fig 6
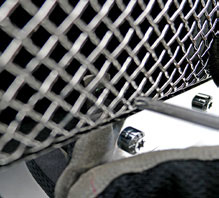
STEP 4 Thread on the “L“ Bracket via the Screw Anchor Clip on the screw and align so that the “L“ Bracket will be prepared to fasten the Grille onto the vehicle’s lower bumper opening bottom lip.
5) Square up the new T-REX bumper grille to the vehicle’s lower bumper opening. You may note that there is two welded tabs pointed up and also you “L“ Brackets pointed Down.
STEP 6 Insert grille. L-Brackets will pinch the lower bottom lip when the screws are tightened. The new T-REX bumper grille is now mounted and secure
STEP 3
On each side of the front tires, using a flat screwdriver remove plastic clips. 4) Use #7 Wrench and remove one other screw bolt on STEP 3 3) On each side of the front tires, using a flat screwdriver remove plastic clips. 4) Use #7 Wrench and remove one other screw bolt on SEE FIGURES 4 & 5 Page 2 FIG 4 FIG 5 FIG 6 FIG 7 STEP 4 4) Thread on the “L“ Bracket via the Screw Anchor Clip on the screw and align so that the “L“ Bracket will be prepared to fasten the Grille onto the vehicle’s lower bumper opening bottom lip. 5) Square up the new T-REX bumper grille to the vehicle’s lower bumper opening. You may note that there is two welded tabs pointed up and also you “L“ Brackets pointed Down. STEP 6 6) Insert grille. L-Brackets will pinch the lower bottom lip when the screws are tightened. The new T-REX bumper grille is now mounted and secure. SEE FIGURES 4 & 5 SEE FIGURE 6 STEP 8 8) At this point you want to look over your work and examine the gap alignments around all edges and in between the new T-REX Grille and the vehicle components and body lines. Carefully close the hood for a complete visual inspection. If adjustment is needed, you can loosen the top mounts and shift side to side for even gaps.