 FREE 1 to 3-Day Delivery on Orders $119+ Details
Best Sellers


JLT Carbon Fiber Cold Air Intake Installation Guide ('03-'04 Cobra)
Installation Time
60 minutes
Tools Required
- 5/16 Nut Driver
- 10mm Open End Wrench
- 11mm Open End Wrench
- Phillips Head Screwdriver
- Car Jack
- Jack Stands
1. Jack the car up with jack stands or drive it on some ramps. Removing the right wheel makes the install much easier, but not totally necessary.
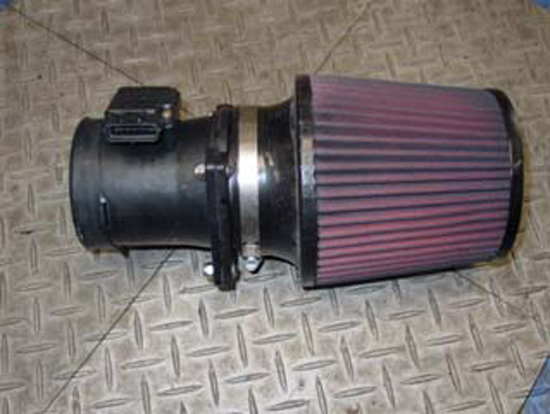
2. Unbolt your Mass Air Flow Sensor from the filter housing, and install the MAF filter adaptor. Do not reuse the screen.
3. Unplug the hold down in the large wire harness where the MAF wire ties into it and pull toward the hole. Feed your MAF wires into the hole in the apron. You only need a few inches in there.
4. Put some tape around the hole in the apron. This will help prevent scratching the pipe during install.

5. Remove your air temperature sensor and install in the grommet on bottom side of JLT pipe.
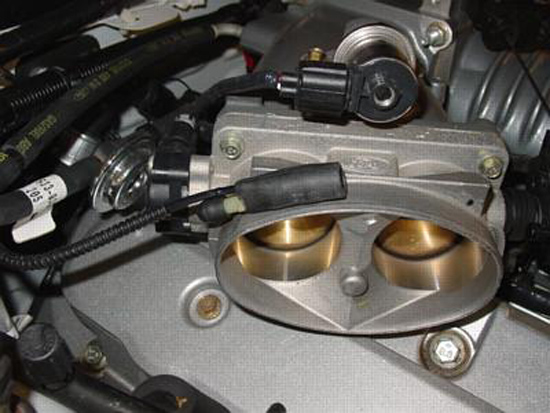
6. Remove the large vacuum connection on the line at throttle body.
7. Use the supplied “U” channel gasket and install around the hole in apron plate.
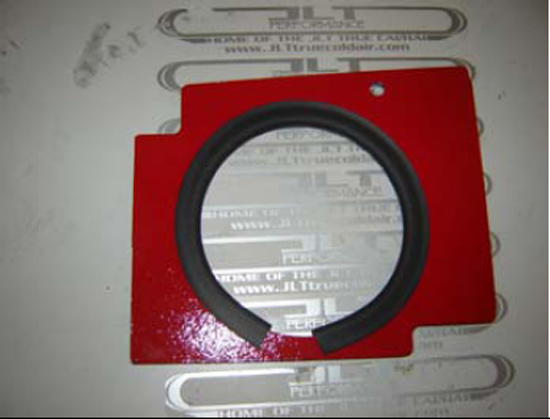
8. Slide apron plate and 90° rubber elbow onto pipe. Use soapy water on the elbow and leave it loose. You will need to move it for best fit in the fender well.
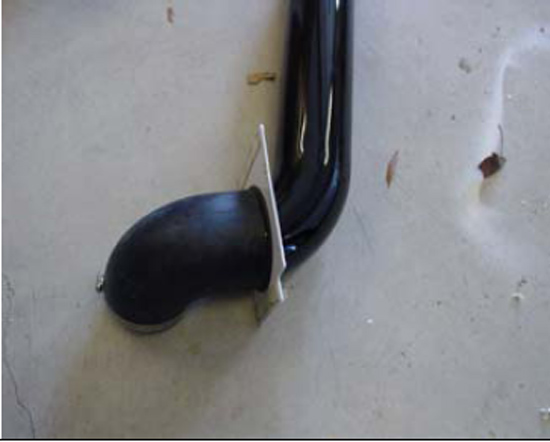
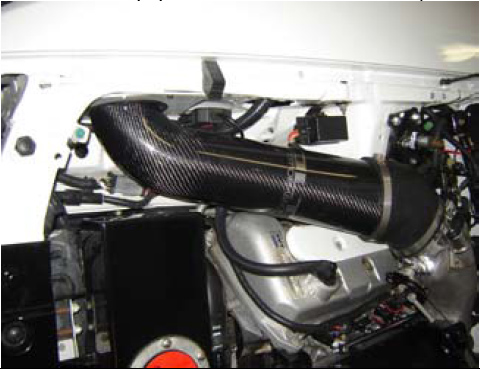
9. Stand pipe up and “screw” it into the hole in the apron. Connect the new vacuum line to the original and plug in the air temp.
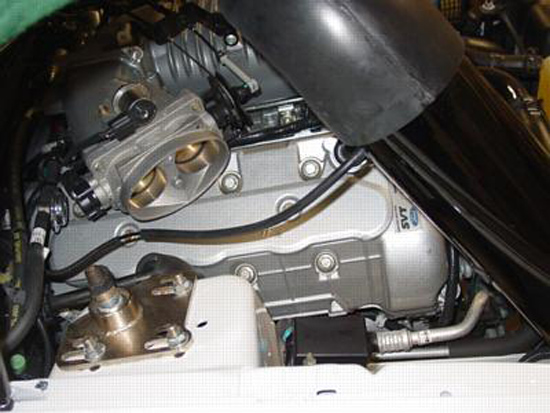
10. Put a small amount of soapy water on the inside of elbow and connect to pipe and throttle body. Twist elbow for best angle and fit. Leave clamps loose for now. Push and twist pipe and elbow for best fit. The elbow will be “just” touching the strut tower. Pipe may also “just” touch valve cover. If this concerns you, put a small piece of velcro on the pipe or cover, soft side.
11. Screw 90 degree fitting supplied in the kit, into the grommet in your valve cover and using the hose connect the valve cover fitting to the fitting on the bottom of the JLT pipe. This will connect your factory PCV.
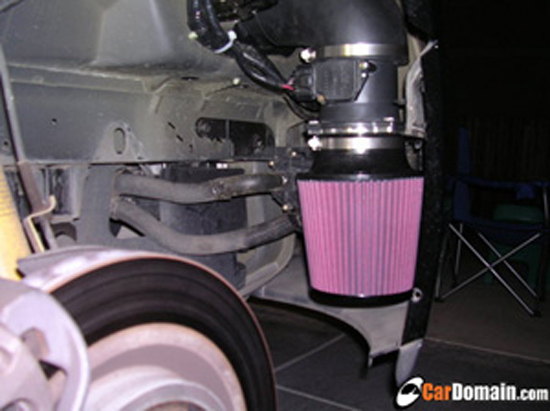
12. Remove the Phillips head screw from the bumper cover in front of right wheel. Pull back your splash shield, and feed the MAF adaptor and filter as a unit (we think this is the best way) into rubber elbow and clamp down. Position the MAF so the plug points at the driver’s fender and the top points toward the rear of the car. Then tighten clamp so it’s sung (do not over tighten). If that is too much, do it a piece at a time. You may need to twist the pipe to get a better angle for the filter. It’s tight but it will fit. If needed, loosen the upper clamp and adjust the angle of all the connections.
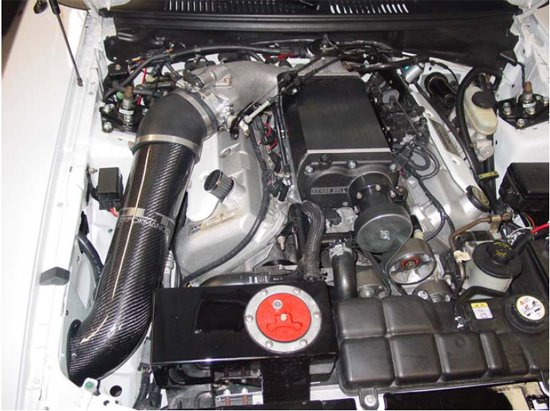
13. Installation is complete. Go back and tighten clamps so they are all snug. Polish your fingerprints off the paint and hit the track, street and/or dyno.
Installation instructions provided by JLT
