 FREE 1 to 3-Day Delivery on Orders $149+ Details
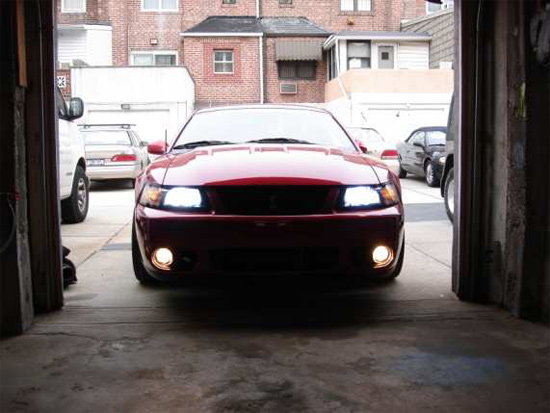
Mustang HID Headlight Installation Guide 1994-2004 (9007)
Installation Time
2 hours
Tools Required
- 1/2 inch Socket or Wrench
- 5/16 inch Socket or Wrench
- Misc. Hand Tools
- Extra Cable Ties (optional)
- 3M Heavy Duty Double Sided Tape (optional)
- 1 Larger O-Ring Crimp On (optional)
Installation
1. Disconnect the positive and negative leads from the battery. Remove the lower bracket holding the battery down and remove the battery completely from the vehicle.
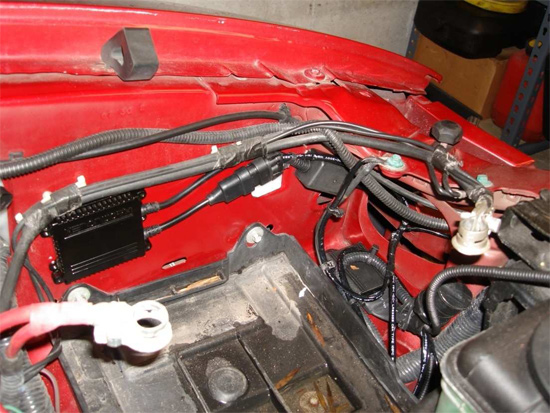
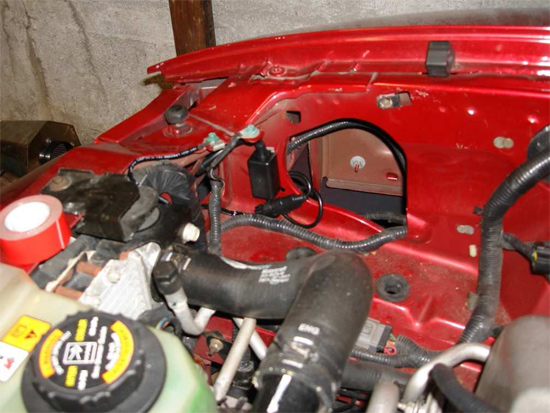
2. We chose to mount our main wiring harness (the one with the blue connector attached) to the left of the battery tray. Placed here it is not in the way and easily accessible. We chose to use heavy duty double sided tape from 3M to temporarily mount everything, check fit, and then screw down the harness. Make sure the surface to which you are attaching the double sided tape is clean to ensure a good bond.
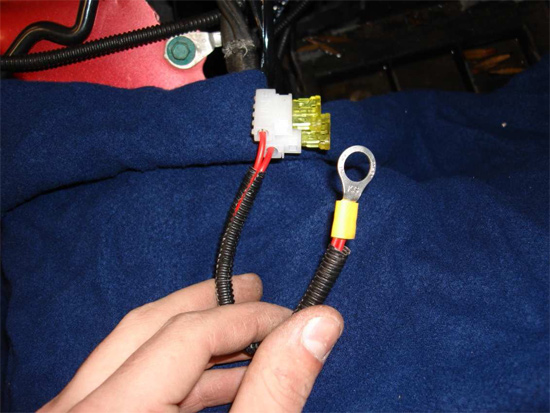
3. Once you have your harness in place we will then attach the negative lead and the positive leads to the harness. For the ground we unscrewed the green headed screw (ground) above the headlight (this already has a black wire attached to it) and placed the o-ring underneath and re-tightened.
4. For the positive side of the harness we removed the slide cover from the fuse box and removed the large nut with a 1/2 inch wrench. The O-ring supplied will not fit over the screw threads, so we cut off the existing o-ring and crimped on a much larger one that will fit snugly. This will ensure a connection that won't become loose over time. If you do not have the option of changing the o-ring you may connect it to the battery by clamping it between the terminal clamp on the side.

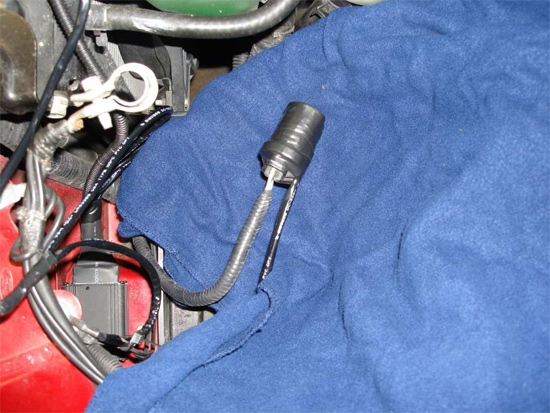
5. We then removed the driver’s side headlight by pulling out the black retaining pins. Then disconnect the original headlight harness and the side marker plug.
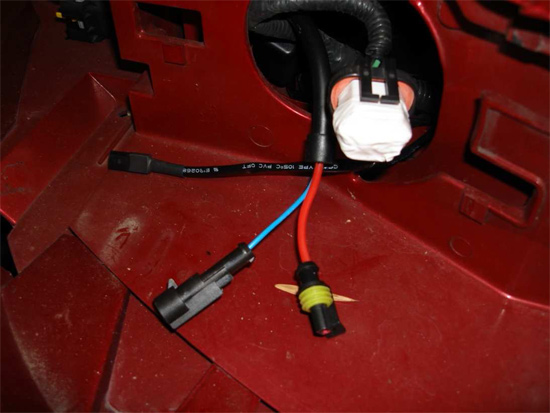
6. Connect the original headlight harness plug to the blue plug on the HID Harness kit. We decided to prevent moisture and water from entering the terminals and sealed it with electrical tape.
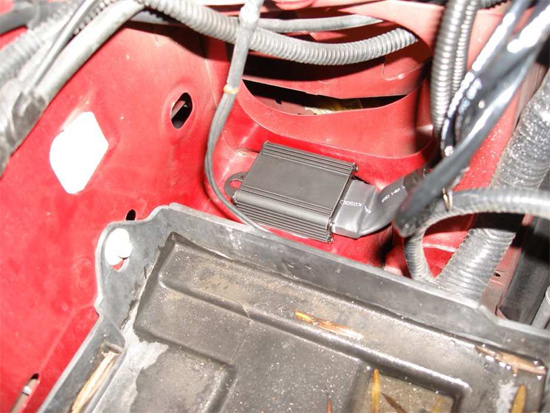
7. We mounted the driver’s side ballast on the side, behind the battery using double sided tape. Since the ballast is thin, it will not interfere with the battery and once the battery is back in place it cannot be seen. Connect the ballast to the main harness and bring over the 3 wires for the new lamp through the hole. Neatly tuck and zip tie all the wires out of the way of moving parts.
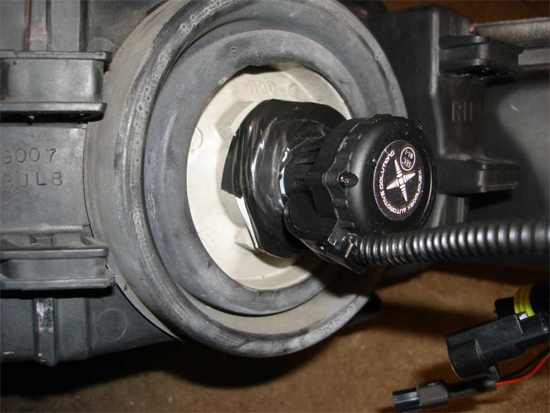
8. You are now ready to attach the headlight housing to the HID Bulb. Remove the black retaining ring from the housing and remove the old bulb. Place the new bulb into the housing until it fits. There are 3 teeth that must fit in properly in order for a snug fit. The old retaining ring cannot be reused. In order to keep the bulb from falling out we placed electrical tape around the bulb very tightly. This will keep the bulb secure and the o-ring on the bulb will keep all the moisture out. Make sure the HID bulb is turned to the right (9007 Locked position).
AM Note: The original retaining ring can be used. To install with the original retaining ring you must carefully unplug the HID bulb out of its base. Install the HID bulb into the headlight housing and secure using the retaining ring. Plug the HID bulb base into the back of the installed HID bulb. Some applications may require a slight modification to the retaining ring for HID base clearance.
9. You may now place the housing back in and make all 3 necessary connections. They will only fit one way.
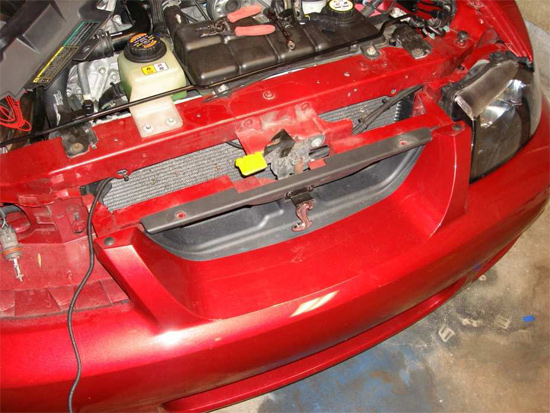
10. You may now begin to route the longer part of the main harness to the other side of the car. We found a small opening by the header panel and routed it along the hood release cable and to the other side back through a similar opening.
11. We mounted the passenger side ballast in the fender where the old intake used to sit since we have an aftermarket intake. This required us to remove the intake. Your application may slightly differ.
12. Using the previous steps remove the passenger headlight in a similar manner.
13. The passenger side headlight harness will not be used. We once again placed electrical tape to cover the leads and keep water away.
14. Proceeding in a similar manner as before, place the new HID bulb into the housing and secure it. You may then replace the head lamp housing back.
15. Replace the battery back into the tray, tighten it down and make all required connections. Before you start the car make sure you remove all tools that may be still sitting on top of the motor.
16. We highly recommend that you lower your headlights. This is done by turning the plastic screw on top of your headlight housing counterclockwise. 3 turns was sufficient for our application, yours may differ.
Note:When you first turn on your headlights, you may hear a slight buzzing noise coming from the ballasts. This is normal and should disappear in about 15 seconds after initial use. Your headlights will also take a few seconds to reach full brightness. Enjoy your new Americanmuscle.com Dual HID Beam Kit
Installation instructions provided by AmericanMuscle customer vip3r1850.
