 FREE 1 to 3-Day Delivery on Orders $149+ Details
Agent 47 Retro-Style Race Mirrors (2005-2009) - Installation Instructions
Installation Time
2 hours
Tools Required
- 4mm Socket
- Wrench
- Screw driver with Torx bit
Installation
1. Take one last look at your stock mirrors! Start by removing the triangular plastic cover, by pulling horizontally. This is where the side mirror adjustment knob is on the driver side.
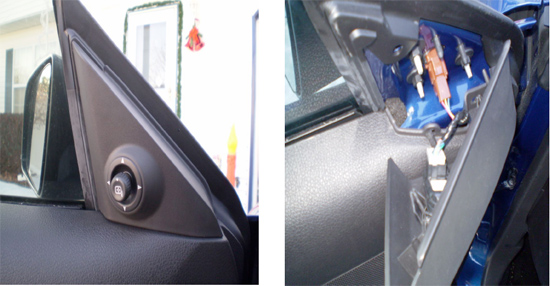
2. Disconnect the mirror motor harness. Then remove the three nuts holding the mirror in place and remove the side mirror.
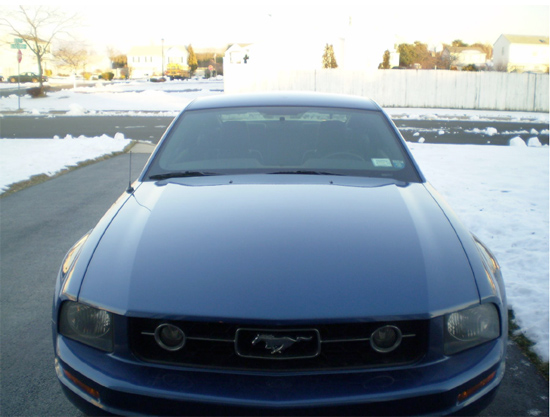
3. Your car should look like this:
4. AGAIN, PLEASE NOTE THAT ALL STUDS, SCREWS, NUTS, etc. WILL BE USED WITH THE NEW MIRRORS. MAKE SURE NOT TO LOSE THEM DURING THE INSTALL.
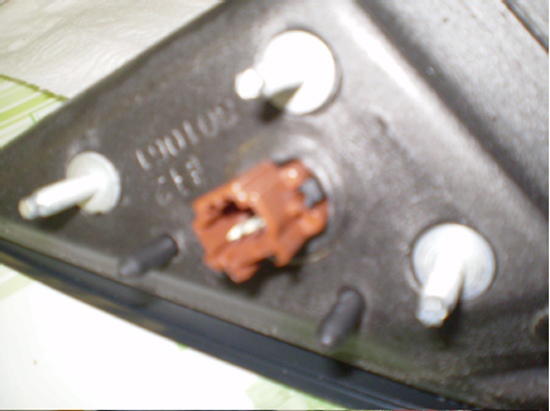
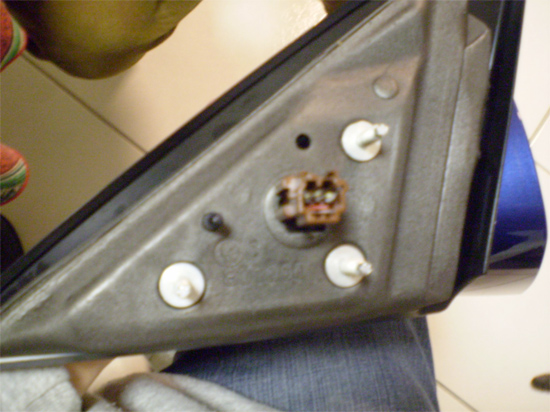
5. Using a 4mm socket, remove the three studs that attach the mirror housing to the car. Then thread them into the Agent 47 housings.
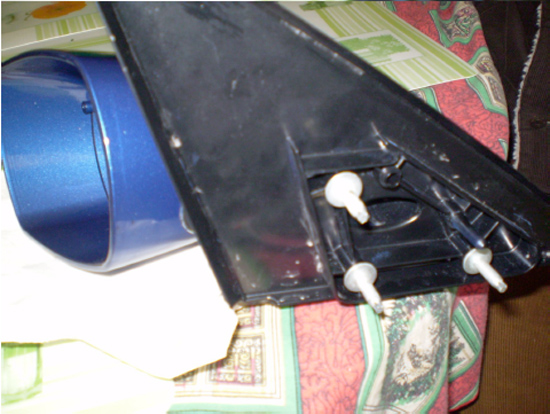
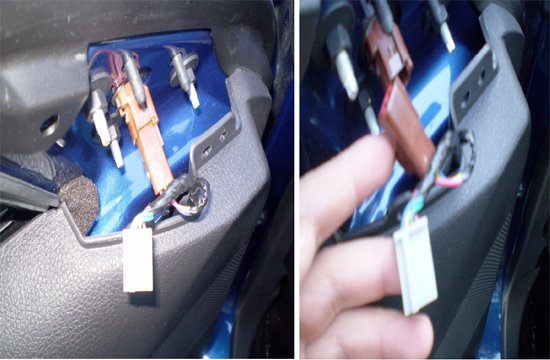
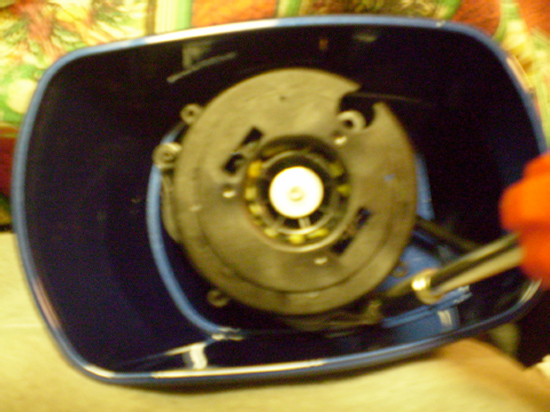
6. Remove the mirror glass by pulling on it. It is held in place by small snap features. Get the correct Torx bit and unscrew the three Torx screws that hold the motor in the housing.
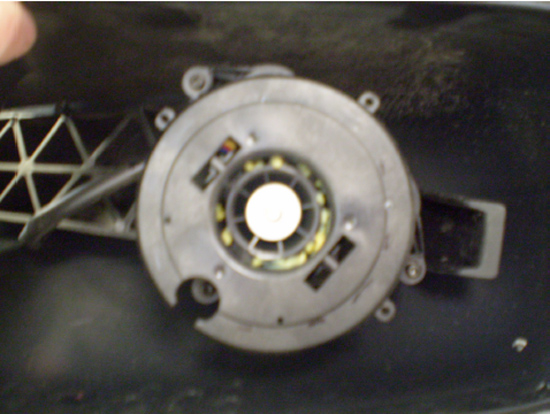
7. Next is what I found to be the hardest part. GENTLY pull out the motor and unclip the wiring harness from the back of the motor.
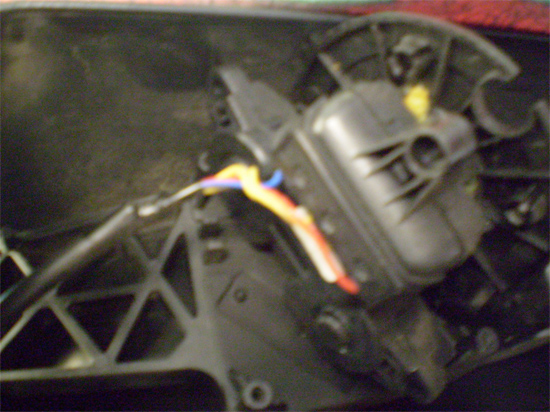
8. Thread the wire harness through the new mirror housing. Screw the mirror motor into the Agent 47 housing using the stock screws. Remove the weather stripping from the stock mirror and put it on the Agent 47 mirrors.
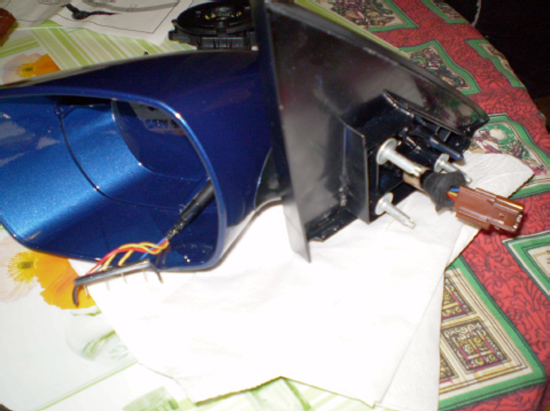
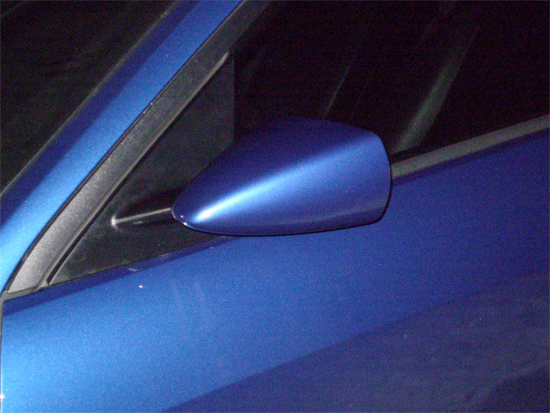
9. Install your new Agent 47 mirrors in the reverse order of taking off the stock mirrors.
Installation instructions provided by AmericanMuscle customer Vincent Hardalo 12.22.08

