FREE 1 to 3-Day Delivery on Orders $149+ Details
How to install a Airaid Cold Air Intake on your 2011-2012 Mustang
Installation Time
1 hours
Tools Required
- 5/32" Allen Wrench & 3/32" Allen Wrench
- 5/16", 10mm Sockets
- Ratchet & Extension, Pliers, and Standard Screwdriver
- #20 torx Bit (Included)

Shop Parts in this Guide
Installation
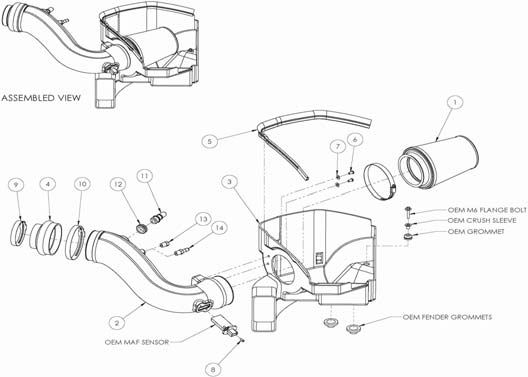
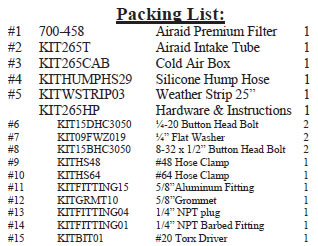
Packing List:
| #1 | 700-461 | Airaid Premium Filter | 1 |
| #2 | KIT264T | Airaid Intake Tube | 1 |
| #3 | KIT265CAB | Cold Air Box | 1 |
| #4 | KITHUMPH29 | Silicone Hump Hose | 1 |
| #5 | KITWSTRIP03 | Weather Strip 25" | 1 |
| KIT265HP | Hardware and Instructions | 1 | |
| #6 | KIT15DHC3050 | 1/4-20 Button Head Bolt | 2 |
| #7 | KIT09FWZ019 | 1/4" Flat Washer | 2 |
| #8 | KIT15BHC3050 | 8-32 x 1/2" Button Head Bolt | 2 |
| #9 | KITHS48 | #48 hose Clamp | 1 |
| #10 | KITHS64 | #64 Hose Clamp | 1 |
| #11 | KITFITTING15 | 5/8" Aluminium fitting | 1 |
| #12 | KITGRMT10 | 5/8" Grommet | 1 |
| #13 | KITFITTING04 | 1/4" NPT Plug | 1 |
| #14 | KITFITTING01 | 1/4" NPT Barbed Fitting | 1 |
| #15 | KITBIT01 | #20 Torx Driver | 1 |
Note: Because of space constraints, this Intake system can not to be used in conjunction with a throttlebody spacer.
Disconnect The Negative Battery Terminal!
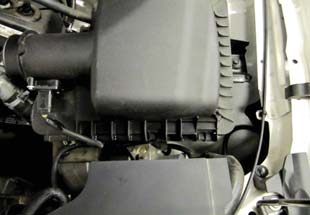
1. A) Loosen the hose clamps on the factory intake tube B) Carefully depress the hose lock tabs, and disconnect the crank case breather line and the brake aspirator line (if equipped, AT models only). C) Remove the factory intake tube.
2. A) Slide the red lock tab back, and disconnect the wiring harness from the Mass Air Flow sensor (MAF). Carefully pry the harness anchor from the air box using a screwdriver. B) Using a 10mm socket, remove the bolt securing the air box to the inner fender and remove the air box assembly. This bolt will be reused in step 4.
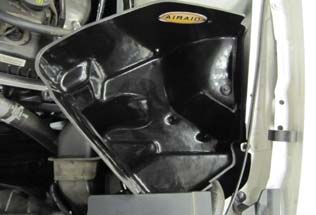
3. Transfer the factory air box mounting grommets. A) Locate and remove the two lower air box mounting grommets, and install them in the inner fender. B) Remove the Upper air box mounting grommet and steel sleeve, and re -install into the Airaid Cold Air Box, or CAB (#3).

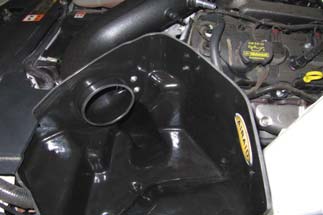
4. Install the CAB into the vehicle. Make sure that the Air inlet of the CAB mates with the factory duct, and the two locating cones on the bottom mate with the factory grommets. Next reinstall the factory bolt that was removed in step #3 through the steel sleeve and grommet and into the inner fender.
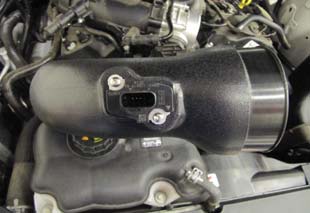
5. Transfer the MAF sensor into the Airaid Intake Tube (#2) and secure using the supplied 8-32 Button Head Screws (#8).
Do Not Use The Factory Screws!
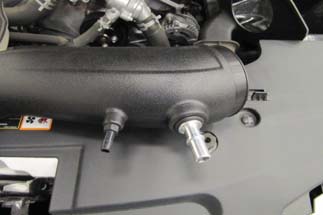
6. Install the Grommet and Fittings into the Airaid intake tube. A) All models will require the use of the 5/8” Fitting (#11) and the 5/8”Grommet (#12). B) Automatic transmission equipped vehicles will also use the 1/4” Barbed Fitting (#14) ). Manual transmission vehicles will not need the 1/4” Hose Fitting and will use the 1/4” Plug (#13).
7. Slip the Hump Hose (#4) and Hose clamps onto the Airaid Intake Tube. Slide the #64 Hose Clamp (#10) onto the tube side and the #48 Hose Clamp (#9) onto the Engine side. Leave the Hose Clamps loose for now.
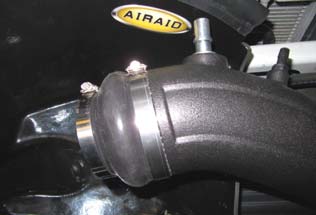
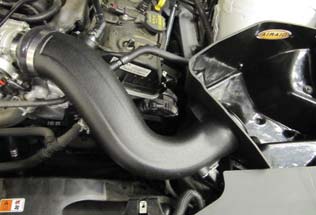
8. Insert the Intake Tube into the CAB first, then lower the Tube down and onto the throttlebody. Tighten the Hose Clamps.
9. Secure the Intake Tube to the CAB using the two 1/4” Button Head Bolts (#6) and 1/4” Washers (#7).
10. Reconnect the breather line or lines to the Hose Fittings depending on your application.
11. Reconnect the Mass Air Flow sensor. Slide the locking tab back into the connector.
12. Install the Airaid Premium Filter (#1) onto the Intake Tube and tighten the hose clamp.
13. Install the Weather Strip (#5) onto the CAB starting at one and working your way around.
14. Double check your work!
Make sure there is no foreign material in the intake path. Make sure all clamps, hoses, bolts, and screws are tight. Double check the hood clearance!
Reconnect the negative battery cable!
Thank you for purchasing the Airaid Intake System. Contact Airaid @ (800) 498-6951 8:00 AM - 5:00 PM MST weekdays for questions regarding fit or instructions that are not clear to you. Your Airaid Intake System was carefully inspected and packaged. Check that no parts are missing, or were damaged during shipping. If any parts are missing, contact Airaid. The air filter element is protected from direct exposure to water and debris; care should be taken not to drive through deep water. WATER INGESTION IS THE DRIVERS RESPONSIBILITY! The air filter is reusable and should be cleaned using the Airaid Filter Tune-Up Kit periodically.
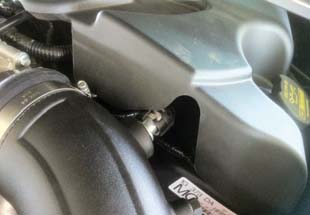
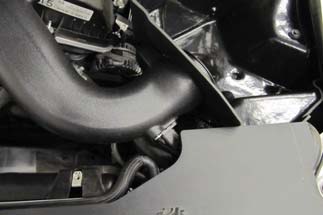
Before!

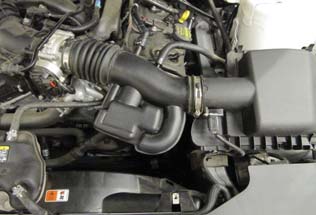
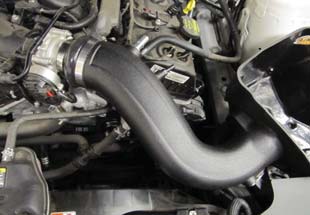
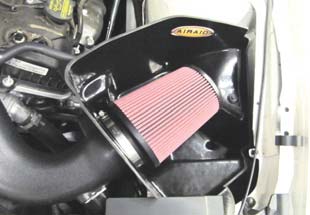
After!