 FREE 1 to 3-Day Delivery on Orders $149+ Details
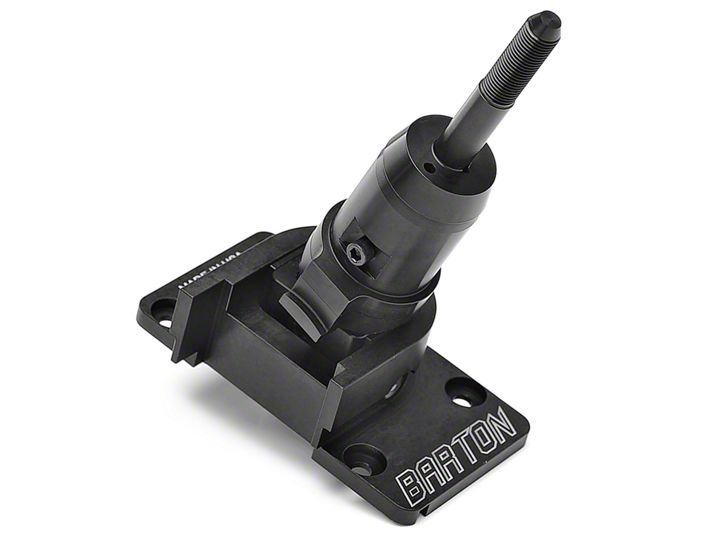
How to Install a Barton Industries Short Shifter - MT-82 on Your 2011-2012 Mustang GT or V6
Shop Parts in this Guide
Installation
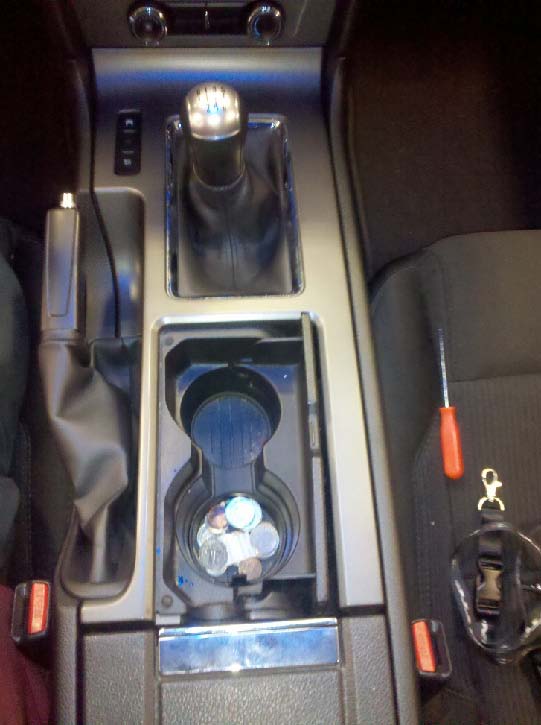
Step #1 -- Removing trim:
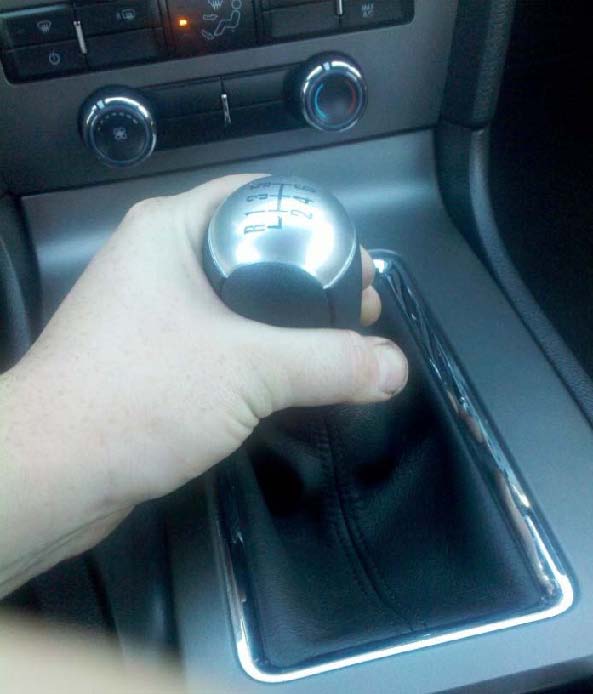
A. Start by removing the shift knob by turning it counter clockwise.
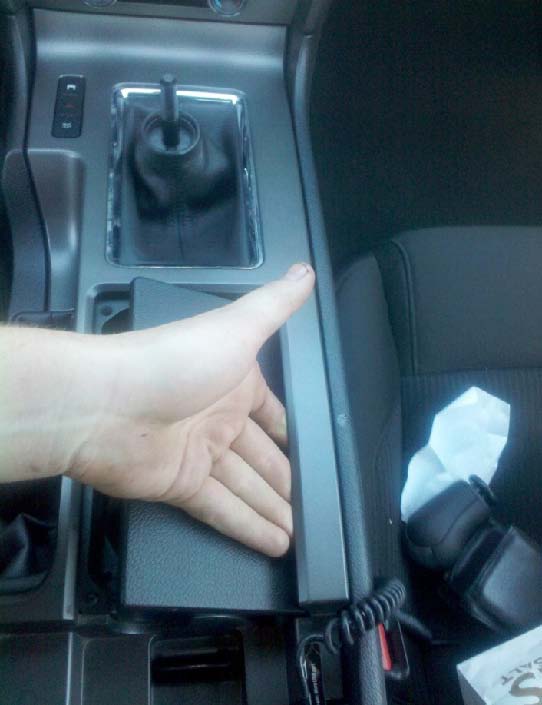
B. After removing the shift knob, you will need to remove the trim inside the car. Open your center console, place your hand in the area shown in the picture below and pull up. The trim has tabs that slide into place so be careful not to pull too hard; you may need to wiggle it a little. Once that side is up, repeat on the other side.
C. Once both sides are up, slide the trim backwards by lifting the back of the trim/cup holder up a few inches and pulling it toward the rear of the vehicle. There are alignment tabs in the front of the trim piece; if you only lift up and do not pull back, you will break them.
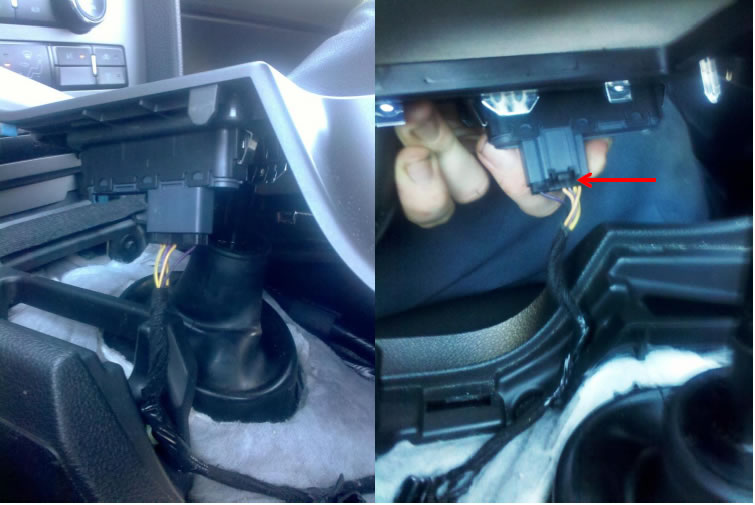
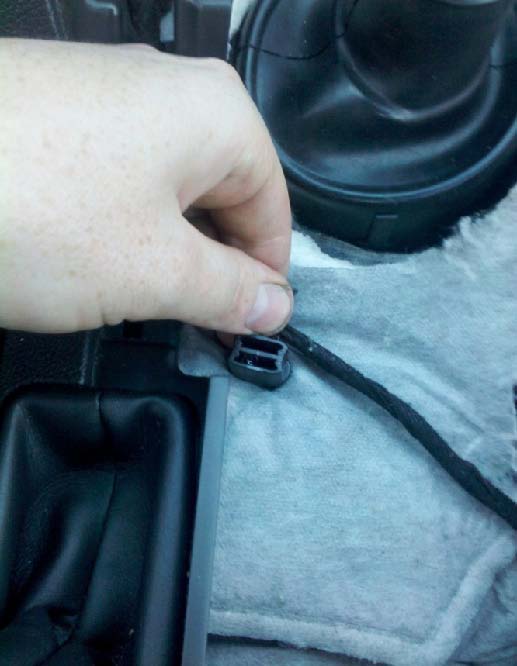
D. There will be some wires attached for traction control, flashers and the trunk. There is a small tab on the back end of the black connector, as shown by the arrow in the picture below. It is on the inner side towards the shifter. Push the tab in and pull the connector out. The gray piece will stay in the trim; only pull on the back of the black connector as shown.
E. Remove the trim/cup holder and set it aside on the passenger seat. The picture below is a view of what is underneath the trim.
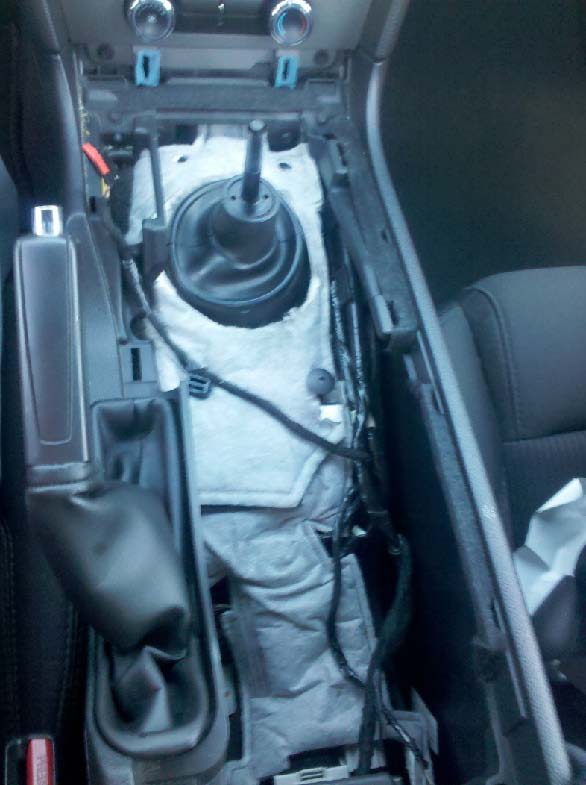
F. The wires going to the traction control harness will need to be pulled aside by pulling up on the small wire clip, as shown in the picture below.
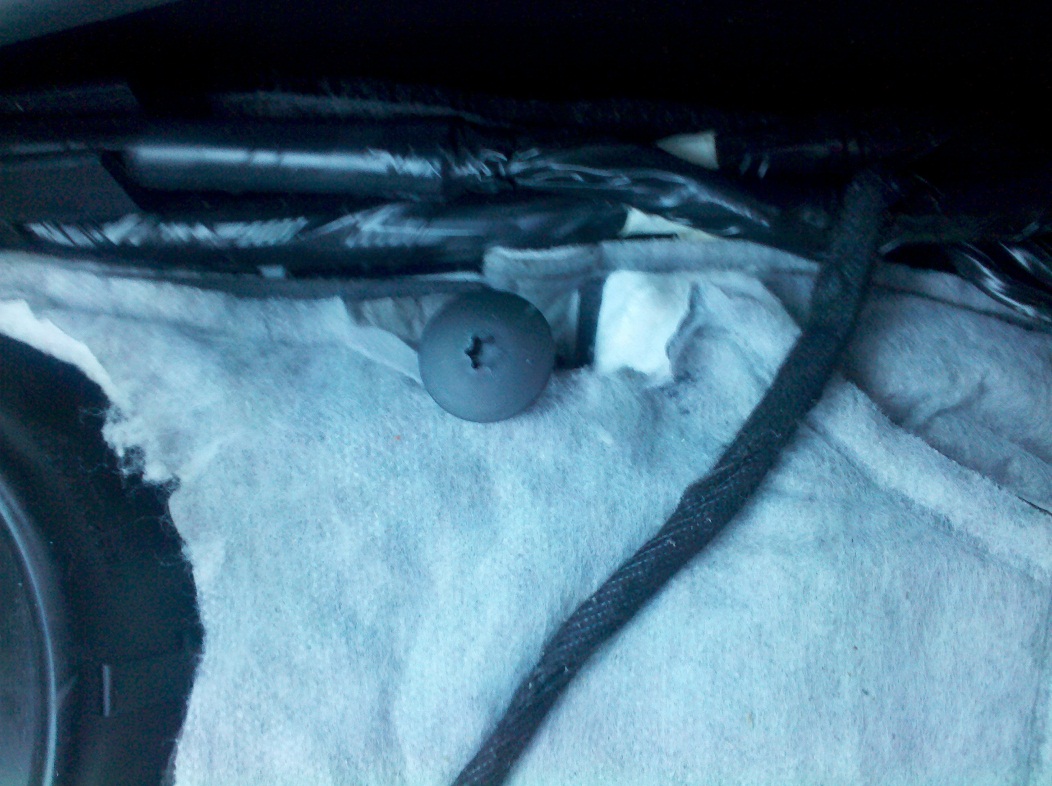
G. Next, remove the small plastic pin that holds the insulation down and set it aside. You should be able to unscrew this with your hand. If not, you can also pull up on it or use a Torx bit to remove it.
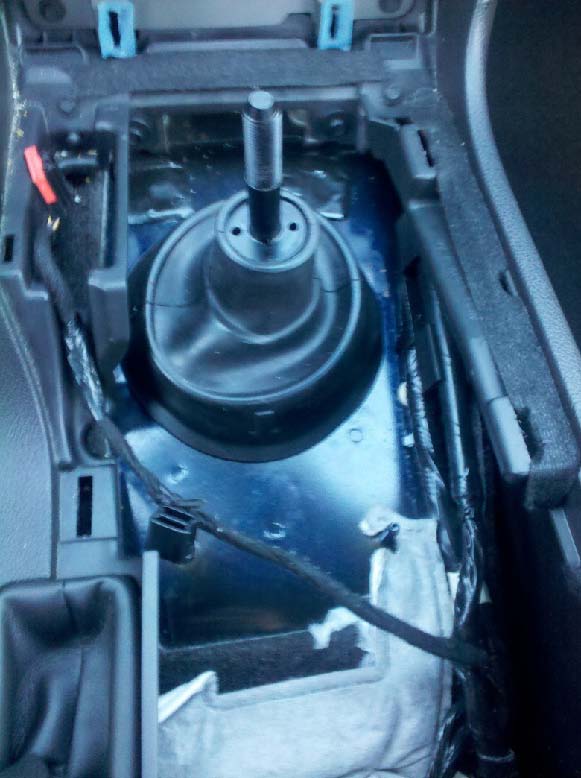
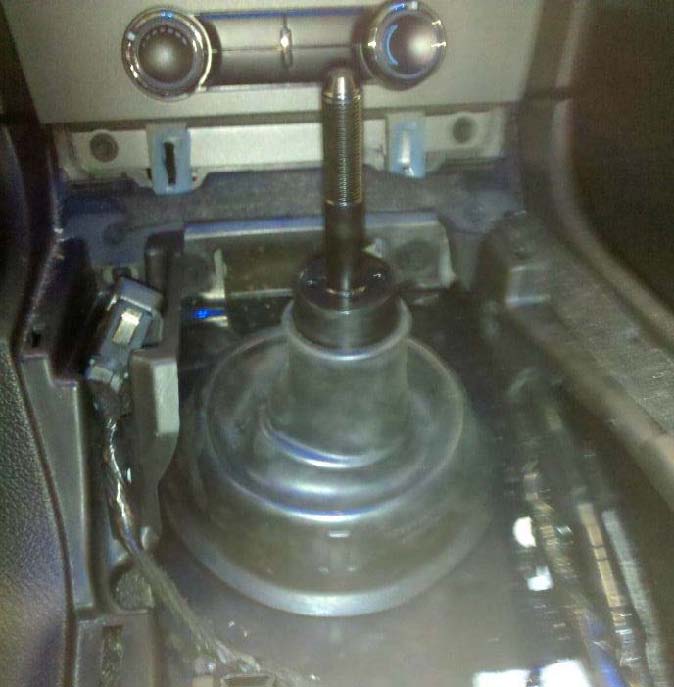
H. Lift out the insulation material and remove the rubber dust boot from the shifter by pulling up on it. Grab the boot in the spots indicated below.
Step #2 -- Removing the shifter linkage bracket and shifter:
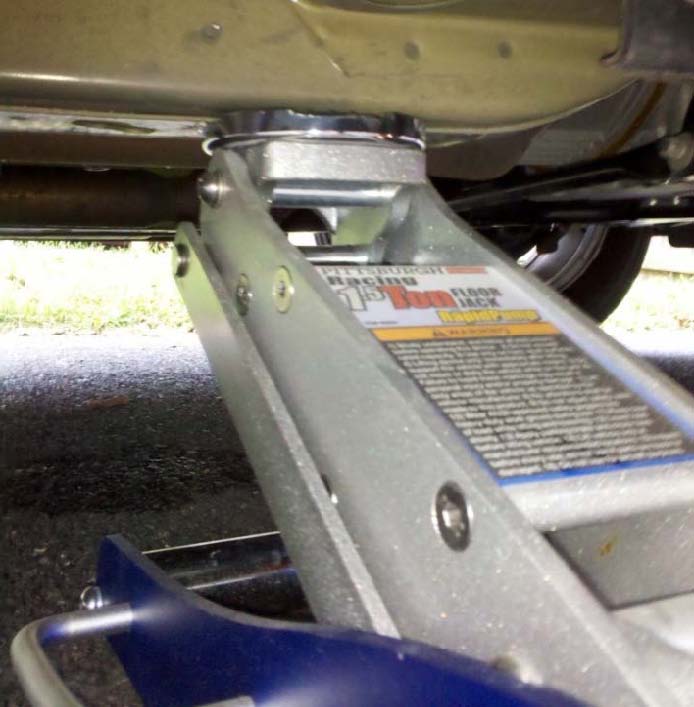
A. Pull up the emergency brake to keep the car from rolling. Lift up the car on the passenger side so that you can comfortably get to the center of the vehicle. Place the jack under the frame rail, which is a safe and sturdy lifting point. This jack has a rubber cushion; if your jack does not, it is recommended to place a piece of wood between the car and jack to prevent paint scrapes which can cause rust. Neglecting this may cause damage to your vehicle.
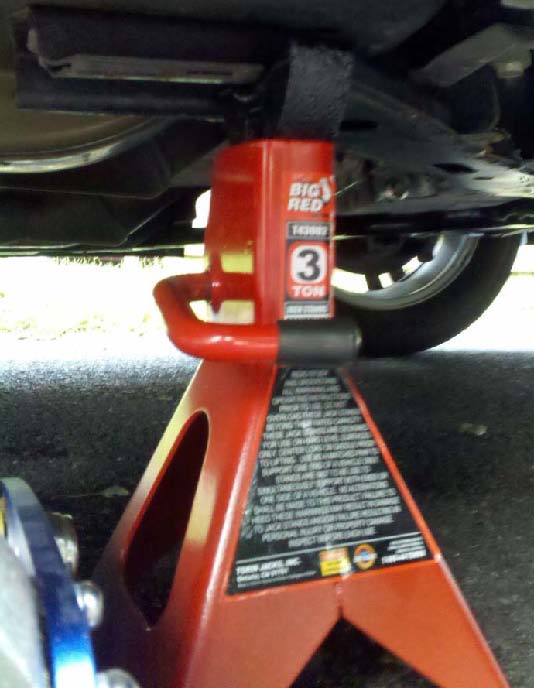
B. Secure the car on the back of the sub-frame with a jack stand. Lower the vehicle slowly, making sure it seats properly. Lift the jack back up to the vehicle as an added safety precaution in case the jack stand fails; the jack will support the vehicle for you to get out.
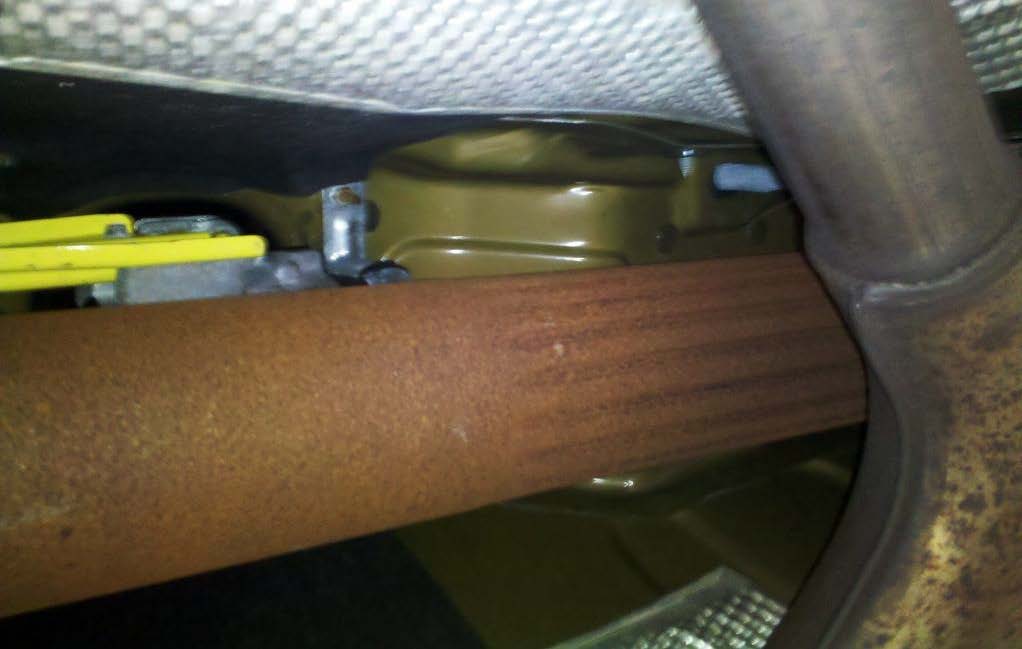
C. Now it is time to get under the vehicle. There is a bracket with (2) 10mm nuts holding the shift linkage to the frame of the car. Use the 10mm deep socket and extension to remove them. There is (1) nut on each side of the axle.
D. Pull the linkage off of the studs and let it hang freely. Go back inside the car and remove the (4) 10mm bolts from the stock shifter, as shown in the image below.
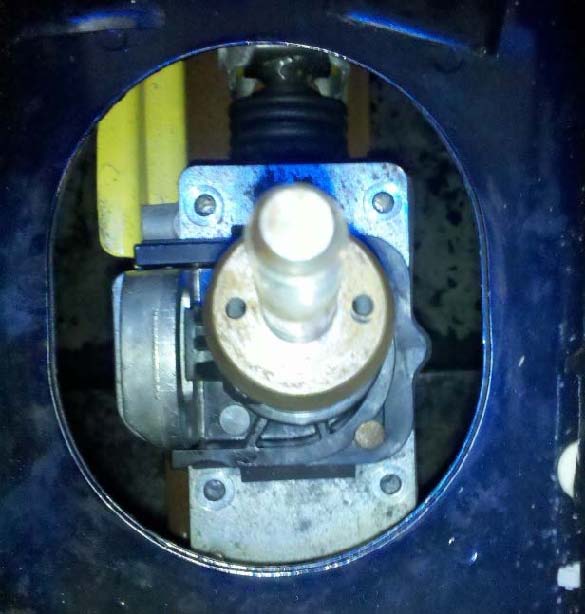
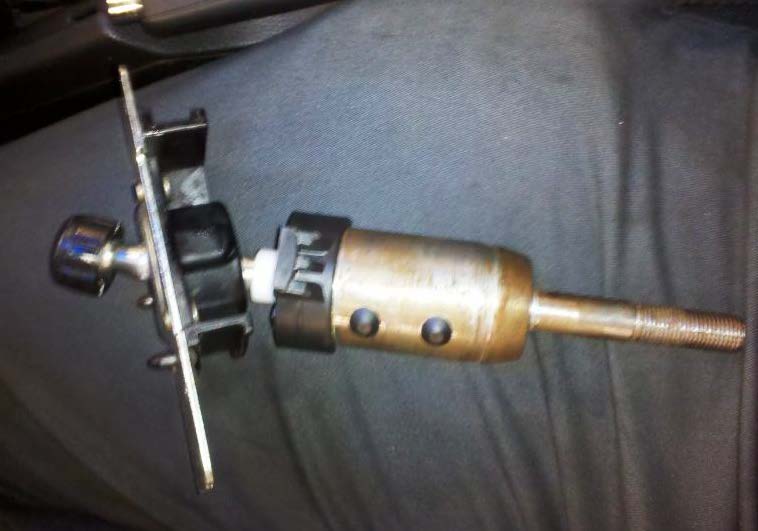
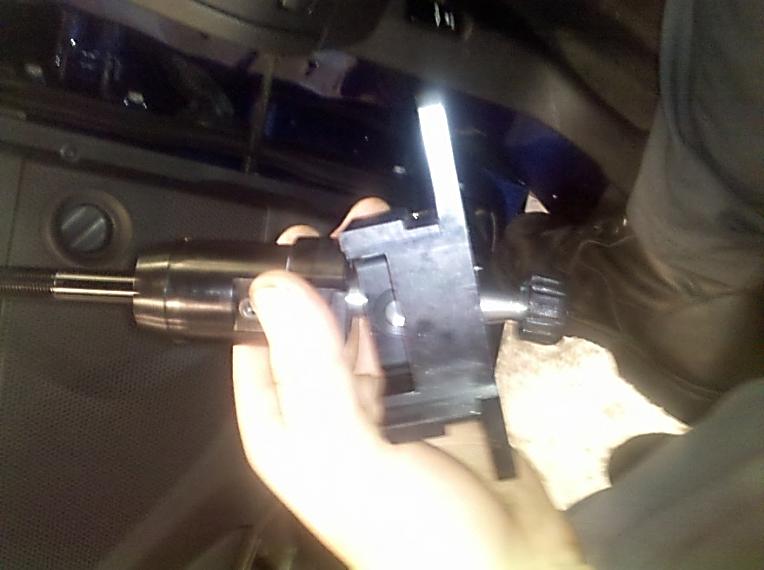
E. Pull your stock shifter out by sliding straight up and out. Below is a picture of the shifter once it is removed. At the bottom, you will see a black piece on the ball of the shifter. This will need to be removed and transferred to the new shifter. This piece will pull off, but requires a little effort using your hands; do not use tools as you may scrape the surface of the plastic
F. Once the black piece is removed, coat the ball of the new shifter with some of the white lithium grease and slide the black piece onto the Barton shifter.
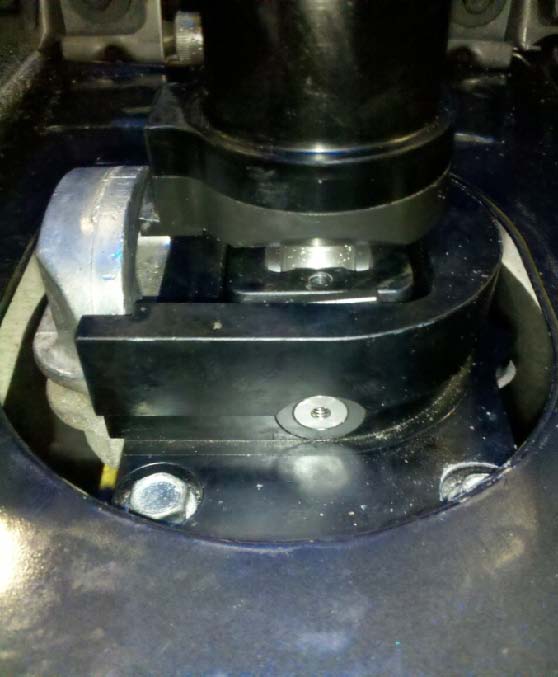
G. Place the new shifter in and make sure it sits flush with the linkage. Once it is in, take the (4) bolts and tighten them in a cross pattern; the order to tighten is numbered below.

H. Go back under the car and bolt the shift linkage back up using either the stock bracket or upgrade to the Barton Shifter bracket, recommended for smoother, faster shifting. Once it is bolted back up and tight, you may lift the car, remove the jack stand and lower the car back down.
Step #3 -- Installing the rubber boot and trim pieces:
A. This part is a little tough. The shift boot sits in a few grooves and must be positioned properly to prevent issues when shifting. If you look on the shifter at the base, there is a lip that the boot sits in.
B. Please note there are arrows on the boot itself; make sure they are facing towards the rear to align the boot properly. You can see the arrow in the picture below.
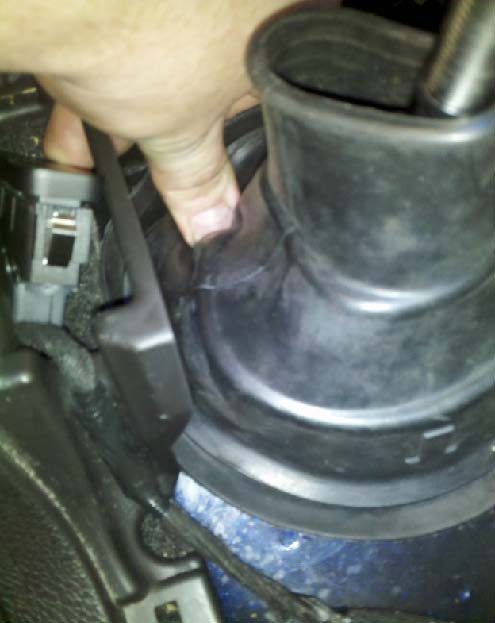
C. Pull the bottom of the boot down and set one side over the lip as shown below. This is where the mini hook tool comes in handy. Insert the mini hook under the boot and use it to pull it over the lip and it should slide in place. If you do not get the mini hook, you will need to maneuver the boot into place.
D. Once the boot is seated on the shifter, you will have to slide the edges of the boot into place around the body. Pull the top of the boot down over the shifter as shown in the picture below. It’s a good idea to tuck the boot into the floor-pan for a proper seal.
E. Reinstall the insulation, insert the pin and push the wire holder over the dowel. Insert the trim and cup holder piece. Reattach the wire connector to the traction control button. Slide the trim forward to get the tabs into the holes and lower the trim into place.
F. Push down or lightly hit with your fist in the four spots shown below to seat the trim piece.
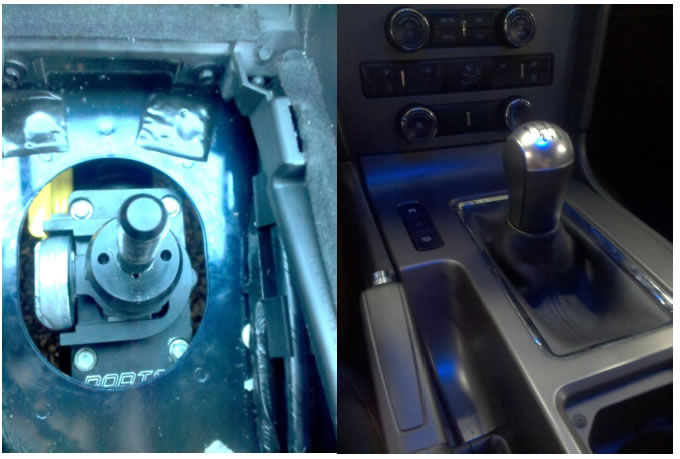
G. Put the shift knob back on turning clockwise until it is tight and straight.
You have now completed installing your Barton Short Throw Shifter.
Installation Instructions written by AmericanMuscle customer Ryan Waller 1.20.12

