 FREE 1 to 3-Day Delivery on Orders $149+ Details
How to Install Borla Axle-Back Exhaust on Your 2011-2012 V6 Mustang
Installation Time
1 hours
Tools Required
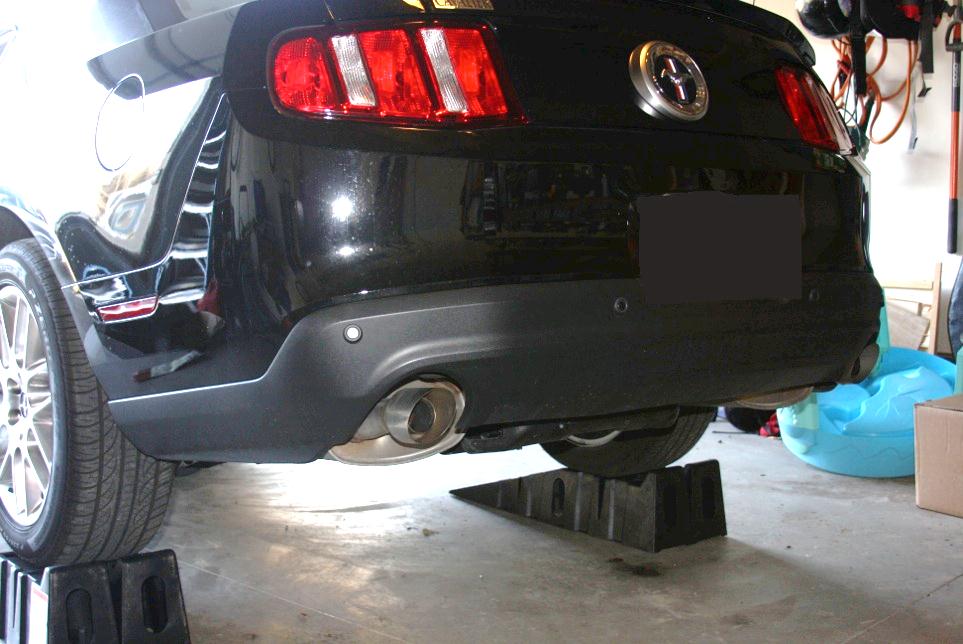
- Ramps or Jack and Jack Stands
- Safety glasses
- 3/8" Socket Wrench
- 3/8" Socket Extensions (3" and 6")
- 13mm Socket
- Flat Head Screw Driver
- Spray Lubricant (safe for rubber)
- Rotary Cutting Tool

Shop Parts in this Guide
Installation
Contents of Package:
- (1) Left Borla ATAK Exhaust
- (1) Right Borla ATAK Exhaust
Original Exhaust Removal:
1. Lubricate the rubber isolators on the left and right mufflers. Using the plastic hose of the lubricating spray, work the lubricant deep into the isolators (2 up front, 1 in the back). This will significantly ease removal and installation.
2. Allow to soak for about 15 minutes or spray the day before.
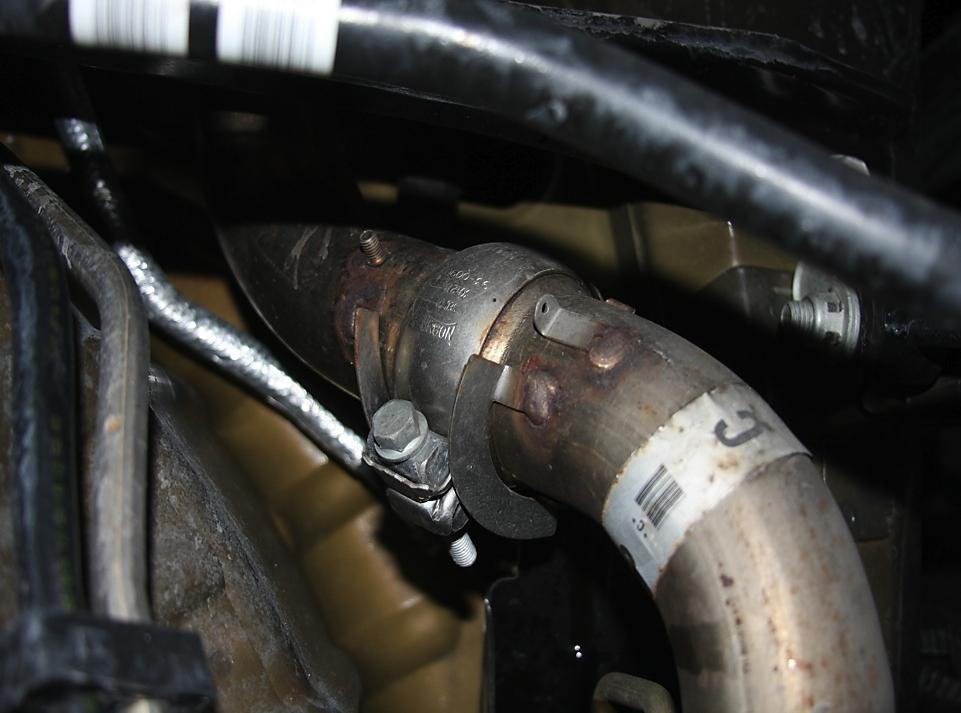
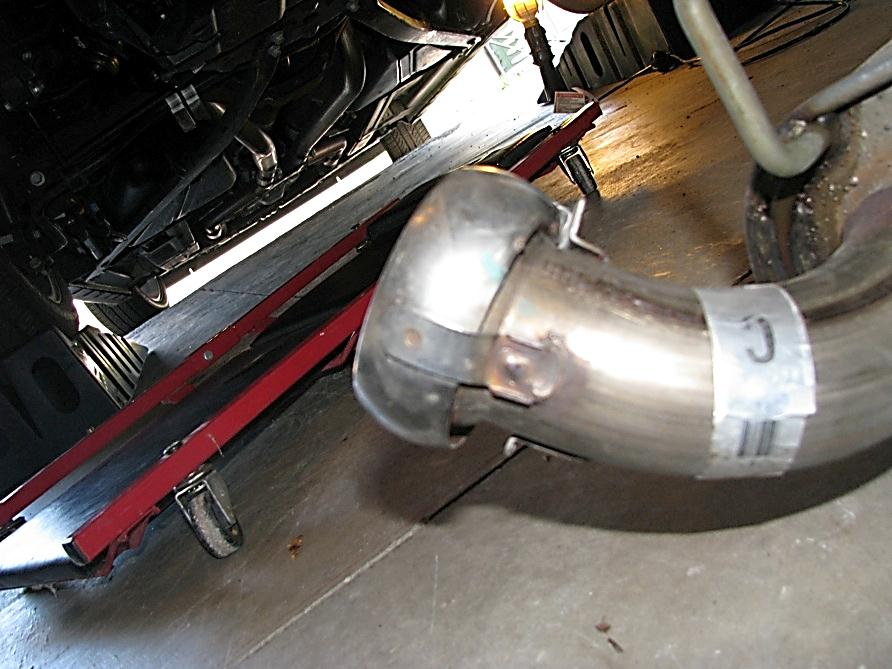
3. Start with the passenger side and loosen the ball clamp using a 13mm socket and ratchet. NOTE: On some vehicles, the clamp is welded to the muffler end of the joint. You will reuse these for the install. Cutting instructions below*
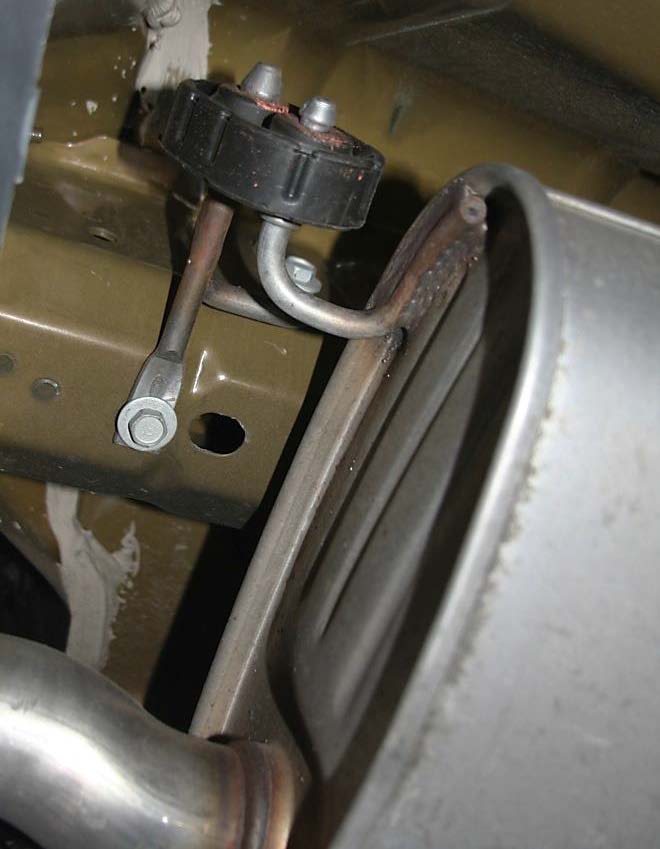
4. Remove the back hanger first using the flat head screwdriver (shown in the first exhaust image).
5. Remove the muffler by pushing towards the front of the vehicle, allowing the front hangers to slide out of their isolators. When done, each side should look like this:
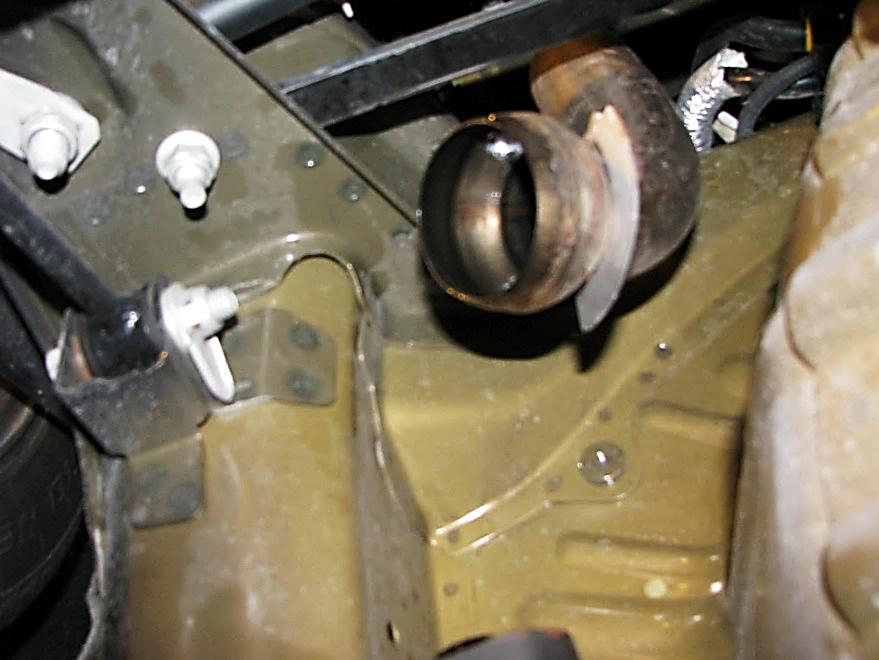
6. Repeat Steps 2-4 for the driver side exhaust. NOTE: There is less clearance on the driver side. You will need to remove the back support then twist the muffler to begin releasing the driver side support.
*Removing factory clamps (if your clamps are welded to the factory muffler)
7. Using a cutting tool remove the clamp from the factory muffler by cutting the bracket.

Installing Axle-back Exhaust:
1. Starting with the passenger side, insert the (2) front hangers into their isolators.
2. Line up the new muffler with the existing exhaust pipe.
3. Insert the back hanger into its isolator.
4. Using the clamp removed from the factory exhaust, join the new muffler with the existing exhaust. Loosely tighten.
5. Align the chrome tips so they center properly with the body panel.
6. Tighten the clamp to 32-35 ft/lbs using a torque wrench.
7. Repeat for the driver side exhaust. NOTE: Similar to the removal, you will need to first install the driver side bracket into its isolator, followed by the passenger side. This is to get around the clearance issues.
8. Inspect around your new exhaust and ensure proper clearance from all other components.
9. Start your vehicle and check for any leaks. If you detect leaks, recheck your joints and clamps for proper positioning. NOTE: Upon first running your vehicle, the exhaust will smoke. This is normal and only lasts for a few minutes.
10. Enjoy your new exhaust. It will surely turn heads!
Installation Instructions written by AmericanMuscle customer Nick Longo 4.17.12

