 FREE 1 to 3-Day Delivery on Orders $149+ Details
Borla Stinger S-Type Catback ('05-'09 GT) - Installation Instructions
Installation Time
2 hours
Tools Required
- 3/8 Drive Ratchet
- 3/8 Drive Extension 3
- 15mm Socket
- Pry Bar
- Flat Blade Screwdriver
- Spray Lubricant

Shop Parts in this Guide
Installation
Original Exhaust System Removal Instructions:
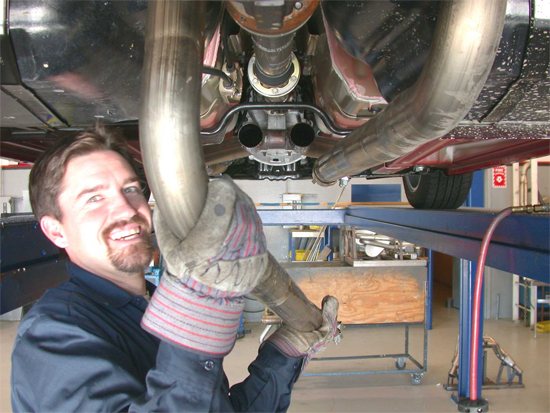
1. Loosen the clamps shown in figure 1 located just behind the h-pipe.

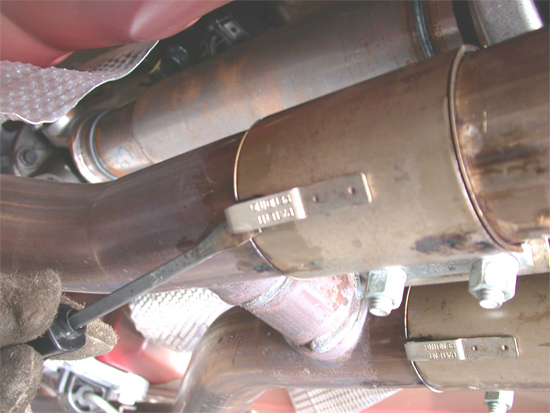
2. Loosen the clamps shown in figure 2 located just in front of each muffler assembly.
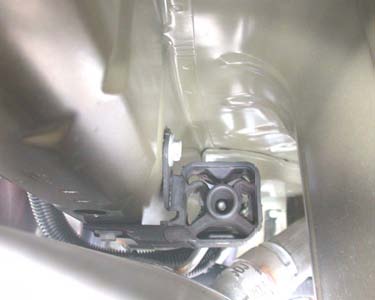
3. Beginning with the left (driver) side, using a flat blade screwdriver, pull the clip as shown in figure 3 to disengage it from the pipe.
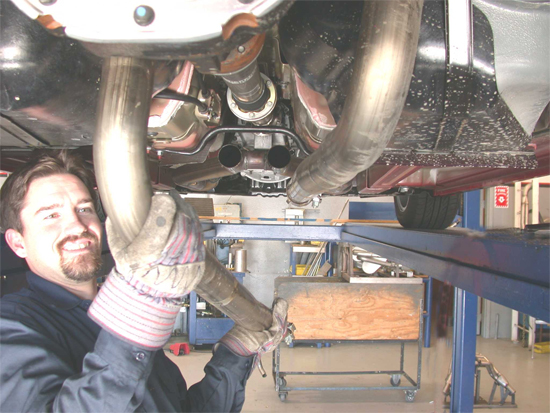
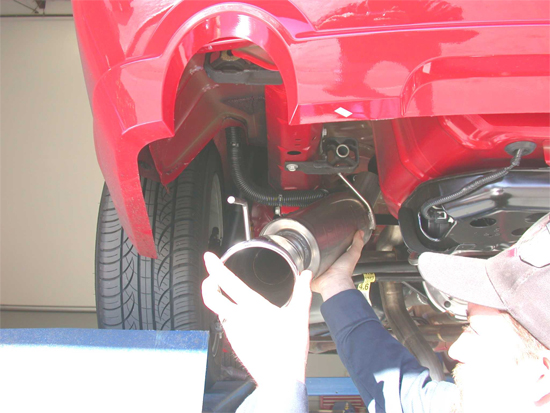
4. Remove the left (driver) side over axle pipe shown in figure 4 by removing the front of the pipe first then sliding it out of the muffler assembly.
5. Remove the factory clamp for use during the installation of your new exhaust system.
6. Repeat steps 3 thru 5 for the removal of the right side over axle pipe.
7. Lubricate hangers and rubber isolators.
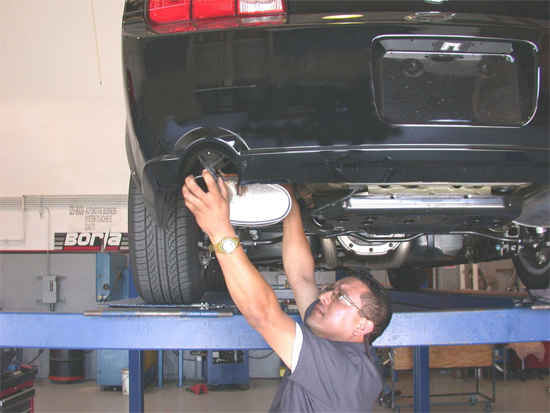
8. On left (driver) side muffler assembly, remove the hangers from the rubber isolators and remove the muffler from the vehicle as shown in figure 5.
9. Repeat step 7 for the removal of the right (passenger) side muffler assembly.
Borla Performance Cat-Back Exhaust System Installation
1. Place a clamp over the expanded end of the left (driver) side muffler assembly and set it up into position as shown in figure 6 installing the hangers into the rubber isolators.
2. Repeat step 1 for the installation of the right (passenger) side muffler assembly.
3. Place the original clamp over the expanded end of left (driver) side over axle pipe and set it into position as shown in figure 7 by first installing the rear portion into the muffler assembly.
4. Repeat step 3 for the installation of the right (passenger) side over axle pipe.
5. Check your exhaust system for proper clearance under the vehicle and also for tip alignment.
6. Once position has been determined to be correct, tighten the Accuseal™ clamps to 32-35 ft. lbs.
7. Before starting your vehicle, make sure to check all wires, hoses, brake lines, body parts and tires for safe clearance from the exhaust system.
8. Start vehicle and check for any leaks. If any leaks are found, determine cause (such as loose or incorrectly positioned clamp) and repair as necessary.
9. When you first start your vehicle after the installation of your new Borla Performance Exhaust System, there may be some smoke and fumes coming from the system. This is a protective oil based coating used in the manufacturing of mandrel bent performance exhaust tubing. This is not a problem and will disappear within a very short period of time after the exhaust has reached normal operating temperatures.
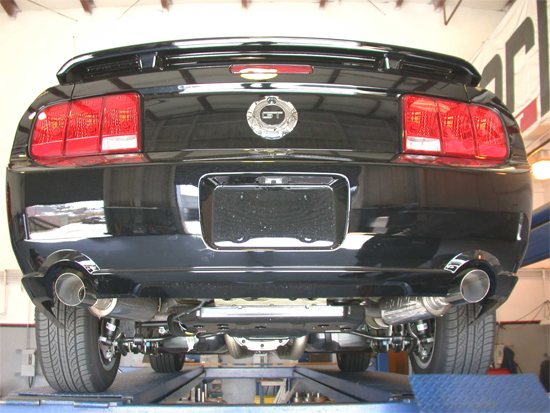
10. Congratulations! As shown in Figure 8, you have completed the installation of the world famous Borla Performance Stainless Steel Exhaust System.
Installation instructions provided by Borla Performance Industries
