 FREE 1 to 3-Day Delivery on Orders $149+ Details
How to Install a C&L Cold Air Intake for a 2010 Mustang GT
Tools Required
- 10mm and 12mm Socket
- Extension and Ratchet
- 12mm Wrench
- Torx 20 Driver
- Phillipshead Screwdriver
- Flat Head Screwdriver
- Plyers
- Razorblade or sharp knife
Installation
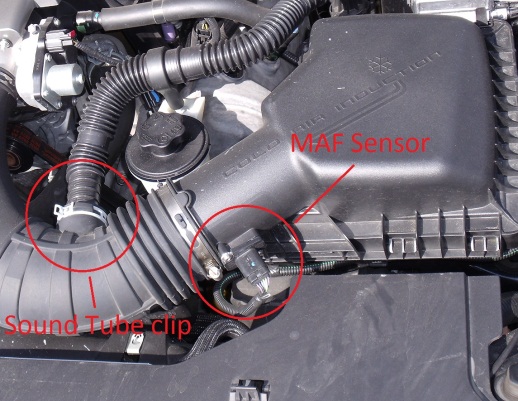
Figure 1
1. Unhook MAF sensor wire harness from sensor and all around the stock air box.(Figure 1)
2. Unhook the cabin sound tube by using plyers to press together the clamp to pull the tube out.(Figure 1)
3. Unhook the PVC line to the left of the stock intake tube by pushing the green tab on the bottom of the connector towards the rear of the vehicle and pulling the connector away from the tube.(Figure 2)
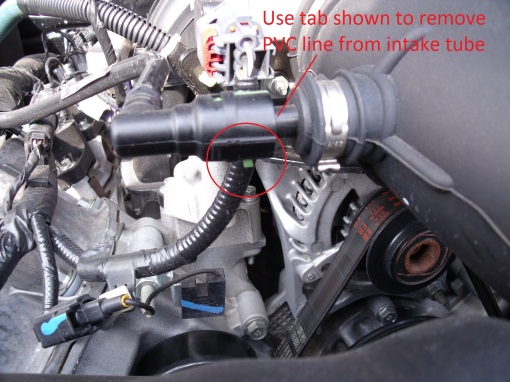
Figure 2
4. Remove the stock intake by loosening the clamp at the throttle body and removing the 10mm bolt holding down the air box. The whole stock intake assembly should lift out of the engine bay at this point.(Figure 3)
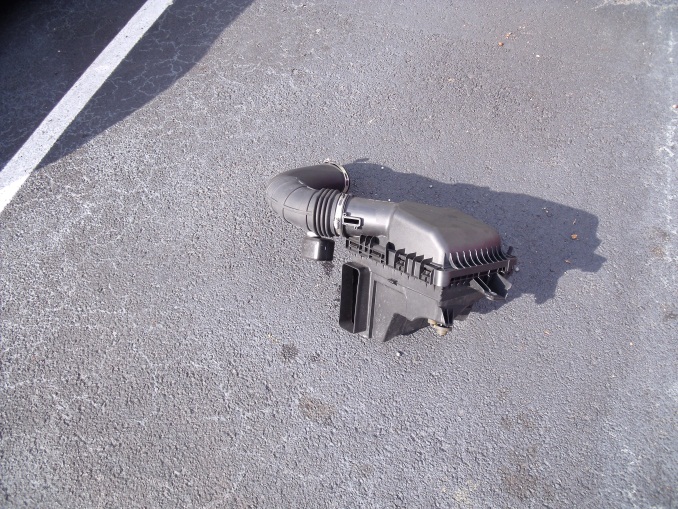
Figure 3
5. Remove front air inlet coming from the grille. Use flat screw driver to undo the 4 tabs (1 on each side). Once you get 2 or more give it a good tug straight out and it will pop off. You will need to trim the rubber fitting if you would like it to fit nicely. But trimming is not needed. You may also cut a hole in the bottom center of the same fitting for the bolt that comes with the kit to hold the bottom of the heat shield in place.(Figure 4. This picture is of the final trim with bolt in place)
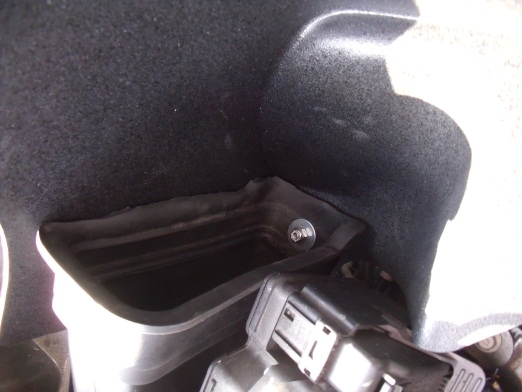
Figure 4
6. Secure the upper part of the heat shield to the fender where the stock assembly was secured. Same bolt is used from the stock assembly.
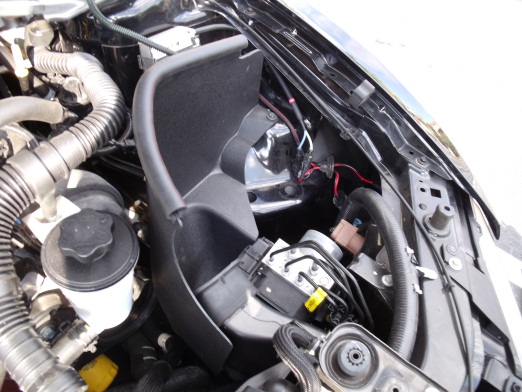
Figure 5
7. Install your new C&L intake tube onto the throttle body and tighten the clamp to secure in place. At this time you can reconnect the PVC line to the left of the tube. It will just pop back into place.
8. Reconnect the cabin sound tube to the new intake tube and tighten clamp to secure in place.
9. Place the MAF sensor into the slot in the intake tube and secure using screw that come in the kit (screws should be in place on the tube when you receive it). DO NOT use the screws from the stock intake to connect the MAF sensor to the new tube.
(Steps 7-9 final product shown in figure 6 to the right)

Figure 6
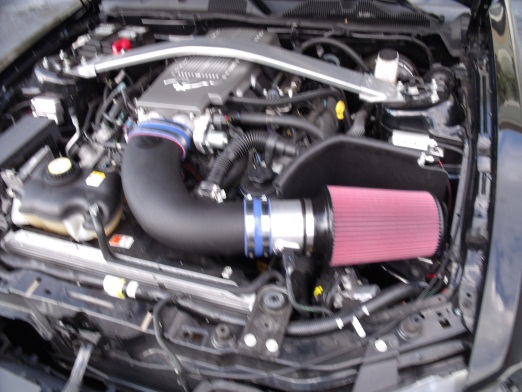
10. Install the C&L air filter to the intake tube and tighten the clamp to secure in place.
(Figure 7)
11. At this point you may want to recheck all wiring connections, clamps, and any other items you may have loosened or removed to make sure they are secure and tight.
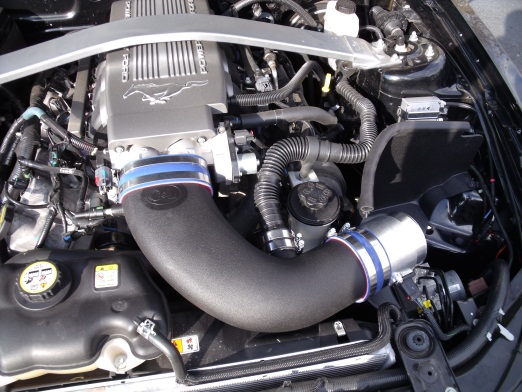
Figure 7
12. As stated in the warning at the beginning of these instructions, a tune is required for this intake! No tune may result in engine damage! If you do not already have a power flash tuner, return to Americanmuscle.com and purchase one before you drive your Mustang with this new intake!
13. Enjoy the new power you have been given from your C&L Cold Air Intake!
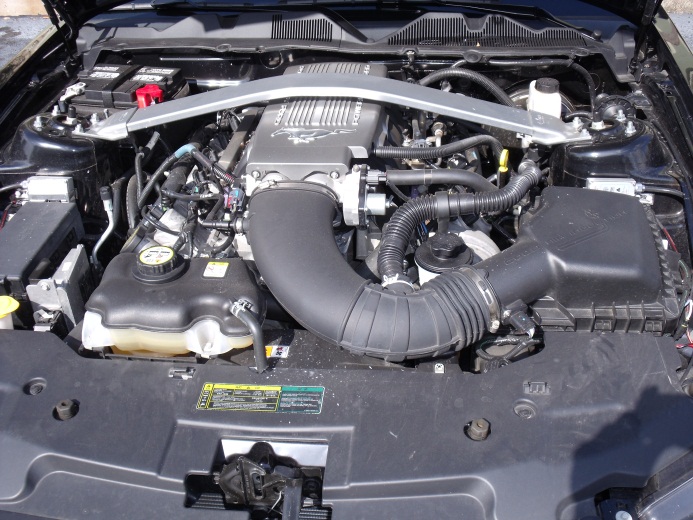
Before
After

