FREE 1 to 3-Day Delivery on Orders $149+ Details
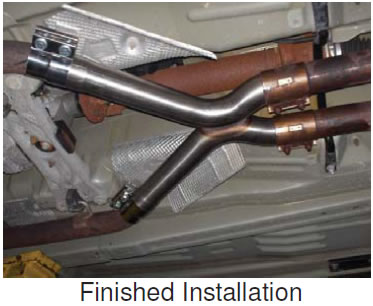
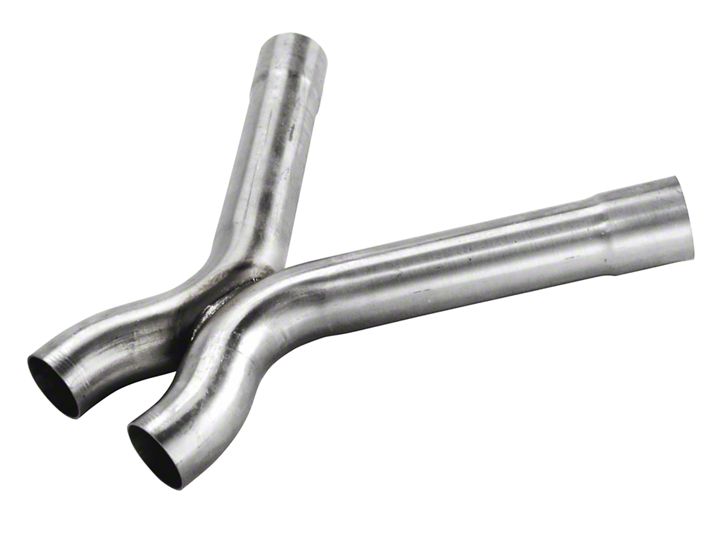
How to install a Ford Racing Cut and Clamp X-Pipe 2005-2010 GT Mustang
Shop Parts in this Guide
Installation
OVERVIEW:
The use of a floor hoist is recommended for this installation. If you do not have access to one, use a hydraulic floor jack and jack stands to raise the vehicle.
INSTALLATION INSTRUCTIONS:
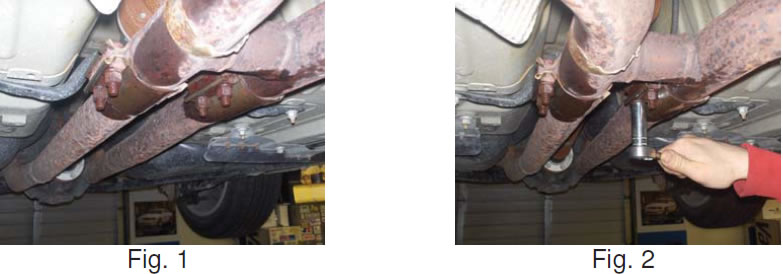
STEP 1: Raise and support vehicle (See Fig. 1).
STEP 2: Spray penetrate on clamp bolts. Loosen all four clamp bolts (See Fig. 2).
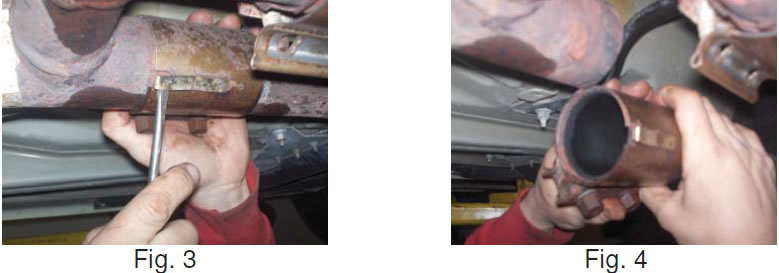
STEP 3: Lift clamp tabs (See Fig. 3).
STEP 4: Slide both clamps toward rear of vehicle (See Fig. 4).
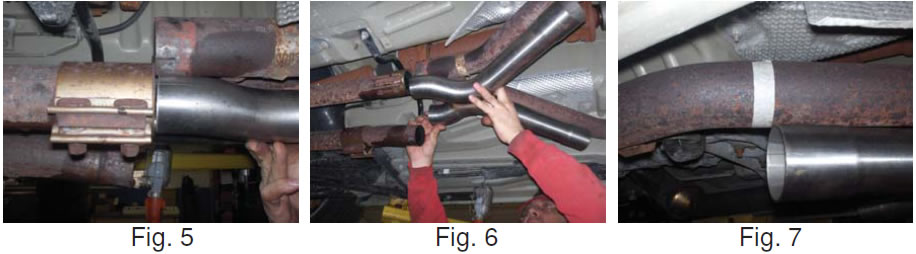
STEP 5: Hold new X-pipe and align with rear of exhaust. Mark end with tape (See Fig. 5, 6 & 7).
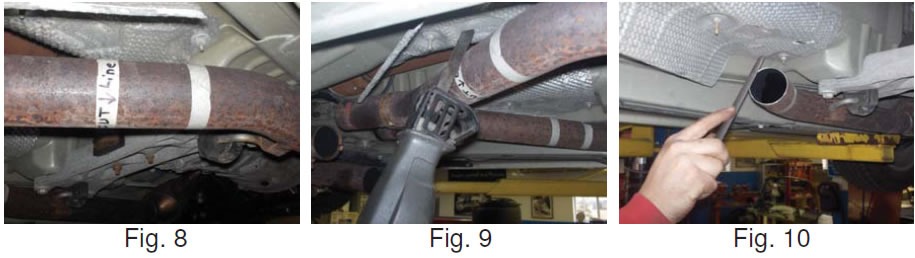
STEP 6: Measure 1-1/2” from end of pipe tape mark and make tape cut line (See Fig. 8).
STEP 7: Cut both pipes at cut line (See Fig. 9)
STEP 8: Clean sharp edges and burrs with a file (See Fig. 10).
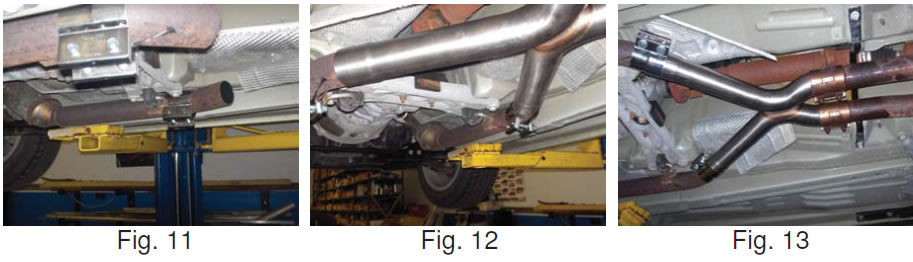
STEP 9: Slide new clamps on exhaust small end first (See Fig. 11)
STEP 10: Install new X-pipe in place (See Fig. 12).
STEP 11: Slide new clamps over front connection and the original rear clamps over pipe (See Fig. 13).
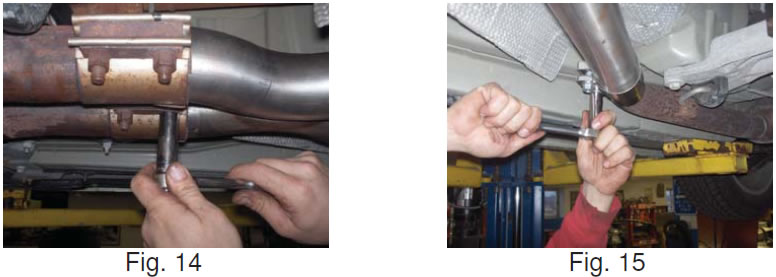
STEP 12: Tighten rear clamp bolts 54 Nm (40 lb-ft) (See Fig. 14).
STEP 13: Tighten front clamp bolts 54 Nm (40 lb-ft) (See Fig. 15).