 FREE 1 to 3-Day Delivery on Orders $149+ Details
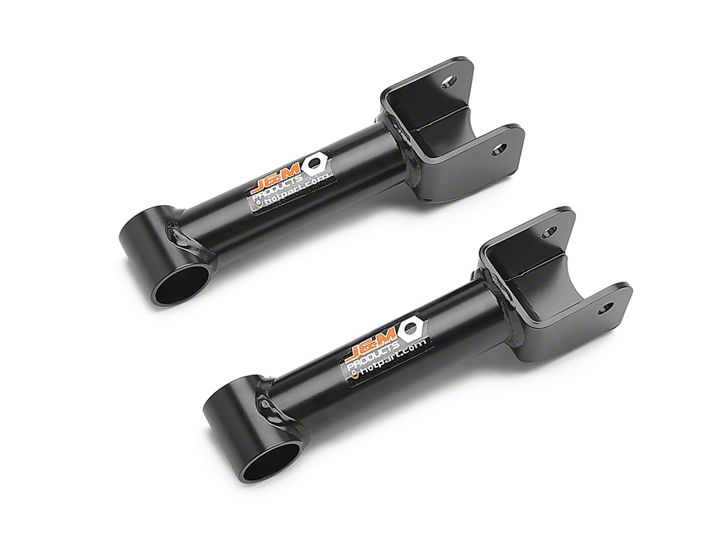
J&M Mustang Rear Upper Control Arms ('79-'04) - Installation Instructions
Installation Time
4 hours
Tools Required
- 1/2 Drive Ratchet or Impact Wrench
- 1/2" Drive, 4" Extender swivel socket
- 1/2" Drive swivel socket l
- 18m Socket
- 18mm Wrench
- Jack Stands, At Least 2
- Portable Jack Lift
- Small Flat-Head Screwdriver
Shop Parts in this Guide
Installation
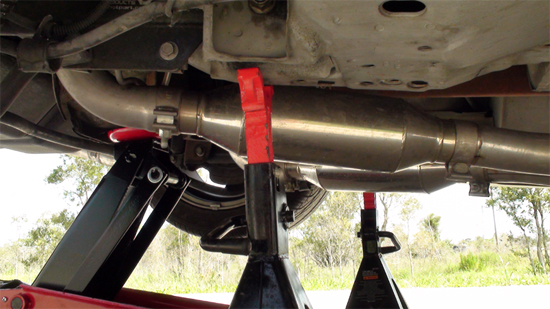
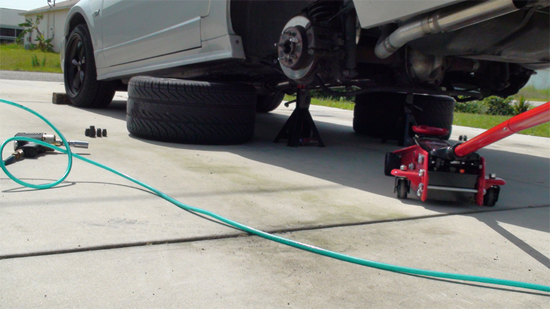
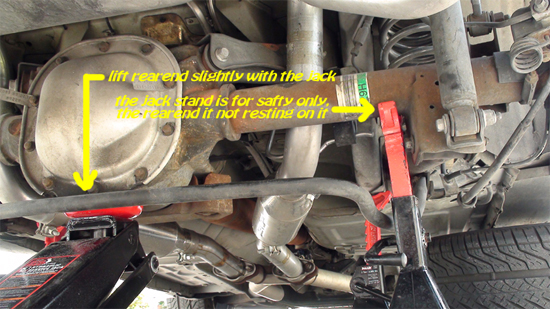
1. Jack up the car and support it using 2 of the jack stands placed under the frame rails on each side of the car
2. Take the rear wheels off and place under the body rails for safety
3. After making sure that the car is safe and secure use your 18mm wrench and your ratchet with the 18mm socket (I used an impact wrench which made it very easy) to loosen the 2 18mm nuts and bolts. (I stared on the passenger side of the car)
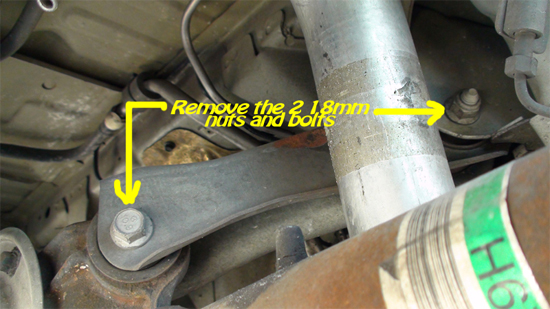
4. Once the nuts are off, to get the bolts out I used my jack to raise the rear end very slightly to take the tension off while pulling on the bolt that connects the upper arm to the rear end. You should feel it get lose, stop jacking and pull the bolt straight out. Now that the lower bolt is out the top bolt will come out real easy.
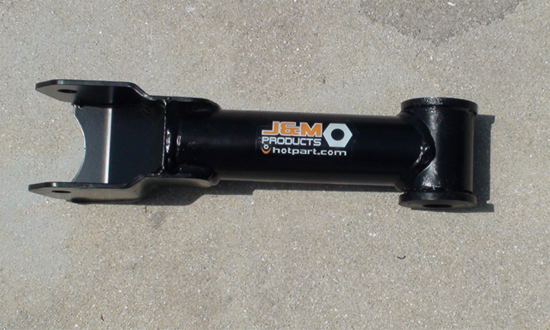
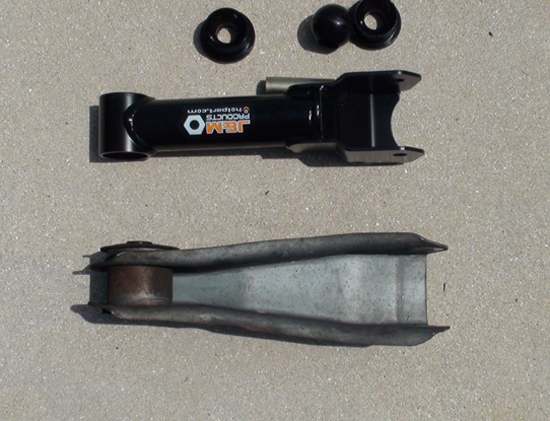
5. The old control arm is off the car and you are ready to install the new one.
6. Next grab your new upper control arm and using the silicone grease provided, apply the grease to both the inside and outside of the bushings. Install the ball bushing, first onto sleeves, and then on one side of the upper control arm bushing. Now place the other upper control arm bushing on other side.
NOTE:You will notice that you can’t push the bushings in to be flush with the upper control arms, because of trapped air between the bushing.
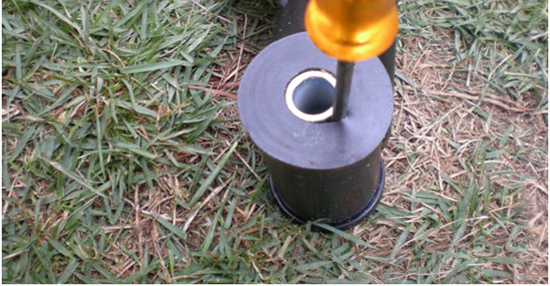
7. Stick a small screwdriver between the sleeve and the bushing, push in 2 inches and gently pry up. You will hear air escaping. Push the bushing in further and repeat these steps for both sides of bushings, until they become flush. Take your time and be patient it will go flush (thanks Jeremiah Campbell for that information).
8. Next line up the holes of the bushings you just installed with the holes on the upper control arm mounting bracket that is on the body of the car. Make sure the J&M lettering is facing the ground. Slide the bolt through and put the nut on but don’t tighten it yet. Rotate the upper control arm down and line up the boltholes for the rear end attachment. This should be easy as long as you didn’t change the jack position. Slide that bolt in replace the nut and now tighten everything down.
9. The passenger side is complete and you are ready to move to the other side.
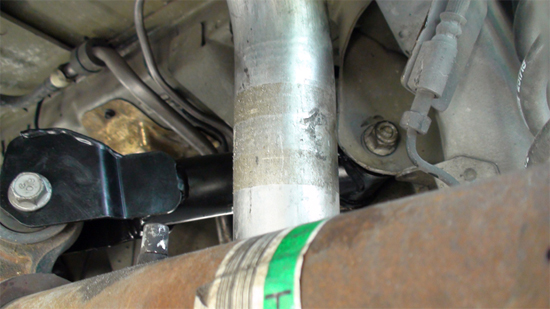
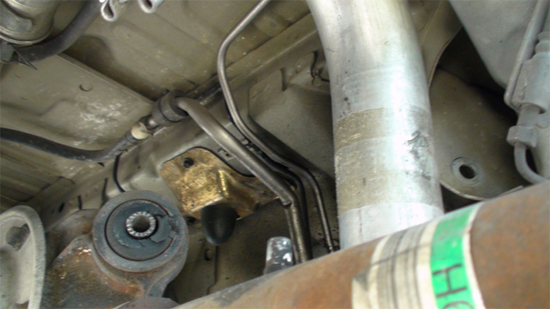
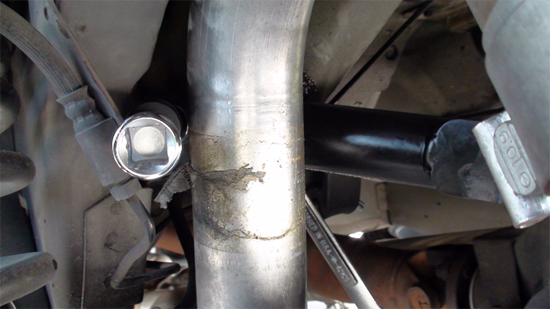
10. The driver’s side is no different. Loosen the 2 18mm nuts and bolts just like the driver side. The only difference at least for my car is the bolt that mounts the control arm to the body is kind of tough to get at. This is where the swivel socket and 4” extension comes in handy.
11. Place the socket and extension between the exhaust and the body.
12. Other than that it was just as easy as the other side.

13. Now just replace the wheels, jack up the car high enough to remove all of the jack stands make sure all tools and other objects are clear from under the car and lower slowly back down. All total this project took me about 1.5 Hrs
Installation instructions provided by AmericanMuscle customer Kevin Gerogeson 7.11.09

