FREE 1 to 3-Day Delivery on Orders $149+ Details
How to install a SHR Mustang Trunk Release Kit on your 2005-2009 Mustang
Installation Time
15 minutes
Tools Required
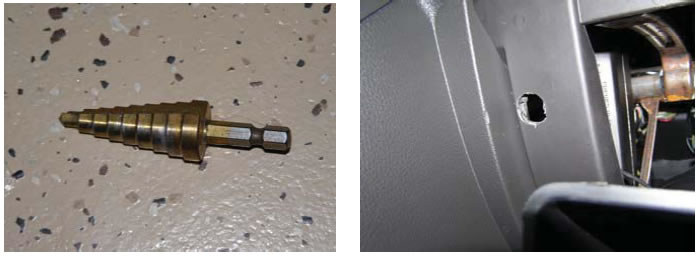
- Uni-bit drill or equivalent that can drill ¾" dia.
- Regular Pliers
- Safety glasses (please wear at all times during installation)
- 10mm socket / ratchet
- Trim removal tool
- Small Flat screwdriver
Shop Parts in this Guide
Installation
1. Place vehicle in park / set parking brake, turn off vehicle, and open passenger door and glove box. Remove anything in the glove box, and squeeze on the two ends near the rubber bump stops so the door will swing down to the fully open position.
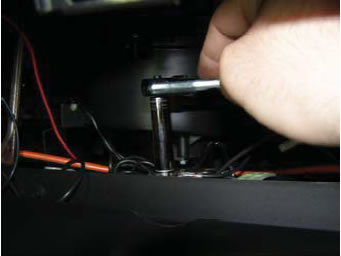
2. Find a suitable location in the left side of the dash hidden by the glove box door to drill the hole for the switch. Be sure that there is no wiring and look to avoid the metal frame behind the plastic where the drill will go through the plastic on the backside. When you are confident that the location is good, drill the hole to mount the switch. Debur the hole as needed for a clean fit.
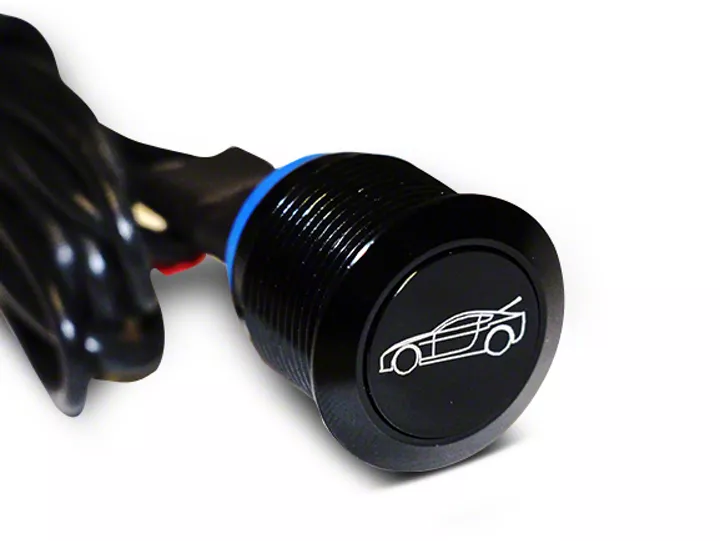
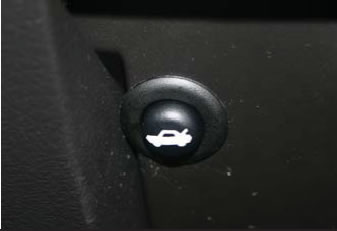
3. Unwrap the wiring attached to the switch and guide it through the hole, and push the switch into position. Sometimes it will need to be rotated slightly to sit flush on the dash.
4. The shorter of the two wires will have an eyelet on it. Find a suitable 10mm screw nearby and ground the eyelet / wire to it.
5. Route the longer wire with the factory harness behind the glove box. Use the included zip tie to keep the wire clear and connected to the harness.It will need to now go down behind the passenger kick panel. The kick panel is removed by pulling on it, and “popping” the mounting tabs loose. It will simply snap back into place when complete.
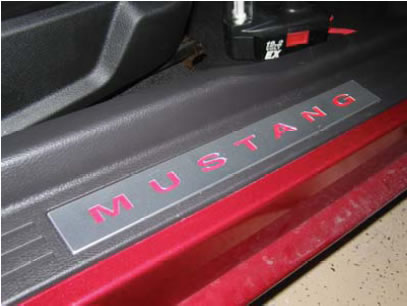
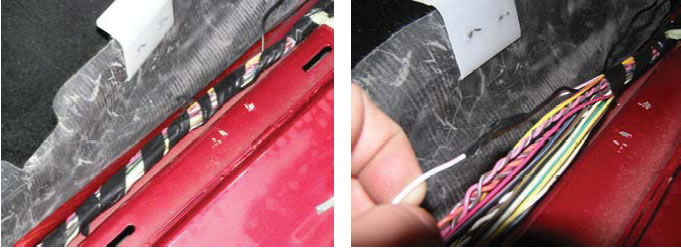
6. Remove the door entrance rocker panel cover (where it says Mustang) by lifting straight upward. Find an area in the rocker panel where you can splice into the harness by removing the tape from the harness. Locate the white with pink (may sometimes appear violet) stripe wire, and using the included scotch-lok connector, splice into the wire – crimp closed with pliers. Use electrical tape to protect the connection, and re-tape the harness.
7. Test for proper operation by pressing the button. If everything works. Re-assemble the interior and enjoy!
8. If there is a problem, it is most likely due to improper grounding (the eyelet wire) or the quick connector did not cut into the white / pink wire correctly. Check connections, and retest. If you are unable to identify the correct wire, disconnect battery, and move the quick connector to the following location: White/pink Trunk/Hatch Release Wire Located in the Passenger Kick Panel on backside of SJB, C2280c plug, pin 21. The SJB (Smart Junction Box) is in the passenger kick panel, and must be unbolted to access the C2280c connector on the back side. The C2280c connector is the third (from the bottom) rectangular connector in a row; it is a 52 pin connector. Reassemble, reconnect battery, and test.