 FREE 1 to 3-Day Delivery on Orders $149+ Details
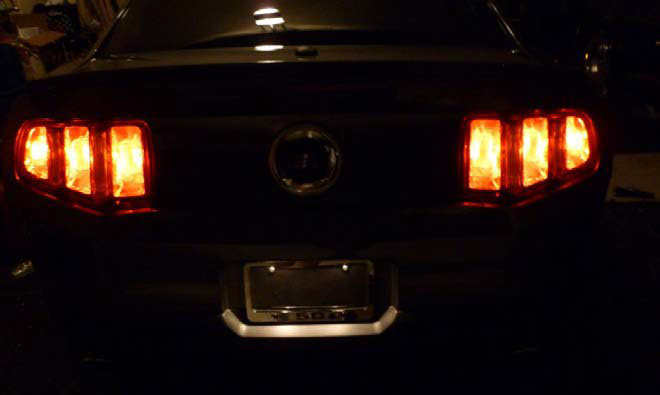
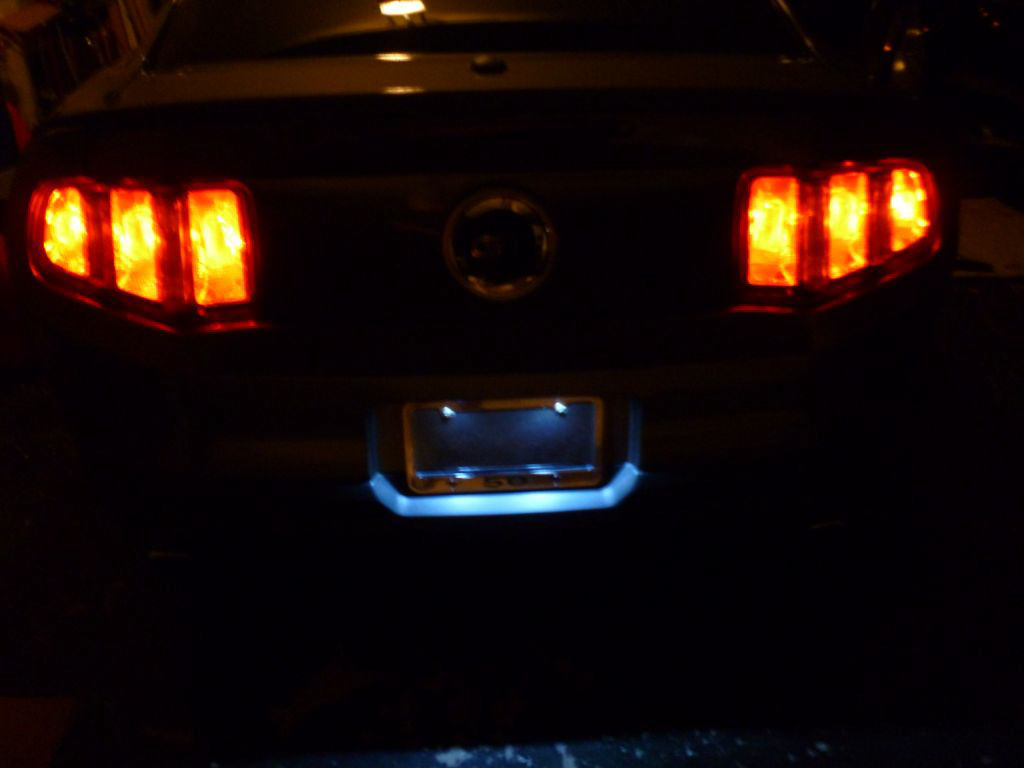
How to Install a Raxiom License Plate Light LED Conversion Kit on your 2010-2013 Mustang
Installation performed on a 2011 GT
Tools Required:
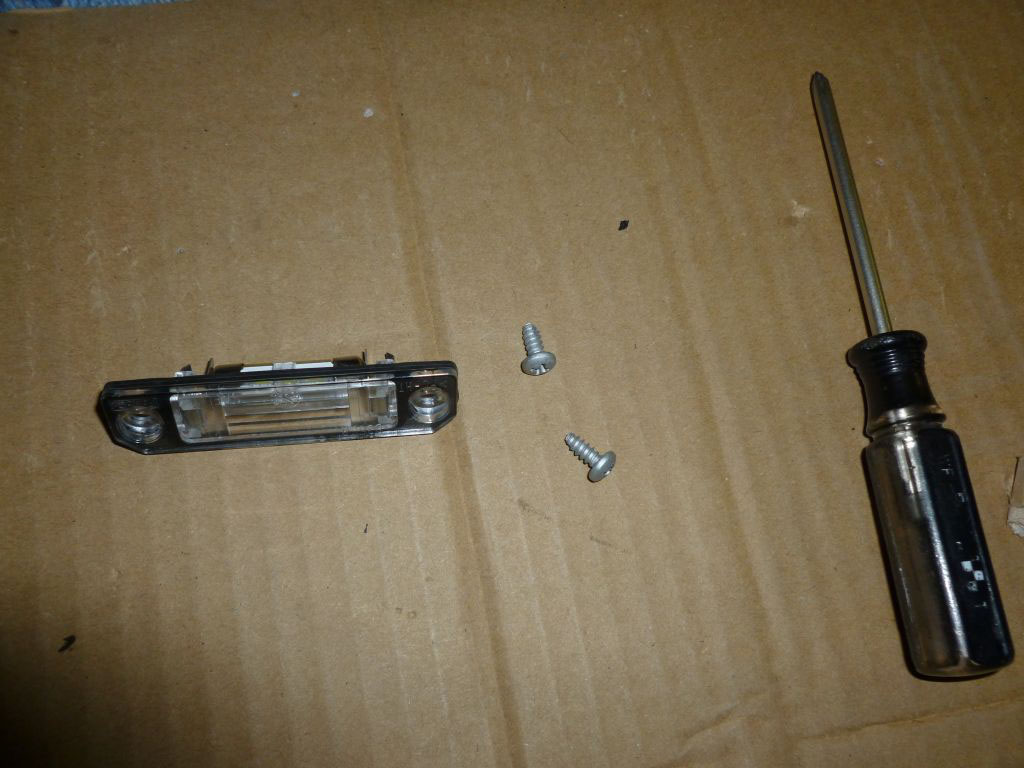
Normal sized Phillips Screwdriver
Installation Time: 15 minutes
Installation Instructions:
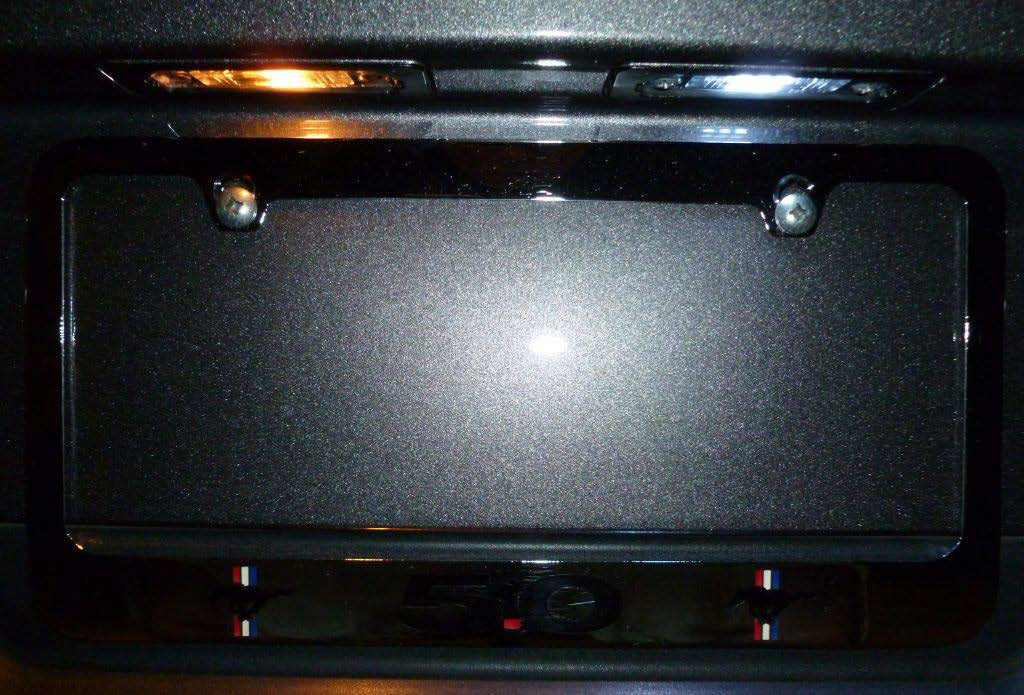
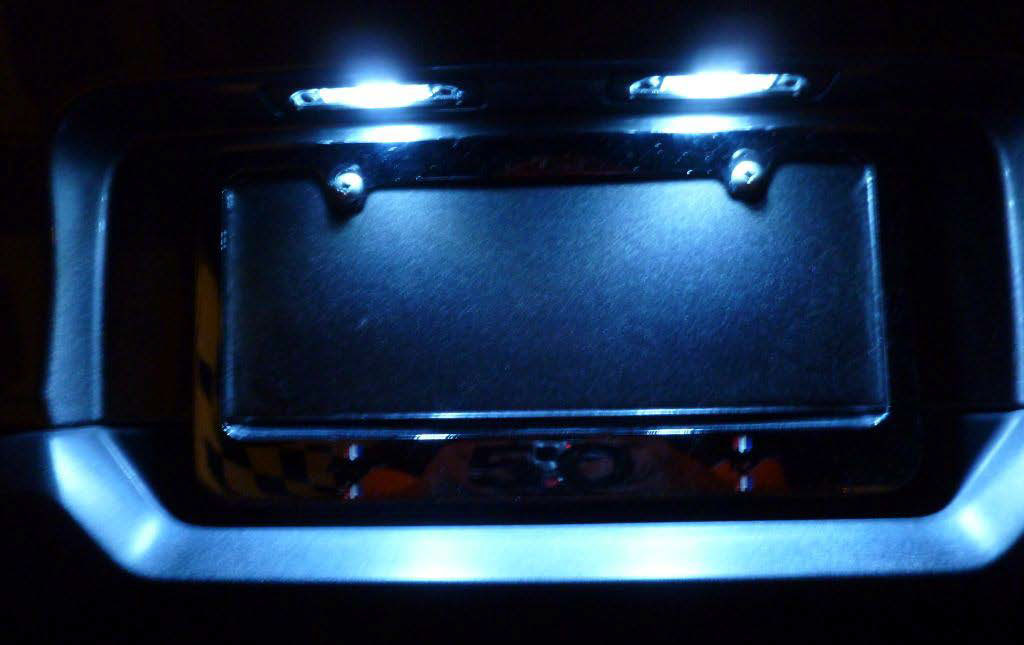
1. Locate the license plate light housings under the lip above the frame.
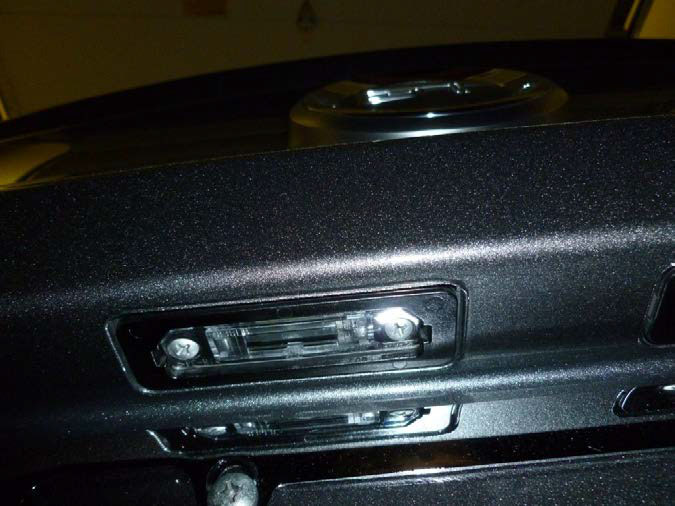
2. Use the screwdriver to unscrew the two screws from one of the housings.
3. Put the screw driver into the hole of the screw and gently pry the housing out. Very little force is needed, and this is only needed because of the tight contact between the electrical connections in the back.
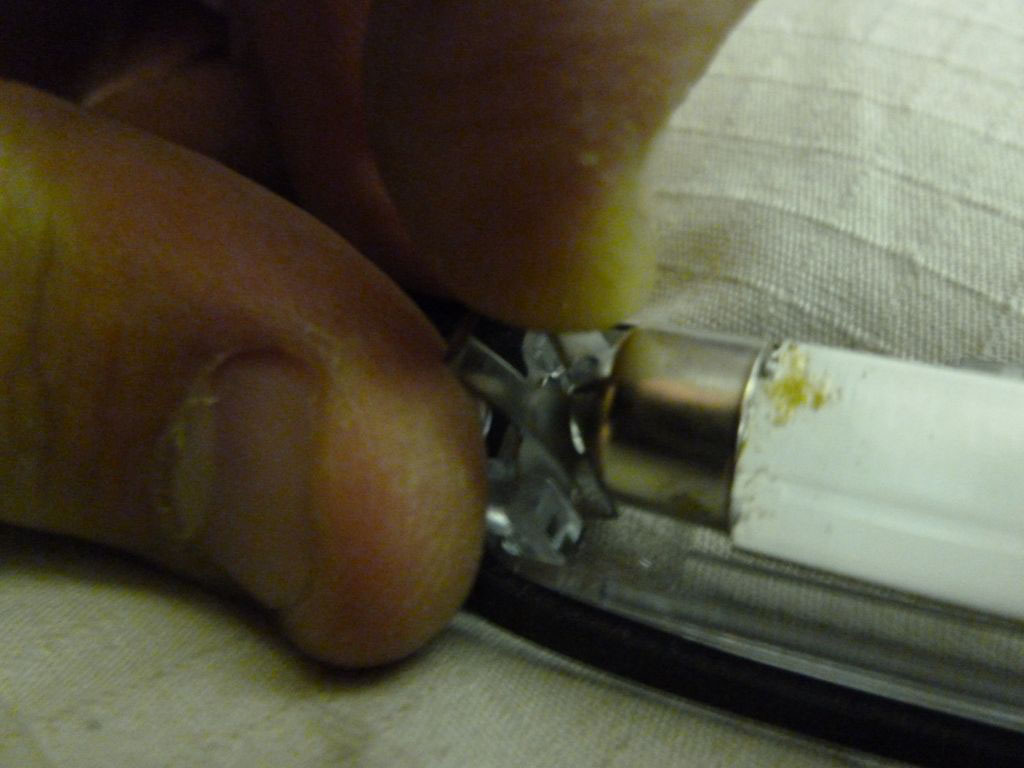
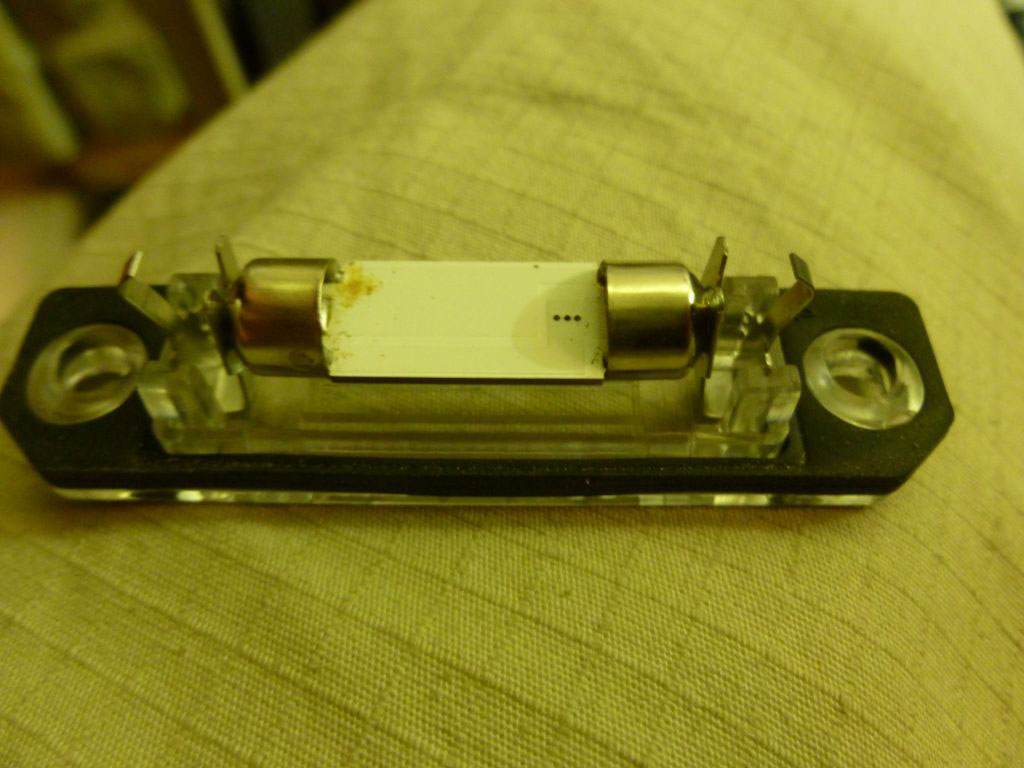
4. To remove the stock filament bulbs, pinch the connections on one side of the inside of the housing and lift up on the bulb.
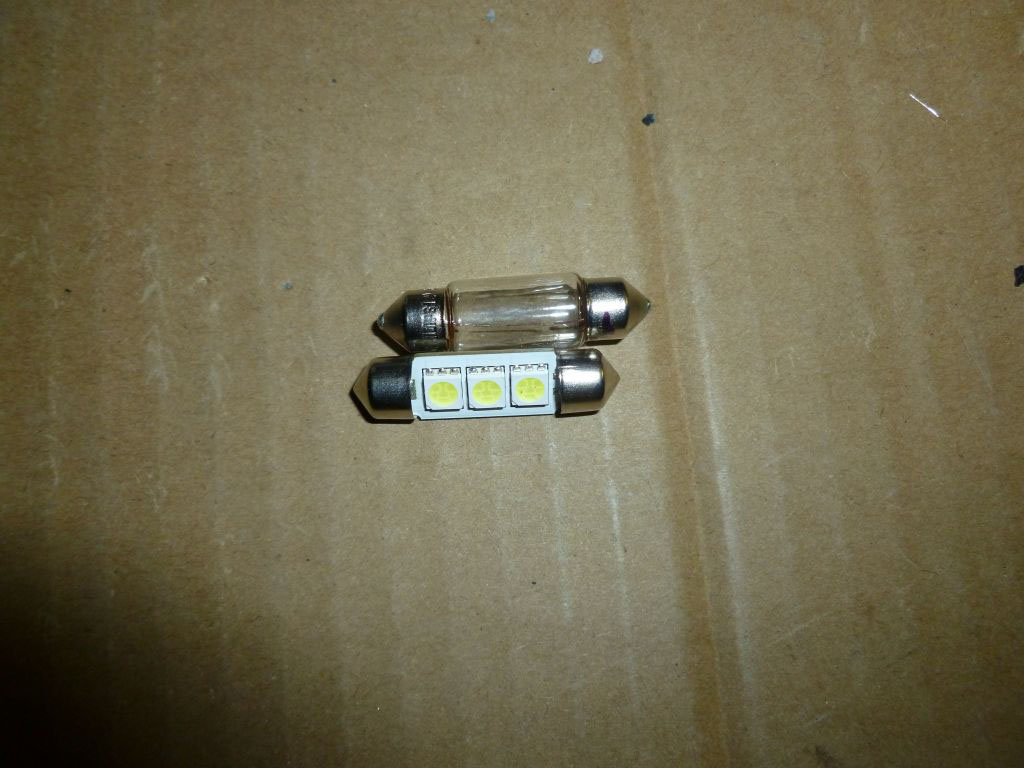
5. Put the new LED light into the housing. The lights should be pointing down out of the plastic window. In my tests, polarity of the lights did not affect the light output. Either way you insert the connectors should work. To put them into the connectors, put one end of the light in, and pull back on the clip of the other side, and apply light pressure down upon the light.
6. Put the housing back into the hole in the car, with the square corners nearest the front of the car, and the angled corners nearest the rear. Refer back to the picture in step 1 to see this.
7. Screw them back in, with little torque. Leaving them snug is best. Be careful not to crack the plastic.
8. Repeat for the other side.
Installation Instructions written by AmericanMuscle customer Justin Mcbride 6.21.12

