 FREE 1 to 3-Day Delivery on Orders $149+ Details
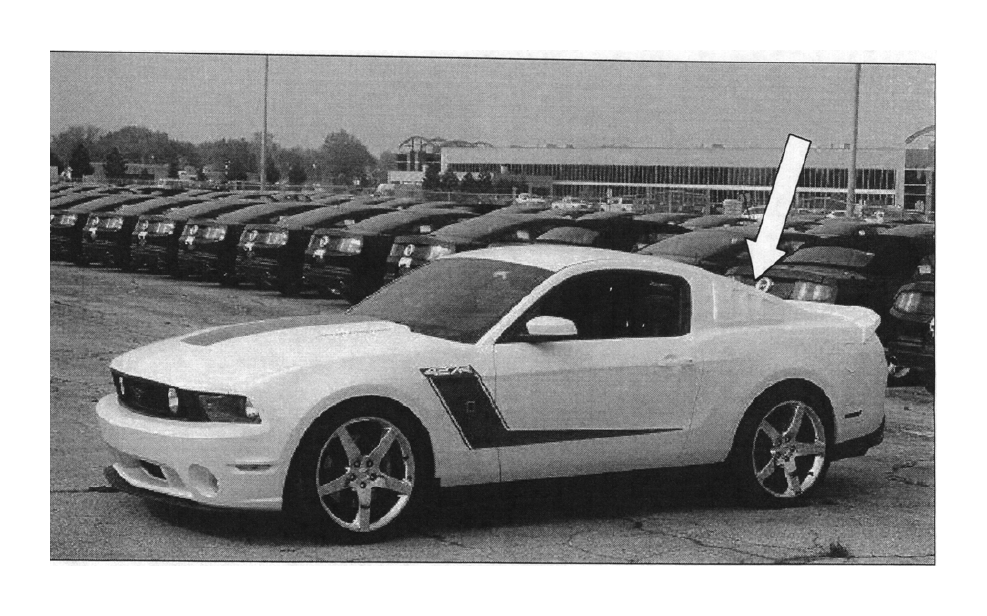
How to Install a Roush Quarter Window Louvers - Unpainted on your 2010-2013 Mustang

Shop Parts in this Guide
Installation Instructions
Before installing your ROUSH Performance Product(s), read through the entire installation procedure and check to make sure all items are present. Contact ROUSH Customer Service at 1-800-59-ROUSH, 9:00 AM to 5:00 PM EST, weekdays, for any questions regarding fit, missing parts or instructions that are unclear to you.
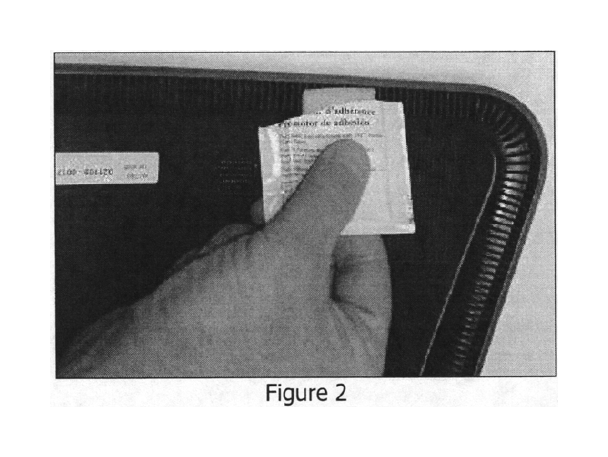
10. Roush recommends the use of 3M Adhesion Promoter 4298 to the ridged edge where the two-sided tape will be placed. Refer to Figure 2. Allow the Adhesion Promoter to completely dry.
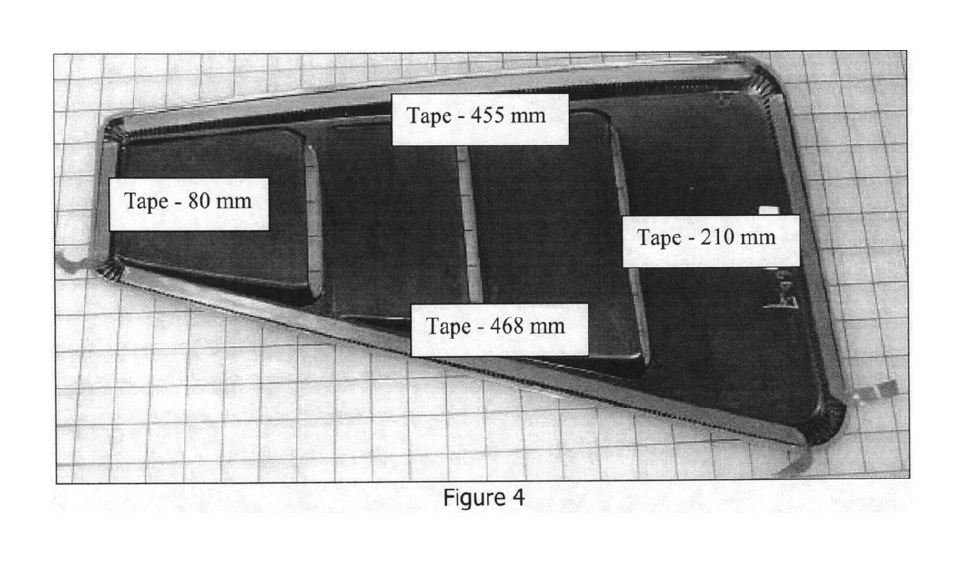
11. Apply the Tape Strips to the part as shown in Figure 4. Using a trim roller, apply firm pressure to the entire length of tape to ensure a tight bond to the louver ribs. Bend and crease the red backing tape tabs to the outside of the part as shown. Avoid exposing or touching the tape adhesive.
Note: The Velcro pads on the backside of the part are for manufacturing and painting the part at ROUSH and are not used for retention to the vehicle.
Quarter Window Louver Installation
1. Clean the right quarter window with glass cleaner.
2. Clean the body surface around the right rear quarter window with Isopropyl Alcohol.
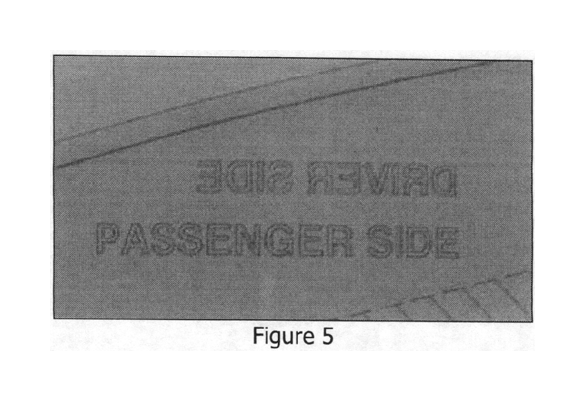
3. Select the "PASSENGER SIDE" of the template per Figure 5.
4. Position the Template over the right quarter window with the hash marks of the template centered in the dot matrix of the quarter window black-out. Refer to Figure 6. Note: Using a light source inside the car will highlight the dot matrix and ease template positioning.
5. Using masking tape, attach the template to the vehicle body at the four (4) corners. Refer to the small arrows in Figure 6.
6. Using masking tape as louver guides, apply three (3) pieces of masking tape to the vehicle body adjacent to the template at the top edge, front edge and rear edge. Refer to the large arrows in Figure 6.


