 FREE 1 to 3-Day Delivery on Orders $149+ Details
How to Install Sequential Tail Light Kit - Splice-in on Your 1996-2004 Mustang
Installation Time
1 hours
Tools Required
- Wire stripper
- Needle nose pliers
- Flat head screw driver
- 11mm socket
- Awl or pointed tool such as a small nail
- Electrical tape
- Towel or blanket
- Wire cutter
Installation
Before beginning this process please make yourself familiar with how to use a wire nut and a quick-splice connector. This mod requires minimal wiring knowledge but if you are not comfortable with wiring I would recommend getting a friend to help out that is comfortable with wiring.
- Wire nut should be screwed on till it’s snug
- Quick-splice connector, carefully squeeze the metal tang until it is flush with the connector and then fold over the connector and squeeze it closed.
Installation Instructions:
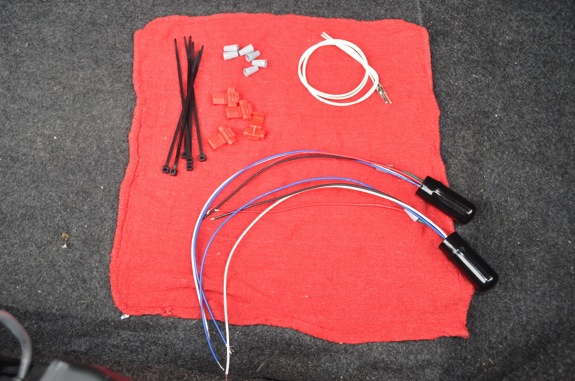
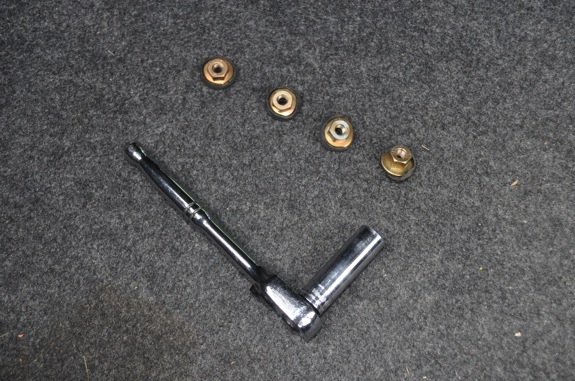
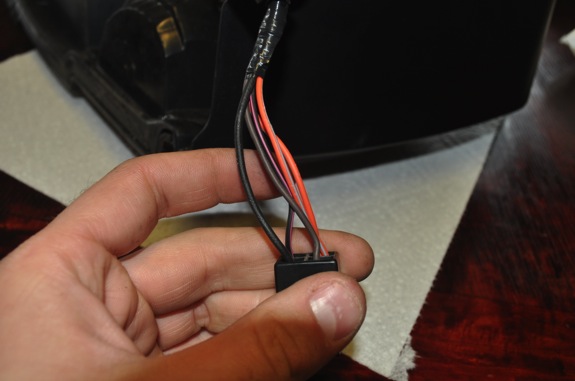
1. Here is what you should receive in the kit.
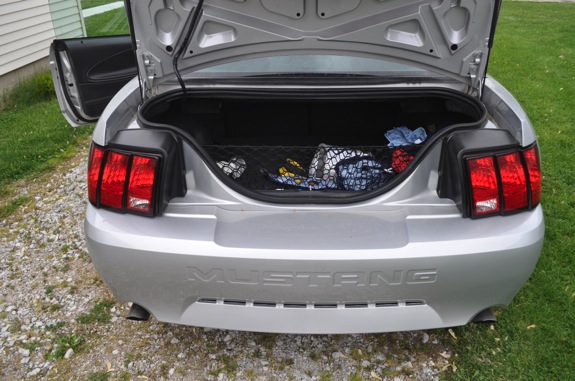
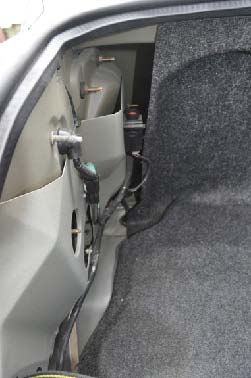
2. First off it may be a good idea to clean out anything that might get in your way in your trunk.
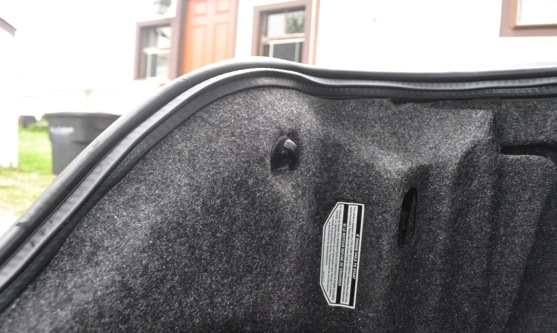
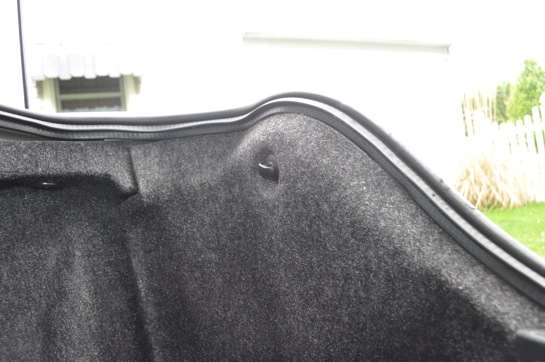
3. Locate your two plastic nuts that hold the trunk liner down. These are also the same nuts used to hold up your cargo net.
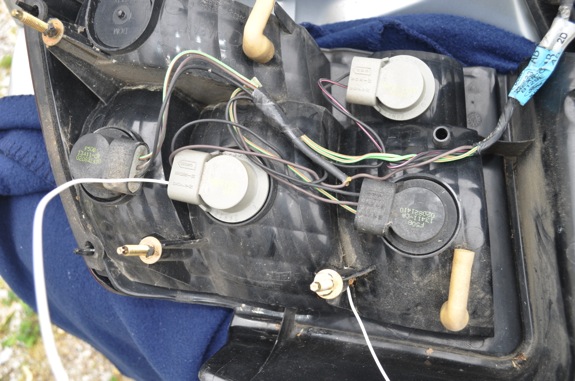
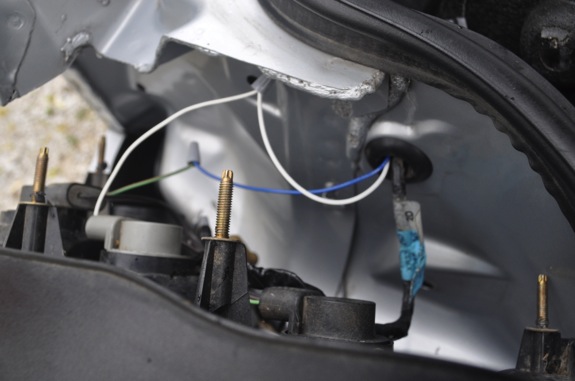
4. Lets start with the drivers side lamp. Locate the (4) 11mm nuts (orange arrows) that hold the lamp fixture in place. Disconnect the power source(blue arrow)
5. Remove them and set them aside.
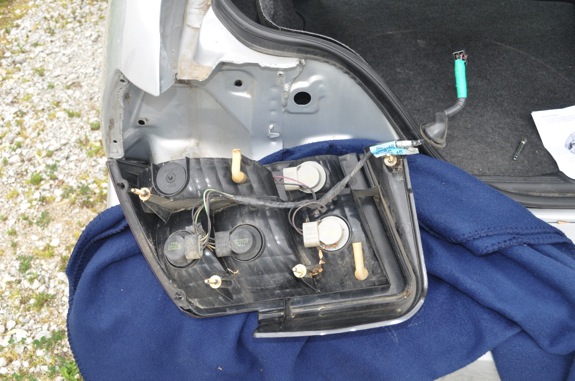
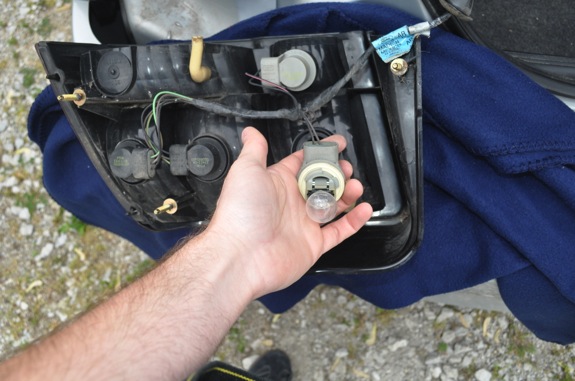
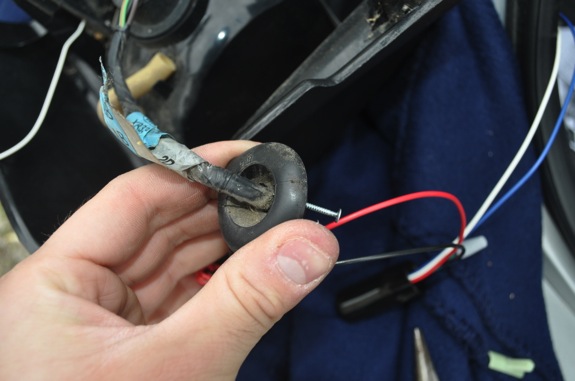
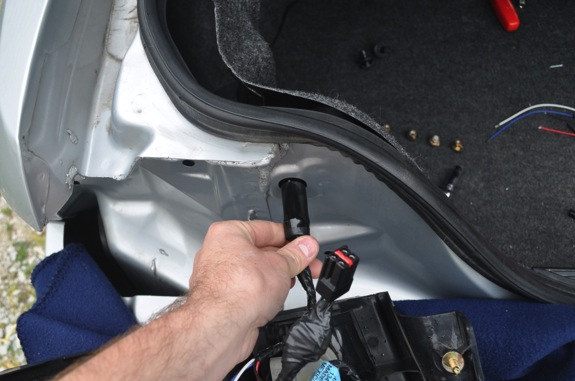
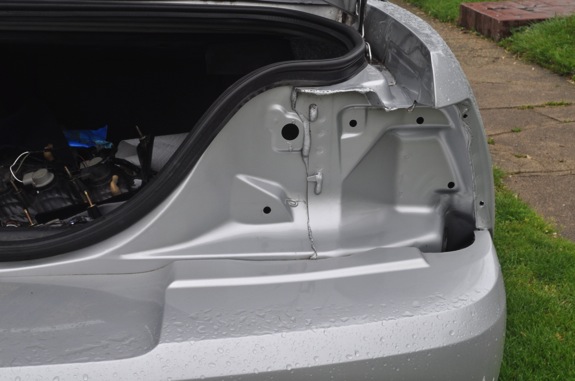
6. Now pull out the lamp and set it on a towel so that you prevent from scratching your bumper or the lamp. Also remove the grommet (blue arrow).
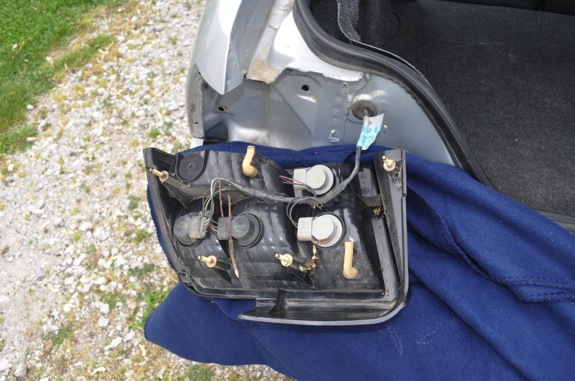
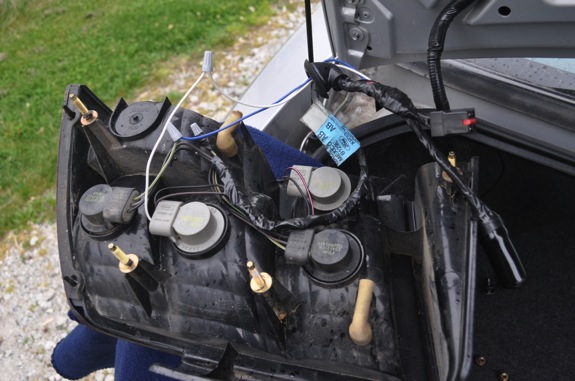
7. Your lamp should now be free to either work on where it’s at or take inside and wire it.
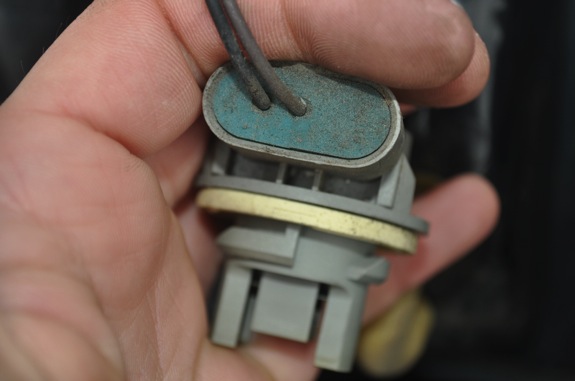
8. Remove the inside lamp socket
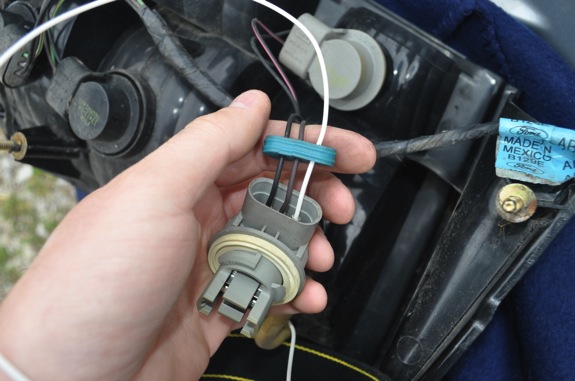
9. Remove the gasket out of the socket and slide down the wires. Use an awl or some other pointed device to pierce a small hole in the gasket.
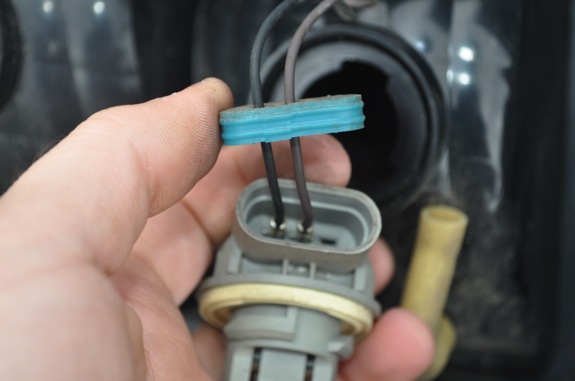
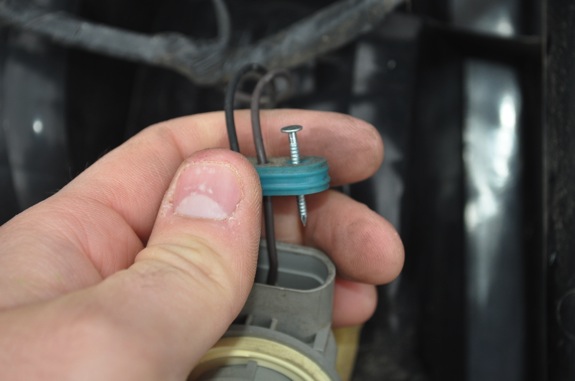
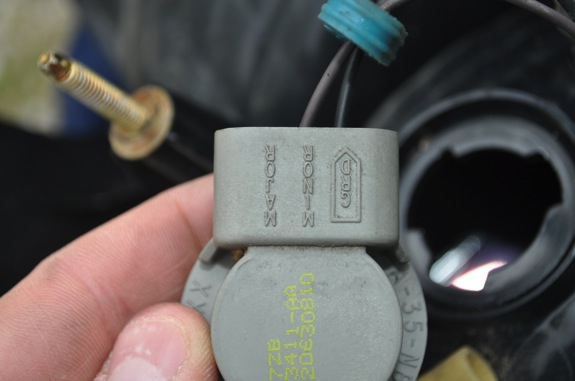
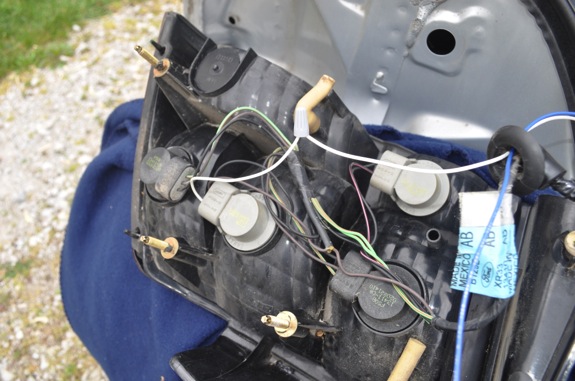
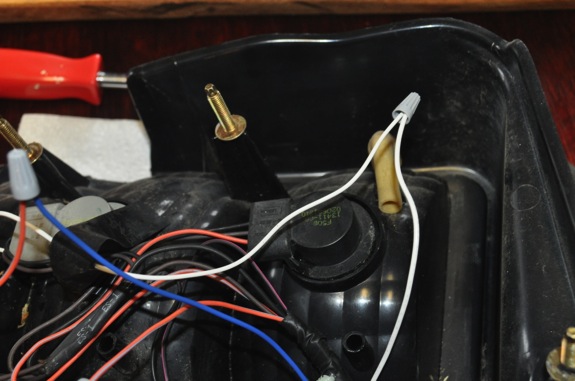
10. Locate the MAJOR position marking and insert your provided white wire through the gasket and into the socket. You may need to use a pair of pliers to ensure that it seats fully into place. Then put the gasket back into place.
11. Now swap the outer socket you have been working on with the middle position socket and re-install them. You may need to remove some of the harness tape to achieve this. I removed the tape and then re-taped after final fitment.
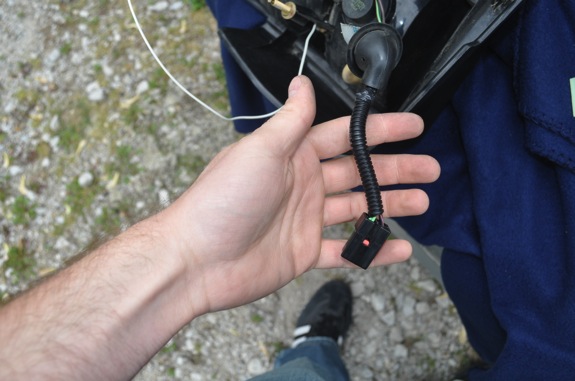
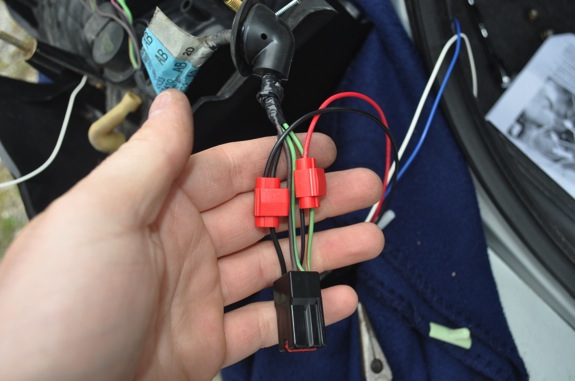
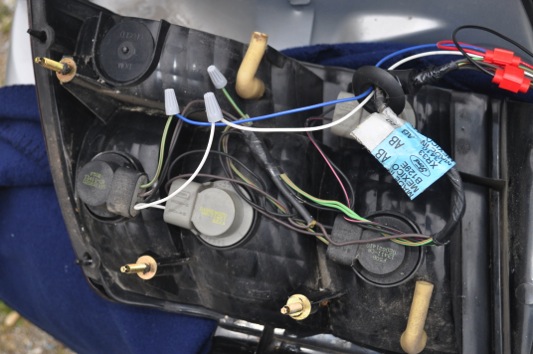
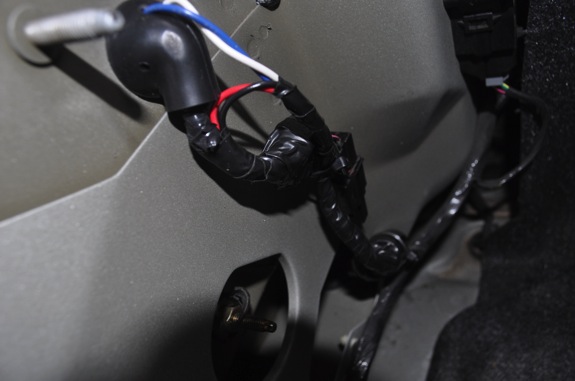
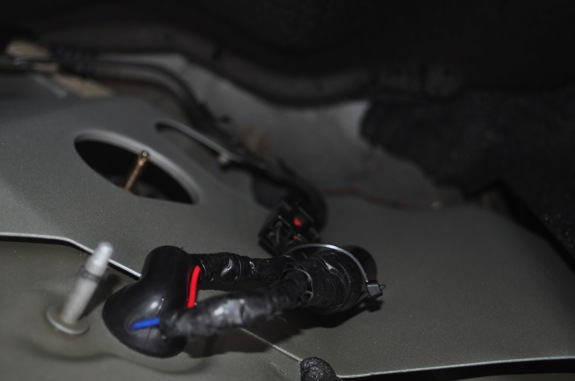
12. Now remove the cable wrap from the harness connection and splice in your module.
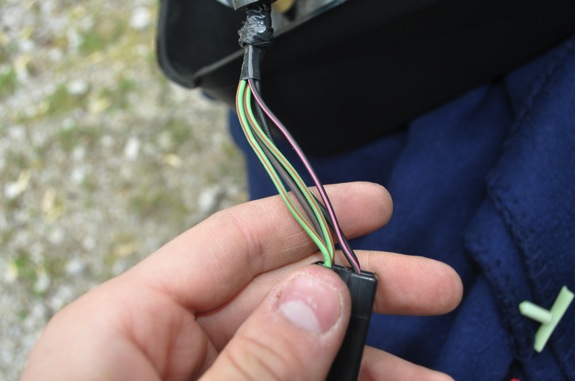
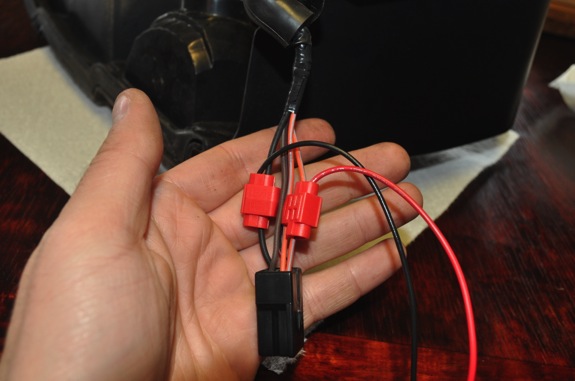
13. Now using the quick splice connectors splice the RED module wire to one of the GREEN with ORANGE stripe harness wires(it doesn’t matter which one you choose). Then connect the BLACK module wire to the BLACK harness wire. Make sure yours looks like the picture below.
14. Now punch two holes in the grommet to feed the blue and white wires through.
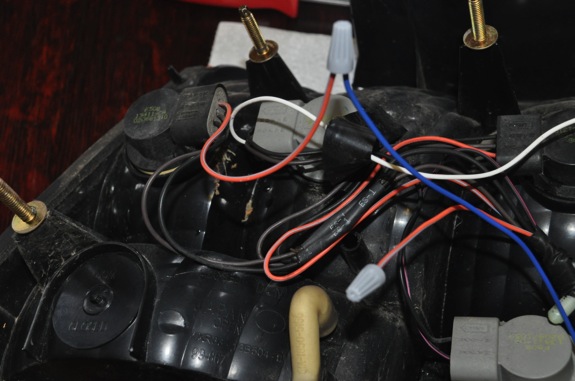
15. Connect the WHITE module wire to the WHITE wire you put into the middle MAJOR socket position. Use a wire nut as seen in picture.
16. Then connect the BLUE wire to the GREEN with ORANGE strip wire(the outermost lamp socket). Snip it near the socket and put a wire nut connecting the BLUE wire with the GREEN/ORANGE wire that is coming from the socket. Wrap the left over wire with a wire nut.
17. Now would be the time to tidy up your wiring and re-install the driver’s side tail light. It also may not hurt to clean up the area where the tail light will be going back in.
18. Re-connect the harness and use zip-ties provided in the kit to secure the module to the wiring.
19. Now you are half way done! Let’s start the passengers-side installation. The only difference now is that the RED gets connected to an ORANGE wire with a LIGHT BLUE stripe. Feel free to work ahead if you get the gist of what you are doing.
20. Go through the first 12 steps done previously now for the passengers side. We will start at the wiring at step 13. Connect the RED module wire to the ORANGE/LIGHT BLUE stripe wire. Then connect the BLACK module wire to the BLACK harness wire.
21. Run the BLUE and WHITE module wires through grommet. Connect the BLUE wire to the outer most sockets ORANGE with LIGHT BLUE stripe wire. Then connect the WHITE module wire to the WHITE wire you installed into the socket of the now center bulb. Use the last wire nut to cap off the extra ORANGE/LIGHT BLUE wire.
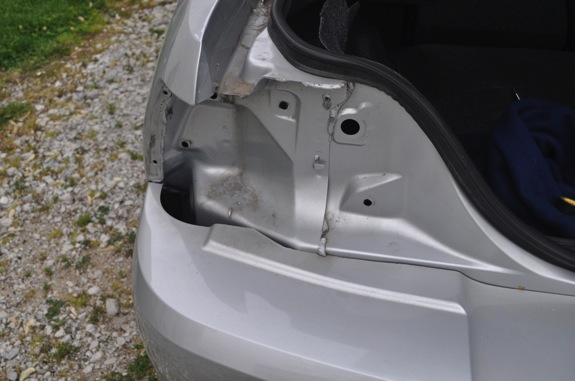
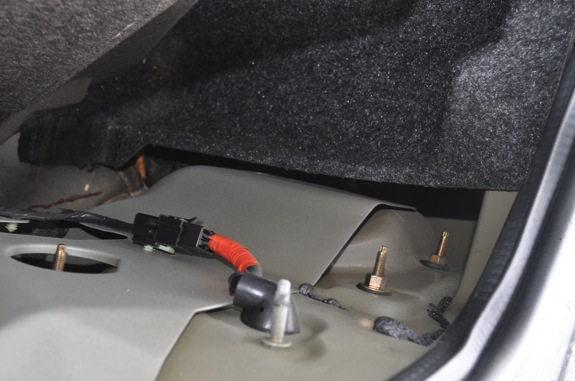
22. Now clean up the passenger side lamp cavity so that you can re-install the lamp housing.
23. Re-install the lamp housing and tie down the module.
24. Tighten down the (8) 11mm nuts so that the lamp housings are back securely in there place. Also re-install the plastic nuts that hold down the trunk liner. You are now ready to test your new sequential tail lights.
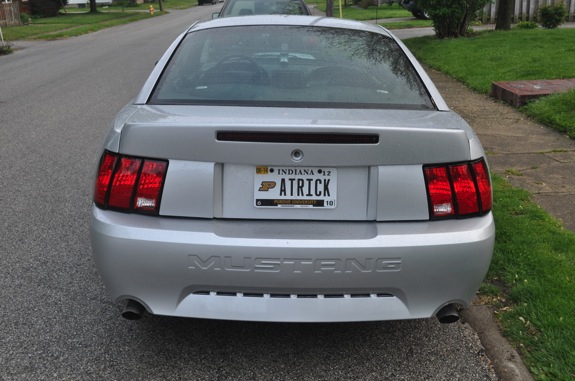
Zero
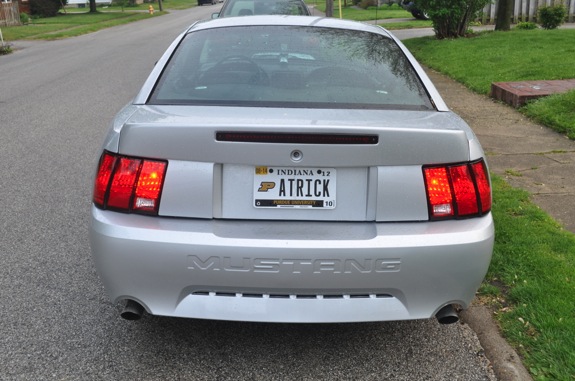
One
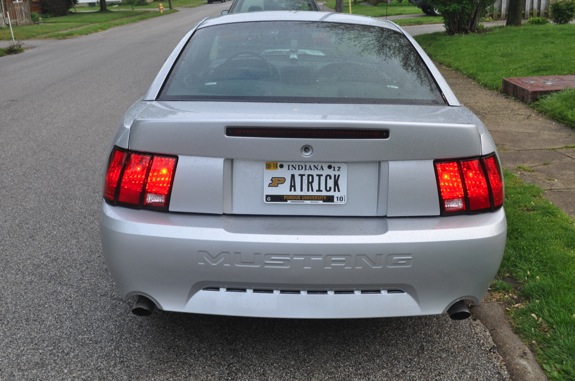
Two
Three
25. You have now completed your installation.
Installation instructions provided by AmericanMuscle customer Patrick Morrison 4.27.12
