FREE 1 to 3-Day Delivery on Orders $149+ Details
How to install a Shifter Base & Handle Gasket on your Mustang
Installation Time
1 hours
Tools Required
- small pick or mini flathead screwdriver
- 1/4" ratchet
- 1/4" 8" extension
- 1/4" 8mm socket
- 1/4" 13mm socket
- 1/4" swivel
- Blue Loctite© or similar (required)
- razor blade
- 3M red scuff pad or similar
- brake clean or degreaser
- rags
- WD40 or rust mover
Installation
In this how-to you will see the process of installing a shifter gasket kit on a 2001 Cobra with a TR-3650 transmission. Other applications/models are similar. Refer to your own manufacturer's service manual for specific shifter removal/installation instructions. The whole install from start to finish takes from 30-60 minutes depending on your skill level and experience with removing/installing shifters. This is a fairly simple install for the technically challenged out there. I have average mechanical ability and it took me 30 minutes to install my first shifter on an '03 Cobra and 20 minutes the second time I removed the shifter to install my shifter gasket kit.
Special thanks to Drew Markowski for taking the time to do the installation write-up complete with photos.
Installation Vehicle: 2001 cobra, TR-3650 transmission with a Steeda Tri-Ax shifter
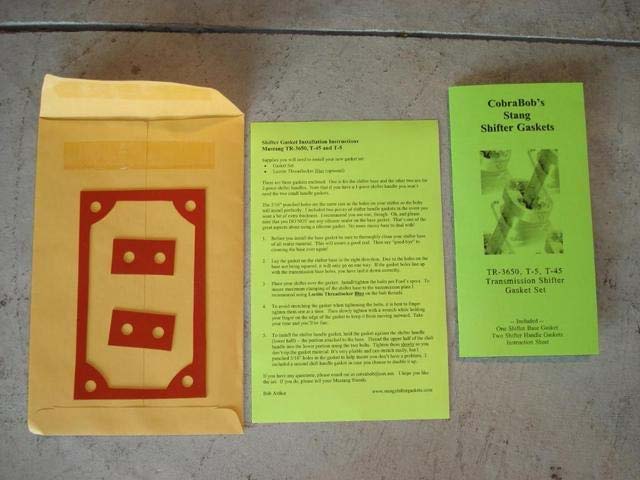
Here is a photo of the kit you will receive (TR-3650 kit shown).
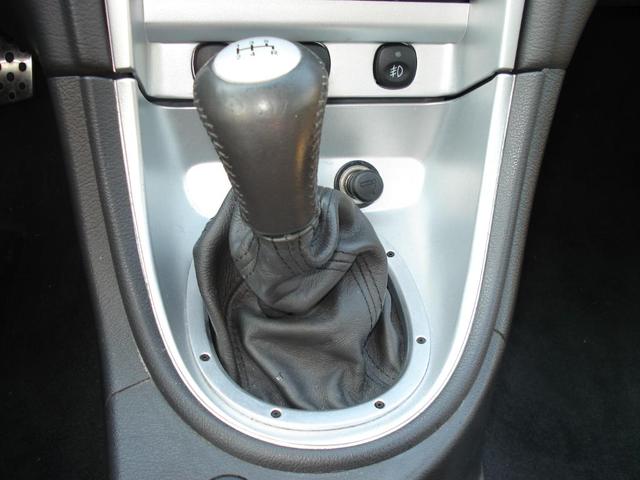
This is what you will be removing.

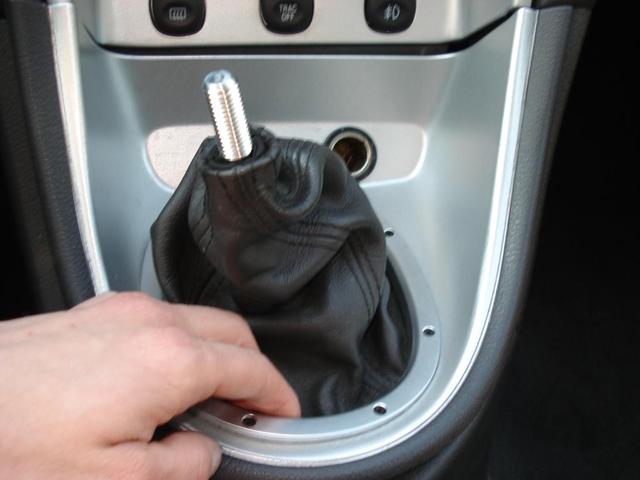
Start by removing your shift knob (counter clockwise) and remove the cigarette lighter. Pull up on the bottom and the tabs should release allowing forward movement. disconnecting the forward clips.
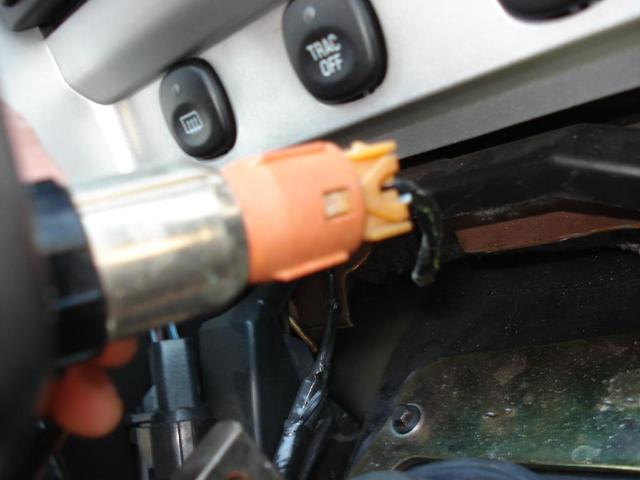
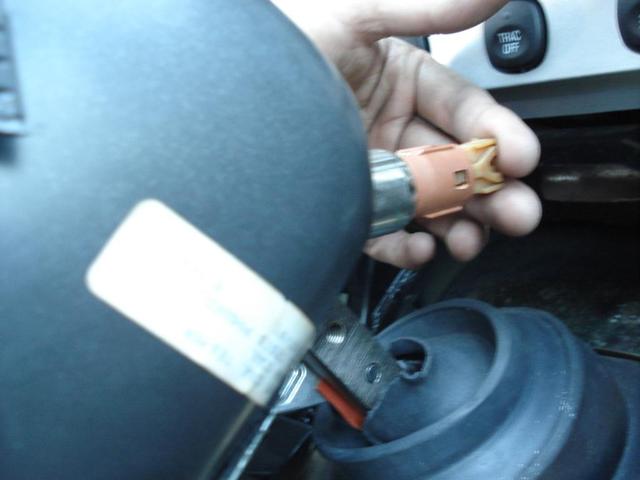
At this point you will not be able to remove fully until disconnecting the electrical plug on the lighter.
You will see in the photo the orange tab that will have to be pushed in for the clip to release. I used a small pick to apply pressure while pulling out.
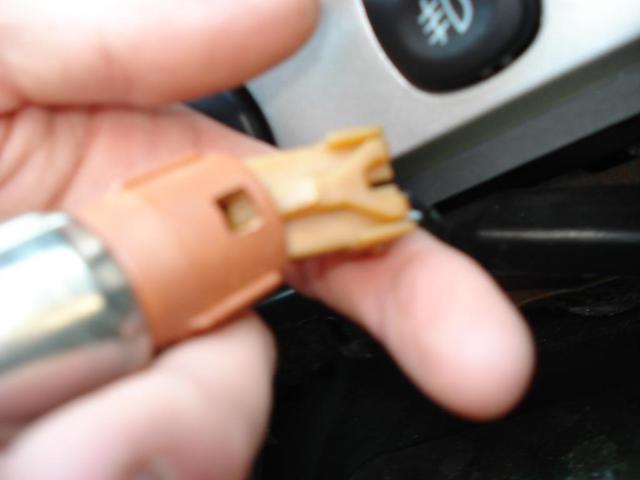
Here is the connector view once removed
In this photo you will see the shifter cover plate and the 4 8mm bolts that retain it. To remove the bolts you may need to crack them loose (counter clockwise) and spray a little rust penetrator or WD-40 spray to allow them to come out fully.
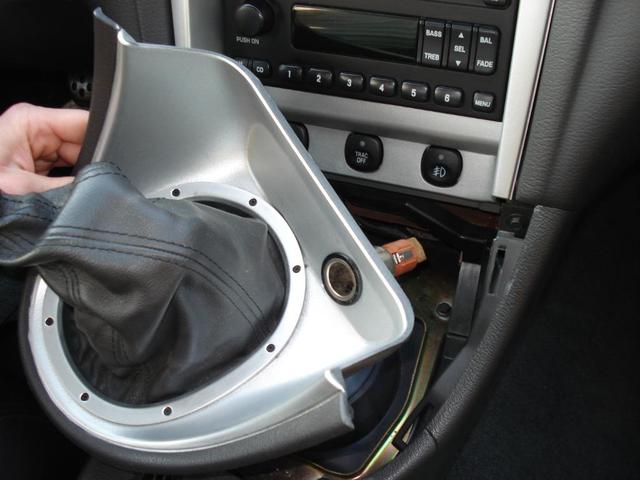
Once bolts are removed, the cover plate will need to be pushed to the driver side and lifted on the passenger side of the cover to come out.
Cover plate removing
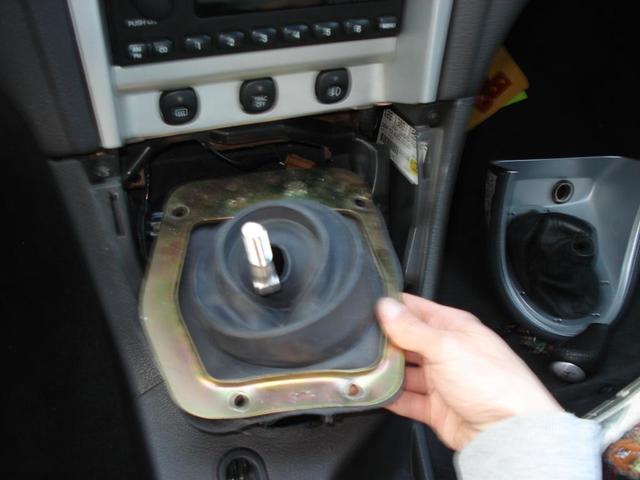
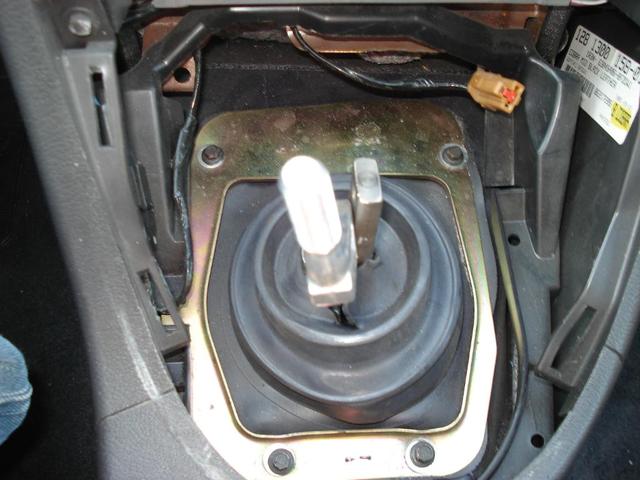
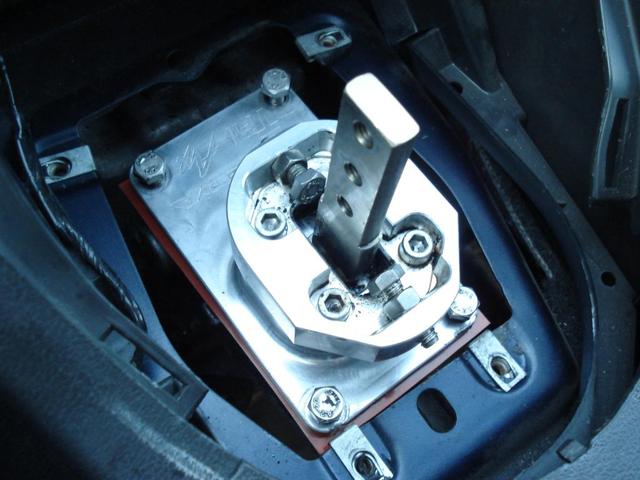
View of the shifter with plate removed

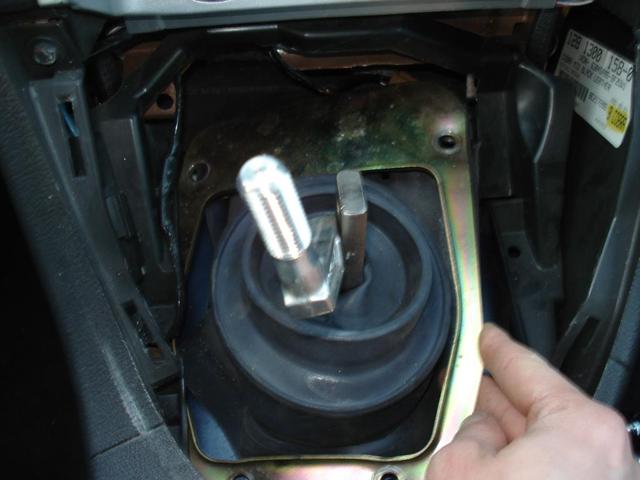
If you have a one piece handle bypass these steps and move to shifter removal. Start by loosening the 2 13mm bolts holding the shifter handle shifter base.
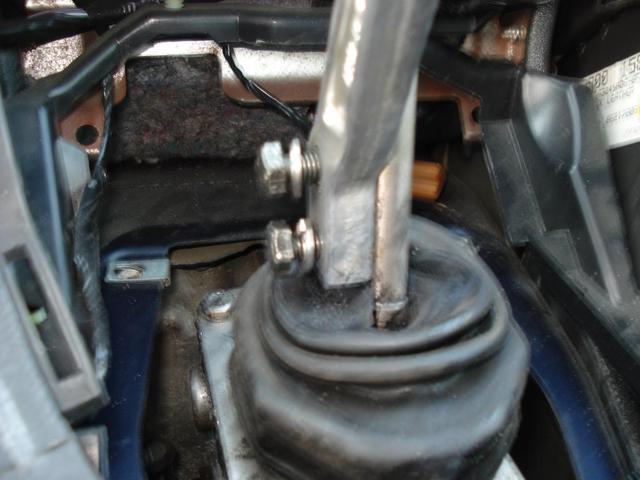
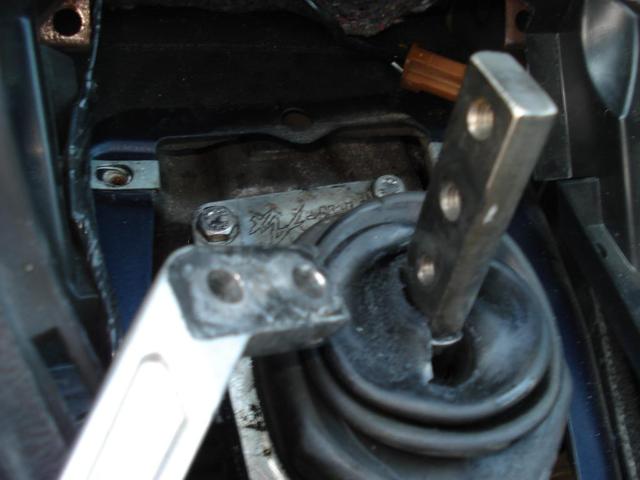
I chose to take them out the rest of the way by hand so i don't drop any washers or bolts. This is the handle removed.
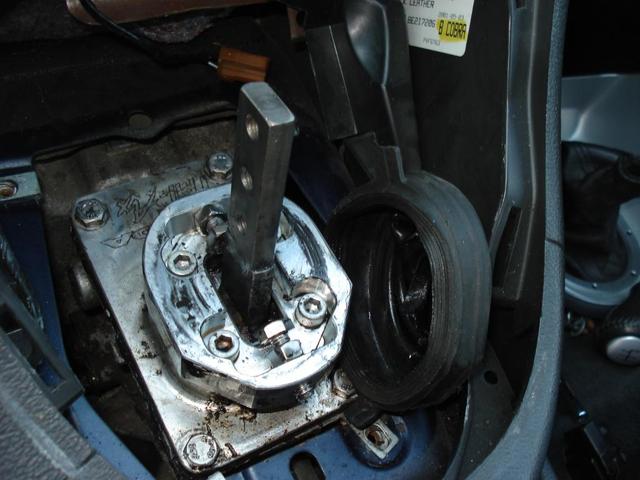
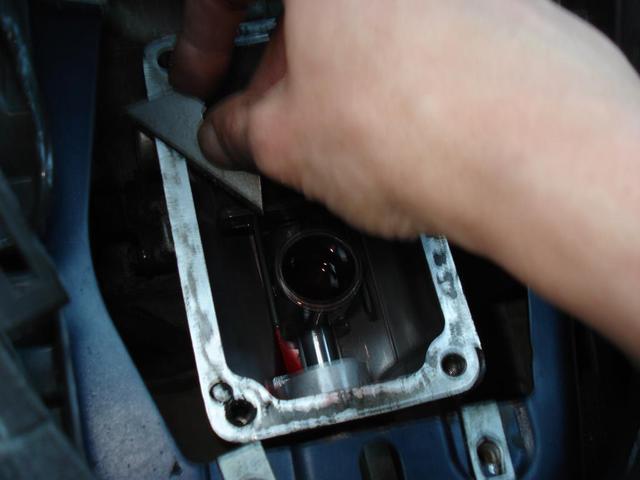
The rubber boot will just pull up, just set to the side to be cleaned. You will also notice the four 13mm bolts holding down the shifter, place transmission in neutral. Loosen and remove all 4 bolts.
The shifter may require a little force to be removed, due to silicone sealer holding it together. Usually a strong tap to the side of the shifter handle base will pop the shifter loose. A rubber mallet can also be used. Once the shifter is removed make sure a rag is ready to keep any fluid from getting on the console and interior.
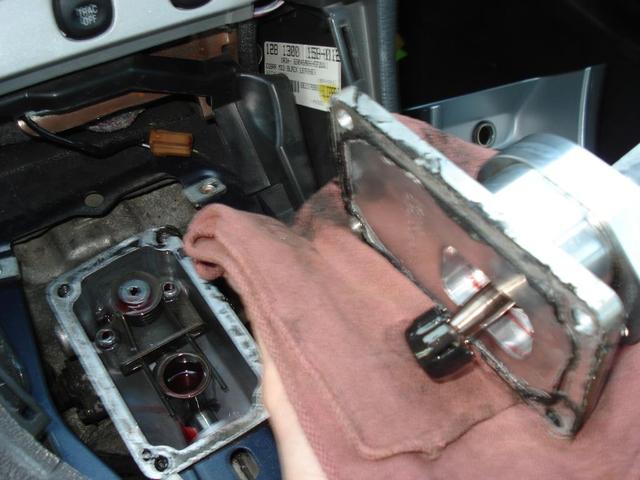
This is were you will be scraping off the old silicone with the razor blade.
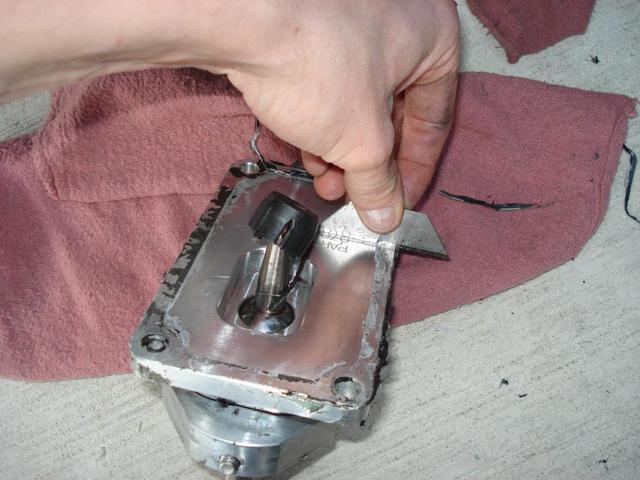
After scraping off enough of the silicone, you can take off the rest using the 3m scuff pad.
This is how it looks finished up.
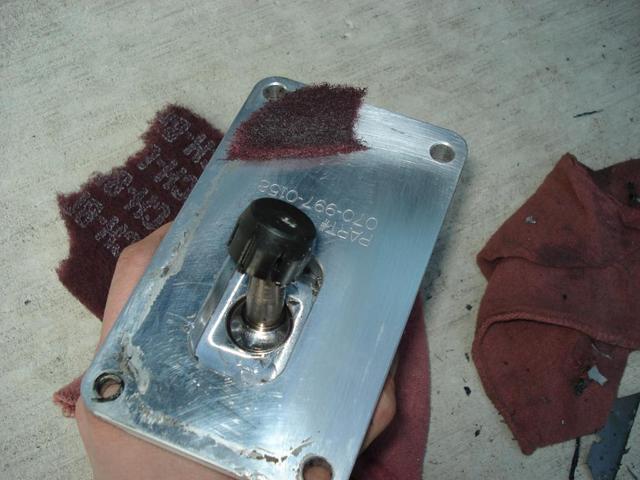
When taking off the old silicone from transmission mounting plate, scrape towards the outside keeping debris getting into the transmission to a minimum. A rag may be placed in here as well.
This is how it should look after using the scuff pad.
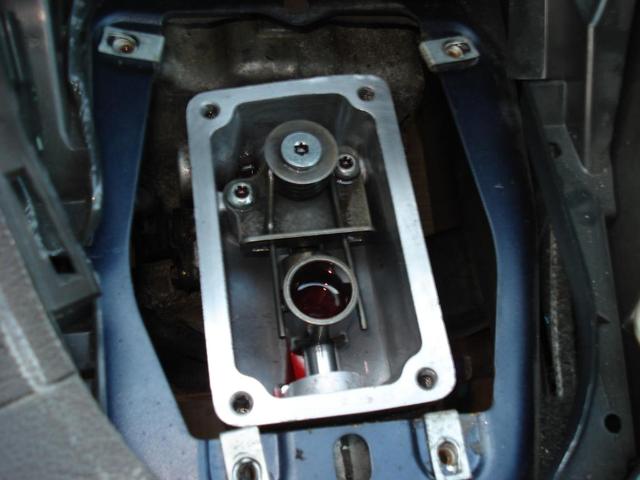
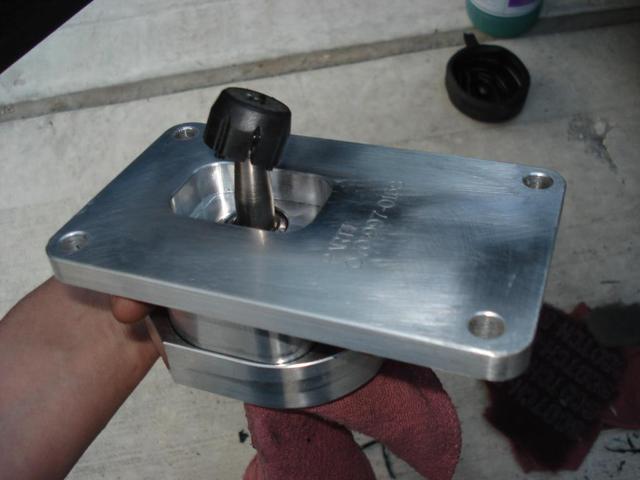
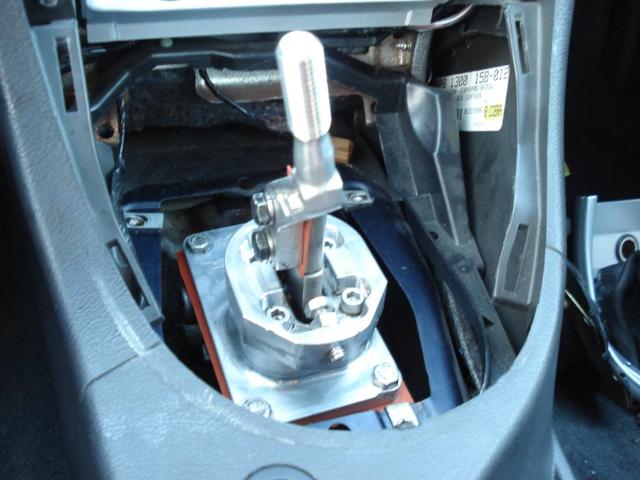
Now we start the install process. Place the shifter gasket onto the transmission shifter mounting plate and be sure all holes line up with gasket in a squared up position. It may take you a couple of turns and flips to get this right. Positioning is easier on other applications such as the Cobra T-56.
Place the shifter onto gasket being careful to line up holes before placing on top of gasket. To insure that the bolts stay nice and tight, use a little bit of Blue Loctite© or similar at this point on the bolt threads to prevent them from loosening over time. Once the shifter is placed down, thread in the bolts lightly.
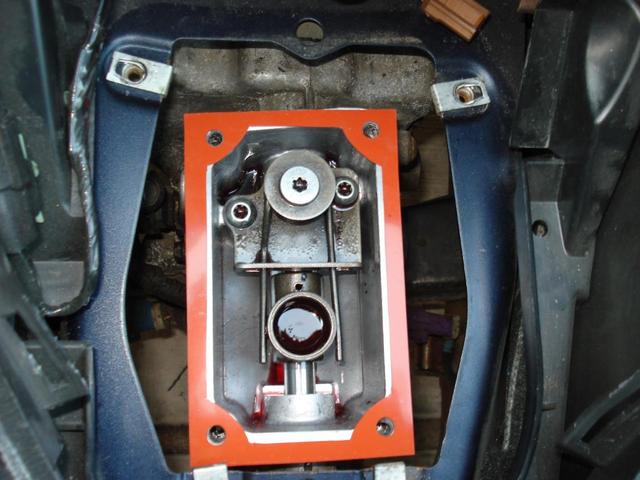
Tighten down bolts in an X pattern to the specified torque or till snug. Be careful not to push the sides of the gasket outward while tightening. You may have to have your fingers to keep the gasket in place during the tightening process.
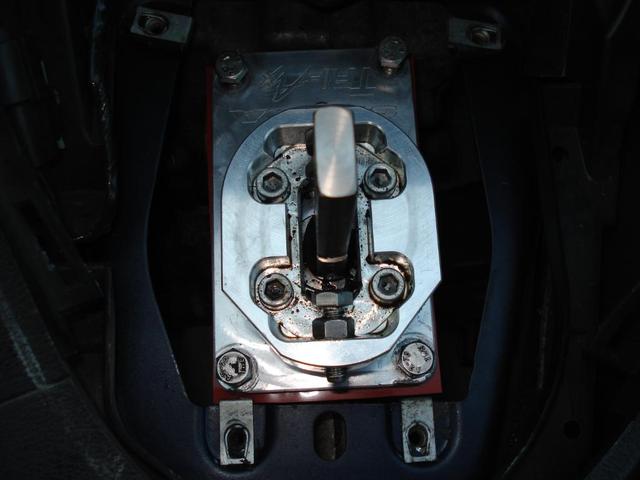
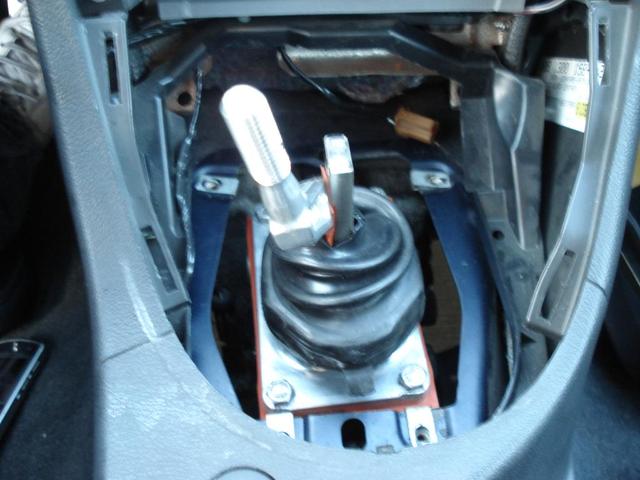
With the handle being cleaned up, install the top bolt and handle gasket. Be sure to put a bit of Blue Loctite© on the threads to prevent the bolts from backing out.

Install the other bolt and loosely screw them in by hand. Be sure to put a bit of Blue Loctite© on the threads to prevent the bolts from backing out. Since you are going to use Loctite© on these bolts, you might want to wait and first decide whether or not you need to install the second handle gasket. Then tighten down the bolts, with Blue Loctite© on the threads.
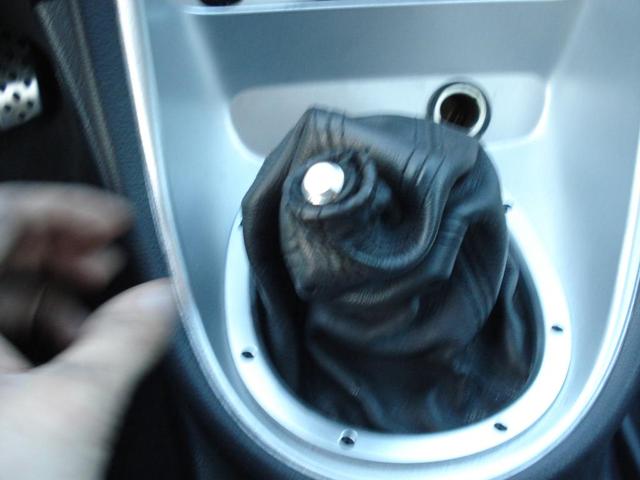
Place the removed boot from earlier over the shifter base.
Re-install the cover plate, and tighten down the 4 8mm bolts in an X pattern.
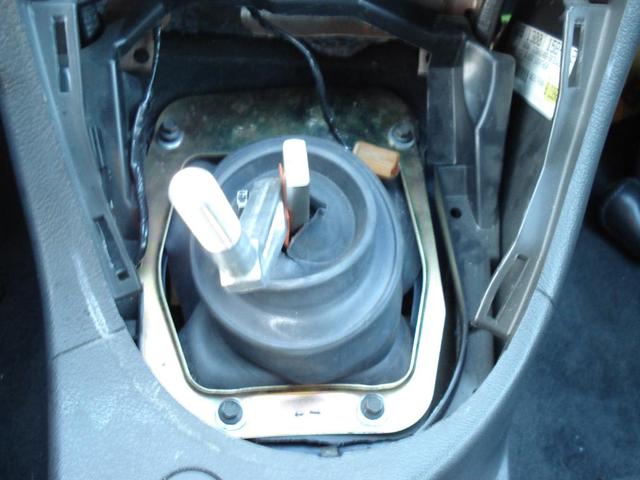
Re-install the cigarette clip.
Place the shifter handle through the opening, and then clip down cover into place to keep the handle from ripping through boot.
Re-install shift knob and lighter and go on a test drive. If you still want less vibration you can install the second shifter handle gasket, but I was more than happy with one installed. This is why it is suggested that before you use the Loctite© on the handle bolts that you do so only after you've decided to use one or two handle gaskets.