FREE 1 to 3-Day Delivery on Orders $149+ Details
Splice-In Sequential Tail Lights Installation Guide ('96-'04)
Installation Time
1 hours
Tools Required
- 11mm Socket
- Socket Wrench
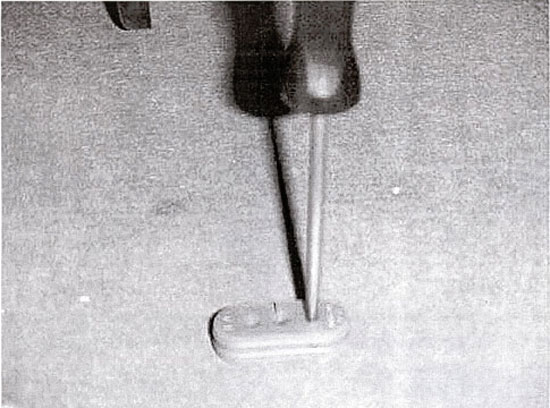
- Awl (or other pointed tool)
- Needle Nose Pliers
- Soft Cloth
- Silicone Spray or Dielectric Grease
Installation
(FOR RIGHT SIDE OF CAR)
1. Remove the plastic nuts that hold the truck liner. Pull the liner back to expose the nuts that hold the fixture in place. Using an 11mm socket, remove the nuts that hold the fixture. Carefully remove the grommet that holds the harness in the car body. Remove the tail light fixture from the car and take it to a work bench. Place a soft cloth on the bench in order to protect the lens. The picture below shows a fixture that has been removed from the car.

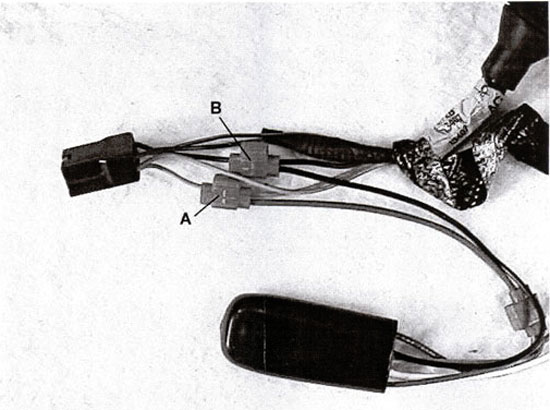
2. Remove the inside lamp socket (the one circled in the picture above). Slide the gasket out of the socket and off the wires. With an awl or other pointed tool, pierce a small hole in the gasket. DO NOT SLICE OR CUT the gasket, because that will cause a gap that will let water into the socket. A hole will seal tightly around the new wire better than a cut or slice.
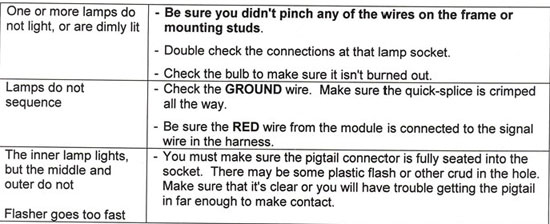
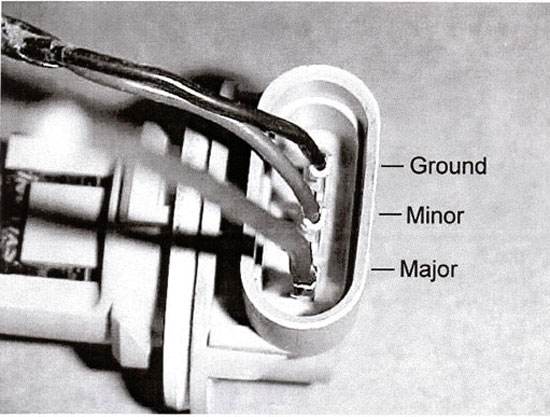
3. Note that there are markings on the socket, and there is no wire in the MAJOR position. Remove the lamp and insert the supplied wire connector into this position. It's a tight fit, so use a needle nose pliers and be sure that it's fully seated. SPECIAL NOTE: There may be some plastic flash or other crud in the hole. Make sure that it's clear or you will have trouble getting the pigtail in far enough to make contact. After installation, if the middle lamp does not light, this is very likely the problem.
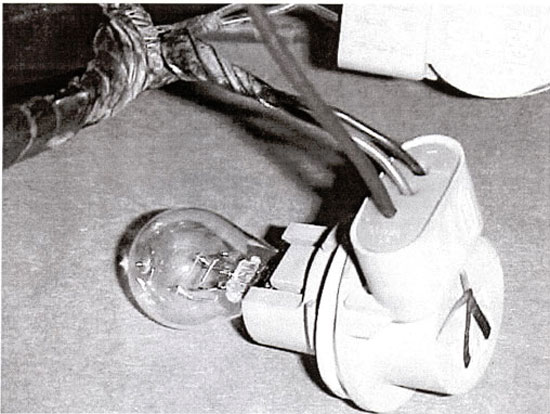
4. Install the gasket onto the wires and slide it back into the socket. If the lamp you removed is a dual filament lamp, then put the lamp back into the socket. Otherwise, obtain a #3157 lamp and install it into this socket.
5. Remove the middle socket from the tail light fixture. Insert the inside socket into the middle position, and insert the middle socket into the inside position. There is room for this swap, but since each car is different, you might have to unwrap some of the harness tape, and/or pull a clip out of the car body.

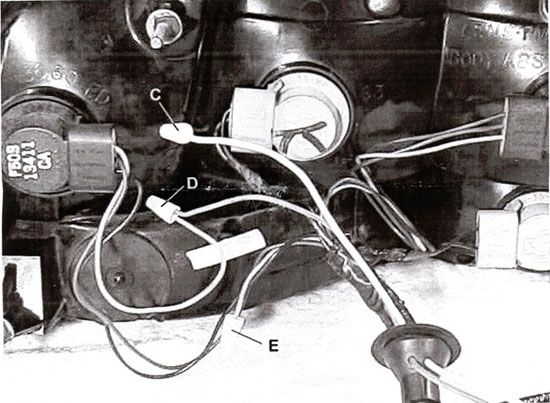
6. There is a small section of the harness between the grommet and the connector. Carefully remove the wrap to expose the individual wires, and make the following connections:
7. Using a quick-splice, connect the RED module wire to the turn signal wire. On the Right side of the car, the signal wire is orange with a blue stripe. On the Left side of the car, the signal wire is green with an orange stripe. There may be two signal wires in the harness. You can make the connection to either one.
8. Using a quick-splice, connect the BLACK module wire to the black harness wire (this is ground).
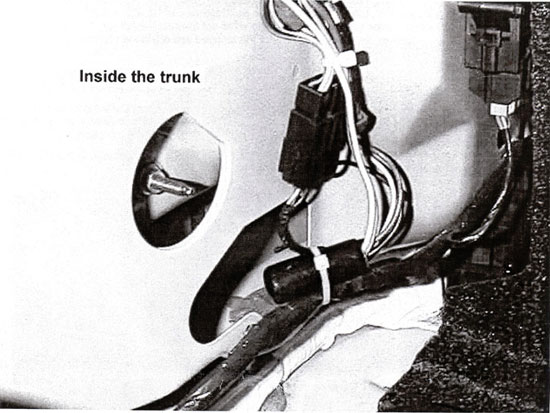
9. Using the same pointed tool you used to put a hole in the socket gasket, punch two holes through the grommet. Use some silicone spray or dielectric grease to help the tool penetrate the grommet. Feed the BLUE and WHITE module wires through the holes you made and run the wires out towards the tail light fixture. (TIP: If you have trouble getting the wires though the holes, you can cut the stripped end off, since you will be trimming the wires anyway).
10. Trim the WHITE module wire to length and strip about 1/2" of insulation. Using a wire nut, connect it to the new pigtail of the middle socket (this is the old inside socket that you moved to the middle position).
11. Cut the signal wire (orange with blue stripe) of the outside socket about 3-4" from the socket. Strip 1/2" of insulation from the signal wire coming from the outside socket. Trim the BLUE module wire to length and strip about 1/2" of insulation. Using a wire nut, connect it to the signal wire that goes to the socket.
12. Cap off the short harness wire with a wire nut and use some tie wraps to bundle the wires to the harness. This will reduce the chance of pinching a wire against the body of the car.
13. For the Left Side of the car, repeat the above steps using the other sequencer module. Note that the colors of the car wiring are different on this side of the car. The MAJOR wire on the Left Side is green with an orange stripe.
Testing
Insert the harness back into the car -- module first, then the plug. Re-connect the plug. Before remounting the fixtures, turn on the hazard flashers and check to see that the lamps sequence from the inside of the car to the outside. If something isn’t working, double check your wiring for errors.
Point the wire nuts to keep water from collecting in them, then remount the fixtures. When re-mounting the fixtures into the car, be careful not to pinch any of the wires on the frame or mounting studs. This can cause a short that will destroy the module!
Use the supplied tie wraps or some electrical tape to hold the modules to the inside harness. If you use tie wraps, DO NOT OVER TIGHTEN THEM. If you damage the cover, the unit may not function properly or moisture may enter the system and slowly destroy it.
Troubleshooting