 FREE 1 to 3-Day Delivery on Orders $149+ Details
Mustang Steeda Tri-Ax T-5/T-45Shifter Installation Guide
Installation Time
60 minutes
Tools Required
- 3/8" ratchet with extension
- 10mm socket
- 8mm socket
- 13mm socket
- Gasket scraper or large, flat-head screwdriver
- 1/2" standard wrench
- Small flashlight
- Rags
- If Changing Transmission fluid, you'll also need:
- Jack and jack stands
- Drain pan (size depends on transmission)
- Something to protect the garage floor or driveway
- Funnel
- Pocket knife or clippers
Installation
(Steps related to changing transmission fluid are highlighted in yellow.)
NOTE: Set the cars parking brake before starting any part of this procedure.
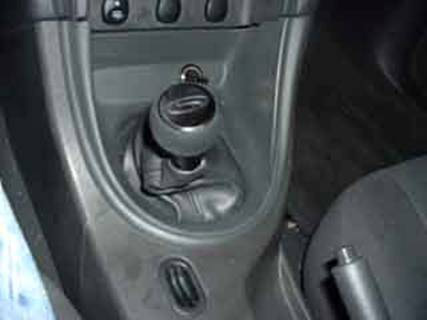
1. Unscrew and remove the shift knob. It's just like taking the lid off a jar.
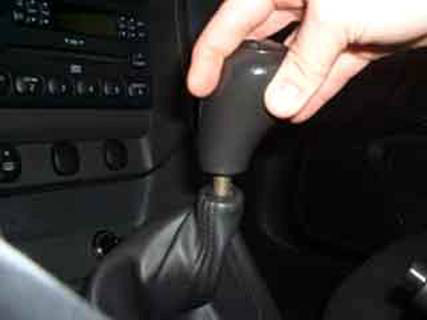
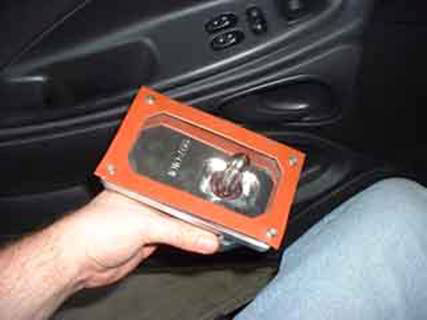
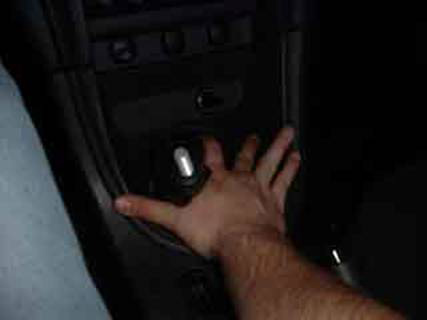
2. Pull the cover off the shifter and unplug the cigarette lighter plug. It's easiest to do this by grabbing around the shift boot and pulling (see illustration). Check to make sure the clips stay on the tabs on the edge of the cover; I had one fall onto the inner boot. Tuck the cigarette lighter's plug out of the way.
3. Using a 10mm socket, unscrew and remove the stock shifter handle.
4. Unscrew the four bolts from the cover plate using an 8mm socket with an extension.
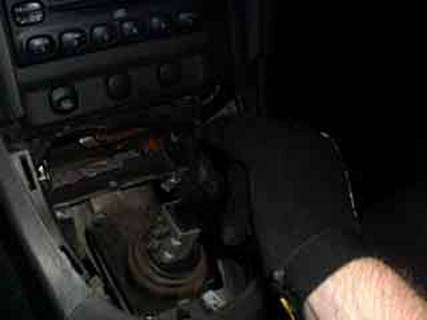
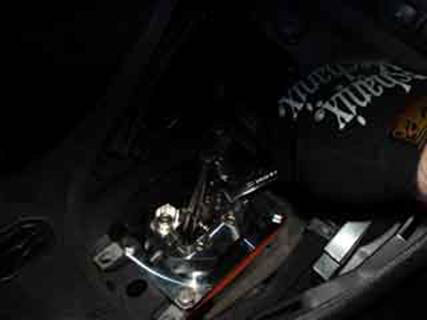
5. Using a 13mm socket and extension, remove the four bolts holding the stock shifter on the transmission.
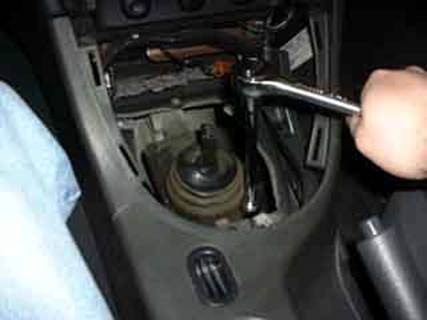
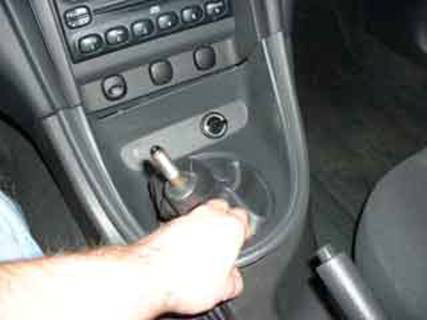
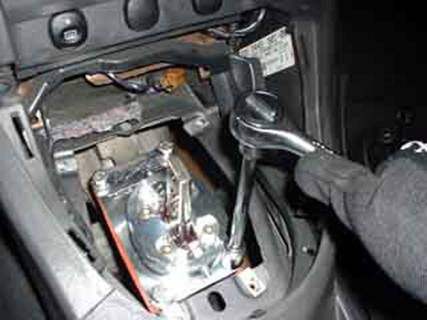
6. Pry off the shifter. Because it is now held in place by a bead of RTV, it may be easy or difficult to pop this off. I got lucky, and the shifter almost fell off in my hands. Steeda recommends re-installing the stock shifter handle and pulling sideways (see illustration). I have also heard of people getting under the car and using a mallet and flat-head screwdriver to pry the shifter off the mount. However you get the shifter off, check inside the transmission to make sure no RTV fell off and wound up in there. It shouldn't be too hard to fish out any pieces that fell in.
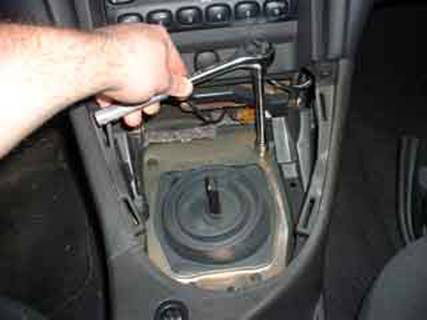
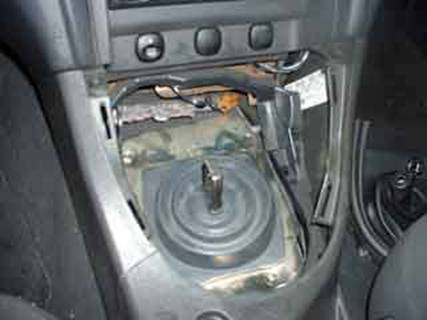
7. Clean the mounting surface, using the gasket scraper or flat-head screwdriver. Be careful not to mar the surface of the transmission. Since we're using the gasket set, we just need a smooth, flat surface, and it's not as crucial to have a pristine surface for RTV to adhere to. You'll notice that the mounting surface has a bit of texture to it; try not to scratch that, and you'll be fine.
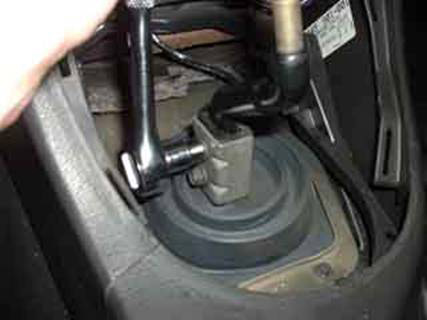
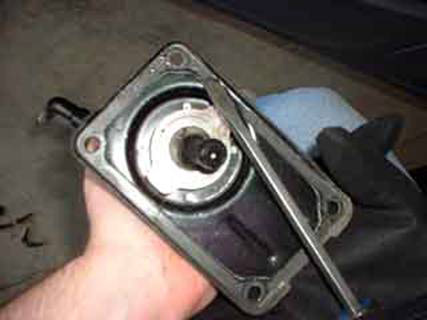
Here, you can see how most of the gasket stuck to the shifter rather than the base. Anything that didn't come off here (such as the areas around the bolts) is what needs to come off the mount on the transmission. Now is also a good time to check and make sure the plastic bushing is still seated in the gear selector. If you have a TR3650 transmission, the bushing will come out with the shifter, and needs to be pried off the ball-end of the shifter with a screwdriver.
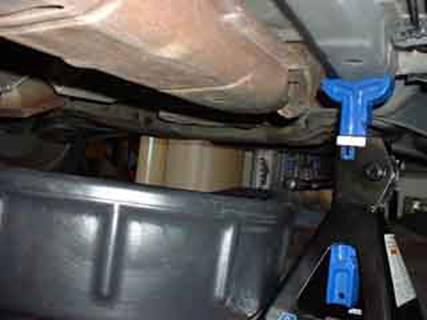
8. Raise the front of the car with a jack and put it on jack stands. On this T5 transmission, the drain plug is located on the passenger side of the car near the exhaust pipe (see illustration).Notice that the plug sticks out sideways. There is a trick to making sure the fluid lands in the drain pan, and not on you.

9. We're looking toward the front of the car in this picture. Using cardboard, papers, rags, or whatever you prefer to protect the floor, slide a drain pan under the drain plug area and begin to loosen the plug using your 3/8" ratchet with no socket. Once the plug is loose enough to remove with your fingers, finish unscrewing it without the ratchet while holding a funnel under the drain hole in such a way that the fluid will fall into the funnel and be directed down towards the drain pan. After the fluid is drained, re-install the drain plug, wipe any stray drips from the bottom of the transmission, and lower the car.
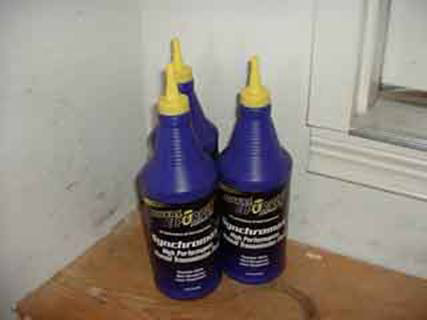
Royal Purple Synchromax is a high-performance manual transmission fluid that will complement the short-throw shifter by allowing the smoothest possible operation of the transmission. The T5 takes5.6 pints, or 2.8 quarts (check your car's owner's manual). That means three bottles will be necessary for this fluid change.
10. Fill the transmission using the recommended amount of fluid by cutting open the top of the bottle and pouring the Synchromax slowly into the shifter opening. It is possible to pour more quickly than the fluid can drain into the transmission, so be careful and don't make the opening too big. After adding fluid, check under the car to make sure the transmission is not leaking around the drain plug. Fill the transmission after performing this check.

11. Using a gasket is easier than messing with RTV silicone. Using the new bolts that came with the Tri-Ax, push them through the shifter base and into the holes in the gasket. The stock bolts will not be long enough to re-use with the Tri-Ax.
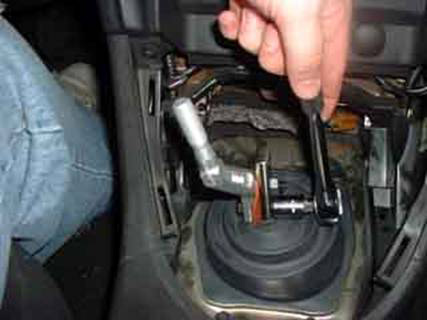
12. Mount the Tri-Ax shifter to the transmission using a 13mm socket and extension.
13. Set the shifter stops in strict accordance with Steeda's instructions. The stop bolts and jam nuts can be adjusted with a 1/2" wrench.Tip:To get a good look at the space between the shift lever and stop bolts, shine a flashlight downwards behind the lever. You should be able to see a sliver of light between the lever and the stop bolt, which should disappear once you put pressure on the lever. Slide the boot washer over the shift lever once the stops are adjusted.
14. Re-install the inner boot, re-using the original hardware and the 8mm socket with extension.
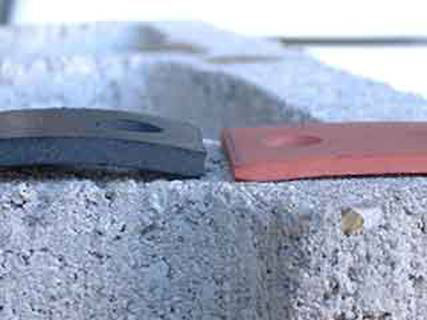
15. Before adding the handle, decide whether you want to mount in the upper position (more driver comfort) or the lower position (shorter shifts) on the shift lever. Also, you have the options of using the isolator from American Muscle's gasket set (red, right); Steeda's shifter isolator (black, left); or no isolator. I chose to use American Muscle's isolator, as it was both thinner and harder than Steeda's piece, for a firmer feel. It will reduce some of the increased transmission noise and vibration from the performance shifter (though not as much as the thicker Steeda rubber), for what I felt would be a good compromise between performance and comfort.
16. Install the shifter handle using a 10mm socket. Secure the assembly with the jam nuts, which also use a 10mm socket.
17. Plug the cigarette lighter back in, and slide the boot cover back over the shifter handle. Press down firmly to re-secure the cover on the console.
18. Finish by screwing the shifter back on the new shift lever. Here, I decided to set off the new short-throw shifter with a Steeda shift knob. This particular knob has a set-screw which must be tightened with an included allen wrench.
Installation instructions provided by AmericanMuscle customer Mike Strawbridge.

