FREE 1 to 3-Day Delivery on Orders $149+ Details
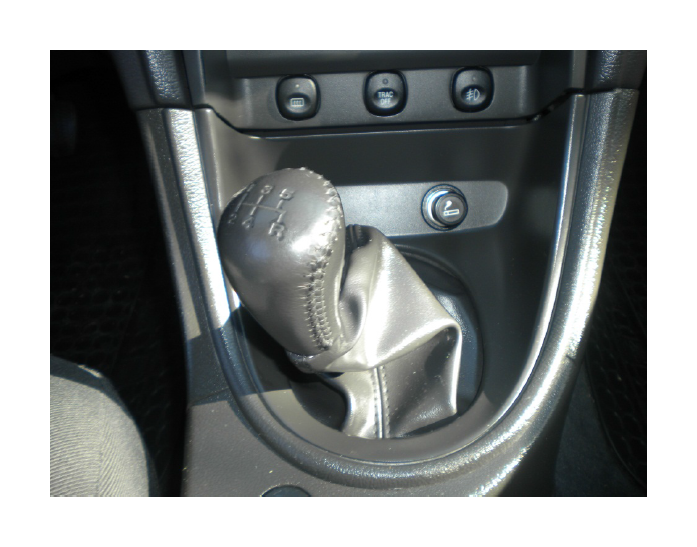
How to Install a Steeda Tri-Ax Shifter Handle on Your 1979-2004 Mustang
Installation Time
20 minutes
Tools Required
- Ratchet
- 10mm socket
- 1/2” socket
- Small flat head screwdriver (optional)
Removal:
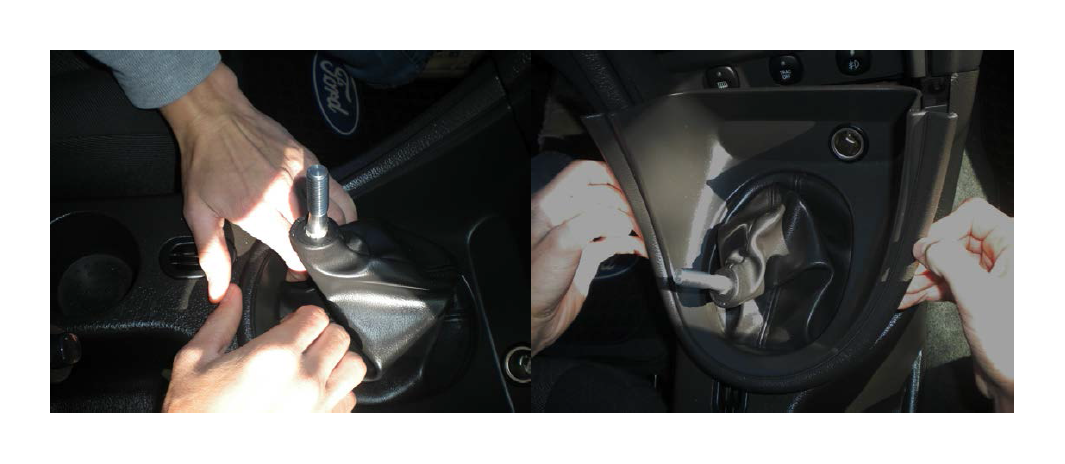
1. Begin by unscrewing the factory shift knob.
2. Remove cigarette lighter or power cover and set aside.
3. Remove trim surrounding shifter area by pulling up and then out on the trim. You will need to give the trim a firm tug to free it from its position.
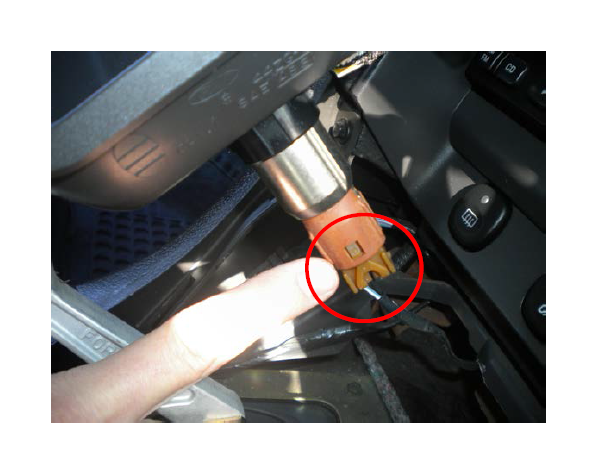
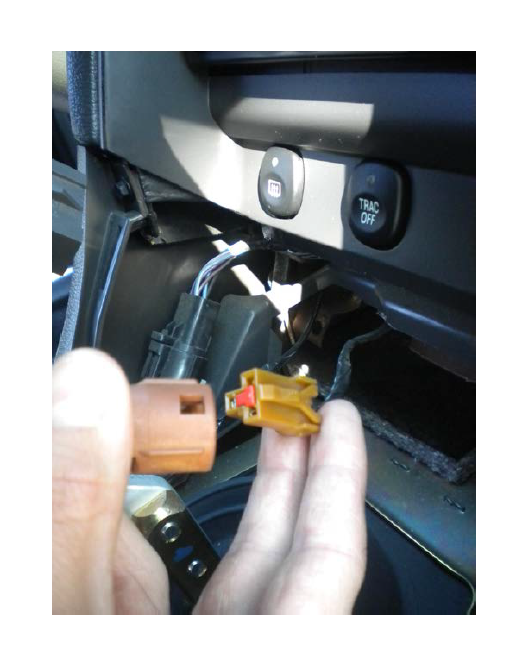
4. Unplug power connector by pressing down on the connector’s clip. A small flat head screwdriver may be useful to push the clip down if you are unable to with your fingers.
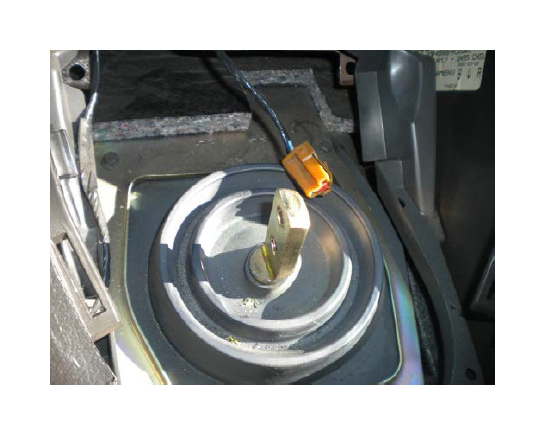
5. Locate the (2) 10mm bolts holding the factory shift handle to the shifter.
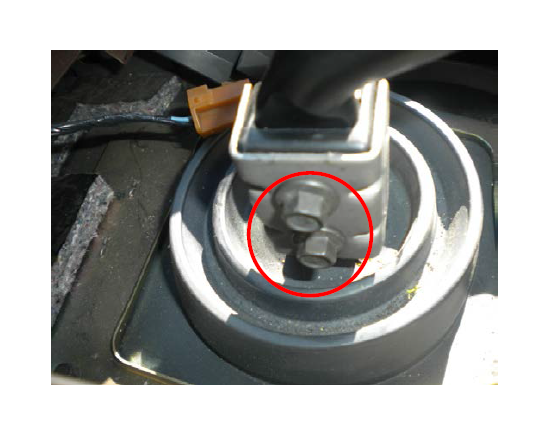
6. Remove the (2) bolts using the ratchet and 10mm socket and remove the factory shifter handle.
Installation:
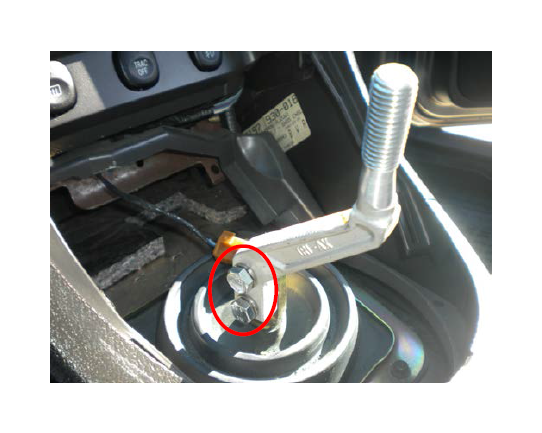
1. Line up the new Steeda shifter handle with the factory shifter base.
2. Use the (2) provided 1/2” bolts and washers and attach the Steeda handle to shifter base. Once both bolts are started, snug both of them down.
3. With the new shifter handle secured, guide the handle through the hole on the shifter boot.
4. Re-connect the power connector.
5. Secure trim piece by pressing it down onto the console.
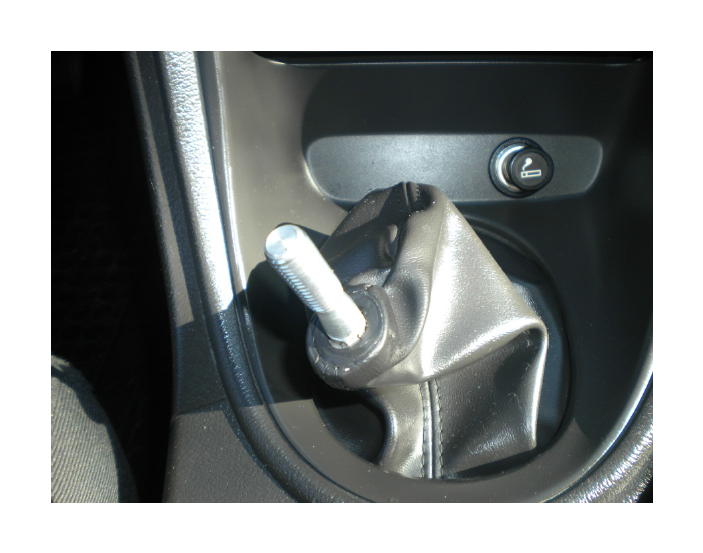
6. Screw the shifter nob onto the new Steeda shifter handle.
7. Insert the cigarette lighter or power cover.
Enjoy lighter and shorter throws!!