 FREE 1 to 3-Day Delivery on Orders $119+ Details
Best Sellers


How to Install a Ford Racing SVT Front Brake Upgrade Kit on your 2005-2012 Mustang
Installation
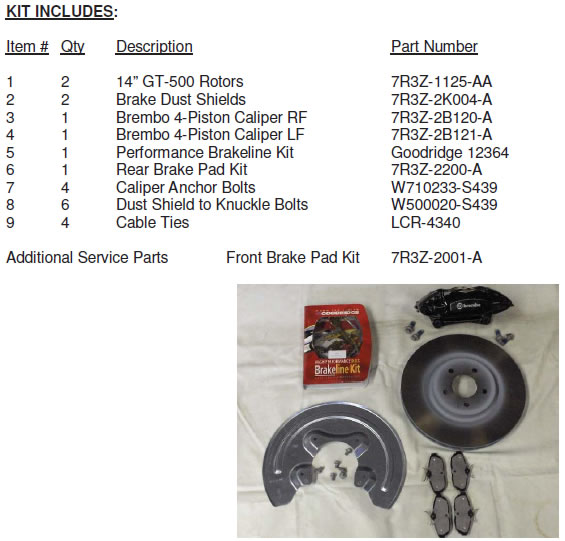
INSTALLATION INSTRUCTIONS:
NOTES: Fits 2005-07 Mustang GT.
Kit will upgrade the front brakes to 2007 SVT Mustang Cobra 14” rotors and 4-piston calipers.
Includes 2007 SVT Mustang Cobra rear pads for use in stock Mustang GT rear calipers.
Includes Goodridge DOT four-piece hose kit and attaching parts.
Requires 18” M-1007-S1895, M-1007-S1895B wheels or equivalent for caliper clearance.
For vehicles with 16” or 17” wheels from the factory: installing 18” x 8.5” or 18” x 9.5” wheels, use steering stop 6R3Z-3932-CA.
REMOVAL OF PRODUCTION FRONT BRAKES:
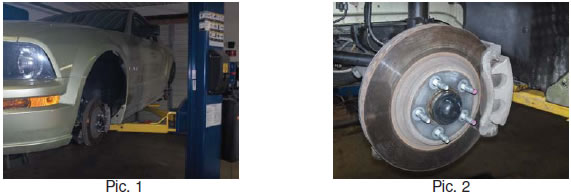
STEP 1: Raise and safely support the vehicle with stands (see Pic. 1).
STEP 2: Remove front wheels (see Pic. 2).

STEP 3: Remove 10mm bolt from back of strut holding the brake line on (see Pic. 3).
STEP 4: Remove wheel speed sensor clips from brake line (see Pic. 4).
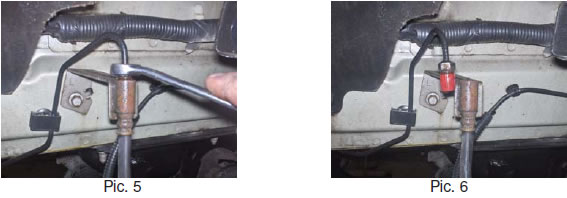
STEP 5: Loosen brake hard line at frame rail with line wrench (cap off line) (see Pic. 5).
STEP 6: Remove 10mm bolt for brake line bracket from frame (see Pic. 6).
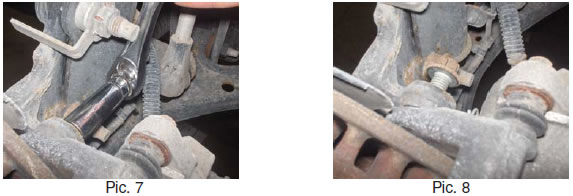
STEP 7: Remove two caliper bolts (see Pics. 7 and 8).
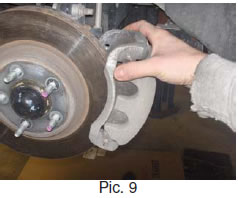
STEP 8: Remove calipers with the production brake line (see Pic. 9).
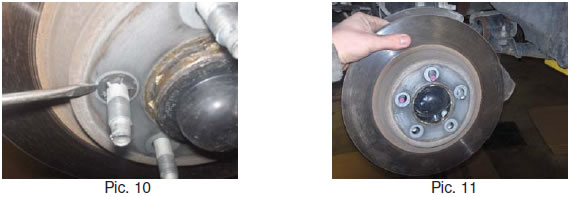
STEP 9: Remove stock rotor (remove two small clips that hold rotor on) (see Pics. 10 and 11).
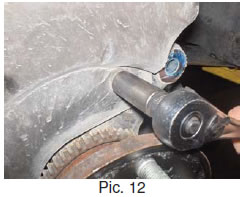
STEP 10: Remove three 12mm backing plate bolts (see Pic. 12).
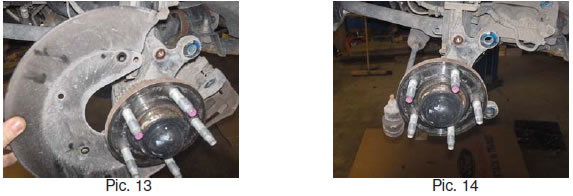
STEP 11: Remove backing plate (see Pics. 13 and 14).
INSTALLATION OF NEW FRONT BRAKES:
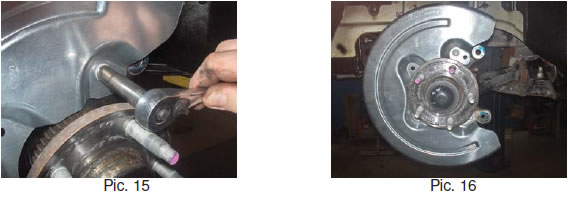
STEP 1: Install new dust shields and tighten 10mm bolts. Torque to 20 Nm (15 lbs/ft) (see Pics. 15 and 16).
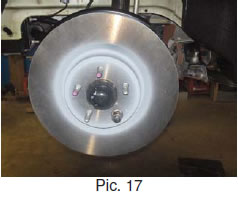
STEP 2: Install new rotor (see Pic. 17).
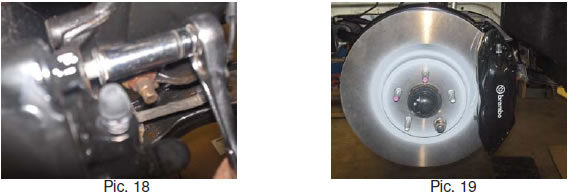
STEP 3: Install new Brembo caliper and pads with two anchor bolts. Torque to 115 Nm (85 lbs/ft) (see Pics. 18 and 19).
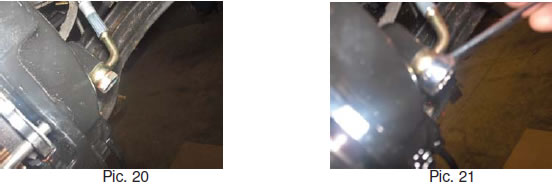
STEP 4: Attach new brake line to caliper by putting flow bolt with copper washer on each side of the line into caliper. Torque flow bolt to 40 Nm (30 lbs/ft) (see Pics. 20 and 21).
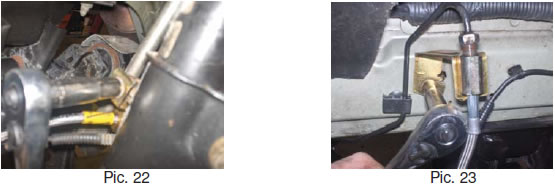
STEP 5: Re-install 10m bolt on strut to hold new line. Torque to 20 Nm (15 lbs/ft) (see Pic. 22).
STEP 6: Install new brake line bracket to frame (see Pic. 23).
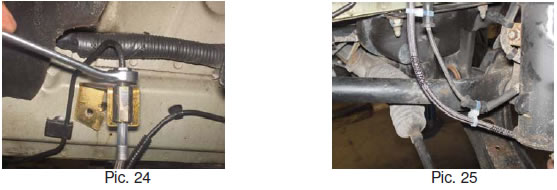
STEP 7: Connect hard brake line to the new brake line. Torque to 20 Nm (15 lbs/ft) (see Pic. 24).
STEP 8: Verify safe routing and secure wheel speed sensor/brake line together with cable ties provided (see Pic. 25).
STEP 9: Bleed brakes.
STEP 10: Carefully install the 18” wheel and check for caliper to wheel interface before tightening wheel nuts. If none, continue to STEP 11.
STEP 11: Install wheels and torque to 133 Nm (98 lbs/ft).
REMOVAL OF PRODUCTION REAR PADS:
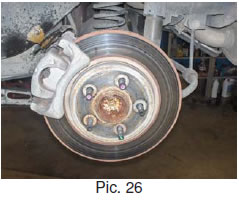
STEP 1: With car still raised, remove rear wheels (see Pic. 26).
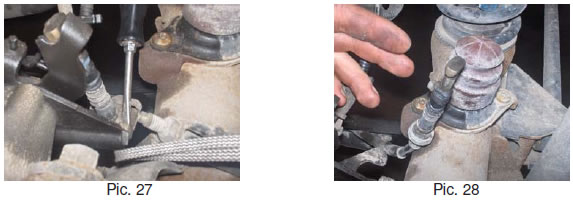
STEP 2: Remove retaining clip and remove parking brake cable (see Pics. 27 and 28).
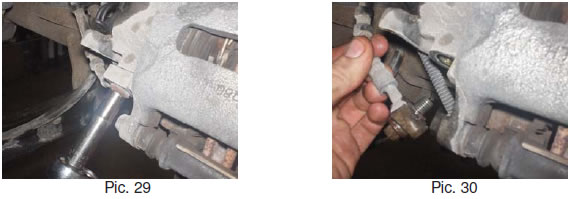
STEP 3: Remove the brake caliper flow bolt and discard the two copper washers (see Pics. 29 and 30).
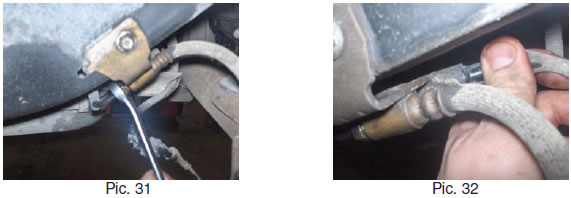
STEP 4: Disconnect rear hard brake line and separate ABS sensor wire (see Pics. 31 and 32).
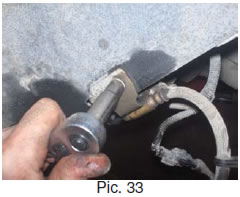
STEP 5: Disconnect brake line bracket at frame and remove brake line (see Pic. 33).
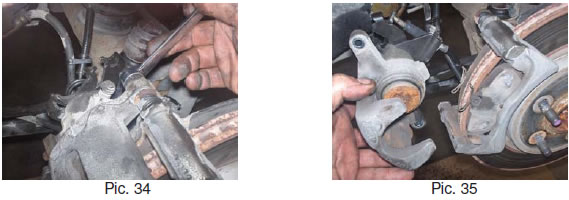
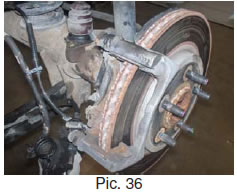
STEP 6: Remove the two bolts and the brake caliper (see Pics. 34 and 35).
STEP 7: Remove pads and spring clips from caliper anchor.
STEP 8: Inspect the brake caliper and rotor. Replace as necessary.
INSTALLATION OF NEW REAR PADS:
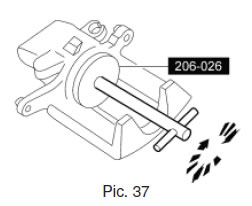
STEP 1: Install new brake pads (you will need to rotate pistons to retract them using tool 206-026 – T87P-2588-A or equivalent (see Pic. 37).
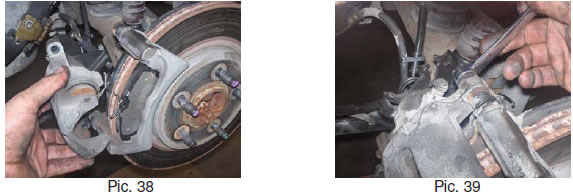
STEP 2: Install new spring clips on anchors and install new pads (see Pic. 38).
STEP 3: Position the brake caliper and install the two bolts. Torque to 33 Nm (24 lbs/ft) (see Pic. 39).
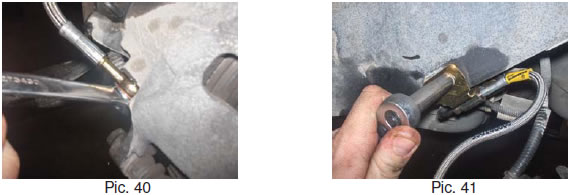
STEP 4: Using the new brake line bolts and washers, install new line and torque flow bolt to 40 Nm (30 lbs/ft) (see Pic. 40).
STEP 5: Connect bracket to frame (see Pic. 41).
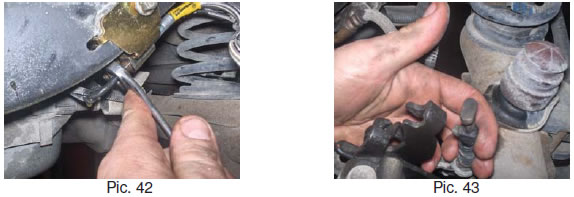
STEP 6: Connect new line to body hard line. Torque to 20 Nm (15 lbs/ft) (see Pic. 42).
STEP 7: Connect the parking brake cable to caliper (see Pic. 43). Re-install retaining clip.
STEP 8: Bleed both rear calipers.
STEP 9: Install wheels and torque to 133 Nm (98 lbs/ft).
TORQUE SPECIFICATIONS:
Front brake dust shield to knuckle 20 Nm (15 lbs/ft)
Front brake caliper to knuckle bolts 115 Nm (85 lbs/ft)
Brake hose to caliper banjo bolts 40 Nm (30 lbs/ft)
Brake line to strut bolt 20 Nm (15 lbs/ft)
Brake line bracket to frame 20 Nm (15 lbs/ft)
Rear brake caliper to anchor 33 Nm (24 lbs/ft)
Wheel nuts 133 Nm (98 lbs/ft)
