Guaranteed Free Delivery by 12/24! available on most items - Details
How to Install a PA Performance Alternator on Your 1999-2004 GT Mustang
Installation Time
2 hours
Tools Required
- 1/4" and 3/8" Drive Ratchets
- 8mm Socket
- 10mm Socket
- 3" Extension

Shop Parts in this Guide
Installation
1. Unhook negative battery cable with 8mm socket and ratchet.
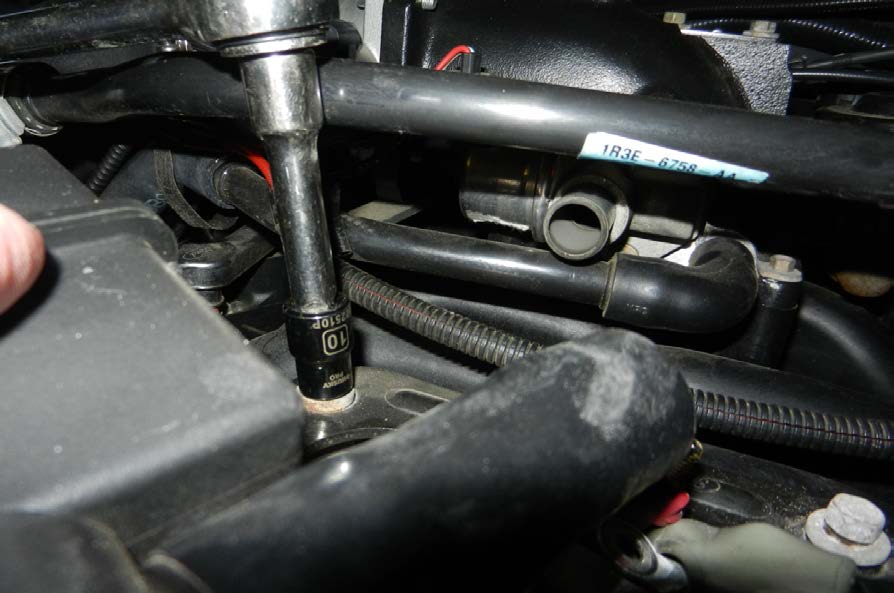
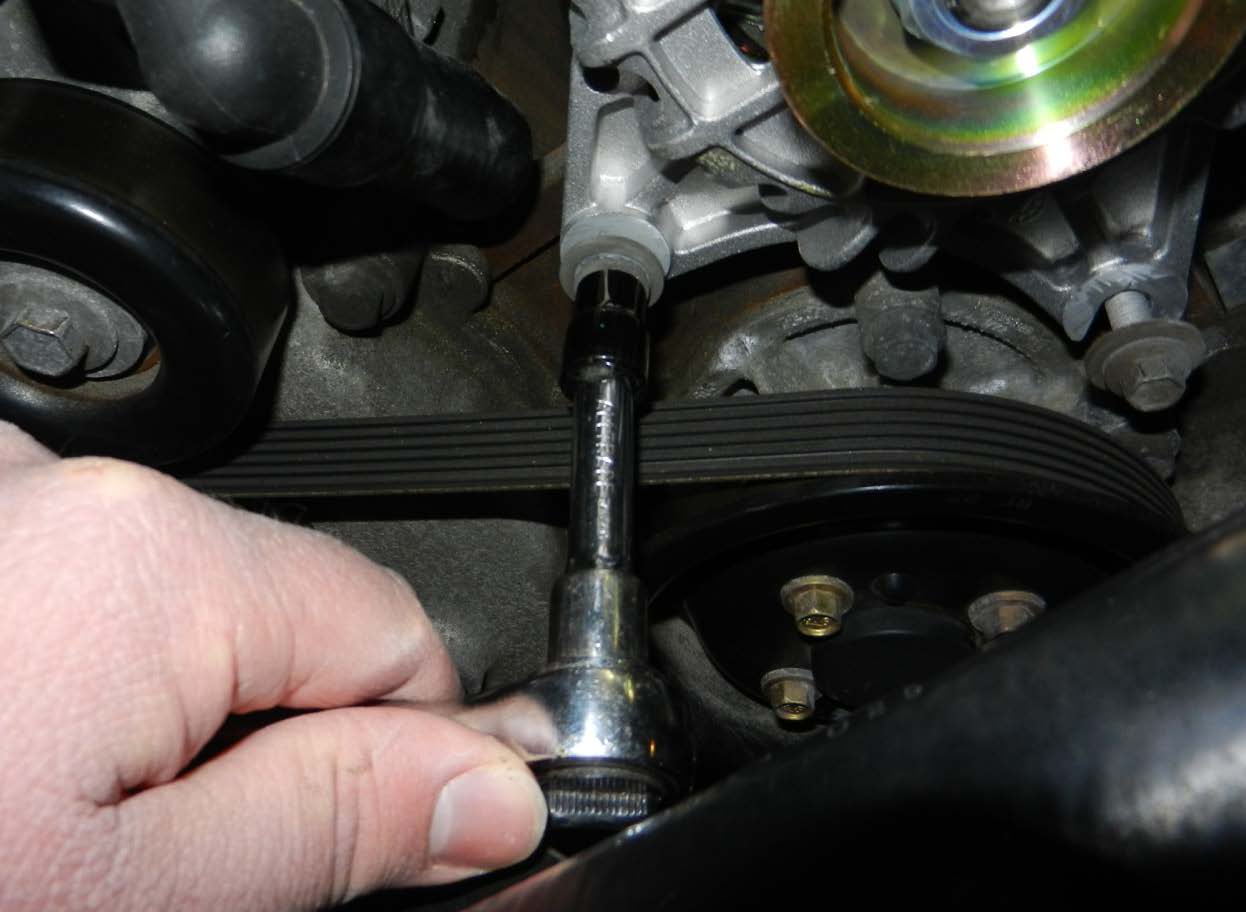
2. Loosen drive belt with belt tensioner by inserting 1/4" ratchet into the tensioner and turning clockwise. Then remove the belt from the stock alternator pulley while keeping tension off of the belt.

3. Loosen the nut on top of the stock alternator with a 10mm socket and remove power cable.

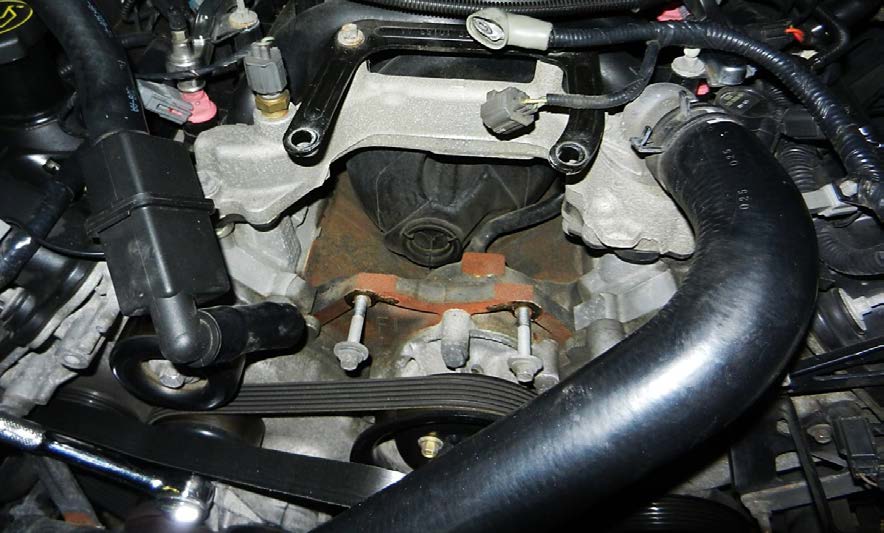
4. Remove the (2) front bolts from the bracket on top of the alternator using a 10mm socket.

5. Remove hose from the PCV valve to allow access to the rear bolts of alternator bracket. Loosen bolts with 10mm socket and ratchet.
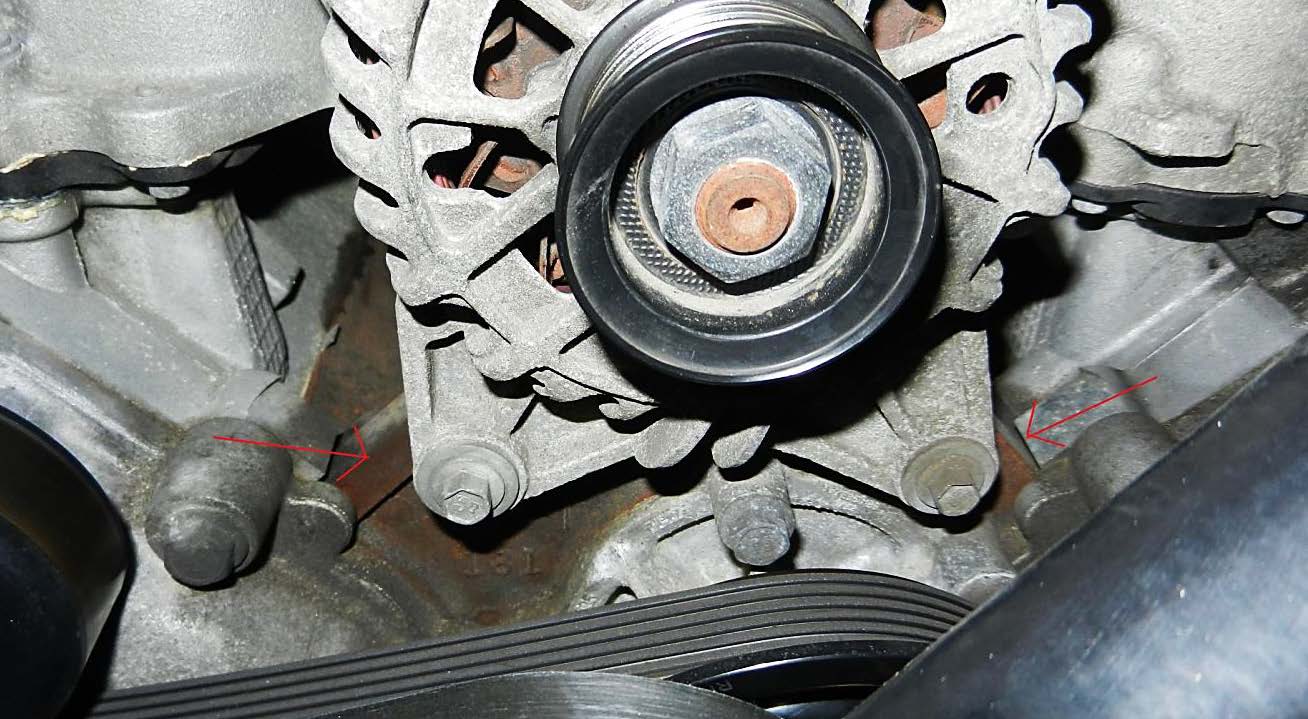
6. Loosen the lower bolts holding alternator in place with a 10mm socket and ratchet. A 3” extension may be needed to loosen the driver’s side bolt. Do not completely remove.
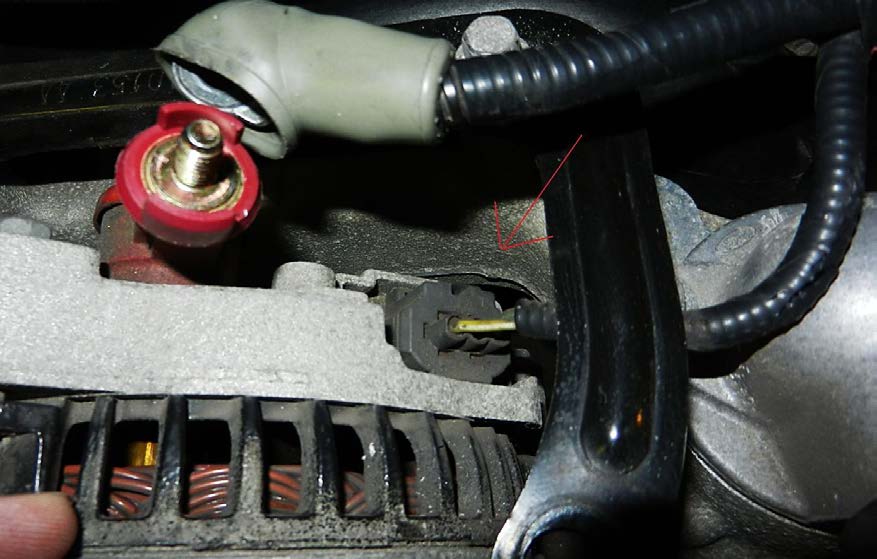
7. Remove the plug from the back of alternator; it should slide right out.
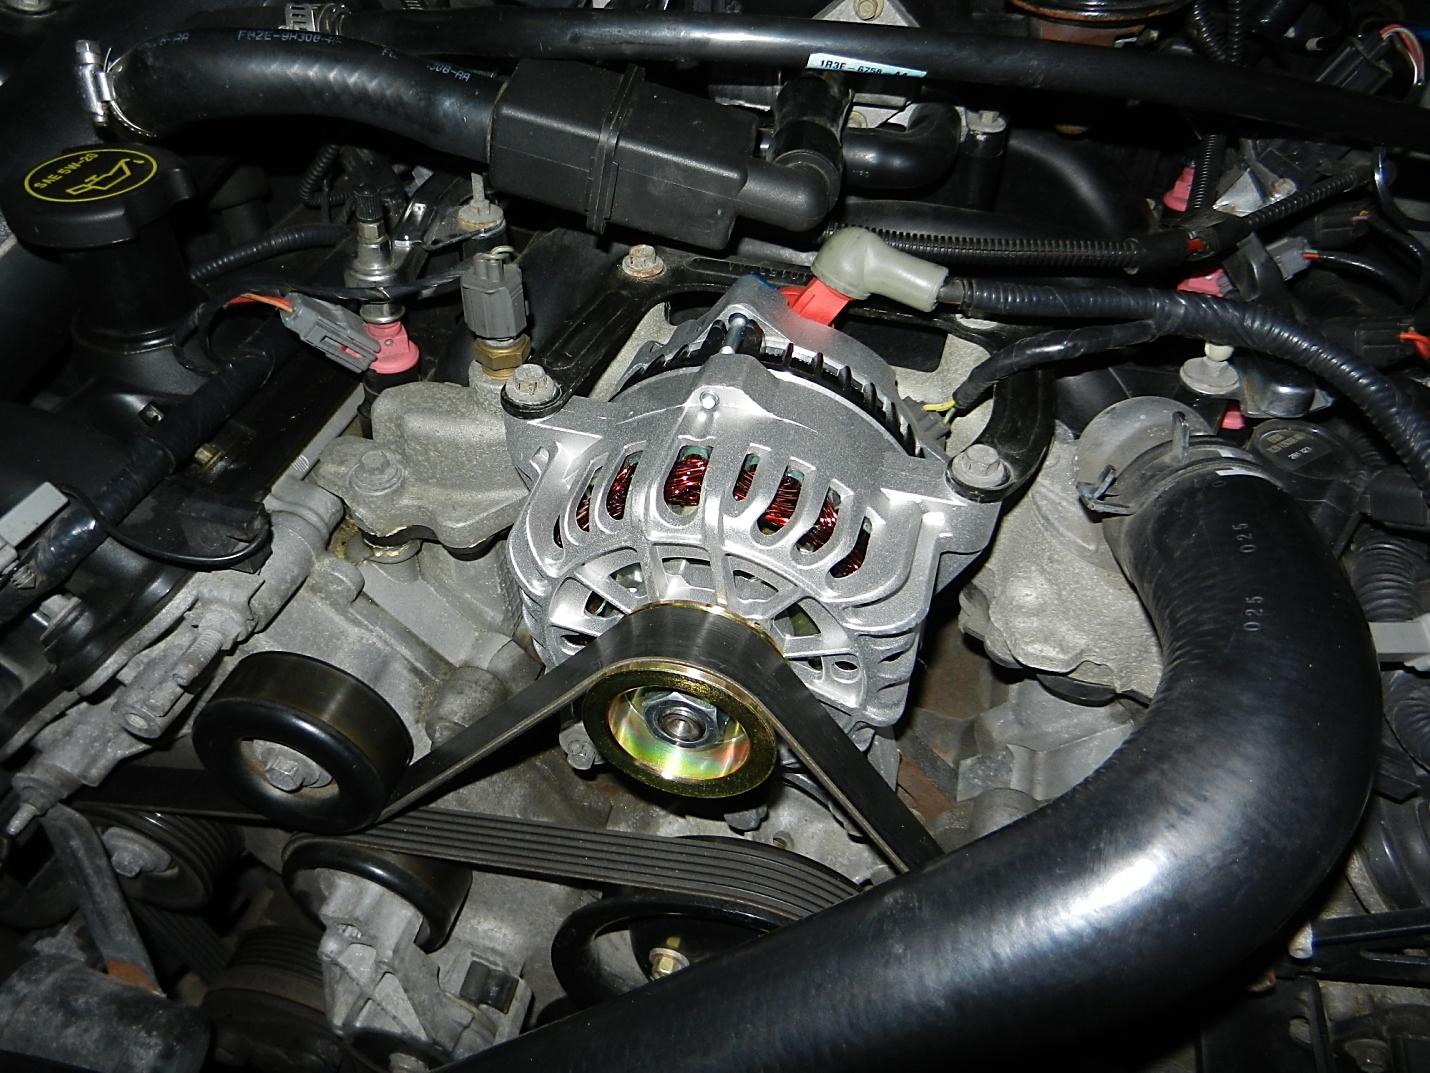
8. Pull the alternator forward and remove from engine.
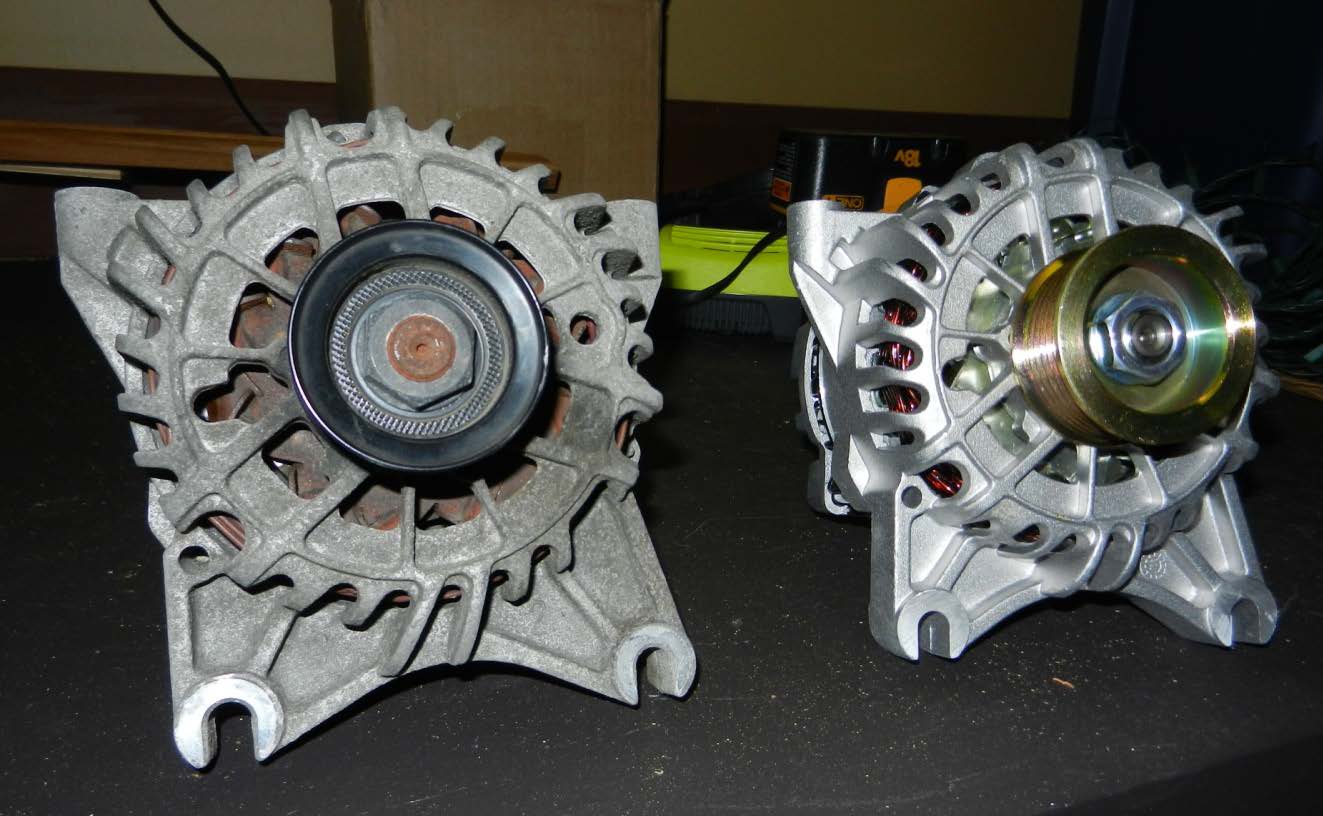
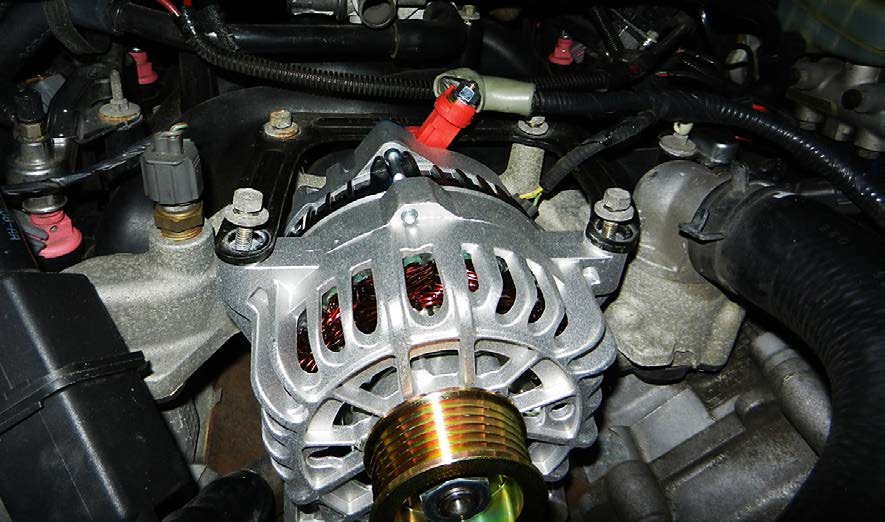
9. Place the new alternator in place of old alternator and reattach plug to the back.
10. Tighten (2) lower alternator bolts using a 10mm socket.
11. Replace front and rear bracket bolts to the top of alternator and tighten with 10mm socket.
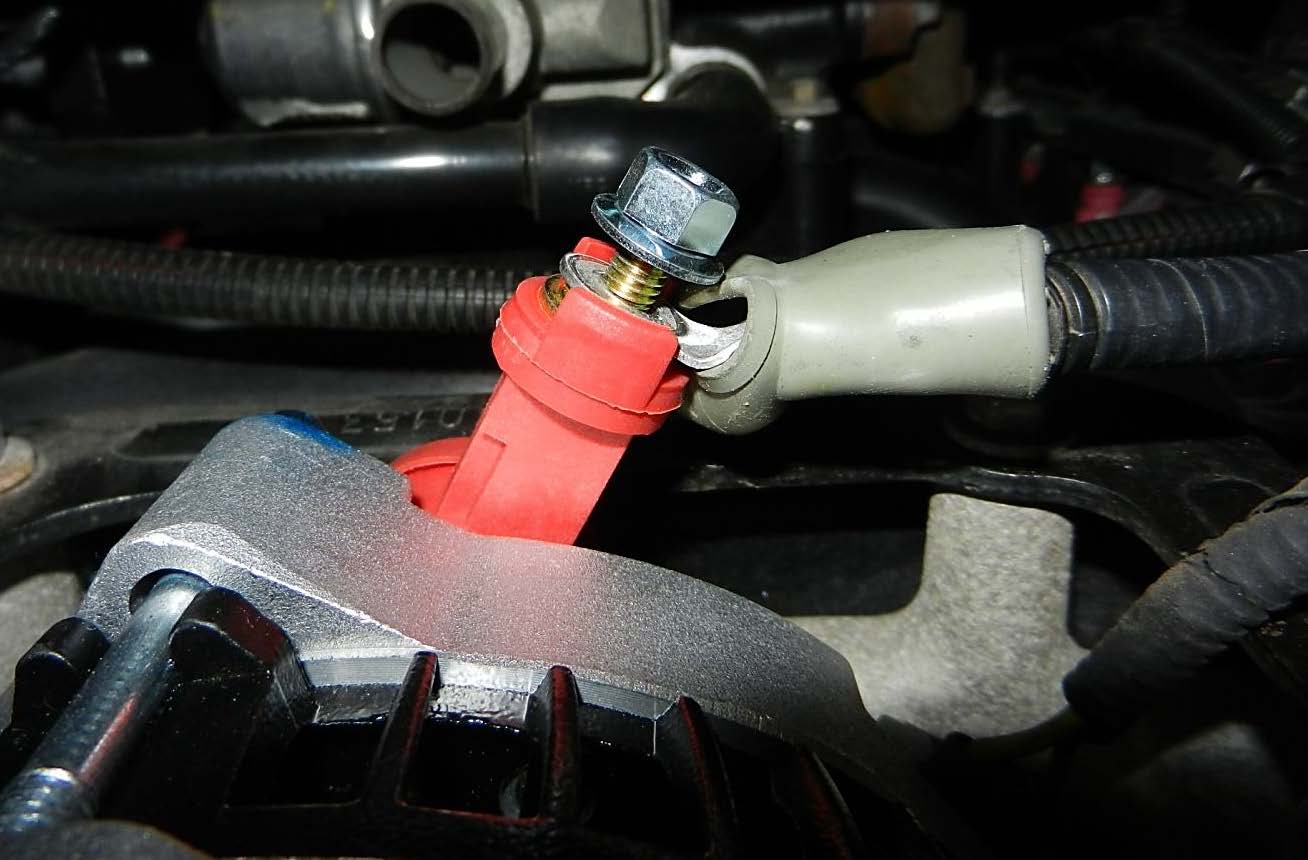
12. Remove nut from the post on the top of the new alternator and reattach power cable. Tighten nut with 10mm socket.
13. Replace hose to PCV valve.
14. Replace drive belt, making sure everything is lined up correctly and re-tension the belt. This would be a great time to replace the belt if it appears cracked or worn.
15. Replace negative battery cable using 8mm socket.
Installation Instructions written by AmericanMuscle customer Nathan Latawiec 3.23.12

