 FREE 1 to 3-Day Delivery on Orders $149+ Details
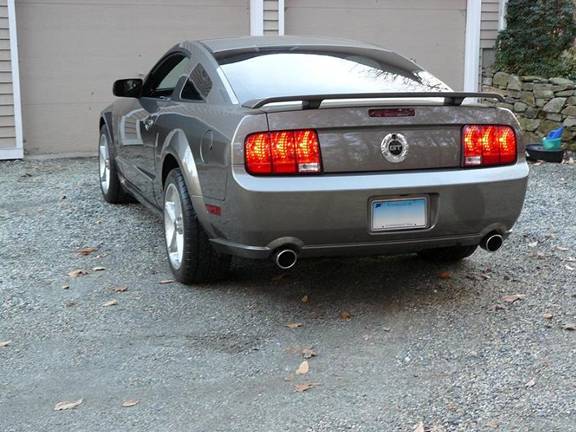
Pypes Mid-Muffler Exhaust 2005-2010 Ford Mustang GT Installation Guide
Installation Time
2 hours
Tools Required
- Hydraulic jack
- jack stands (tire ramps also work well)
- ratchet and extension
- 13mm and 15mm deep sockets
- also recommended: an exhaust tubing expander.

Shop Parts in this Guide
Installation
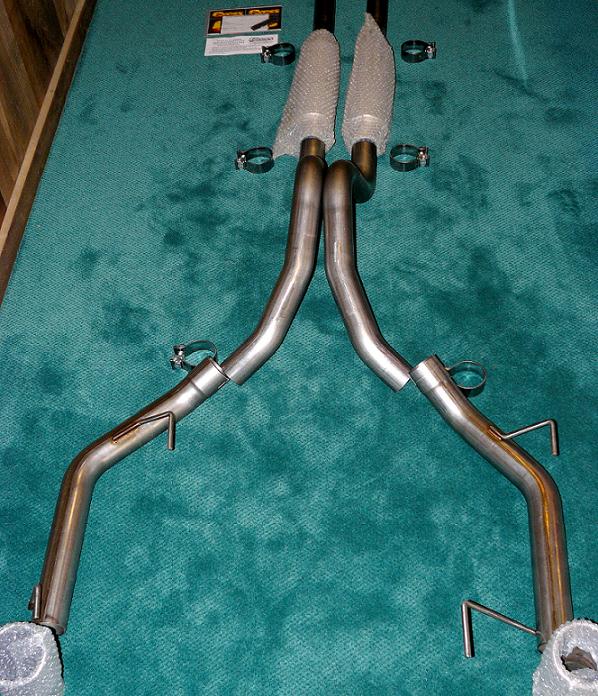
1. Before you begin disassembly of any of the existing components, unpack your Pypes Mid-Muffler exhaust system. Quickly verify that everything was included in the box. Lay all pieces out as they are to be installed on the vehicle by sliding pieces together to ensure proper ID/OD fitment. You may find that components have been tweaked during shipping. If this proves to be the case, use a tailpipe expander to lightly stretch the joints. This can be found at any Autozone in the“Loan-a-tool” section. OEM Industries Part 27028.
2. With the vehicle on jack stands, begin removing the existing exhaust system components. In order to remove the over-axle tubes, you will need to unload your rear suspension to create proper clearance. In this situation, an aftermarket system was already installed. Begin at the rear of the exhaust and work forward. Removal of the factory hangers is necessary. With any luck, once clamps are loosened, the old cat-back should slide right apart in sections.
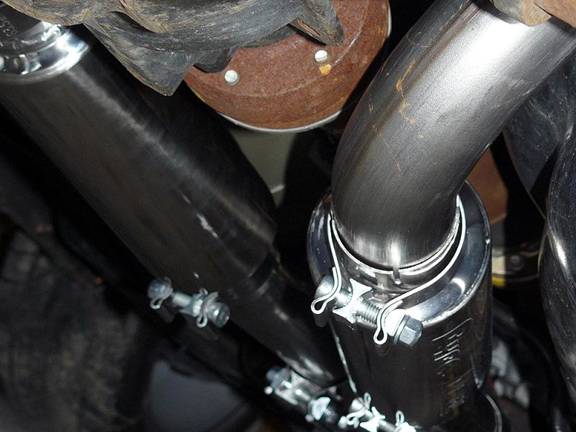
3. You will be required to reuse your factory clamps where the cat back meets the H-pipe. The factory clamps had seen better days, so I opted to replace them with Pypes HVC10 type clamps. These work very much like the original clamps except they are stepped to provide more uniform clamping pressure for aftermarket X/H-pipes. You should inspect the factory clamps for damage. (Nothing like removing the entire exhaust for one clamp)
4. Onto reassembly. The initial installation should be a loose fit only, tighten clamps only after desired fit is attained. Begin by installing the two 16” mid pipes. You will notice these have a very slight bend, this should be oriented such that the bend is opposite of the X/H-pipe. Positioning the bent ends outward and slightly upward seemed to yield best clearance.
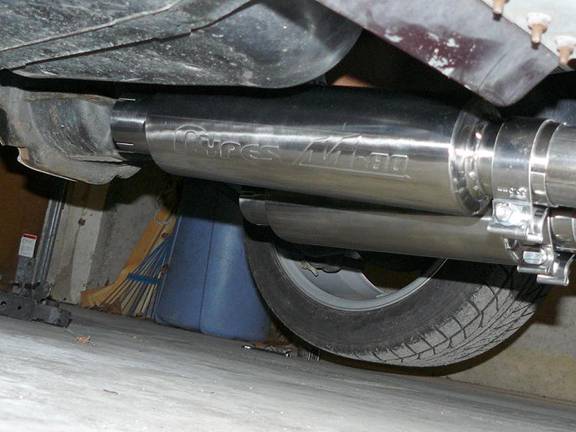
5. Place one clamp over each mid pipe, directly followed by the M-80 mufflers. The mufflers have both a 2.5” inlet/outlet and are non-directional. You may notice that the mufflers come uncomfortably close to either the driveshaft or the fuel tank. When the exhaust is properly fitted, clearance will be minimal, however there should be ~3/4th inch gap between the fuel tank and ~4-5” between the driveshaft.
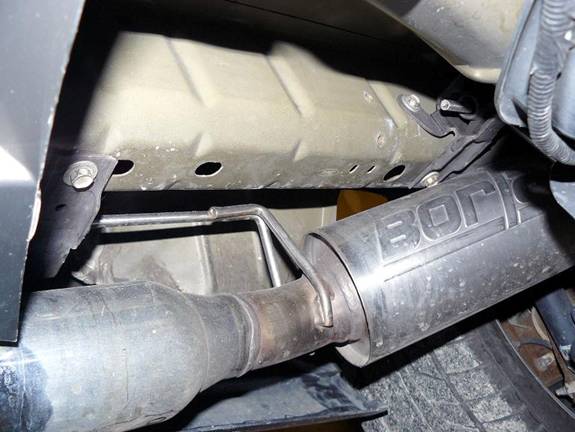
6. After the mufflers are installed, move onto the over-axle pipes. They will slide directly into the outlet of the muffler.
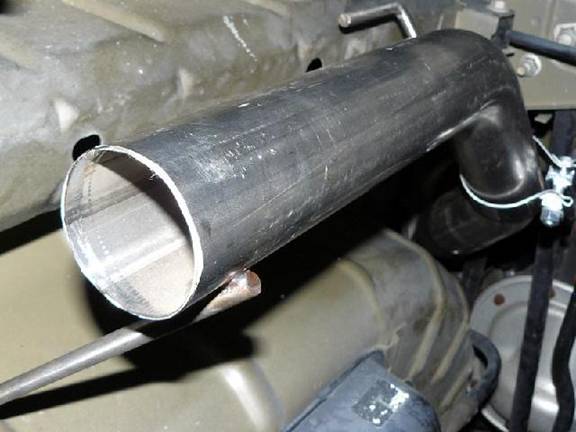
7. Once these are connected to the mufflers, put a clamp over each muffler delete tailpipe and connect to the over-axle pipes. You should now also remount your factory rear hangers.
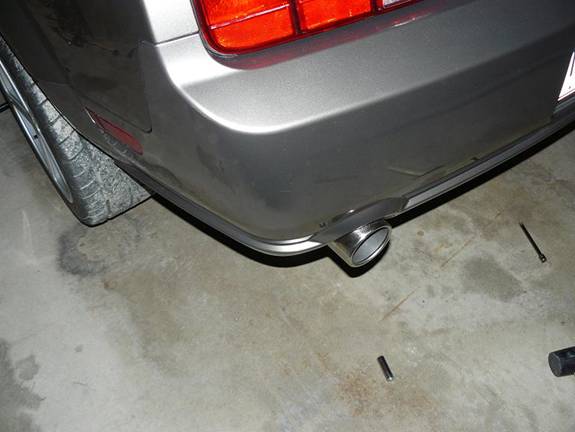
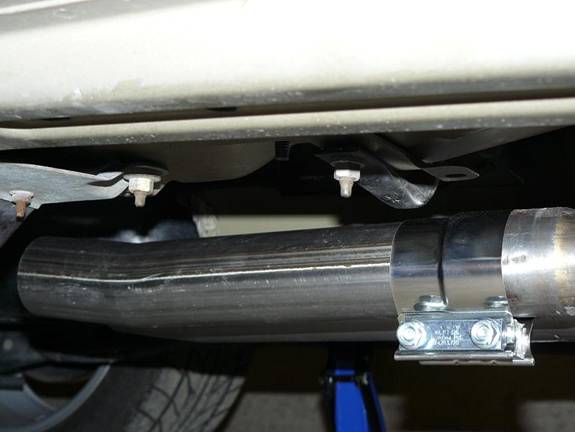
8. All that remains is the exhaust tips; these use the remaining two clamps. Once desired fit is attained, go back and tighten all clamps. The clamps provided all require a 14mm wrench. Position each clamp so that the bolt is obscured from view.
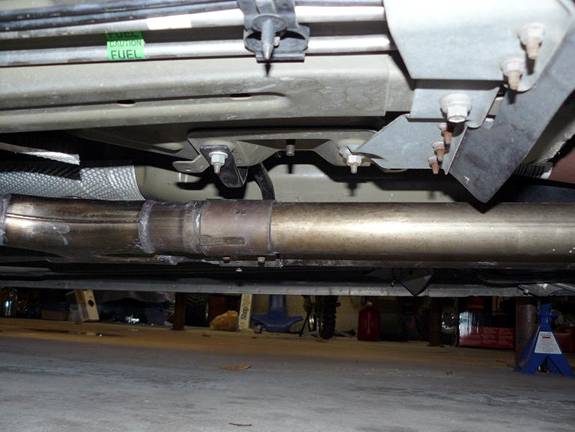
Clearance concerns. There is nothing worse than an exhaust that rattles over every bump. The main clearance concern is the panhard bar brace. The clearance between the over-axle tubes and the brace will be nominal if any at first. With some negotiating, you should be able to settle on an inch of clearance between the brace and over-axle tubes. From what I found, the tolerance for range of adjustment is very small on the bent mid-pipe. The positioning of this is crucial to ensure the rest of the exhaust fits correctly.
So you have installed your exhaust. Now all that remains is to sit back and fire it up. Any busted knuckles, and other aches and pains, will quickly be subdued with the turn of your key. This is not the easiest system to install, however your efforts will not go without reward. The removal of the factory exhaust and installation of the mid muffler system total time was under 2hrs, however it could take longer if you experience major issues with fitment. Be sure to recheck all your clamps after the first 20-50 miles.
Installation instructions provided by AmericanMuscle customer Greg Wolnick

