 FREE 1 to 3-Day Delivery on Orders $149+ Details
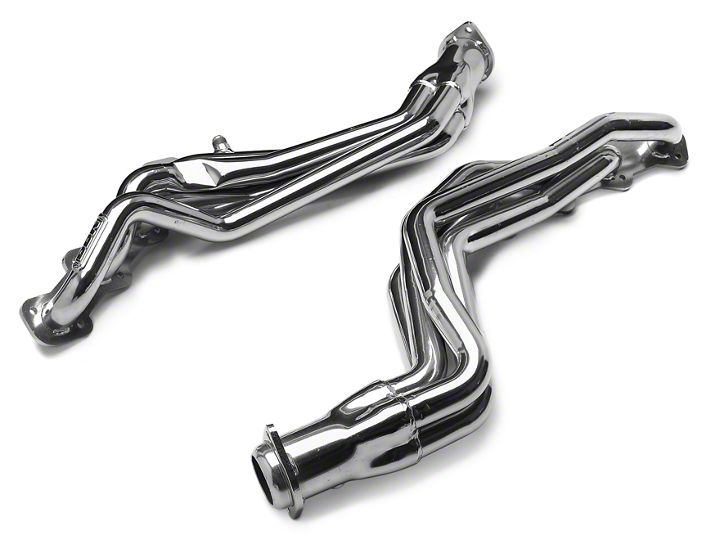
BBK Ceramic Long Tube Headers ('96-'04 GT) - Installation Instructions
Shop Parts in this Guide
Installation
Original Exhaust System Removal :
1. Raise front of vehicle on safety ramps or jackstands to allow clearance for long header installation, if available a vehicle hoist would be highly recommended.
2. Disconnect negative battery terminal, make sure vehicle is securely raised with safety chocks in place, etc.
3. CAUTION:Use extreme caution when working under vehicle. Always use a secondary safety jacking device
4. Working from under the vehicle, first remove the exhaust H-pipe by disconnecting at the exhaust manifolds, mufflers pipes and also be sure to unplug all 4 oxygen sensors.
5. Working from under the hood, disconnect the emissions tubes from both exhaust manifolds, then unbolt and remove the strut tower brace to allow for clearance while lifting the engine on the passenger side.
6. Working from under the vehicle unbolt and remove the starter and then the passenger side exhaust manifold.
7. Unbolt the steering shaft pinch bolt (located on the driver’s side just above the steering rack at the rubber coupler or “rag joint”). Pull the steering shaft up off of the splines on the steering rack and swing the shaft to the driver’s side of the engine compartment. Unbolt and remove the driver’s side exhaust manifold.
8. To facilitate installation of the header on the passenger side, first remove the engine crossmember support bar (G-load brace), then remove the motor mount nut on the passenger side to allow the motor to be jacked up approximately 3-4 inches.
9. Using a floorjack and a piece of wood placed on the oil pan bolt rail, slowly raise the motor enough to allow the header to be slid in place. Place another piece of wood as a safety block between the motor mount and engine crossmember until the header is installed completely with supplied gasket/hardware. The starter motor must also be installed simultaneously with the passenger side header due to tight clearances.
10. Lower the motor and reinstall the motor mount nut, then simply slide the driver’s side header into place and install with supplied gasket/hardware.
11. Reinstall the steering shaft to steering rack and torque the bolt to factory specifications, then reinstall the crossmember support bar. At this point check for any interference or clearance problems between the driver’s side header and steering shaft.
12. Install the new BBK H-pipe assembly using the supplied hardware, first tighten the flanges at the header collectors, then tighten at the muffler pipes.
NOTE:Install the oxygen sensors to the H-pipe before fitting to the vehicle to ease installation
13. From under the hood simply reconnect the emissions tubes to the appropriate fittings on the headers and reinstall the strut tower brace.
14. Safely lower the vehicle and reconnect the negative terminal to the battery, start your vehicle and check for leaks or loose hardware.
CAUTION:Make sure the steering shaft bolt has been tightened!
Installation instructions provided by BBK Performance Parts

