FREE 1 to 3-Day Delivery on Orders $149+ Details
How to Install a B&M Hammer Console Ratchet Shifter - Automatic on Your 1994-2004 Mustang GT or V6
Installation Time
2 hours
Tools Required
- 7mm socket
- 8mm socket
- 13mm wrench
- 3/8” Drive ratchet
- T20 Torx Drive
- Flathead Screwdriver
- Wire strippers
Shop Parts in this Guide
Installation Instructions:
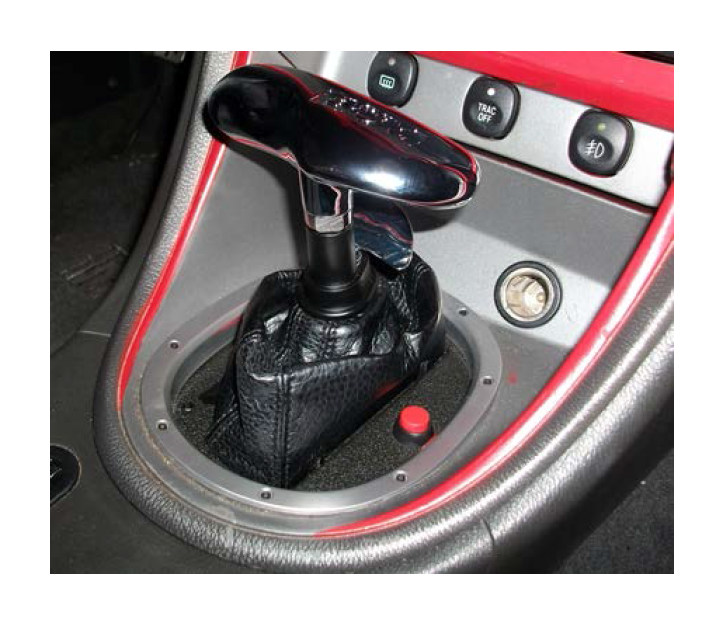
1. Begin by turning the ignition to the ‘On’ position and moving the shifter into neutral. Turn the ignition back to the ‘Off’ position and engage the parking brake for safety. Unplug the cigarette lighter and pull off the bezel around the shifter.
2. Remove the entire center console. There are (2) 7mm head screws by the stock shifter and (2) in the armrest compartment. When pulling the armrest compartment tray out, be sure to disconnect the 12v power connector.
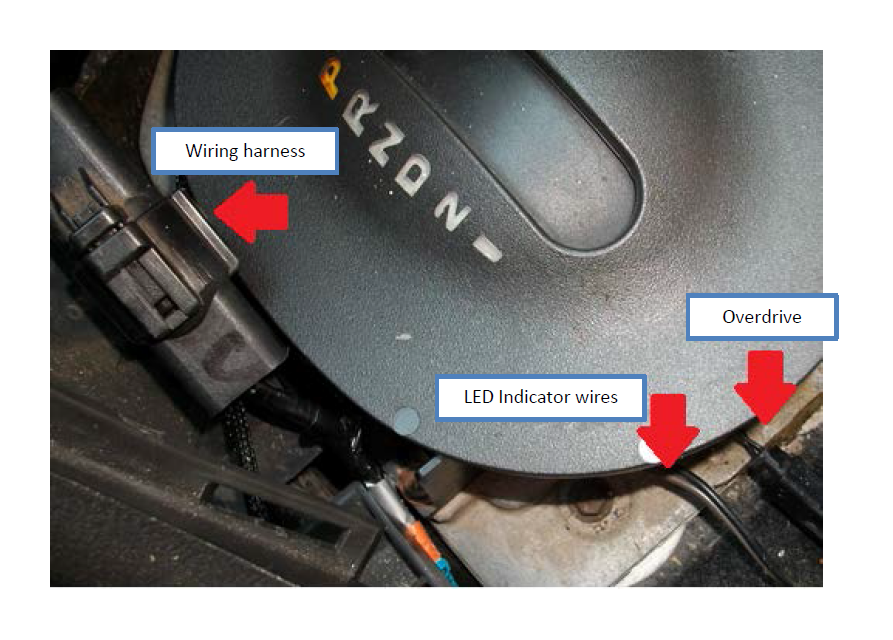
3. Disconnect the wiring harness for the center console. The connector is between the driver’s knee and the shifter. Pull the emergency brake to the extreme highest point to be able to pull the console over it. The shifter may have to be moved to first gear for easier removal of the console. Cut the wiring for the LED Indicator and the Overdrive to be able to rewire the B&M Shifter.
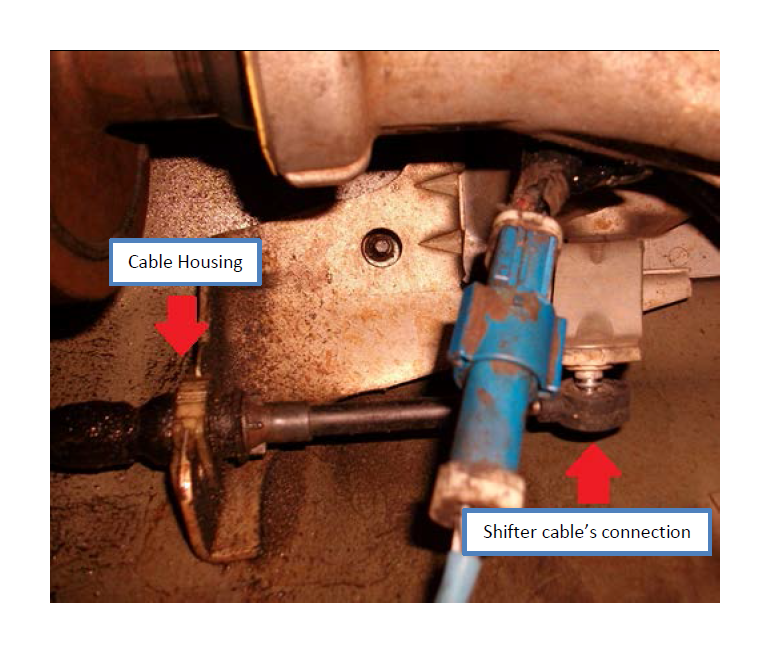
4. From under the car, disconnect the transmission’s shift cable for the shifter; this can be easily pried off with a screwdriver. After prying the cable over the stock shifter’s ball fitting, remove the cable from the housing; this can also be easily done with a screwdriver by prying downward.
5. Remove the Interlock Cable that comes from behind the dash connecting to the shifter. The interlock cable is attached to the front of the stock shifter’s base plate.
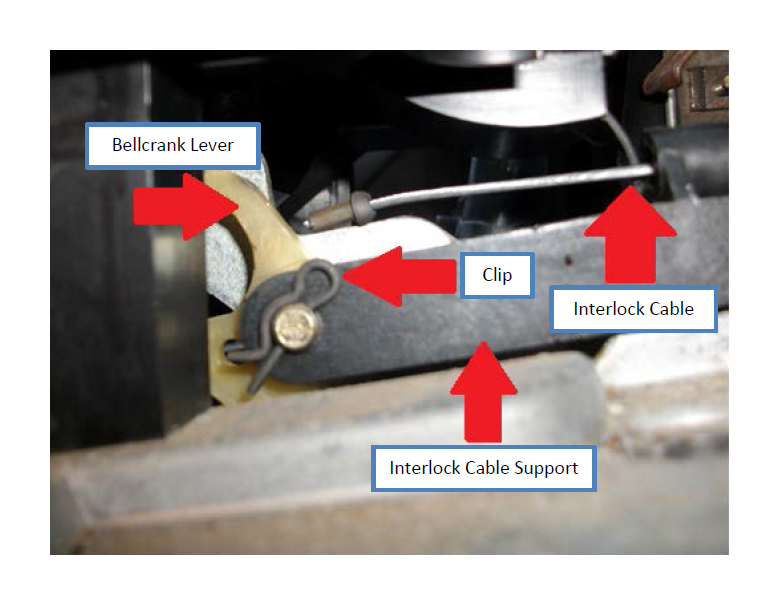
Carefully pull up on the cable until it snaps out of the plastic Bellcrank Lever. Remove and slide out the interlock cable support, which is attached under the shifter with a T20 Torx Head screw and a small clip that is visible from above (reference previous photo).
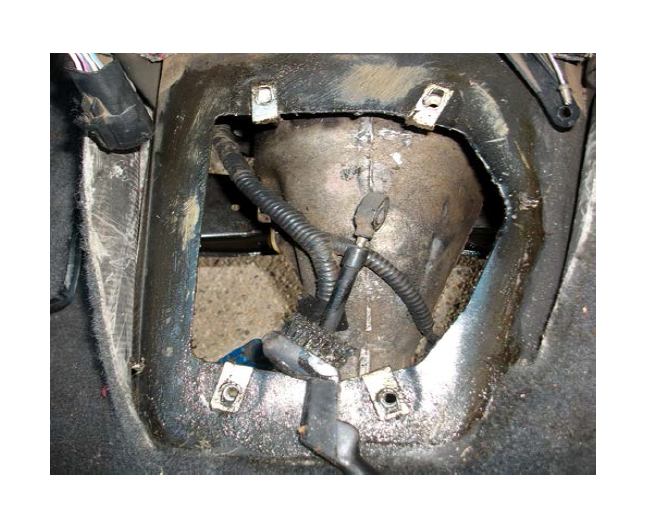
6. Unscrew the (4) 8mm bolts holding the shifter to the transmissions tunnel and the shifter will slide out. If any gasket material is stuck to the tunnel, remove it with a wire brush.
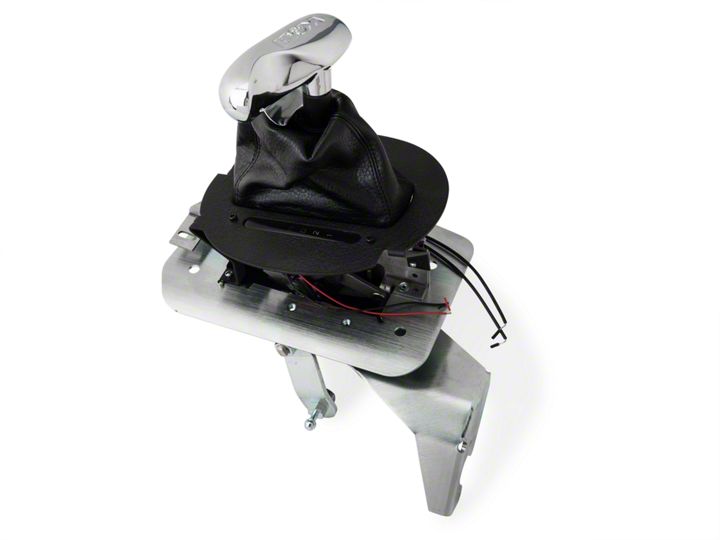
7. Install the gasket that comes with the B&M kit to the bottom of the ratchet shifter. Make sure the nuts are aligned with the shifter’s mounting holes. Install the B&M Shifter along with the (4) 8mm bolts.
8. Before connecting the transmission cable to the shifter, loosen the adjusting nut with a 13mm wrench where the cable connects to the transmission (under the driver’s side). This allows the shifter to change gears without shifting the transmission. The kit will come with a spacer, adapter and screws for the transmission cable housing to easily mount to the new shifter.
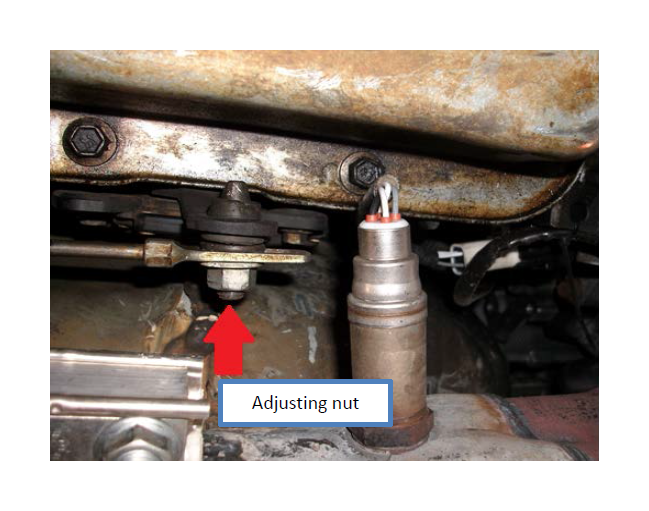
Ensure the transmission and shifter are both in ‘Neutral’ and then snap the shifter cable over the ball on the shifter’s output lever. Next, tighten the adjusting nut -- be sure the transmission can go into every gear before fully tightening.
9. Before reinstalling the Interlock Cable, the cable support will have to be trimmed about ½ an inch from the mount, which can be done with wire cutters.
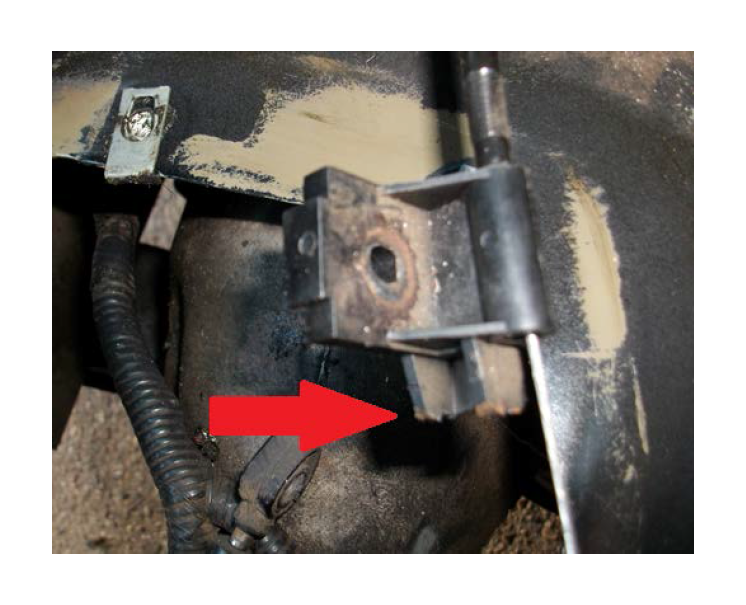
10. Move the shifter into the Park position and connect the Interlock Cable to the shifter. Slip the cable threw the metal Bellcrank Lever on the underside of the shifter. Attach the Cable Support to the base of the shifter using the supplied nut and bolt plate.
NOTE: Adjusting the bracket will be necessary for it to lift the bellcrank lever when the brake is pressed and allows it to go in gear. With the shifter still in the ‘Park’ position, adjust the bracket so there is no slack prior to tightening. Ensure the key cannot be removed unless in the ‘Park’ position and that the shifter cannot be moved from ‘Park’ unless the ignition key is in the ‘On’ position.
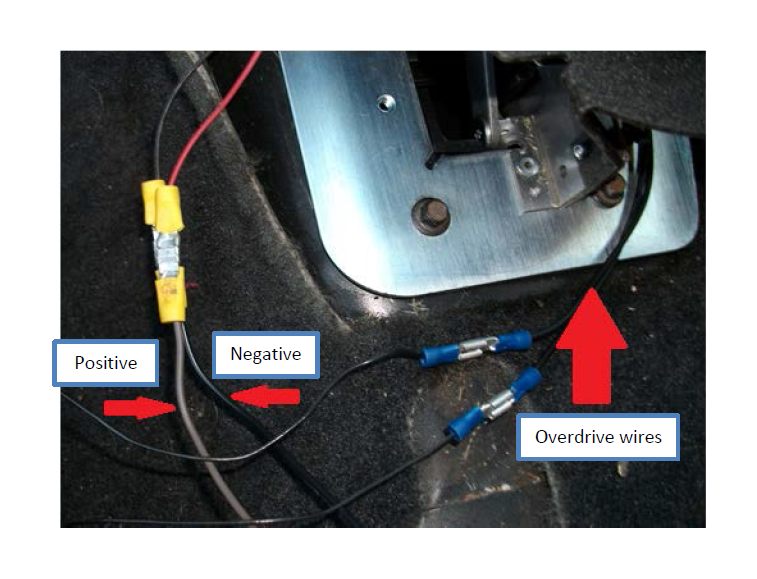
11. Wire the Overdrive and LED Illumination power wires into the stock wiring with butt connectors or female and male connectors. If the stock wiring does not include an illumination wire, a radio power wire can be used as a positive and one of the shifter mount bolts can be used as a ground. The Overdrive wires do not need to be connected in any order.
NOTE: The gray wire for the LED Illumination is positive and the black is a ground or negative.
12. Reinstall the console. Install and tighten the (4) screws that held the console in place. Reconnect the wiring harness to the main plug and all power outlets.
13. When secure, replace the trim panel around the shifter and install the armrest compartment. Finally, install the T-Handle to the shifter by tightening the jam nut supplied in the proper direction and location.