FREE 1 to 3-Day Delivery on Orders $149+ Details
How to Install a CDC Shaker System for a 2010 Mustang GT
Installation Time
3 hours
Tools Required
- Masking tape
- Razor blade
- Rivet gun
- Eye protection
- Thread locker
- 8mm socket
- 10 mm socket
- Saw with metal blade (I used a cutting grinder and handheld rotary cutter)
- Fork tool
- Duct tape

Shop Parts in this Guide
Installation
Preparation:
1. Raise hood and remove underhood blanket pushpin fasteners using a fork tool. Move windshield washer hose down out of the way of where you will be cutting later. If you have the strut tower brace or engine cover you will also have to remove those.
2. Close hood and mask off more of the hood than you will be cutting. I ran out of regular masking tape and used some blue painters tape which pulled off a lot easier afterwards.
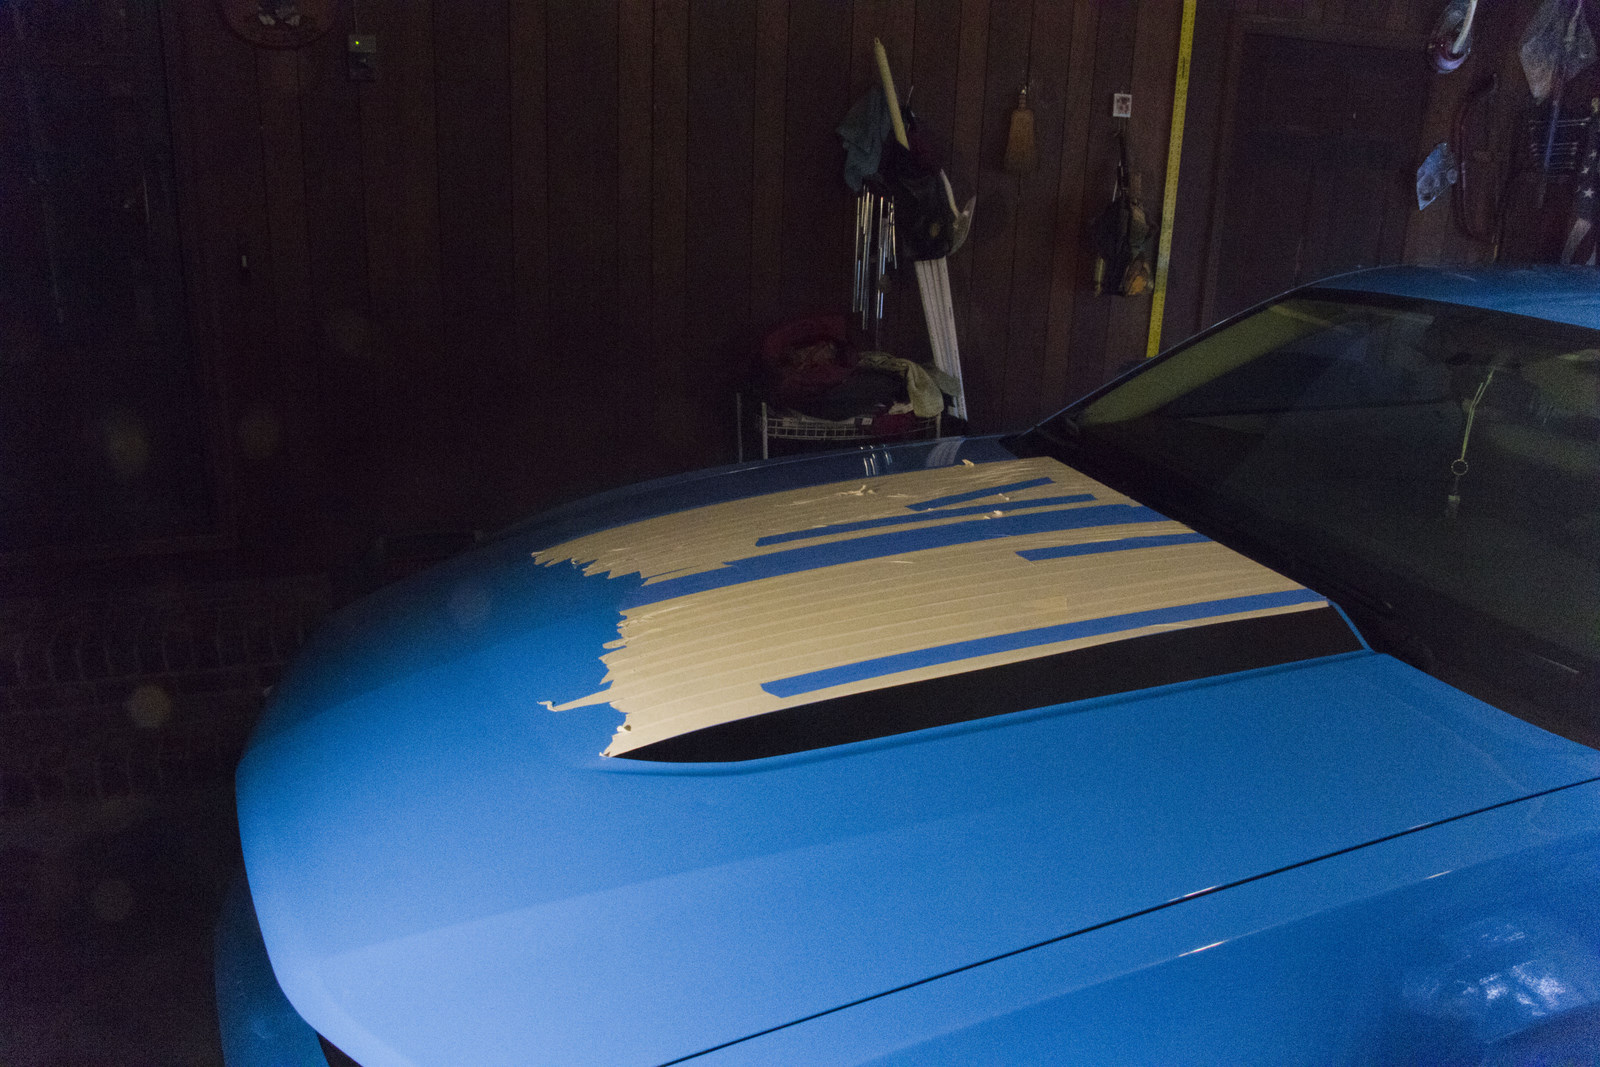
3. Measure and mark the centerline of the hood. Be extra careful here because this is where the CDC template will line up.
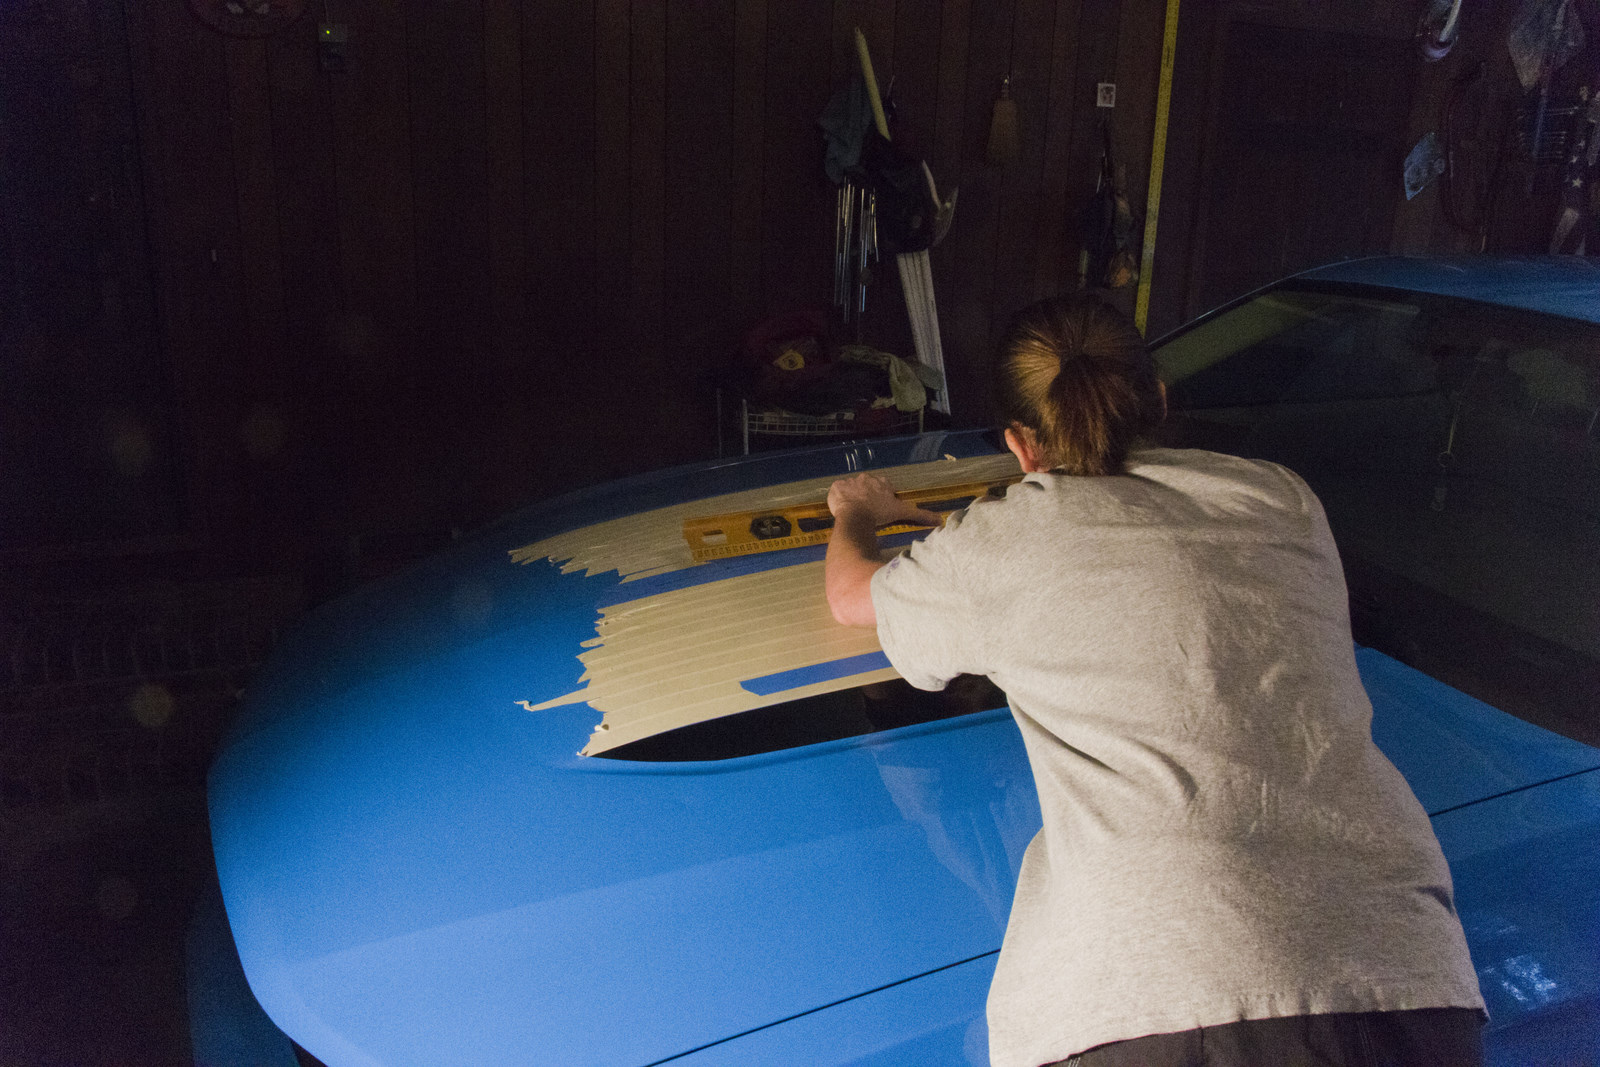
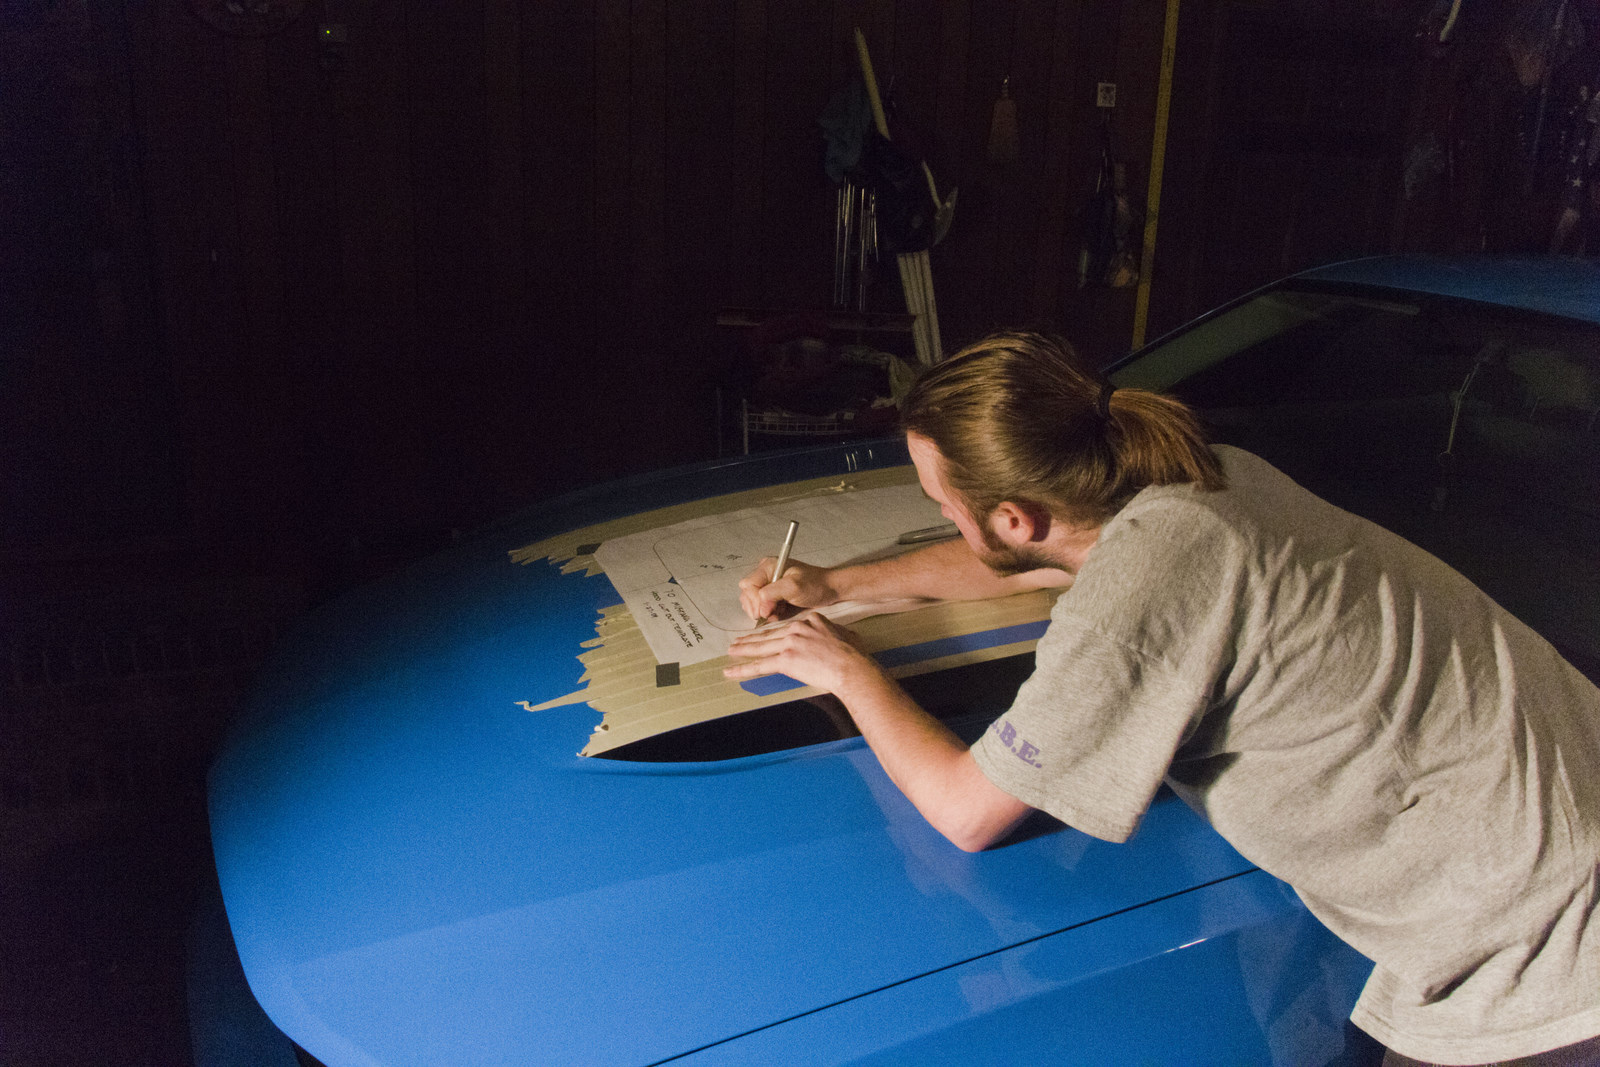
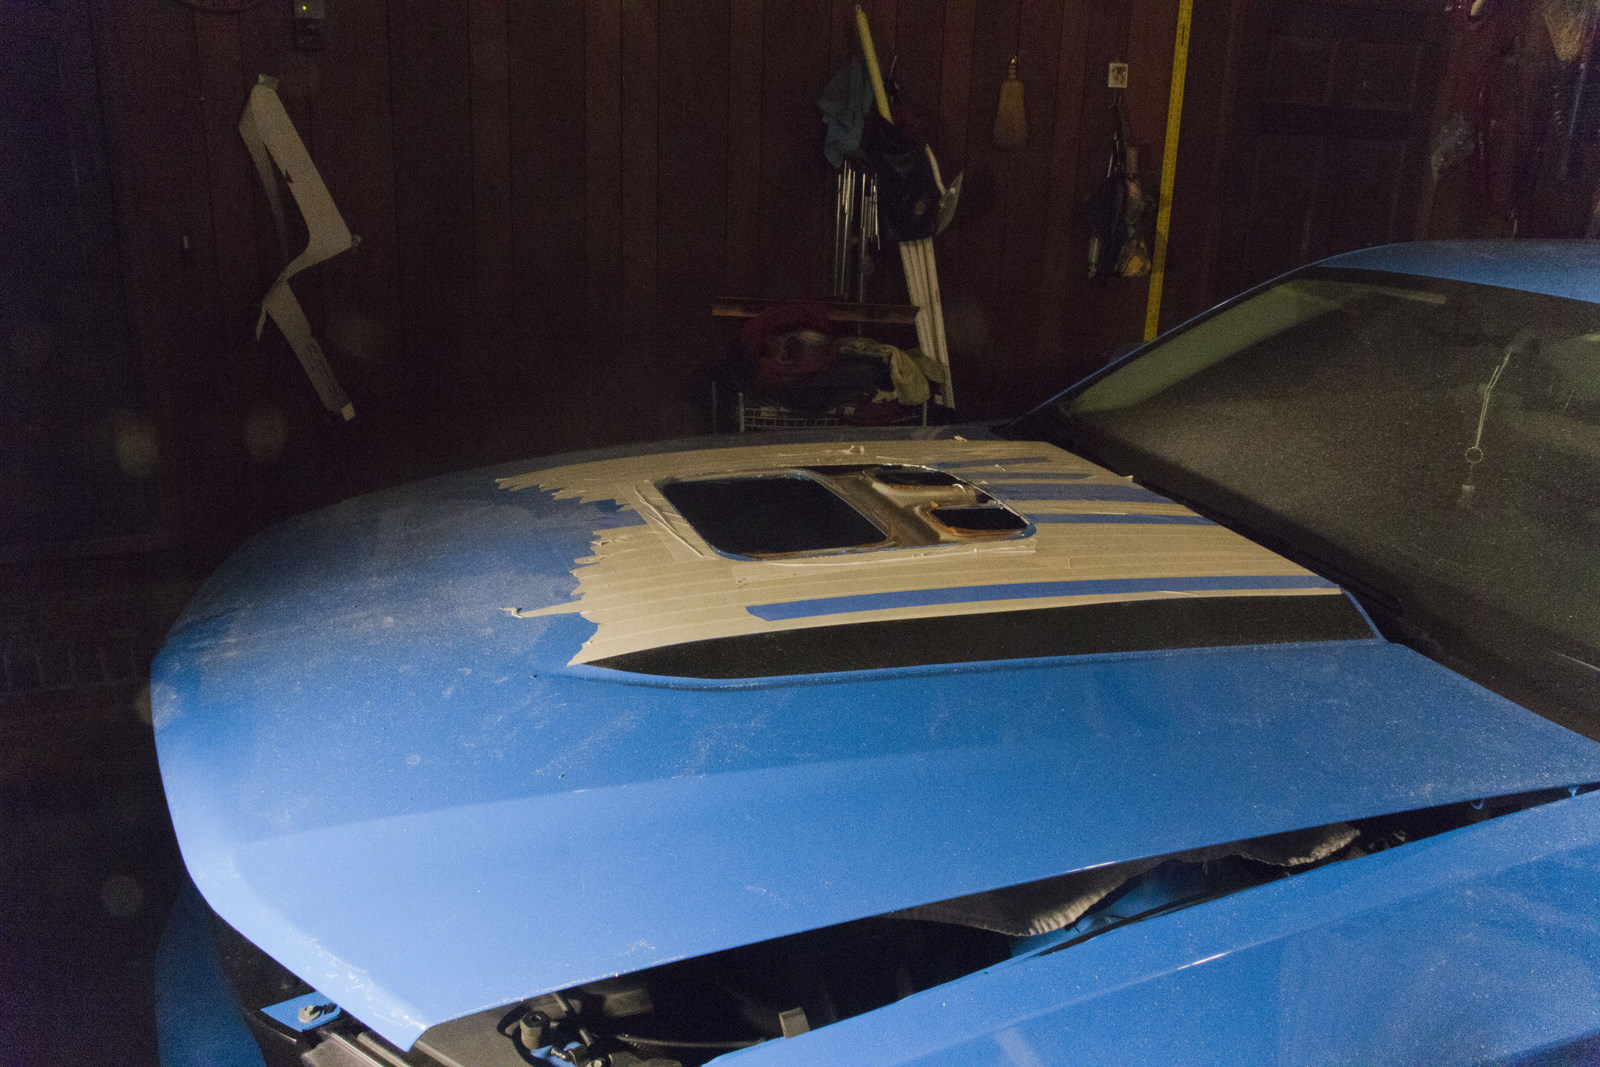
4. From the centerline, measure 11 ⅛” from the rear of the hood and mark a line perpendicular to the centerline. Cut a hole in the template line up the template with the centerline and mark. Tape the template firmly to the hood.
5. Score the hood through the tape and paint along the template. Remove the tape from the outline of the shaker cutting area. Raise the hood a bit and lay a blanket underneath to catch shavings.
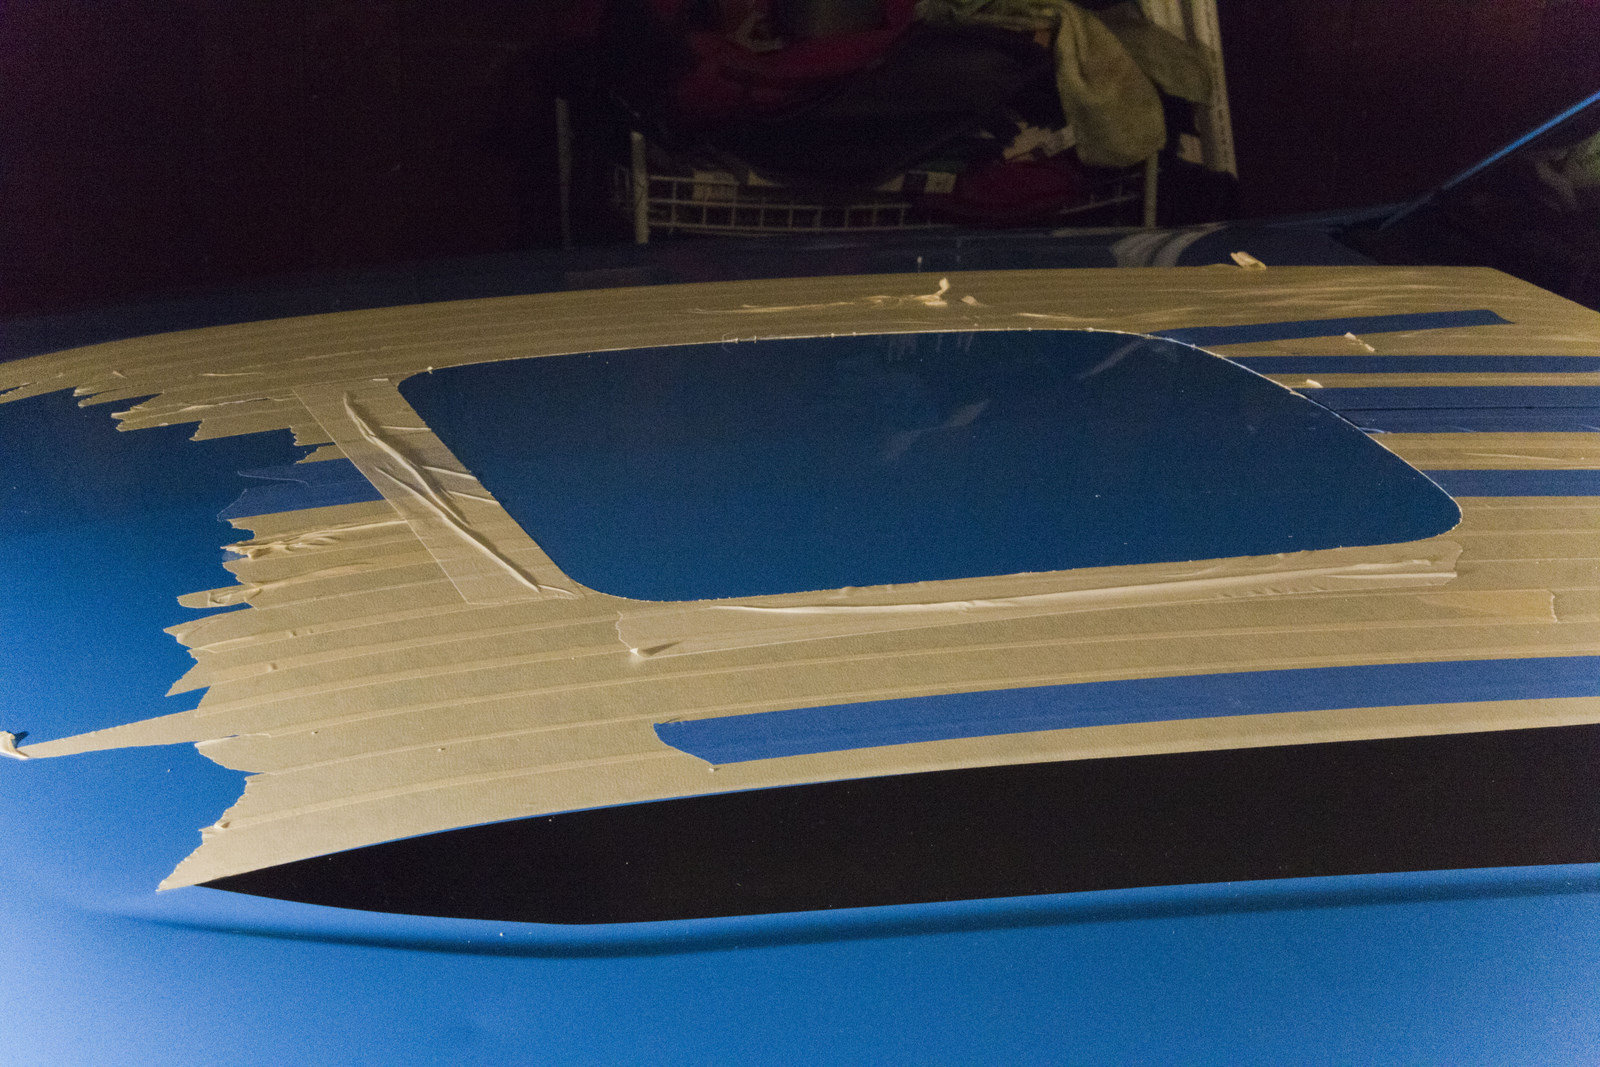
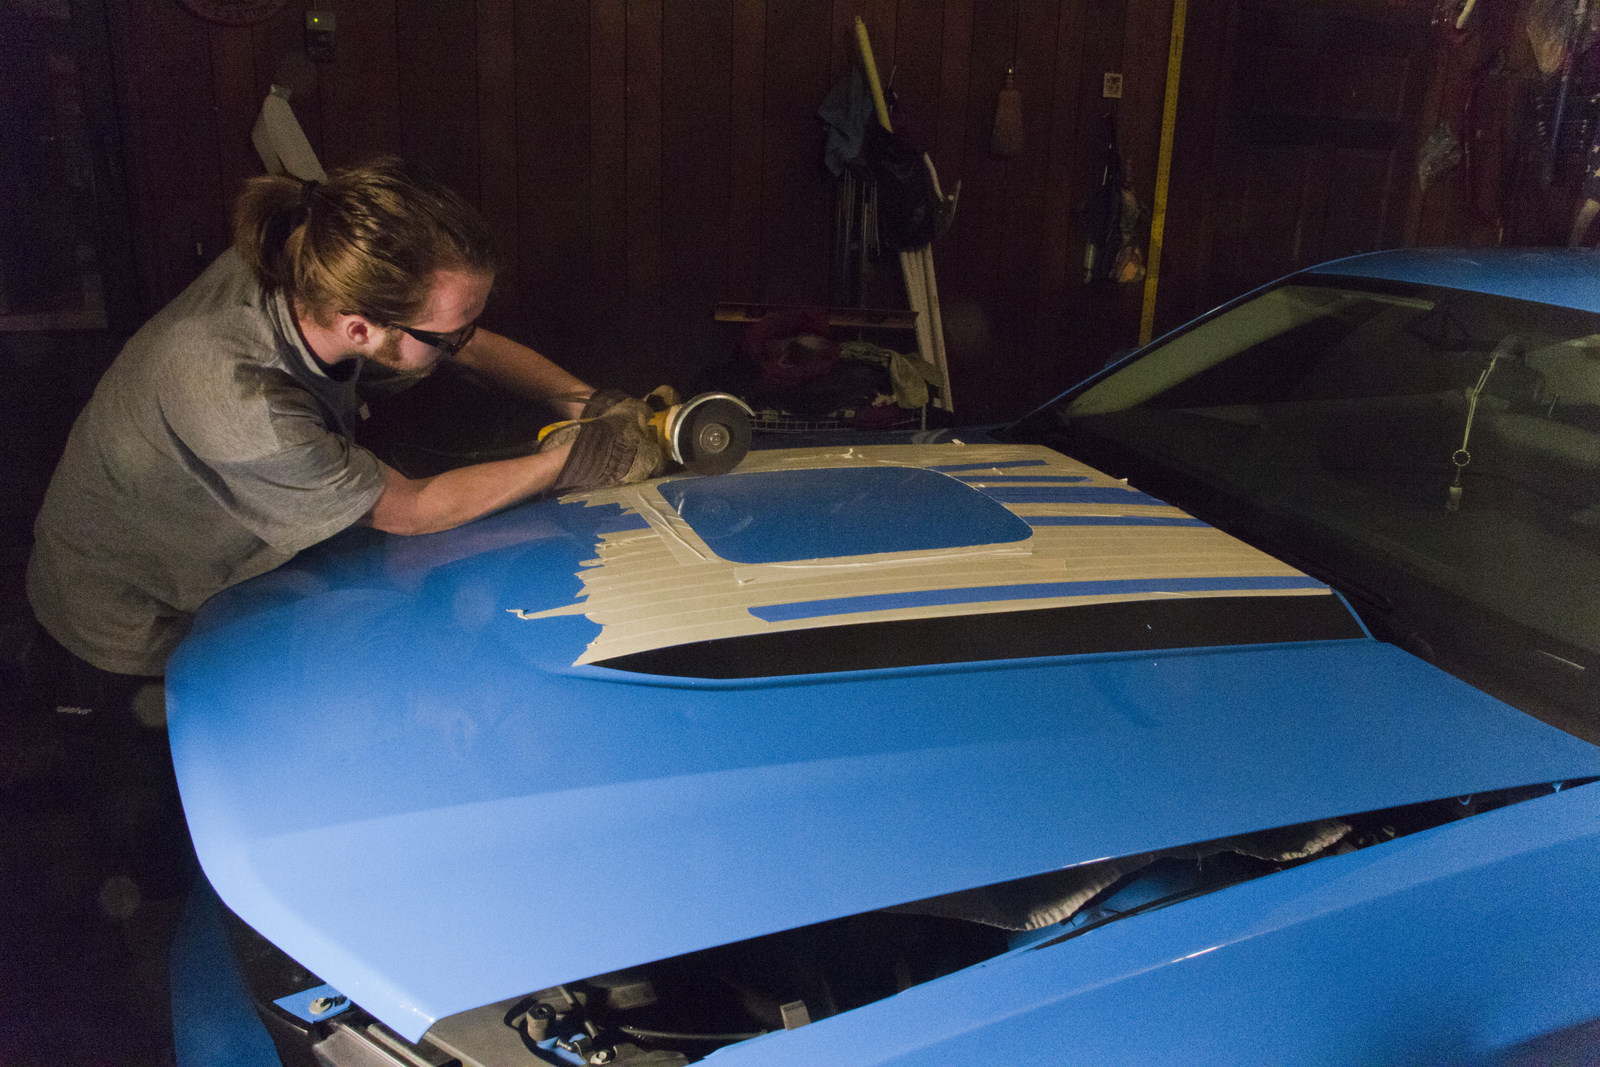
6. Cut hood along the template cut out. Make sure to tape over the cut line if the hood starts to vibrate too much.
7. Reinstall the hood blanket and mark the shaker opening on it. Remove the hood blanket and cut the it where marked for the shaker opening.
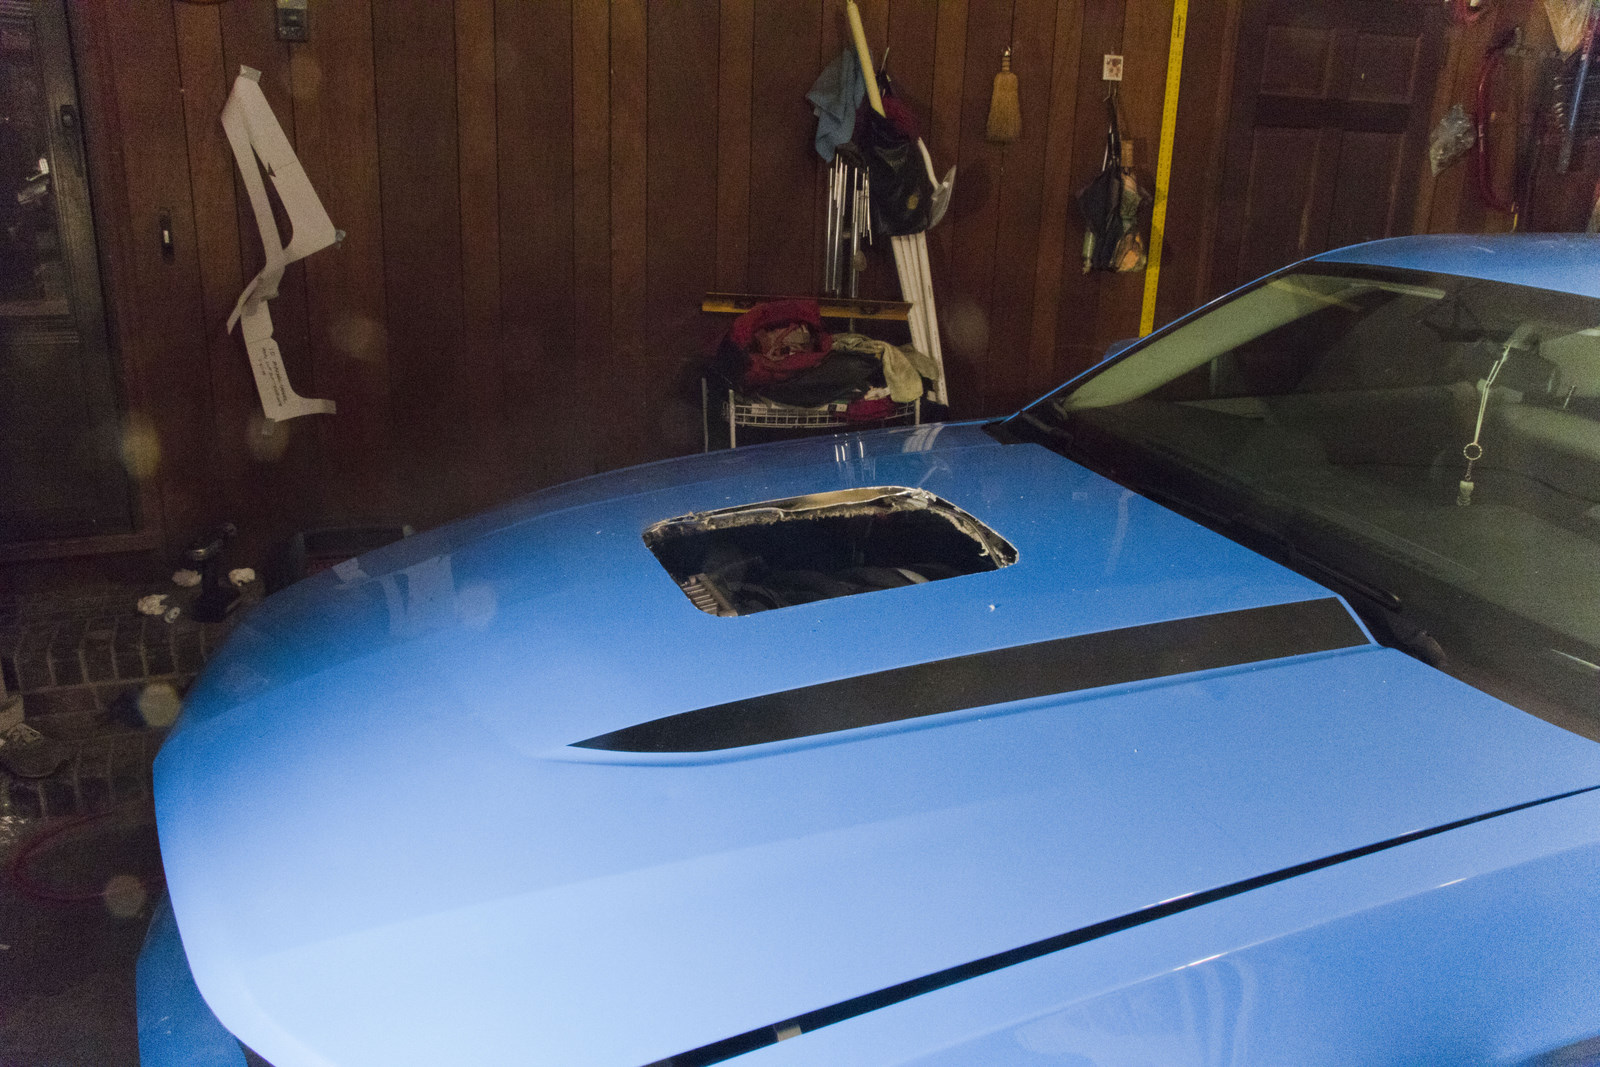
8. Remove all of the tape and tape residue from the hood. Make sure it is well cleaned so that the Trim ring will adhere later.
9. On the new BBK unit, you can now install the TPS using the two screws supplied with your kit. Place the supplied TPS bushing onto the TPS shaft. You will turn the TPS downward to match up the slot with the blade, and then turn it upwards to match up the mounting holes.
10. Bend the firewall ground terminal down 90º so that the shaker assembly will fit. Remove the clamp from the air tube into the throttle body and cut the rubber knobs from it the bracket can be rotated down away from where the shaker will sit. Install the supplied M5-.80 nuts to the throttle body fastener studs. The shaker will be secured between the nuts.
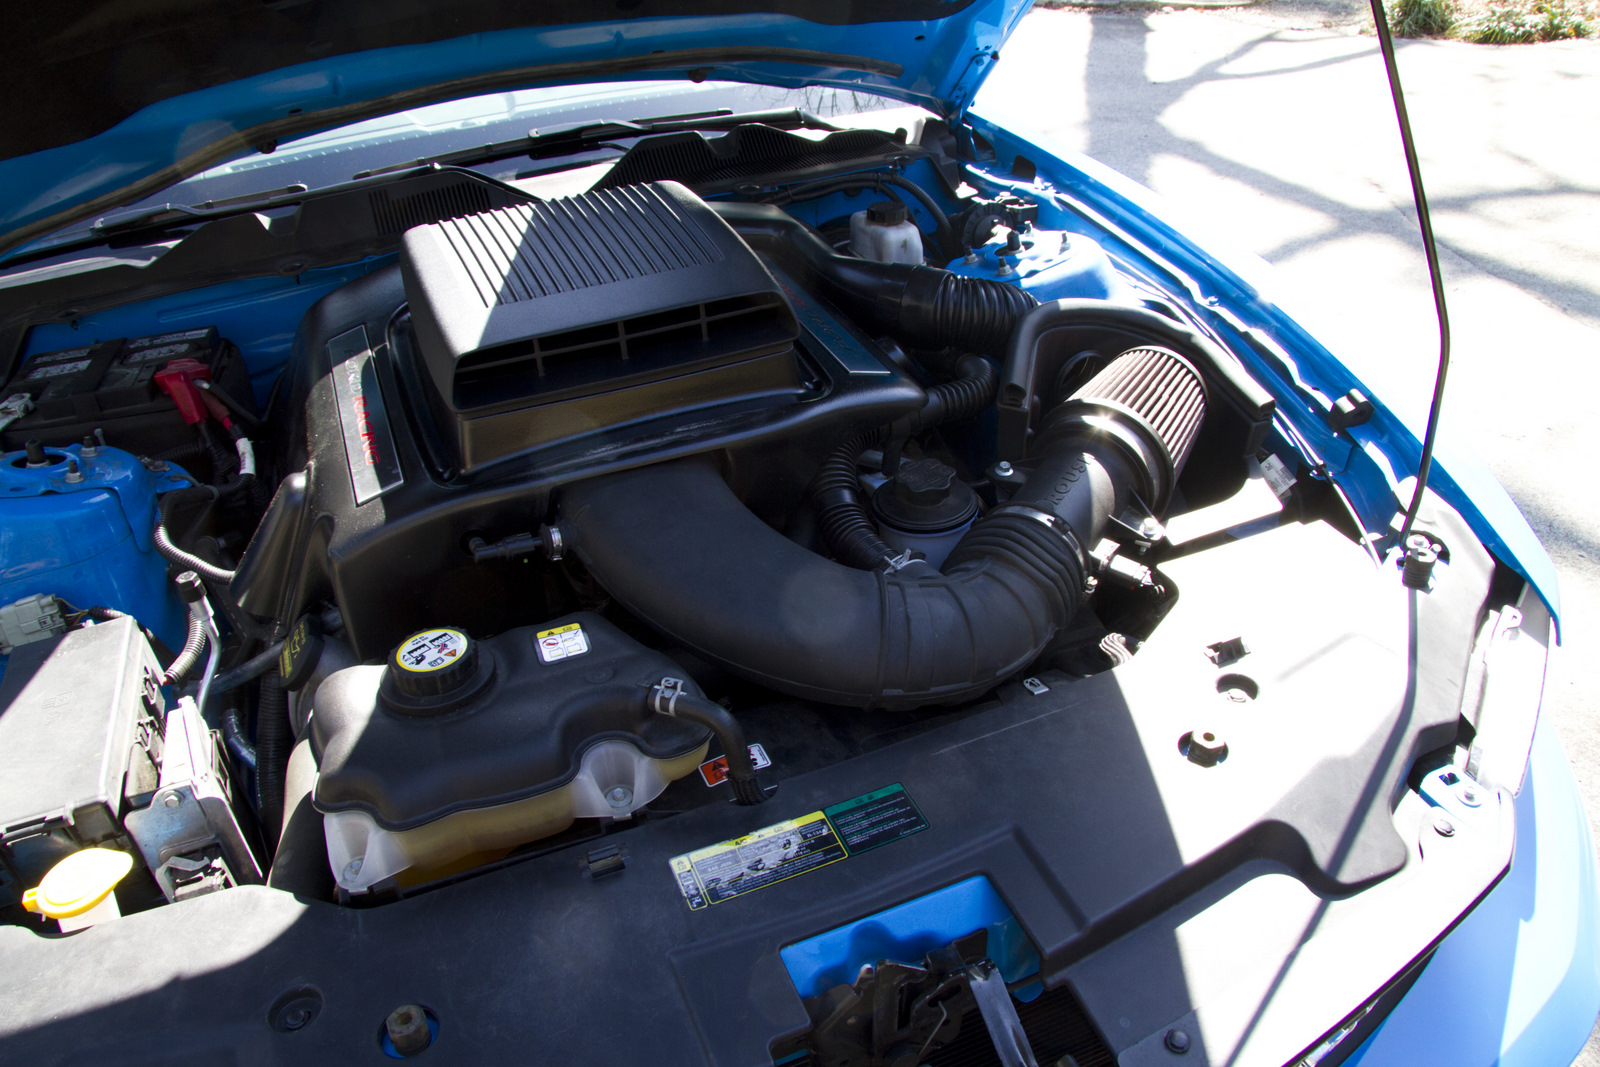
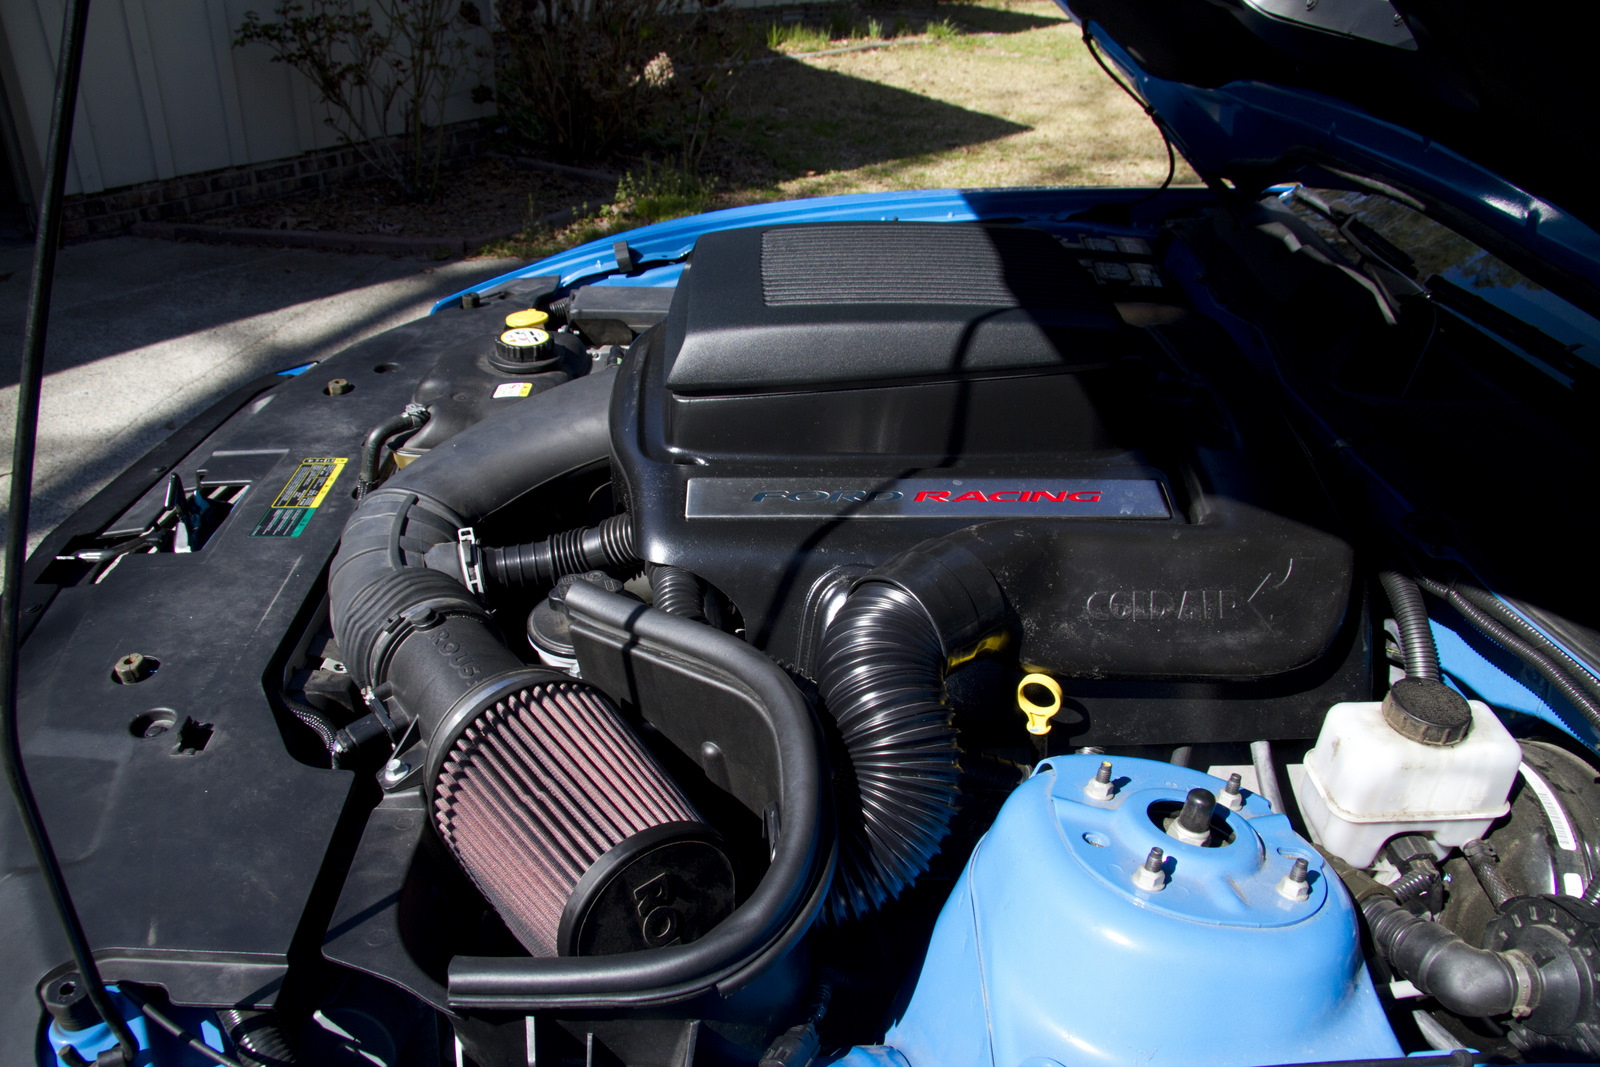
11. Attach 4 drain tubes to the bottom of the shaker engine cover assembly and secure them with zip ties. Slide 3” coupler and clamp onto the upper air tube. Lower the shaker engine cover assembly onto the intake manifold, routing the drain tubes away from moving parts and hot surfaces. Start with the rear and push it down into the ball stud socket then slide the front over the throttle body studs.
12. Slowly close the hood and check for fit then tighten down the M5-.80 nuts on the front of the shaker. Adjust the shaker until everything is lined up and the hood closes alright.
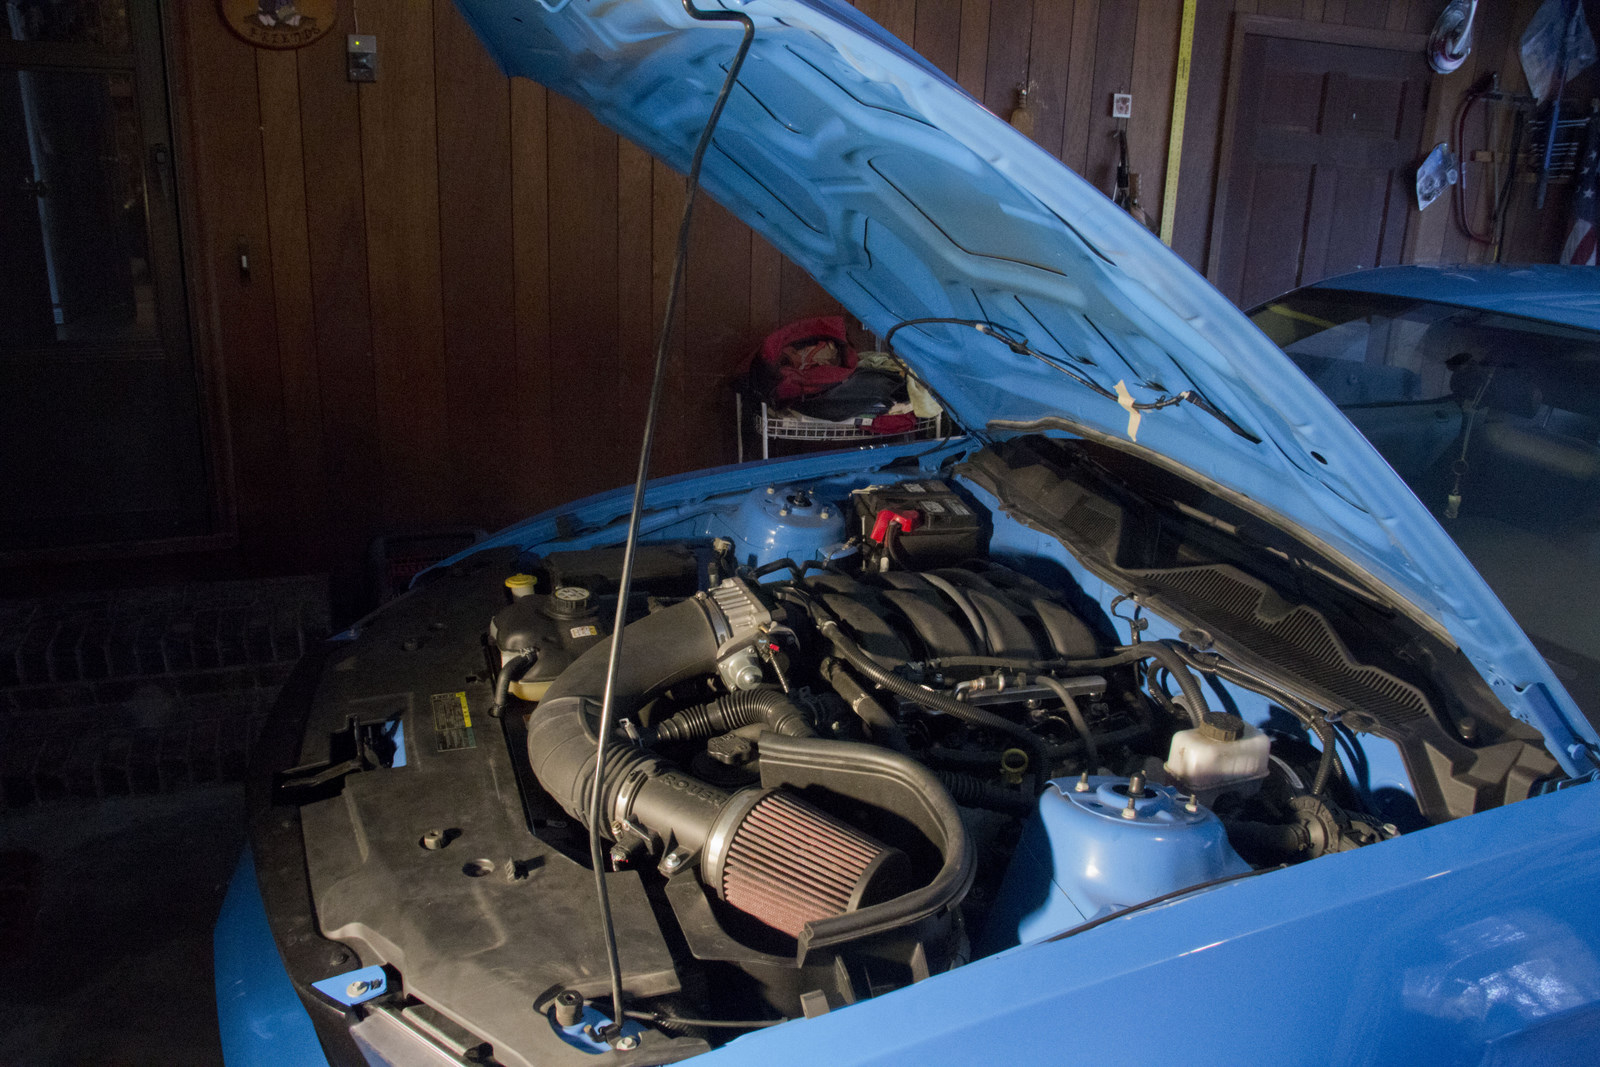
13. At this point a hole needs to be cut in the air box. In my installation I custom fit the shaker system to the roush cold air intake system. Measure where the lower air tube (part #115053) fits onto your air box and cut a 3” diameter hole in the rear facing side of the box.
14. Scuff the bottom side of the Upper Trim Ring with sand paper and apply 3m Acrylic Bonding tape (part #950011). Peel back 3”-4” of the backing on the tape and place the trim ring in the hood opening.
15. After the connections have been reestablished, you can move on to reconnecting the throttle cable bracket, throttle spring, throttle cable and cruise control cable. First start off by bolting on the throttle cable bracket with the new 4mm Allen bolts supplied in the kit. Now channel your throttle cable under and up into the guide, which is the reverse of how you removed it. The guide will be different from the stock one, in that you will need to snap the cable past a little plate that keeps it from coming off the guide.
16. Double check for fit of everything and make sure the intake is all connected including the MAF sensor and breather tube.
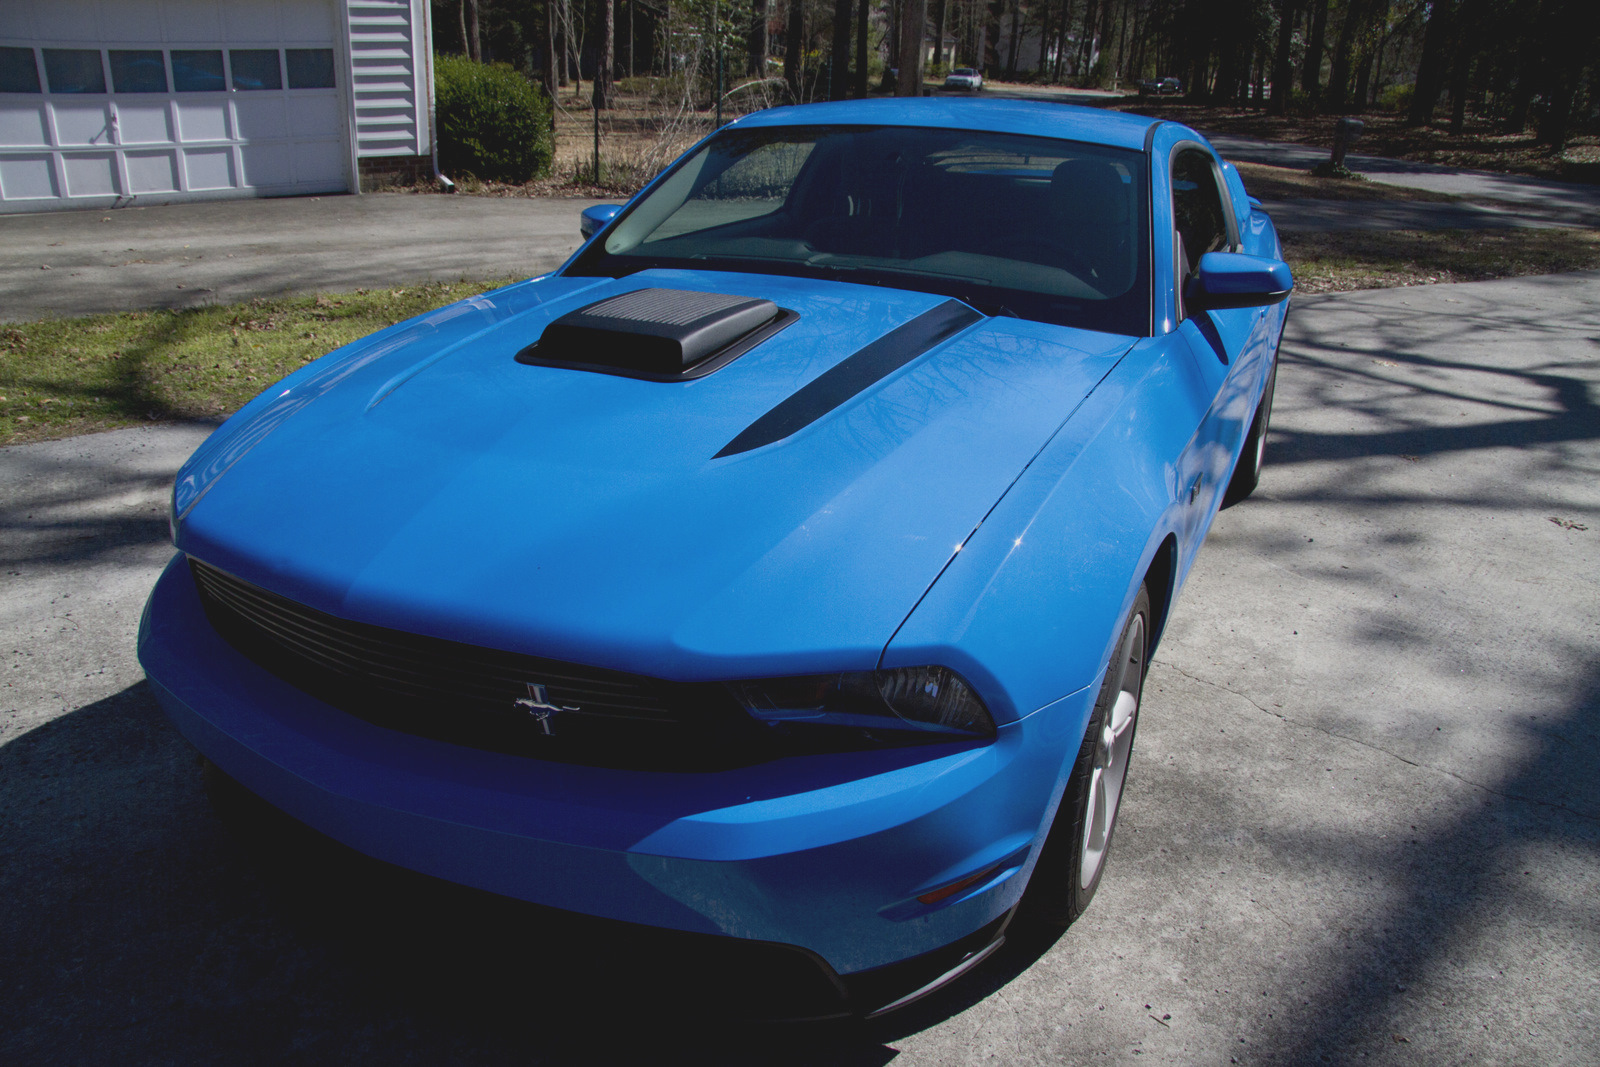
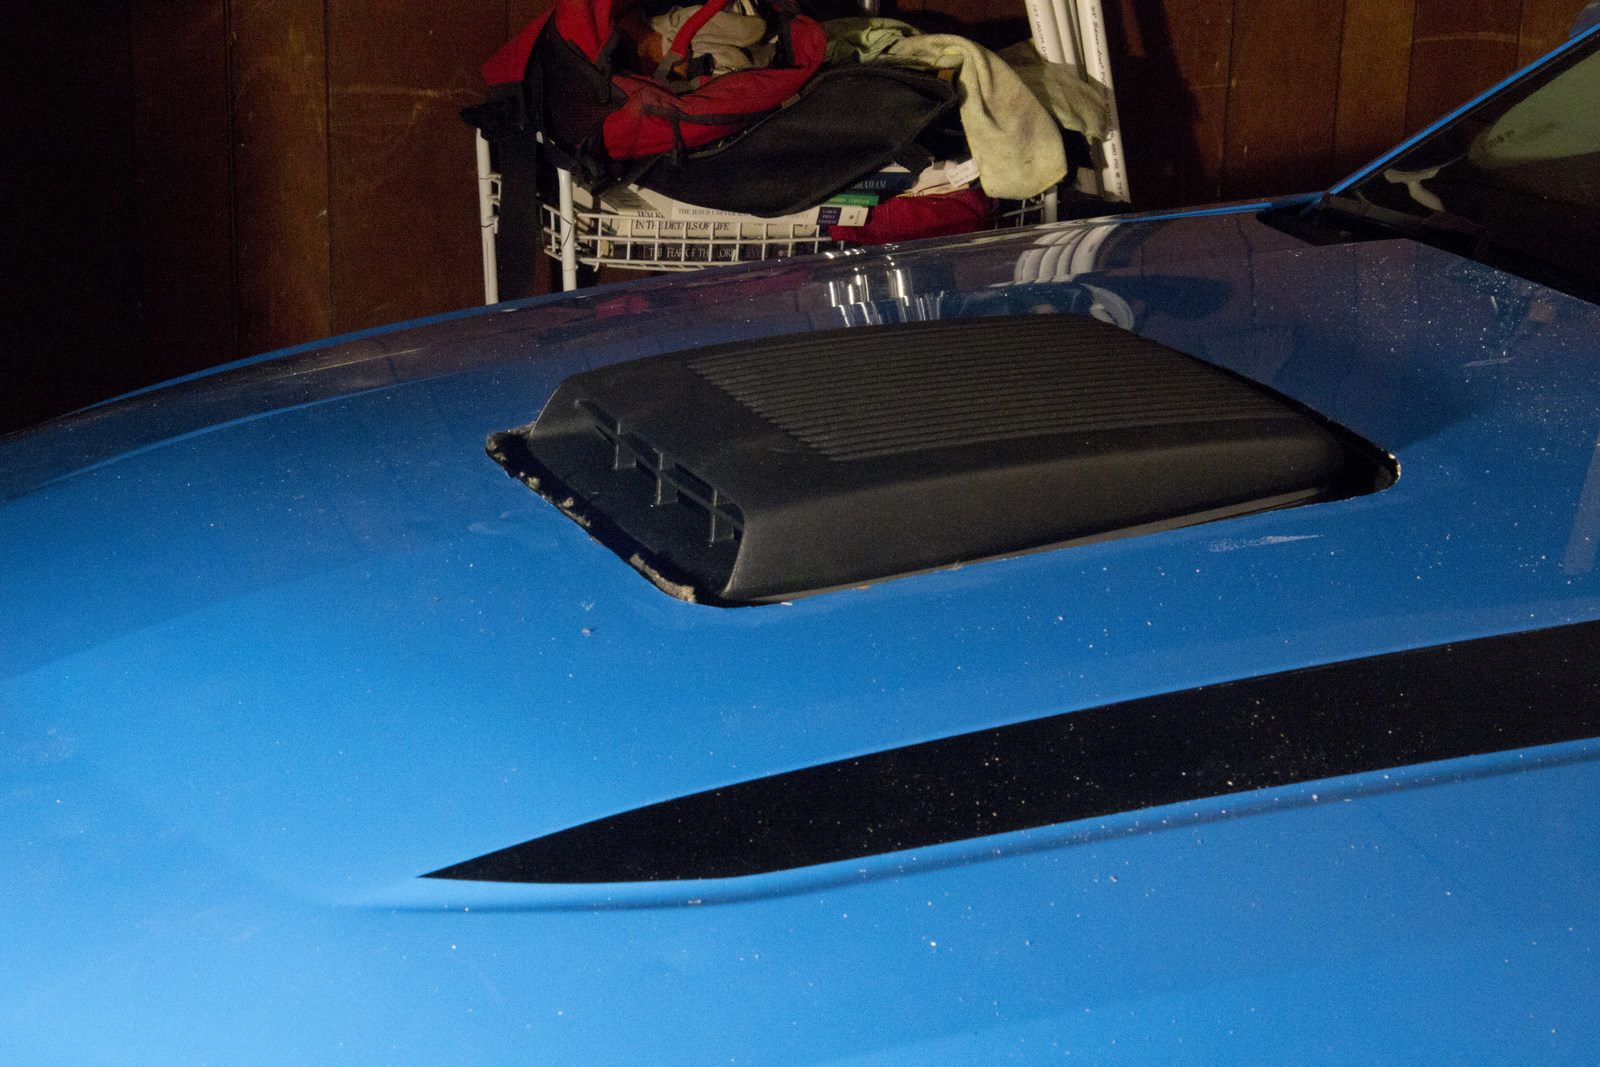
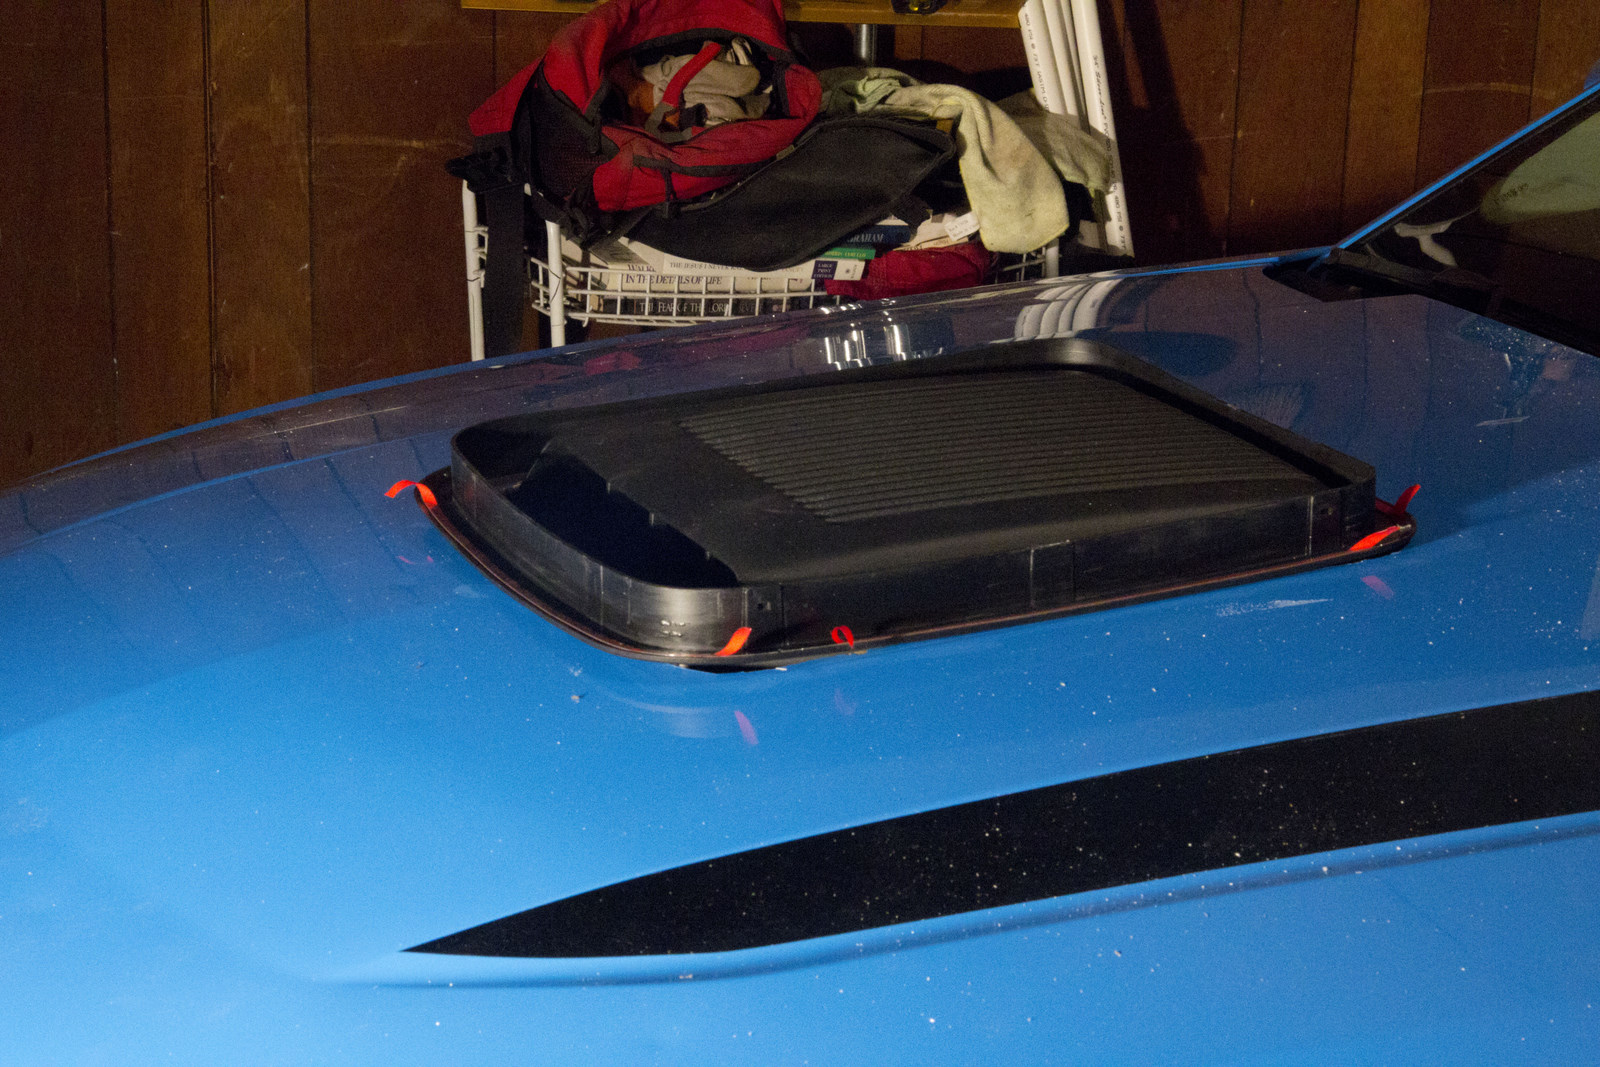
17. You're done! I added the extra step here so you can enjoy your handiwork and smooth, functional hood scoop.