 FREE 1 to 3-Day Delivery on Orders $149+ Details
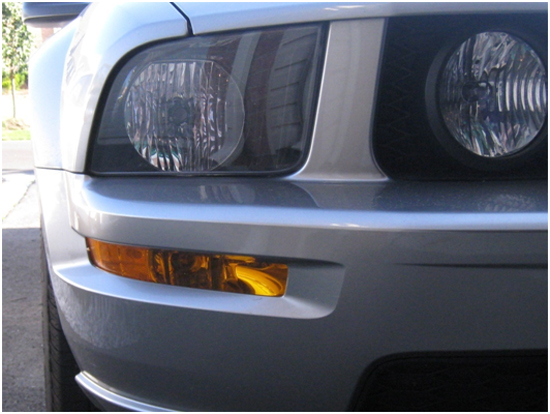
Mustang Headlight w/ CCFL Halo ('05-'09) - Installation Instructions
Installation Time
2 hours
Tools Required
- Needle nose pliers
- Phillips screw driver
- Ratchet with Phillips attachment
- 10mm socket
- Ratchet
- Wire cutters
- Wire connectors
- Electrical tape
- 2 Zip ties
- Tire iron (if removing tire)
- Flat wall or cardboard box approximately 4 feet tall (for alignment of headlights)

Shop Parts in this Guide
Installation
Installation
Removal of Factory Headlight Assembly
1. Use the tire iron to loosen all lug nuts holding the tire on. (If you will not be removing the tire, skip this step)
2. Place the car on ramps, jack stands or a lift. Make sure that you use the lift points identified in the car’s user manual.
3. Remove the lug nuts holding the tire on, remove the tire and set it aside. (If you will not be removing the tire, skip this step)
4. Disconnect the negative (-) terminal of the battery.
5. Using a small Phillips head screwdriver or a ratchet with a Phillips head screwdriver attachment remove the three (3) screws holding the inner wheel well lining to the front bumper.

6. Using a small Phillips head screwdriver remove the five (5) quick fasteners holding the inner wheel well lining to the fender by turning them about ¼ counterclockwise. This should release the center portion of the quick fastener. Grasp the enter portion and completely remove the quick fasteners.
7. Remove the inner wheel well lining and set it aside.
8. Remove the three bolts located under the hood that hold the fender. This will allow you more freedom of movement for removing the headlight assembly.
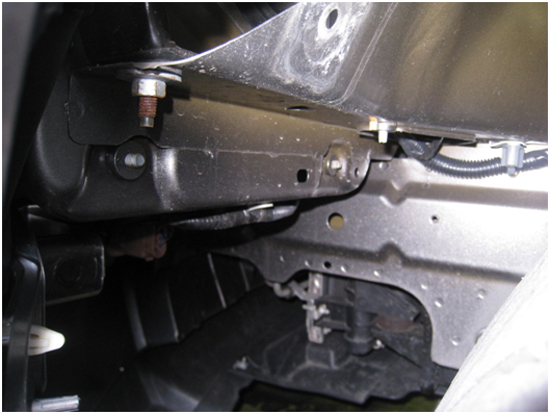
9. Remove the metal piece inside the wheel well that holds the fender to the bumper. There are three bolts holding this piece on.
10. Remove the bolt located next to the headlight assembly that is holding the bumper. Slightly pull the plastic piece up and over the tab to free it.
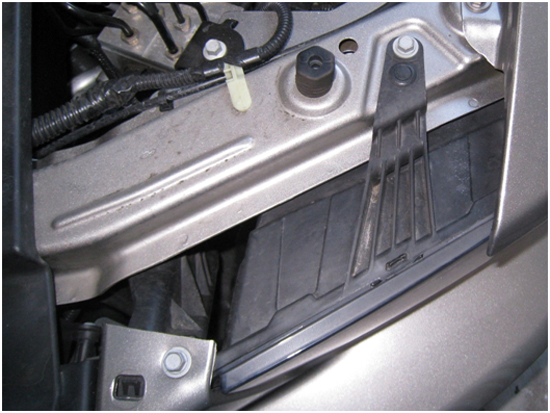
11. Remove the quick fastener holding the top of the headlight assembly.
12. Remove the bolt holding the top of the headlight assembly.
13. Remove the two (2) bolts holding the bottom of the headlight assembly. If you remove the turn signal assembly it is easier to reach these bolts. If you are unsure on how to remove the turn signal assembly, see my Turn Signal Installation Guide. If you do not wish to remove the turn signal assembly the bolts can be reached through the wheel well.
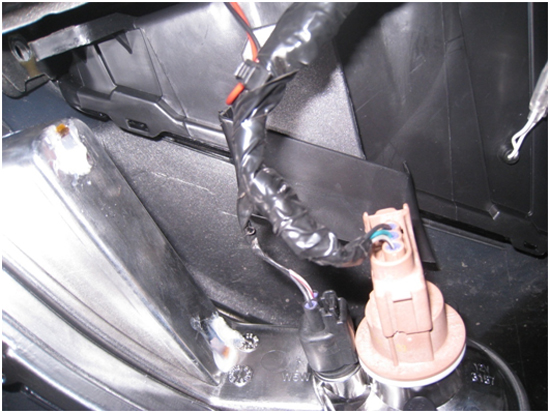
14. Disconnect the headlights by squeezing the quick release tab on the headlight connector and pulling it straight back.
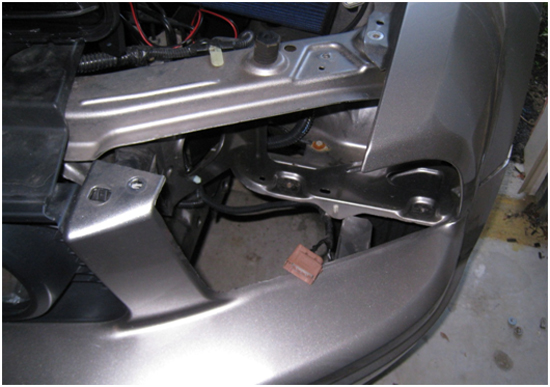
15. Remove the headlight from the vehicle. Pull out on the bumper and push in on the bottom of the headlight to get the retaining tab out of the headlight. You may have to work it a little bit and wiggle the light to make this happen and make sure that you are careful not to break the tab.
16. Once the tab is released, turn the headlight down and work it out of the housing. It will take a little bit of work moving it around to find the right angle. By pulling up on the fender and pushing down on the bumper you will gain more clearance to help get the headlight assembly out. Be careful not to break any pieces or apply to much pressure to the pieces.
Installation of the Halo Headlight Assembly:
2. It is recommended that you plug the socket into the new headlight assembly to test for proper operation before assembly.
3. Install the new Halo headlight assembly into the headlight housing in the same manner the factory one was removed. Make sure to place the bottom retaining tab into the bottom of the headlight assembly.
4. Replace all three bolts removed in steps 12 and 13 and replace the quick fastener removed in step 11.
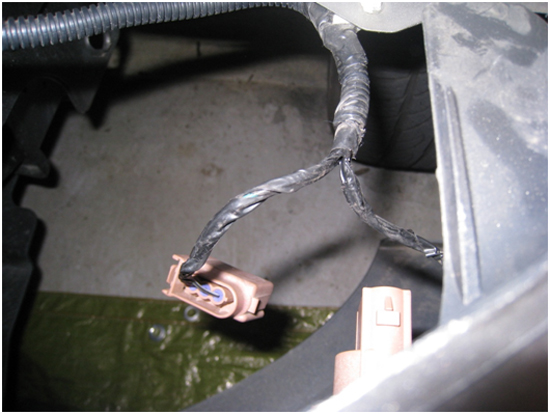
5. Unplug the large socket from the back of the turn signal assembly. The wire that powers the parking light is needed to power the Halo. Remove the electrical tape covering the wires that run from the socket to the “Y” intersection in the wires. Use wire cutters to cut the socket off about half way between the socket and the intersection and strip both ends of the wires.
Note:It is not necessary to cut the entire socket off. You could cut only the two wires that are needed to power the Halos.
6. Put insulated disconnect pairs, or some other type of wire connector, on all three wires of the socket end.
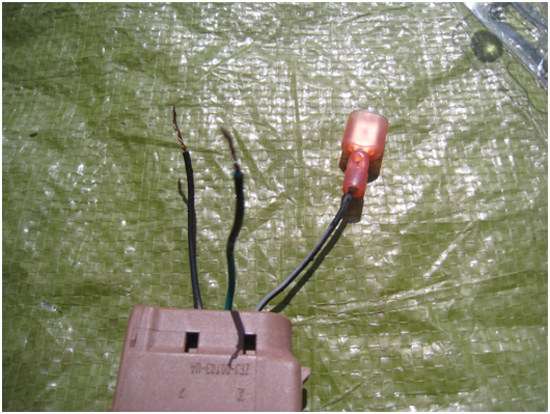
7. Twist the black (ground) cable of the Halo and parking light together and place them in a wire connector.
8. Use a voltage meter to test which wire powers the parking light. On my car this was the middle wire but I recommend that you test to make sure it is the same on yours before continuing Twist the parking wire and the red wire from the Halo together and place it them in a wire connector.
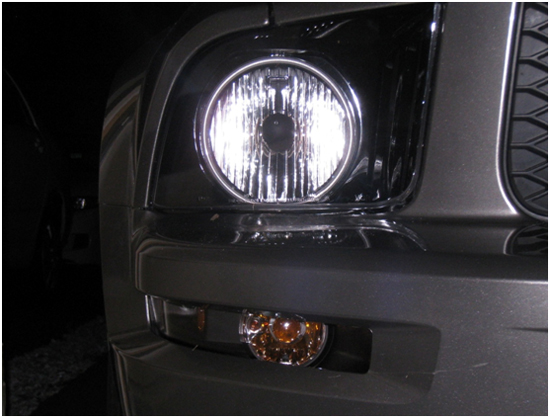
9. Place the remaining wire in a wire connector and connect all the wires. At this point it is recommended that you reconnect the socket and test the headlights along with Halo lights to make sure that all the wires are properly connected. When the parking lights are turned on the Halo should also turn on. When the headlights are turned on, the parking lights and Halo should also be on. If this does not occur you should go back and check all connections and make sure that all the wires are properly connected. If everything works correctly continue to the next step.
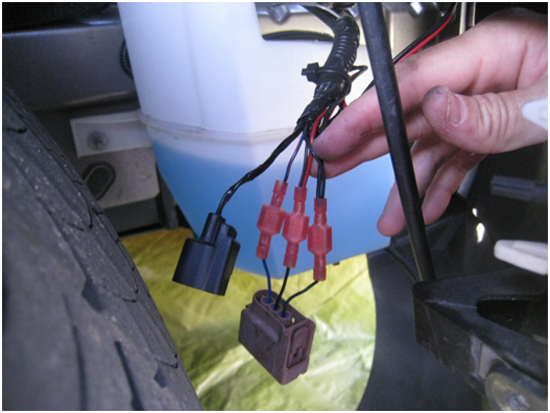
10. Secure the extra wires from the Halo to the existing wire harness using a zip tie and trim off the excess zip tie end. For added protection from the elements you can wrap all connections in electrical tape.
11. Replace the fender bolts in the same manner that they were removed.
12. Replace the metal piece that holds the fender to the bumper in the same manner that it was removed.
13. Replace the bolt located next to the headlight assembly that holds the bumper.
14. Replace the inner wheel well lining in the same manner that you removed it. Make sure that the top portion of the lining is inserted between the fender and the inner wheel lining that is still in the car. (If tire removed)
15. Replace the tire and tighten all the lug nuts. (If tire removed)
16. Remove the car from the jack stands or lift and completely tighten all the lug nuts.
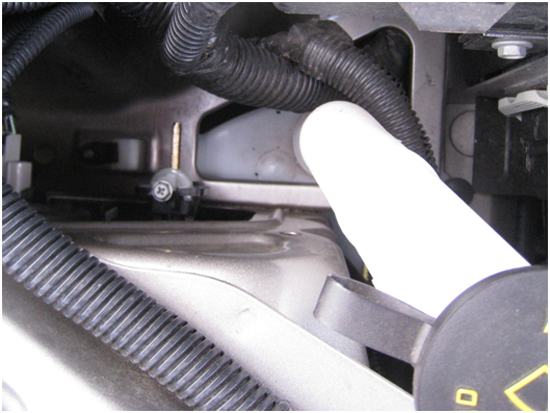
Alignment of the Halo Headlight Assembly
1. To align your headlights follow be sure to view the video Ford Mustang Headlight Installation and Aiming. Although the instructions are for earlier models the basic principles still apply. The aiming screw for the new Halo headlights is pictured below. I found it easier to use a box to align the headlights instead of using a wall. This allows you to place the box in front of the vehicle and then move the box further away instead of the using the wall method described in the video.
2. Congratulations. Enjoy your new headlights
Installation instructions provided by AmericanMuscle customer Paul DeSanto 5.25.09

