 FREE 1 to 3-Day Delivery on Orders $149+ Details
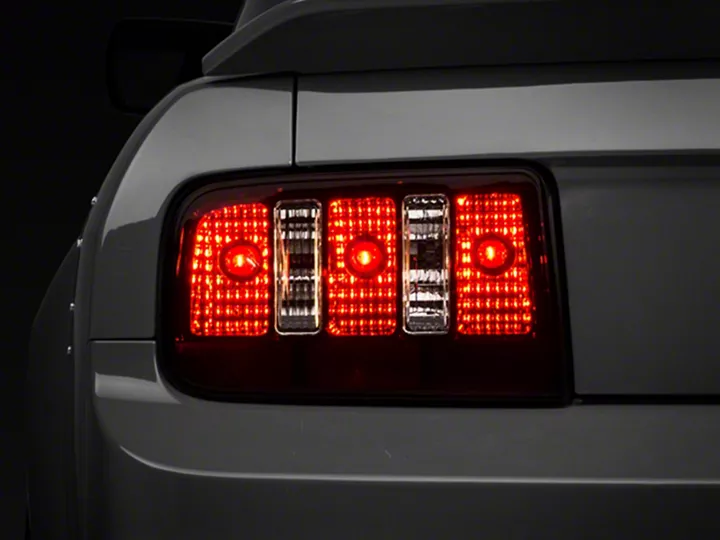
Raxiom 2010 Style Mustang Tail Lights ('05-'09) - Installation Instructions
Installation Time
2 hours
Tools Required
- 7/16" Deep Socket
- Needle Nose Pliers or Flat Head Screwdriver
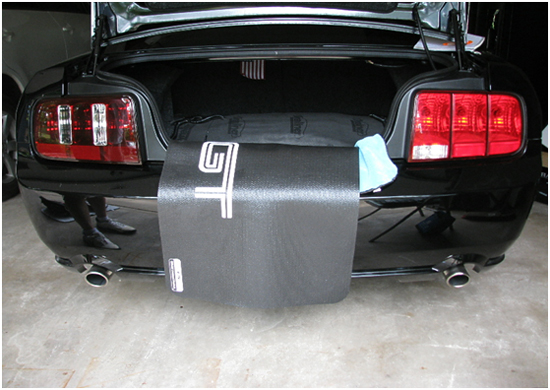
- Fender Cover or Micro Fiber Towel (optional but highly recommended)
- Additional Micro Fiber towel to Place on Bumper to Prevent scratches when installing light bulbs into new tail lights.
Shop Parts in this Guide
Installation
Removal of Factory Taillights:
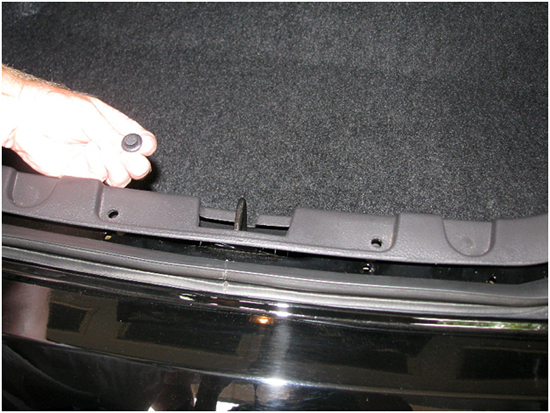
1. Open the trunk.
2. Remove carpet from trunk and place in safe place.
3. Remove plastic trunk trim by lifting the center of the four quick fasteners. You can use needle nose pliers to grip, or flat head screwdriver or finger nails to lift center and pull upwards until plastic fastener pops out.
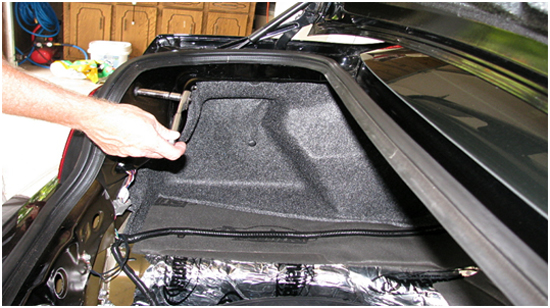
4. Remove 2 Upper Screw Clips on each side. Push the plastic cover against the trunk frame and turn fasteners enough to pull loose. Use your fingers for this operation as the plastic is thin and subject to damage if pliers or other tools are used.

5. Remove Plastic Trunk Trim from car.

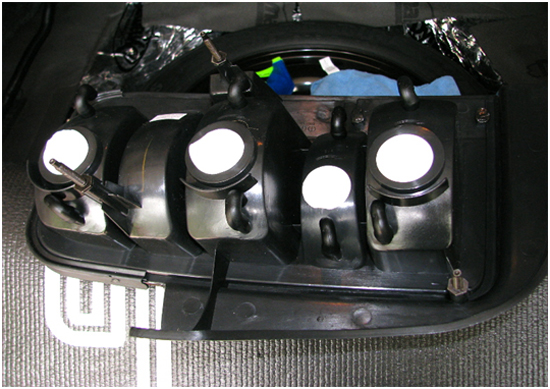
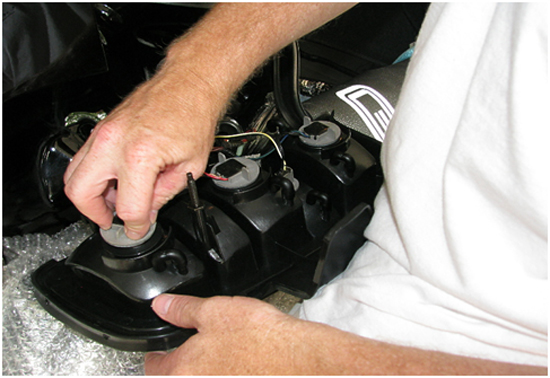
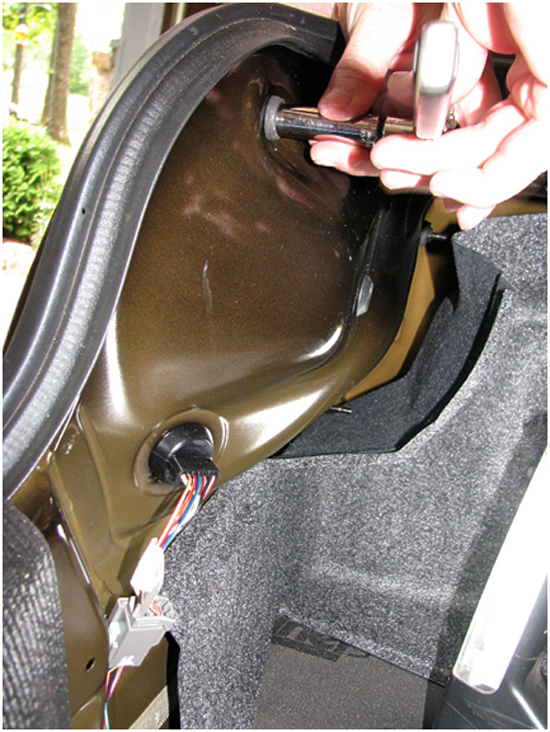
6. Loosen tail light assembly, using 7/16” deep socket, by removing the 3 nuts holding it in place. (In hindsight, you can just use your hands to turn the socket as the nuts are just hand tight). Place nuts and the rubber gaskets around them in safe place for use in installing your new tail lights.
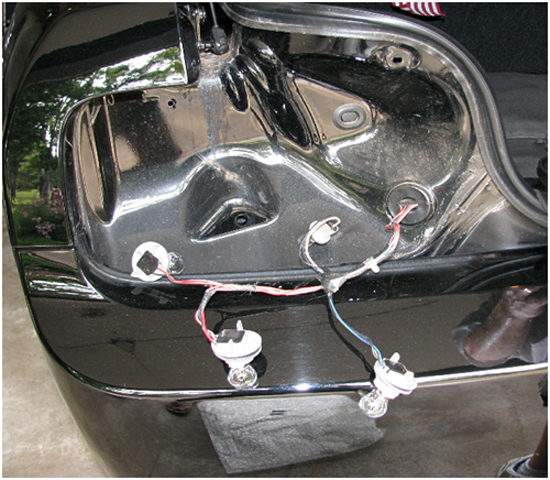
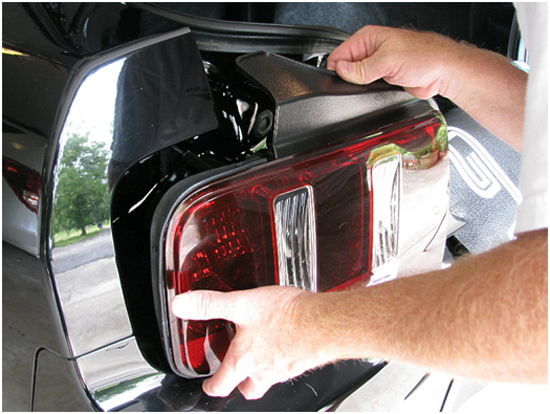
7. Gently remove tail light assembly. This can be done by pushing on the screws in the trunk and pulling on the light assembly on the outside of the trunk.
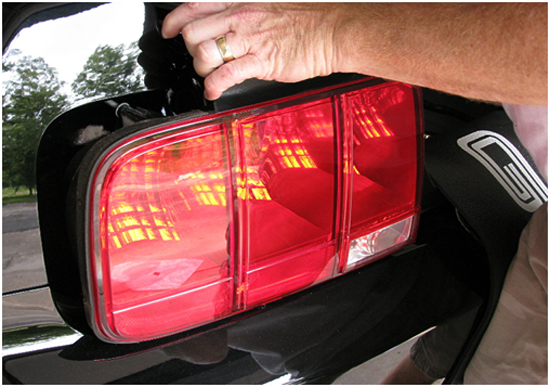
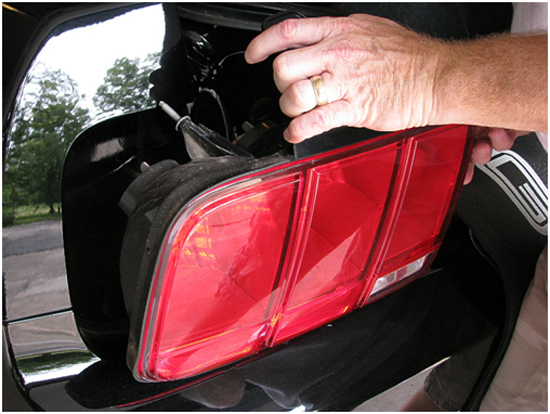
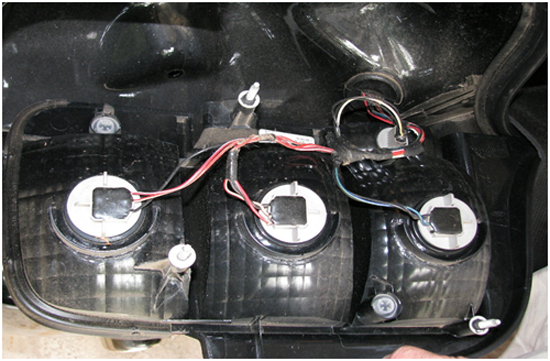
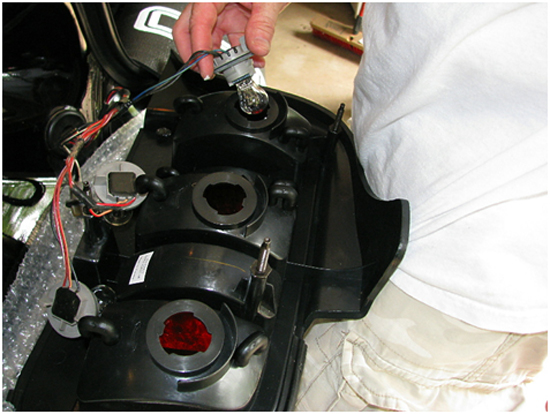
8. Remove bulbs from tail light assembly by turning counter clockwise. Being careful not to break the bulbs or scratch your paint.
Installation of New Raxiom Taillights
1. Get new tail light assembly and remove paper backing over light holes.
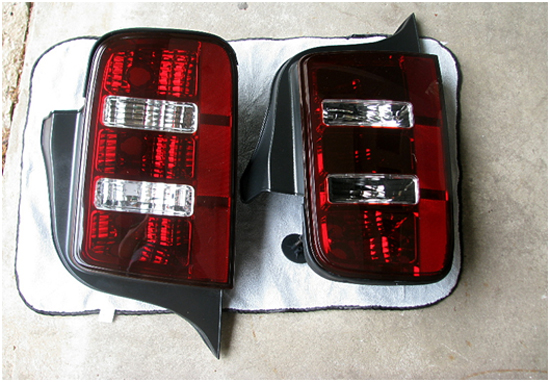
2. Install bulbs into new tail light assembly. Place bulbs in holes and line up the tabs. Rotate to bulbs approximately ¼ turn clockwise
3. Install new tail light assembly on vehicle by lining up the screws with the existing holes and gently slide into place. Gentle wriggling may be necessary to get the screws to slide back into vehicle.
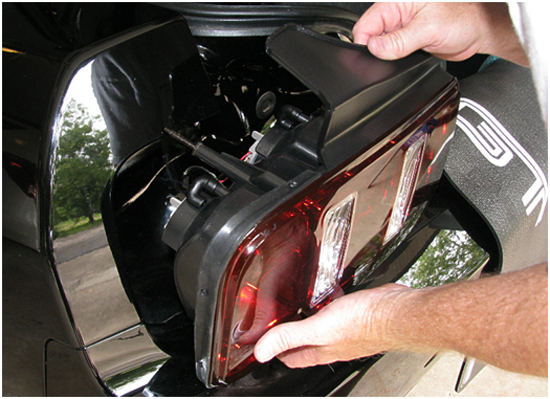
4. Before tightening tail light assembly into place, check the lights to make sure they are working properly. Check running lights, brake lights, turn signal and back up lights, if any are not working you can gentle remove the tail light assembly and check the bulbs and connections. Replace bulbs as necessary and reinstall as above.
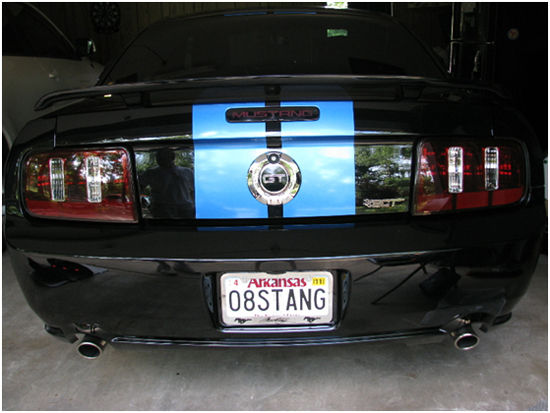
5. After double checking the nuts are snug and making sure the new tail light assembly does not move, you now can just repeat the process on the other side. Reinstall your plastic trunk assembly and carpet and enjoy.
Installation instructions provided by AmericanMuscle customer Barbara Holbrook 6.18.10

