 FREE 1 to 3-Day Delivery on Orders $119+ Details
Best Sellers


How to Install an SLP Catted X-Pipe on Your 2010 Mustang GT
Installation
Packing List – 2010 Long Powerflo-X Crossover Pipe (M31542)
| Item # | Quantity | Part Number | Description |
|---|---|---|---|
| 1. | 1 | 310306787 | Powerflo-X, 2010 Mustang GT |
| 2. | 2 | 3100193500 | High Flow Catalytic Converter |
| 3. | 4 | 308144380 | Torca Clamp, 2.5” |
| 4. | 1 | 310391781 | Downpipe, P-Side |
| 5. | 1 | 310391782 | Downpipe, P-Side |
| 6. | 4 | 950055504 | Bolt, Hex Head, M10X1.5X40mm |
| 7. | 4 | 50502 | Washer, Flat, M10 |
| 8. | 1 | 310334500 | Flange, Downpipe to Manifold |
| 9. | 3 | 020402295 | O2 Sensor Extensions |
| 10. | 1 | ********* | Instructions |
Warning: SLP recommends allowing the vehicle to cool (not running) for five hours before beginning the installation. SLP recommends wearing safety glasses for the complete installation.
Warning: Too avoid the chance of electrical shock or damage to your vehicle’s electrical system, disconnect both the negative and positive battery leads (in that order) at the battery.
Installation Instructions
1. Raise the vehicle to allow for a sufficient work area underneath the vehicle. A vehicle lift will make this installation much easier; however, raising the vehicle can be accomplished using ramps or a jack with jack stands.
2. Disconnect the wires from all the oxygen sensors.
3. Un-bolt the stock H-Pipe from the stock manifolds and loosen the band clamp to stock cat back.
4. Remove the stock H-Pipe.
5. Remove the oxygen sensors from your stock H-Pipe. Install them in the new SLP X-Pipe before installing while access to them is easier. Be sure to reinstall the sensors in the same locations as in the original h-pipe. The front oxygen sensor on the passenger side of the stock H-Pipe will be installed in the new passenger side SLP down-pipe after the down-pipe has been installed in the vehicle.
6. Next, remove the studs from the stock manifolds.
7. Next, bolt both the D-Side and P-Side SLP down-pipes loosely to the stock manifolds with the bolts and washers provided.
8. Next, slide a torca clamp and CAT over each outlet of the SLP down-pipes.
9. Next slide a torca clamp to each outlet of the CATS then the SLP X-Pipe.
10. Connect the rear of the SLP X-Pipe to the stock Cat-Back pipes.
11. Begin to tighten the system from the front of the vehicle to the rear while checking clearances and alignment.
12. Install the two 02 extensions to the oxygen sensors and then to the vehicle.
13. If necessary zip tie them tight to the vehicle.
14. The installation is now complete.
15. Start the vehicle and inspect for leaks.
16. Double-check all fasteners and clearances after test-driving. Adjust as necessary. Figure 1 shows the finished installation.
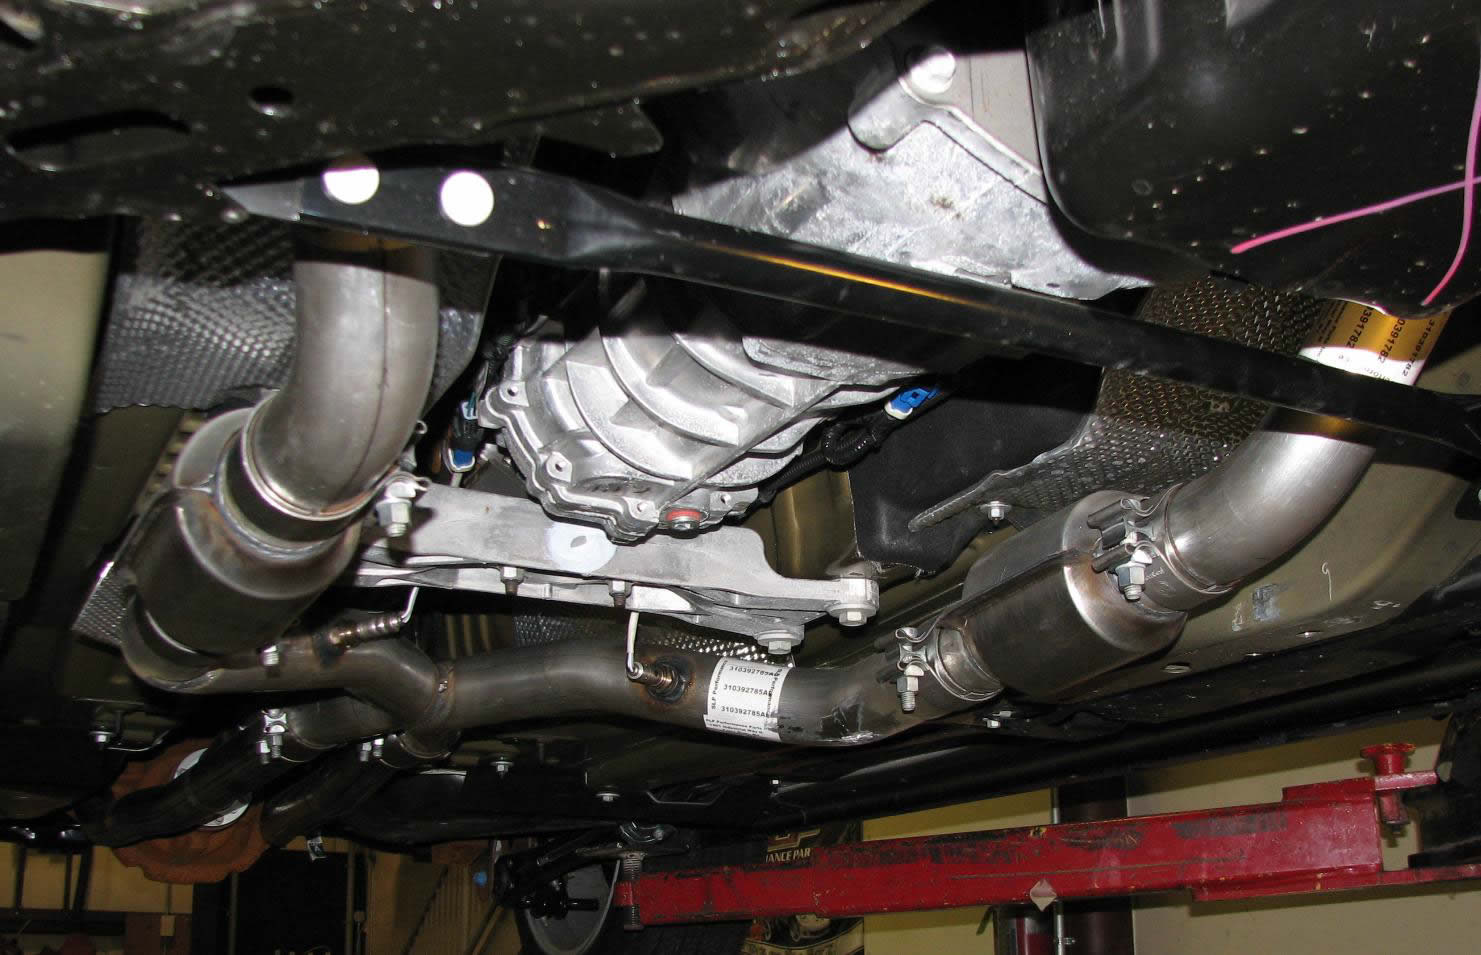
Figure 1: Completed installation
Best Sellers
Related Guides
-
-
Installation
-
Installation
