 FREE 1 to 3-Day Delivery on Orders $149+ Details
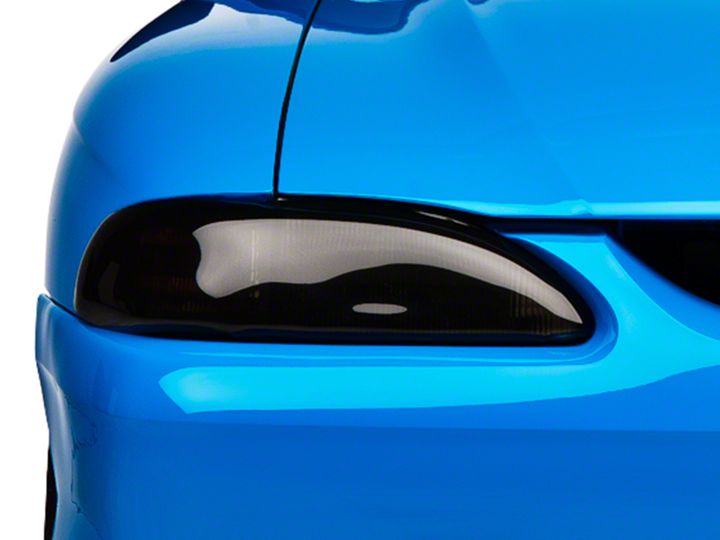
Mustang Smoked Headlight Covers ('94-'98) - Installation Instructions
Shop Parts in this Guide
Installation
Snap-On Mounting:
1. Insert bottom tab between light trim assembly and lower right trim.
2. Tilt cover upward.
3. Clip top of cover over light assembly. The cover is held firmly in place without hardware.
Dual-Lock Mounting:
1. Note that there are left and right covers. Trial fit each into the light opening. Mark the location where the Dual-Lock aligns with the light opening. A marker or masking tape works well.
2. Clean the area of the light opening where the bracket will attach. Remove the adhesive mask and attach the brackets to the light opening between marks Dual-Lock side up 3/16" below the edge of the light opening (measured to the Dual-Lock). Make certain there is complete contact for mounting configurations where a Dual-Lock strip is used without a bracket simply peel the mask and press into place.
3. The covers may now be installed if care is taken to support the mount until the adhesive had completely cured (48 Hrs). Use caution when installing and removing the covers. Remove the covers with a peeling motion to separate the Dual-Lock. Install carefully to ensure the Dual-Lock is snapped together.
Bracket-Type Mounting:
1. Trial fit the covers into the light openings. Mark the location of the indentations - a marker or masking tape works well.
2. Clean the area of the light opening where the bracket will attach.
3. Remove the adhesive mask from the bracket and attach it to the light opening with the tip of the bracket even with the light opening. Let the angle of the bracket determine the final fit of cover.
4. When the adhesive has cured (48 Hrs) the cover is installed by inserting the indentation into one bracket and flexing the cover to allow the other side to be inserted.
Note:Trial fit the brackets removing the adhesive mask to ensure that the placement is correct. Take note of the angle of the bracket in the way it is cut.
Installation instructions provided by GTS-Xenon
Related Guides
-
Installation
-
Installation
-
Installation

