 FREE 1 to 3-Day Delivery on Orders $149+ Details
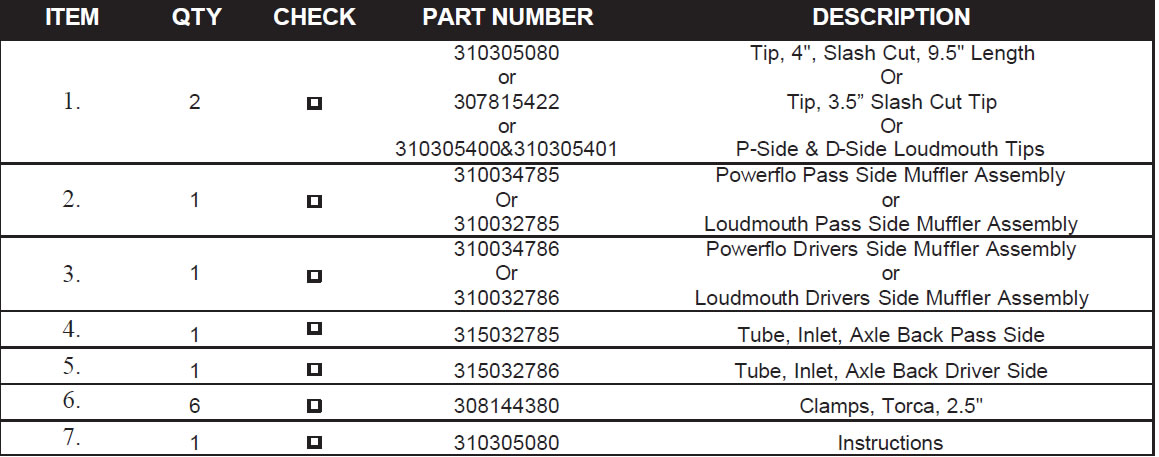
How to install a SLP Loudmouth Axle-Back Exhaust on your 2005-2010 GT Mustang

Shop Parts in this Guide
Installation
WARNING: SLP Recommends wearing safety glasses for the complete installation.
WARNING: SLP Recommends allowing the vehicle to cool (not running) for five hours before beginning installation.
INSTALLATION INSTRUCTIONS– #M31012/M31013/M31014
1. Remove your stock “Axle-Back” system by removing the bolts that hold the rubber isolator brackets (two per side) to the chassis and then unbolting the Torca clamp on the over axle pipe.
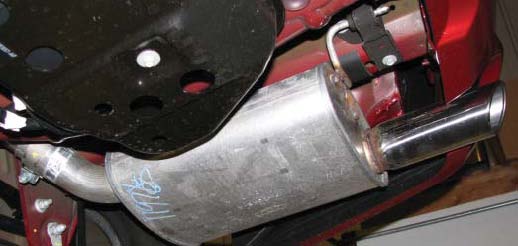
Photo 1: Passengers Side Factory Axle Back Muffler
2. Slide the over-axle pipe to muffler pipe (Powerflo) or over-axle to tip pipe (Loudmouth) on the factory over axle-pipe with a supplied Torca clamp. Insert the SLP pipe hanger into the factory rubber isolator and bolt the isolator to the chassis loosely. Next install the muffler onto the over-axle connecting pipe with a supplied Torca clamp. Insert the SLP muffler hanger into the factory rear rubber isolator and bolt the isolator to the chassis loosely. Next install the tip onto the muffler (Powerflo) or pipe (Loudmouth) using a supplied Torca clamp. Finally carefully adjust the system and tighten all clamps and isolator bracket bolts firmly, see Photo 2 below.

Photo 2: SLP Powerflo Axle Back Installed
3. Make sure that you install the hanger brackets back onto the vehicle the same way they came off. They can be installed incorrectly which results in poor and incorrect tip to rear valance alignment. Please see the four photos below for clarification.
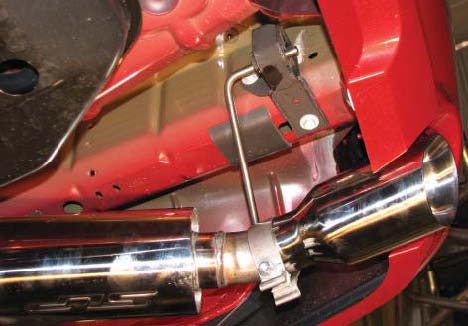
Photo 3: Passengers Side Rear Bracket
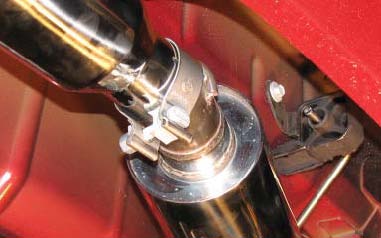
Photo 4: Passengers Side Front Isolator Bracket
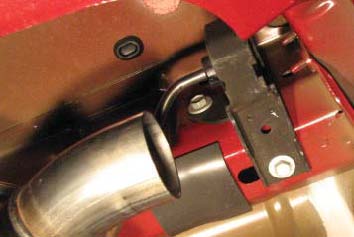
Photo 5: Drivers Side Rear Isolator Bracket
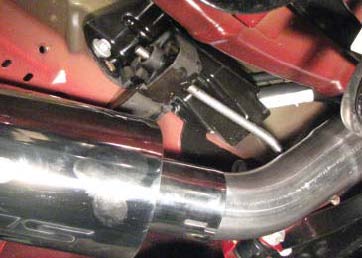
Photo 6: Drivers Side Front Isolator Bracket
4. The installation is now complete. Enjoy!
