Why the Fox Body Mustang Is Worth Modding
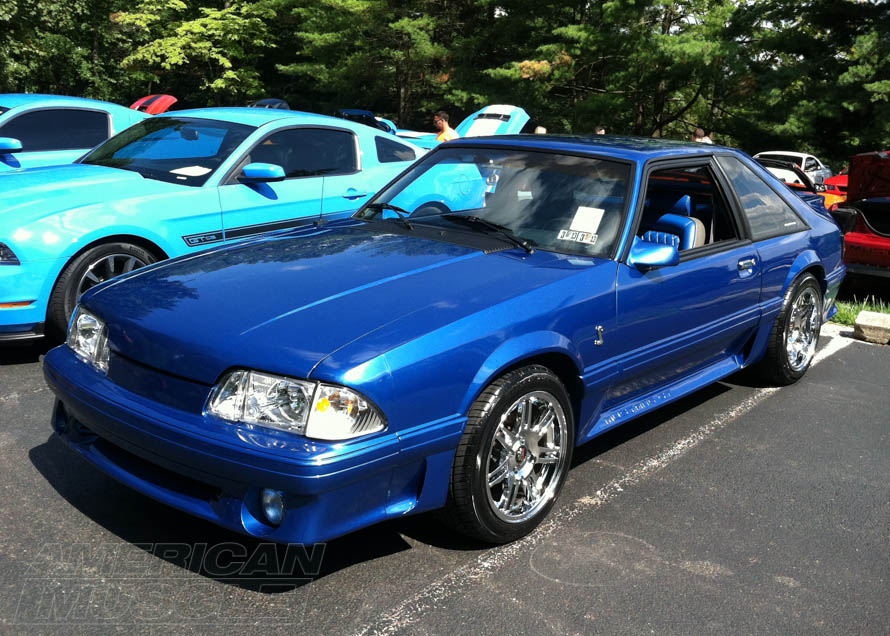
![]() What if you could pick up a V8 Mustang for a fraction of what a late-model GT costs and still build something that puts down serious power? What if the aftermarket for that platform was so deep you could mod it for years without running out of options?
What if you could pick up a V8 Mustang for a fraction of what a late-model GT costs and still build something that puts down serious power? What if the aftermarket for that platform was so deep you could mod it for years without running out of options?
That is exactly why Fox Body Mustang mods remain some of the most popular upgrades in the Mustang world. The factory 5.0L HO V8 produced 225 HP and 300 lb-ft of torque from 1987 to 1993 — respectable numbers for the era, but the restrictive factory intake tubing, small throttle body, and bottlenecked exhaust leave a lot of power on the table. With basic bolt-on mods — a cold air intake, exhaust headers, and an aftermarket intake manifold — most owners reach 260–280 HP without ever opening the engine.
The Fox platform tips the scales at just 2,900–3,200 lbs depending on trim, making it lighter than every Mustang generation that followed. Parts are affordable, plentiful, and well-documented. Whether you are chasing a 10-second quarter mile or building a clean street cruiser, the Fox Body gives you more bang for your buck than almost any other muscle car platform.
Chassis and Structural Upgrades — Start Here
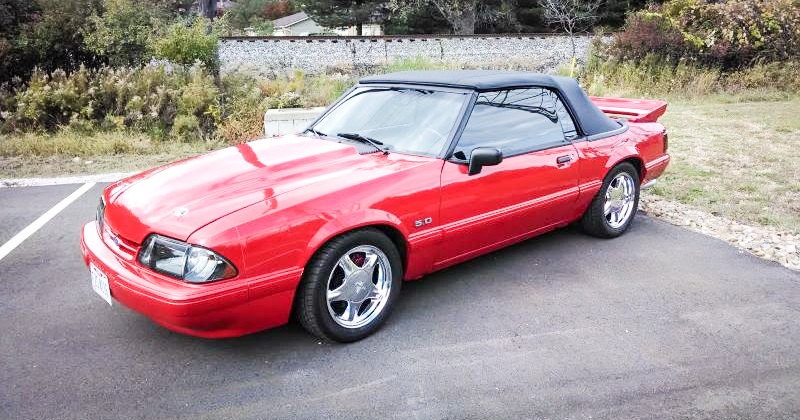
![]() Before you bolt on a single horsepower, you need to address the Fox Body's biggest weakness: chassis flex. The 1979–1993 Mustang uses a unibody construction — there is no separate frame underneath. That keeps weight down, but it also means the body itself is the structural backbone of the car, and it was never designed to handle 350+ HP without reinforcement.
Before you bolt on a single horsepower, you need to address the Fox Body's biggest weakness: chassis flex. The 1979–1993 Mustang uses a unibody construction — there is no separate frame underneath. That keeps weight down, but it also means the body itself is the structural backbone of the car, and it was never designed to handle 350+ HP without reinforcement.
Subframe Connectors
Subframe connectors are the single most important first mod for any Fox Body build, and here is why: the Fox chassis has a front subframe and a rear subframe, but they are not directly tied together. Under hard launches, that gap lets the body twist. You will feel it as wheel hop, hear it as creaking from the floor pans, and eventually see it as cracked paint along the rocker panels or even torn floor pans.
Full-length subframe connectors run from the front subframe all the way back to the rear subframe, tying the entire underside of the car into one rigid structure. Bolt-in versions get the job done for street cars, while weld-in connectors offer maximum rigidity for high-power builds and drag racing. Either way, you will immediately notice a tighter, more planted feel — the car launches harder, shifts cleaner, and the suspension can finally do its job without the chassis deflecting underneath it. Install subframe connectors before you add power. Your floor pans, your traction, and your quarter-mile times will thank you.
Five-Lug Wheel and Disc Brake Conversion
Stock Fox Bodies roll on a 4-lug wheel pattern — a holdover from the 1970s that severely limits your wheel and brake options. Most aftermarket wheels and all modern Mustang wheels use a 5-lug bolt pattern, and the stock rear drum brakes are simply not adequate once you start adding power. A 5-lug conversion swaps the hubs, rotors, and axles to the 5×4.5" bolt pattern used on 1994+ Mustangs. The conversion typically includes disc brakes for the rear, replacing those factory drums with modern rotors and calipers. The result is dramatically better stopping power, access to hundreds of aftermarket wheel styles, and the ability to run wider, stickier tires.
If you plan to upgrade wheels, tires, or brakes at any point, do the 5-lug conversion early. It touches the same components you would need to remove later, so handling it upfront saves you from doing the work twice.
Engine and Performance Mods
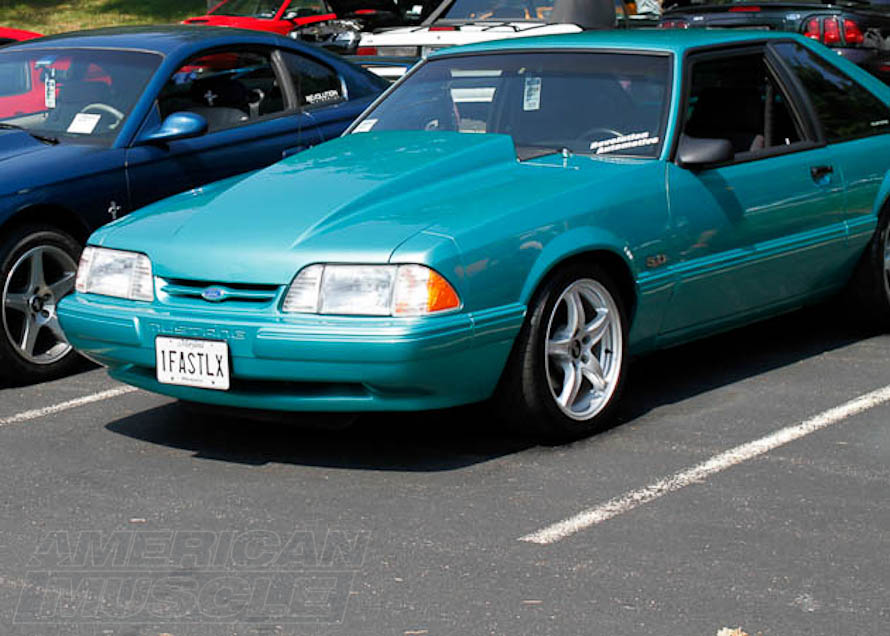
![]() This is where most Fox Body owners want to start — and for good reason. The 5.0L pushrod V8 responds incredibly well to bolt-on modifications, and you can build power in stages without committing to a full engine rebuild. Here is the progression that gets the most out of your Fox Body Mustang mods dollar.
This is where most Fox Body owners want to start — and for good reason. The 5.0L pushrod V8 responds incredibly well to bolt-on modifications, and you can build power in stages without committing to a full engine rebuild. Here is the progression that gets the most out of your Fox Body Mustang mods dollar.
Cold Air Intake and Throttle Body
The factory intake tubing on a Fox Body 5.0 is restrictive by design. Ford used a convoluted path with a small-diameter tube and a silencer box to keep noise down, but that plumbing chokes airflow well before the engine reaches its potential.

A cold air intake replaces the entire factory airbox and tubing with a free-flowing filter and a wider-diameter tube that pulls cooler air from outside the engine bay. Cooler, denser air means more oxygen per combustion cycle, which translates to a noticeable bump in throttle response and a few extra horsepower.
Pair the intake with a larger throttle body — the stock unit on most Fox Bodies is 58mm or 60mm. Stepping up to a 65mm or 70mm throttle body removes another restriction in the intake tract. On a stock engine, a 65mm unit is the sweet spot; go 70mm if you are planning further mods like an intake manifold or heads.
Browse cold air intakes to find kits that include the mass air meter (MAF sensor) calibrated for the larger tube diameter. On Fox Bodies originally equipped with the older speed density system (1986 and earlier), you will also want a mass air conversion kit that replaces the MAP-based fuel management with a MAF-based setup, giving the ECU the data it needs to properly meter fuel for your modifications.
This is one of the most budget-friendly Fox Body Mustang mods you can do, and you will feel the difference the first time you step on the throttle.
Intake Manifold Upgrades
Once you have freed up the airflow upstream with a cold air intake and throttle body, the next bottleneck is the factory lower intake manifold. The stock piece uses small runners and a restrictive plenum that limits airflow into the cylinder heads, especially at higher RPM.
Several aftermarket options dramatically improve flow:
- GT40 / Explorer intake manifold — Often pulled from 1993–1995 Ford Explorer 5.0 engines, these factory Ford pieces flow noticeably better than the stock Mustang intake and can be found affordably at salvage yards. They are a proven budget option that pairs well with GT40 or GT40P heads.
- Edelbrock Performer — A popular aluminum aftermarket intake that improves both low-end torque and top-end power. The Performer RPM version shifts the power band higher for more aggressive builds.
- Trick Flow R-Series — Designed specifically for the 5.0L Windsor engine, Trick Flow intakes maximize airflow for modified engines running aftermarket heads and cams.
An intake manifold swap on a stock-headed 5.0 typically adds 15–25 HP. When combined with a matching set of heads and a cam, the gains compound significantly.
Cylinder Heads and Camshaft Combos
If there is one mod that unlocks the most power on a Fox Body 5.0, it is a cylinder head upgrade — and the reason is simple. The factory E7TE heads are the single biggest airflow bottleneck in the entire engine. They feature small intake ports, small valves (1.78" intake / 1.46" exhaust), and a combustion chamber design that limits flow to roughly 150 CFM. For comparison, a good set of aftermarket aluminum heads flows 200–230+ CFM.
Here are the most popular head options for the Fox Body 5.0:
- Trick Flow Twisted Wedge — The gold standard for street/strip Fox Bodies. These aluminum heads flow over 200 CFM out of the box, feature 1.90"/1.54" valves, and are designed for the 302/5.0L Windsor. They are available in 170cc and 185cc runner versions depending on your RPM goals.
- Edelbrock E-Street — Another strong aluminum option with 170cc runners and 1.90"/1.54" valves. Good mid-range power and excellent street manners.
- GT40 / GT40P heads — Budget-friendly factory Ford castings from Explorer and Mountaineer engines. They flow significantly better than E7TE heads (around 180 CFM) and are a solid stepping stone for builds on a tighter budget. GT40P heads use a different exhaust bolt angle that requires specific headers.
The best Fox Body 5.0 head upgrades are paired with a matched camshaft. The cam controls valve timing — how long and how far the intake and exhaust valves open. A cam ground to complement your new heads' port size and flow characteristics ensures you are not leaving power on the table. Most cam manufacturers offer "combo" kits with the cam, lifters, timing set, and springs matched to specific heads.
Expect 40–60 HP gains from a head-and-cam combo on an otherwise stock 5.0. That is the kind of improvement that completely transforms the character of the car — sharper throttle response, a more aggressive idle, and a much stronger pull through the entire RPM range.
Exhaust System Upgrades
A full exhaust system upgrade is one of the most satisfying Fox Body Mustang mods because you get both performance gains and a significantly better exhaust note. The factory exhaust on the 5.0 uses restrictive cast-iron manifolds, a single catalytic converter, and small-diameter piping that chokes exhaust flow.
The upgrade path has three stages:
Headers replace the factory exhaust manifolds with tubular steel or ceramic-coated headers that dramatically improve exhaust scavenging. Shorty headers are easier to install and clear most accessories, making them the go-to for street cars. Long-tube headers offer more top-end power but require more fabrication and may complicate emissions equipment.
Mid-pipe connects the headers to the cat-back exhaust. You will choose between an H-pipe (classic, deeper muscle car rumble) and an X-pipe (higher-pitched, slightly more top-end power due to better scavenging). Both are a massive improvement over the factory Y-pipe.
Cat-back exhaust replaces everything from the catalytic converters to the tailpipes. Larger-diameter tubing (2.5" is standard for bolt-on 5.0 builds) and free-flowing mufflers reduce backpressure and let the engine breathe on the exhaust side.
Combined, a full header-back exhaust system can add 20–30 HP and completely change the sound of your Fox Body. Check out Fox Body exhaust options to find the right combination for your build goals and your preferred exhaust note.
Forced Induction: Superchargers and Turbo Kits
A full exhaust system upgrade is one of the most satisfying Fox Body Mustang mods because you get both performance gains and a significantly better exhaust note. The factory exhaust on the 5.0 uses restrictive cast-iron manifolds, a single catalytic converter, and small-diameter piping that chokes exhaust flow.
The upgrade path has three stages:
Headers replace the factory exhaust manifolds with tubular steel or ceramic-coated headers that dramatically improve exhaust scavenging. Shorty headers are easier to install and clear most accessories, making them the go-to for street cars. Long-tube headers offer more top-end power but require more fabrication and may complicate emissions equipment.
Mid-pipe connects the headers to the cat-back exhaust. You will choose between an H-pipe (classic, deeper muscle car rumble) and an X-pipe (higher-pitched, slightly more top-end power due to better scavenging). Both are a massive improvement over the factory Y-pipe.
Cat-back exhaust replaces everything from the catalytic converters to the tailpipes. Larger-diameter tubing (2.5" is standard for bolt-on 5.0 builds) and free-flowing mufflers reduce backpressure and let the engine breathe on the exhaust side.
Combined, a full header-back exhaust system can add 20–30 HP and completely change the sound of your Fox Body. Check out supercharger kits to compare centrifugal options for your specific year and engine combination.
Turbocharger kits offer even greater power potential but require more planning. A turbo system uses exhaust gas energy to spin a turbine and compress intake air, and Fox Body turbo kits can push well beyond 400 HP with supporting fuel system and engine management upgrades. The trade-off is more complex installation — custom exhaust routing, intercooler plumbing, and fuel system upgrades are typically part of the equation.
If you are considering a turbo build, start with our Fox Body turbocharger guide for a deeper dive into turbo selection, supporting mods, and tuning considerations. You can also browse turbo kits to see what is available for the 1979–1993 platform.
Whichever route you choose, make sure your fuel system — injectors, fuel pump, and fuel pressure regulator — can support the added airflow. Running out of fuel under boost is the fastest way to damage an engine.
Drivetrain Upgrades
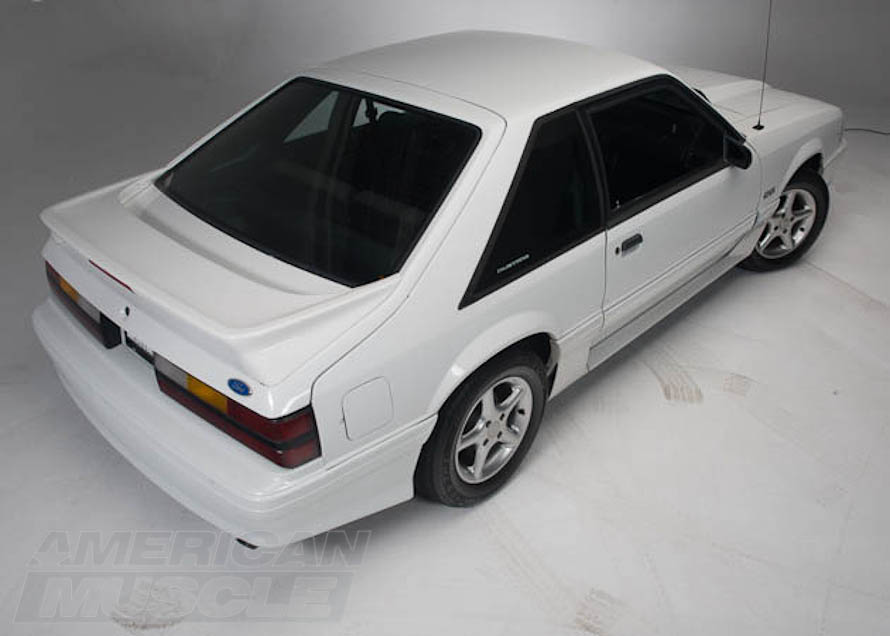
![]() All the horsepower in the world does not matter if your drivetrain cannot deliver it to the rear tires. Two of the most impactful Fox Body drivetrain mods are also among the most affordable.
All the horsepower in the world does not matter if your drivetrain cannot deliver it to the rear tires. Two of the most impactful Fox Body drivetrain mods are also among the most affordable.
Gear Ratio Swaps
Most Fox Bodies left the factory with 2.73:1 or 3.08:1 rear gear ratios — tall gearing designed for highway fuel economy, not acceleration. These ratios leave the 5.0 feeling lazy off the line and sluggish between shifts because the engine has to work harder to pull through each gear.
Swapping to 3.55:1 or 3.73:1 gears is one of the best seat-of-the-pants improvements you can make. Shorter gears multiply torque at the rear wheels, which means harder acceleration in every gear, more responsive downshifts, and noticeably quicker 0–60 and quarter-mile times. The trade-off is slightly higher RPM on the highway — with 3.73 gears and a stock T5 transmission, you will cruise at roughly 2,800 RPM at 70 MPH, which is well within the 5.0's comfort zone.
For most street/strip Fox Bodies running bolt-on engine mods, 3.73 gears are the sweet spot. If you have a stock or very mildly modified engine, 3.55 gears offer a milder bump without as much impact on highway cruising.
Short Throw Shifter and Clutch Upgrades
The factory T5 five-speed transmission in the Fox Body is a capable gearbox, but the stock shifter has long, vague throws that make fast shifts feel sloppy. A short throw shifter from Hurst or Pro 5.0 reduces shift throw by 30–40%, giving you shorter, more precise gear changes. It is a bolt-in upgrade that takes about an hour to install and transforms the driving experience.
If you have added power beyond the bolt-on stage — especially with forced induction — the stock clutch will start slipping under load. An upgraded clutch kit with a higher-clamp pressure plate and a more aggressive disc material ensures that all of your power reaches the transmission without slipping. For builds in the 300–400 HP range, a good aftermarket clutch kit is essential. Beyond 400 HP, consider a twin-disc or multi-puck clutch for consistent engagement under heavy load.
Suspension and Handling Mods
The Fox Body's suspension was designed in the late 1970s and it shows. Soft springs, basic twin-tube shocks, and thin sway bars make the car feel floaty in corners and unsettled over bumps. A handful of targeted upgrades dramatically sharpen the handling without sacrificing street comfort.
Lowering Springs and Shocks
Swapping the factory springs for a set of lowering springs drops the ride height by 1"–1.5", which lowers the center of gravity and reduces wheel gap for a more aggressive stance. More importantly, lowering springs are typically stiffer than stock, which reduces body roll in corners and gives the car a more controlled, planted feel.
Pair your springs with matched performance shocks and struts. The factory twin-tube units are not designed to handle stiffer springs or aggressive driving, and worn-out originals on a 30+ year old car are almost certainly past their useful life. Monotube or gas-charged twin-tube replacements offer better damping control, more consistent performance, and longer service life.
The spring-and-shock combo is the single biggest handling improvement you can make on a Fox Body for the money. You will notice the difference the first time you hit an on-ramp.
Sway Bars and Strut Tower Braces
Sway bars (also called anti-roll bars) resist body roll by linking the left and right sides of the suspension together. The factory Fox Body sway bars are thin and soft. Upgrading to thicker aftermarket sway bars — especially a rear sway bar, which many Fox Bodies lack entirely — dramatically reduces body lean in corners and makes the car feel more balanced and predictable.
A strut tower brace ties the front strut towers together across the engine bay, stiffening the front end of the unibody. It works on the same principle as subframe connectors — reducing flex so the suspension can do its job properly.
After lowering your Fox Body, you will also want a set of caster/camber plates. Lowering the car changes the suspension geometry, which throws off alignment. Caster/camber plates bolt to the top of the front struts and give you adjustment range to dial in the alignment for your new ride height.
Browse Fox Body suspension parts to find springs, shocks, sway bars, and alignment components for your specific year and body style.
Exterior and Restoration Mods
The Fox Body Mustang has been out of production for over 30 years, and time takes its toll on exterior components. Whether you are refreshing a tired daily driver or building a show car, exterior mods can transform the look of your Fox Body while solving real wear-and-tear problems.
Hoods — Stock, Cowl Induction, and Mach 1 Styles
The stock Fox Body hood features a modest 1" cowl — functional, but barely enough to clear a stock intake. If you are running an aftermarket intake manifold, a taller upper intake, or a supercharger, you will likely need the extra clearance that an aftermarket hood provides.

Cowl induction hoods are the most popular upgrade, available in 2.5", 3", and 4" cowl heights. They provide the engine bay clearance you need for tall intakes or blower kits while adding an aggressive look that defines the Fox Body aesthetic. Mach 1 style hoods feature a flat scoop design that calls back to earlier Mustang generations.
Most aftermarket hoods are made from fiberglass, which solves two problems at once: fiberglass does not rust like the factory steel hood, and it weighs significantly less — often saving 20–30 lbs at the front of the car. That weight savings is not just about performance; it also reduces stress on the hood hinges and latch.
Check out Fox Body hoods to compare cowl heights, materials, and styles for your hatchback, coupe, or convertible.
Spoilers, Wings, and Body Kits
The factory GT spoiler is a clean, understated look that works well on stock or mildly modified Fox Bodies. For a more aggressive appearance, aftermarket wings and body kits take it further.

Saleen-style body kits from Cervini are among the most popular, offering a complete ground-effects package with front fascia, side skirts, and a rear valance that gives the Fox Body a wider, lower profile. The Saleen rear wing is a particularly popular standalone upgrade — it adds a pronounced, functional look that sets your Fox Body apart from stock.
LX owners who want the GT look can add a factory-style GT rear spoiler, while hatchback owners have the widest selection of wing styles including pedestal-mount and wicker-bill designs.
Grilles, Badges, and Trim
One of the quickest visual upgrades you can do is swap the front grille. The Cobra grille insert replaces the factory blue oval emblem with a running horse badge and an open mesh design that improves airflow to the radiator. It is a 10-minute bolt-on mod that instantly modernizes the front end.

Beyond the grille, refreshing faded or missing badges, emblems, and trim pieces goes a long way toward cleaning up a Fox Body's appearance. Thirty-plus years of sun exposure, car washes, and road debris take their toll on factory trim, and replacement pieces are readily available.
Weather Stripping and Floor Pan Restoration
This is the less glamorous side of Fox Body mods, but it is just as important as any performance upgrade — especially if your car lives in a humid or rust-prone climate.
Factory weather stripping on a 30+ year old Fox Body is almost certainly degraded. Cracked, shrunken, or missing seals around the doors, hatch, and windows let water into the cabin, which accelerates rust and creates musty odors. A full weather stripping refresh kit replaces all the door seals, window guides, and hatch seals with new rubber that restores a proper factory seal.
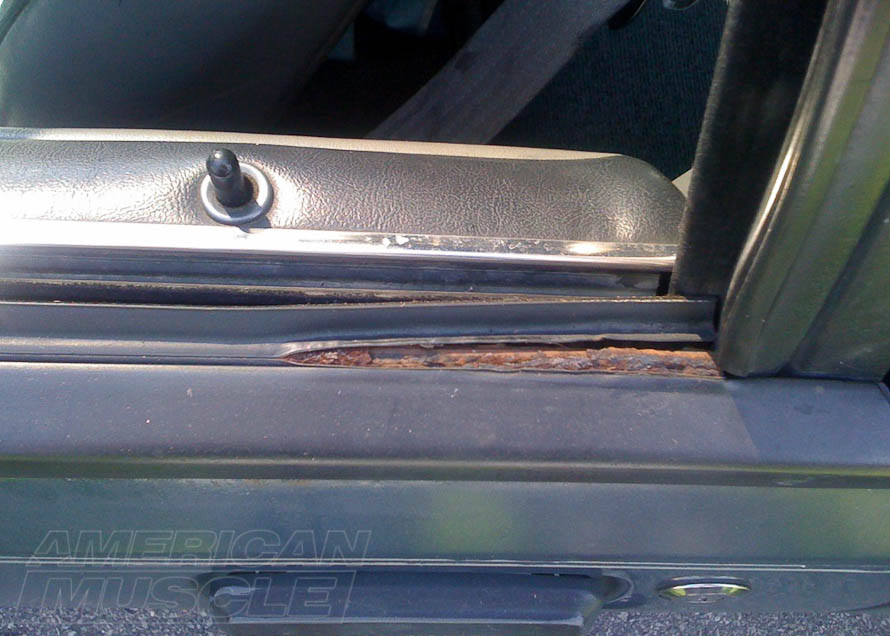
Floor pan rust is common on Fox Bodies, especially on the driver's side where water pools under the carpet. If your floor pans have rusted through, 18-gauge steel replacement panels are available that weld in to replace the damaged sections. This is not a cosmetic fix — compromised floor pans weaken the unibody structure and can make subframe connector installation less effective.
Explore Fox Body restoration parts for weather stripping kits, floor pan replacements, and other restoration essentials.
Interior Upgrades
![]() The Fox Body interior has not aged as gracefully as the exterior, and a few targeted upgrades can make the cabin a much better place to spend time.
The Fox Body interior has not aged as gracefully as the exterior, and a few targeted upgrades can make the cabin a much better place to spend time. 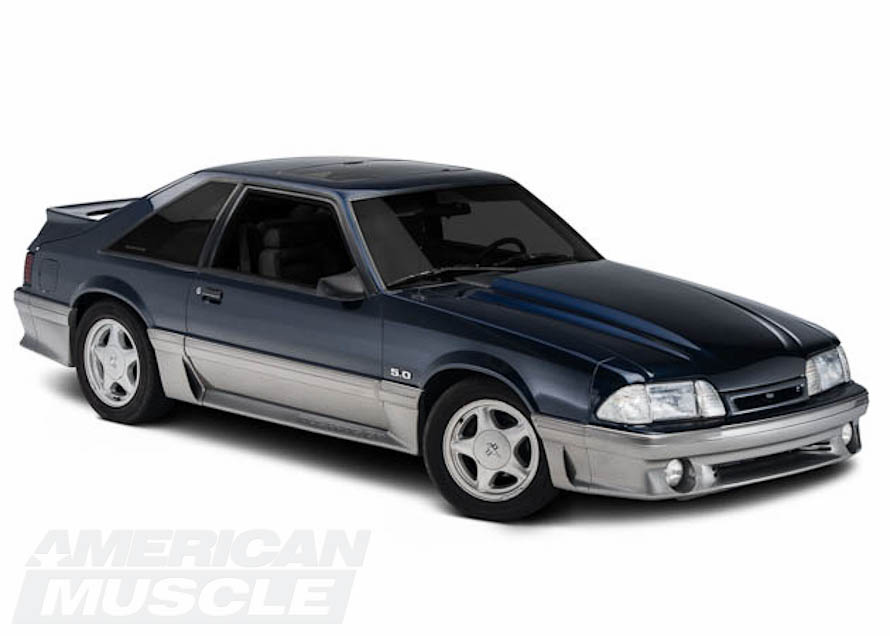 Seats are a popular upgrade — the factory cloth or vinyl seats lose their bolster support after decades of use. Aftermarket sport seats or recovered factory seats with fresh foam and upholstery bring back that side-bolster support and make the car feel newer inside.
Steering wheels are another high-impact swap. A leather-wrapped aftermarket wheel with a smaller diameter than stock improves grip and gives you a more direct feel for what the front tires are doing.
Aftermarket gauges — a boost gauge, wideband air/fuel ratio gauge, or oil pressure gauge — are essential once you start adding power. The factory gauge cluster does not tell you much beyond speed and RPM, and monitoring engine vitals becomes critical with mods like forced induction.
One of the most common complaints about Fox Body interiors is the complete lack of factory cup holders. Aftermarket console cup holder inserts are an inexpensive fix that adds genuine daily-driver convenience. It is a small thing, but if you drive your Fox Body regularly, you will appreciate it.
Wheels and Tires
If you have not done a 5-lug conversion yet, your options are limited to 4-lug wheels — a smaller selection, though classic styles like the factory Pony wheels and turbine wheels are still available. After the 5-lug swap, the entire 5×4.5" Mustang wheel catalog opens up.
Popular wheel styles for Fox Body Mustangs include:
- Pony wheels — The classic 10-hole design in 16" or 17" sizes. Clean, period-correct look.
- Cobra R wheels — Aggressive 5-spoke design that looks right on both stock and modified Fox Bodies. Available in 17" and 18" diameters.
- Drag wheels and skinnies — Lightweight front wheels paired with wide rear wheels for drag strip use. Combine with drag radials for maximum traction.
For wheel sizing, most Fox Body owners run 17×8" or 17×9" on the rear and 17×8" on the front for a staggered street setup. If you are drag racing, a 15×10" rear wheel with a drag radial and a 15×3.75" skinny front wheel is the classic combination. Make sure your chosen wheel and tire combination clears the fenders and inner wheel wells — the Fox Body's wheel wells are tighter than later Mustangs, especially in the rear.
How to Plan Your Fox Body Build
With so many Fox Body Mustang mods available, it is easy to get overwhelmed. The best approach is to build in stages, starting with the foundation and working outward.
Start with subframe connectors to stiffen the chassis, then upgrade to a 5-lug wheel and disc brake setup. Next, add a cold air intake, exhaust headers, and an aftermarket intake manifold for 40–60 HP in bolt-on gains. These five mods build a solid foundation before tackling bigger upgrades like cylinder heads or forced induction.
Here is a rough budget breakdown to help you plan:
Budget build ($1,500–$3,000): Subframe connectors, cold air intake, throttle body, short throw shifter, full exhaust (headers, mid-pipe, cat-back), and gear swap. This combination wakes up a stock 5.0 dramatically and keeps you under the cost of a single car payment.
Mid-level build ($3,000–$6,000): Everything above, plus a 5-lug conversion, intake manifold upgrade, lowering springs and shocks, and sway bars. You are now making 260–280 HP with handling to match.
All-out build ($6,000–$15,000+): Add a head-and-cam combo or a centrifugal supercharger kit, upgraded clutch, aftermarket hood, and wheels/tires. At this level you are pushing 300–400+ HP with the chassis, brakes, and suspension to back it up.
The key principle: chassis and brakes first, then engine, then appearance. Every power mod works better on a car that can put the power down safely and stop when it needs to.
Ready to start building? Whether you are planning your first bolt-on or mapping out a full build, explore the full Fox Body Mustang parts catalog to find everything you need for your 1979–1993 Mustang. Use the year/make/model tool to filter for exact fitment on your specific Fox Body, and reach out to the AmericanMuscle Sales Tech team if you need help choosing the right parts for your build.