 FREE 1 to 3-Day Delivery on Orders $149+ Details
Mishimoto Performance Aluminum Mustang Radiator - Manual - ('79-'93) - Installation Instructions
Installation Time
2 hours
Tools Required
- 7/16 Box End Wrench
- 18mm Box End Wrench (or Crescent Wrench)
- 3/8 Wrench
- 5/16 Nut Driver
- Adjustable Pliers
- Metric Allen Wrench and/or Box End Wrench (for the M6 (or SAE equivalent) bolt and nut
Shop Parts in this Guide
Installation
1. Disconnect the negative battery cable.
2. Using the 7/16” wrench, loosen the four bolts holding the stock fan in place.

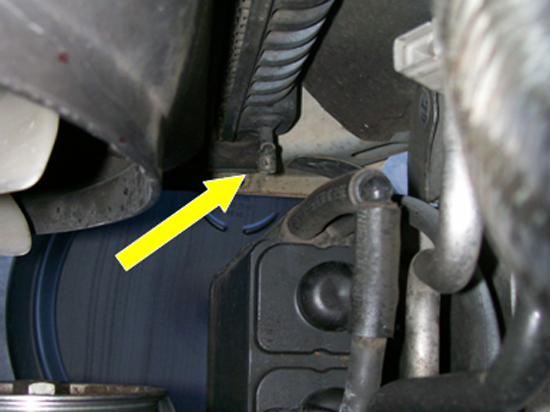
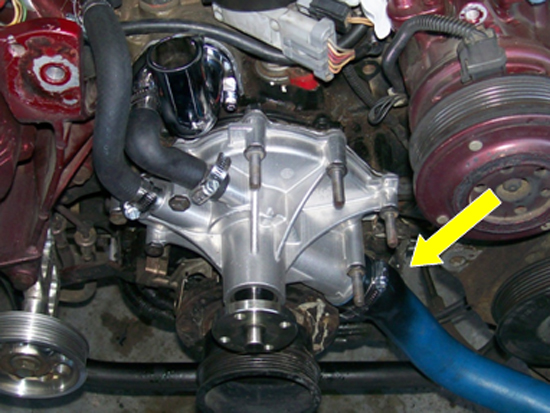
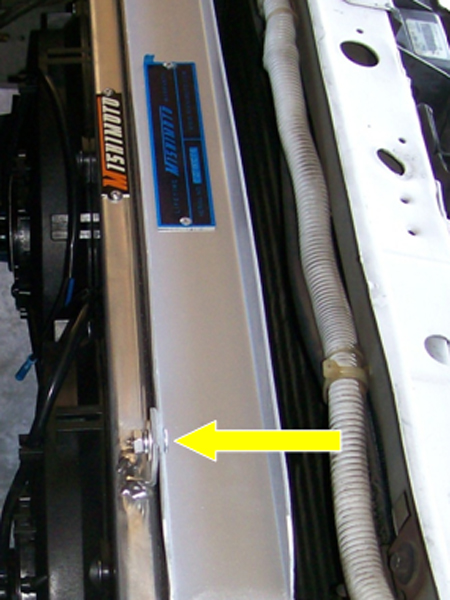
3. Using the 18mm wrench (or crescent wrench), loosen the tension (see white arrow in photo above) and remove the serpentine belt.
4. Remove only three of the fan bolts.
5. Using the 3/8” wrench, remove the two fan shroud bolts.
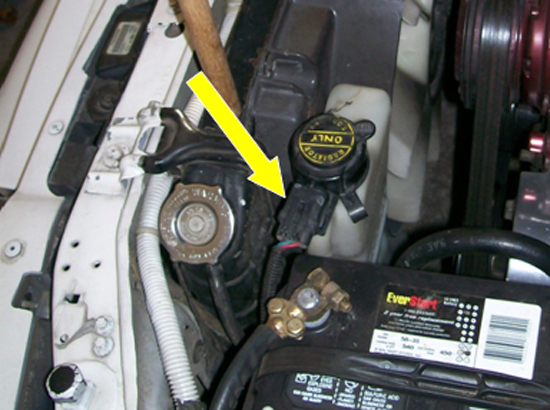
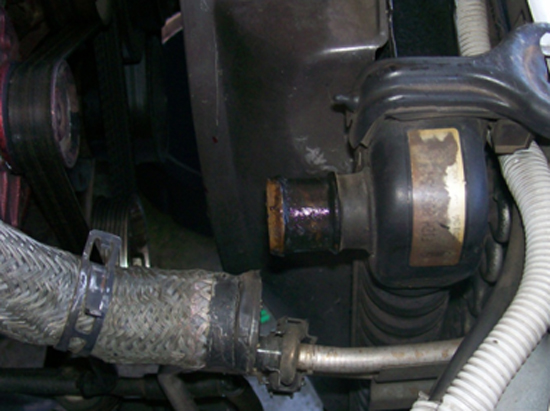
6. Disconnect the low coolant connector from the overflow tank cap.
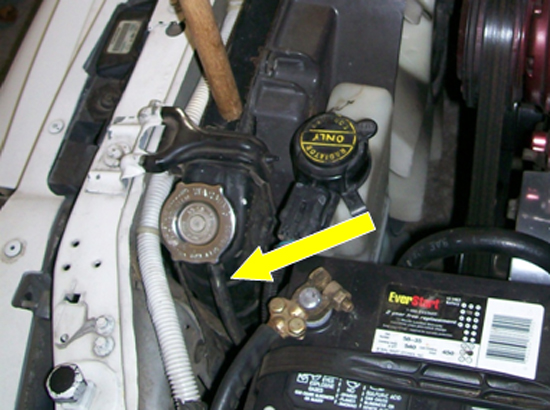
7. Remove the overflow tank rubber hose from the radiator.
8. Remove the bolt holding the fan in place and wiggle the fan loose.
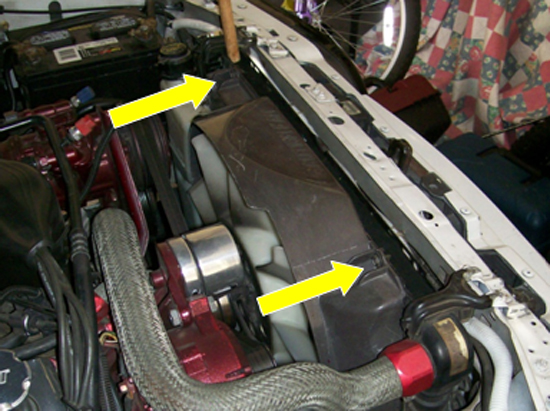
9. REMEMBER THIS STEP; YOU WILL HAVE TO REVERSE IT LATER. Lift the shroud and fan up and out of the car at the same time.
10. CAUTION: do NOT drain the radiator when the engine is hot.
11. Place a 15 quart drain pan under the car below the radiator drain petcock (on the passenger side of the radiator).
12. Remove the radiator cap and slowly loosen the radiator drain petcock.
NOTE:if you open the petcock too much, coolant will flow quickly and splash out of the drain pan and onto the floor. /li>
13. Once coolant has stopped flowing, close the petcock and move the drain pan under the lower radiator hose.
14. Using the 5/16” nut driver or adjustable pliers, disconnect the lower radiator hose at the radiator and allow the coolant to drain.
15. Using the 5/16” nut driver or adjustable pliers, disconnect the upper radiator hose from the top of the radiator.
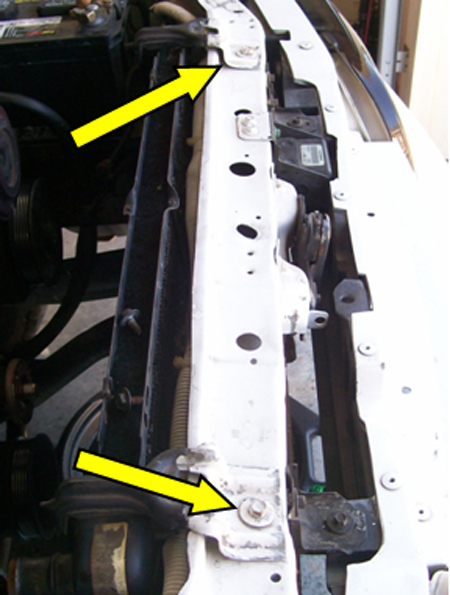
16. Using the 3/8” wrench, loosen the radiator bracket bolts and remove the brackets.
17. Lift the radiator out of the car making sure not to dump any coolant out of the lower radiator opening.
18. Pour any remaining coolant out of the lower radiator opening into the drain pan.
OPTIONAL:at this point it is recommended that you replace the water pump with a heavy-duty version. That procedure is not covered in this guide.
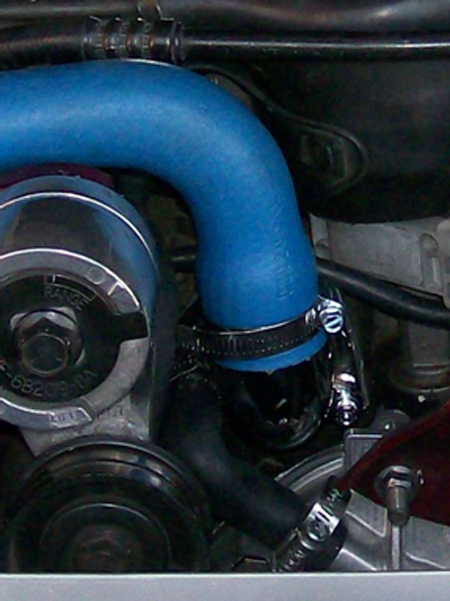
19. Using the 5/16” nut driver, loosely connect the new lower radiator hose to the water pump using a new hose clamp.
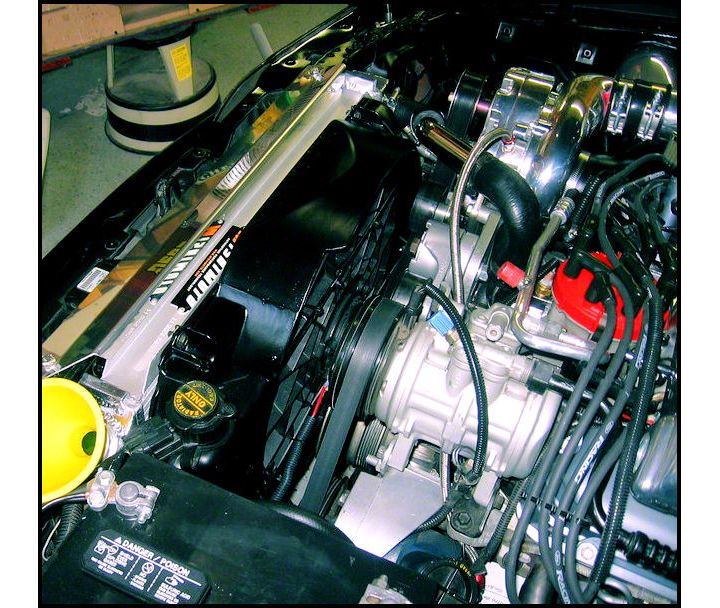
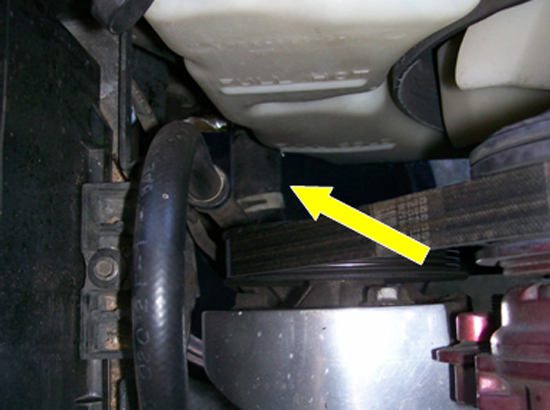
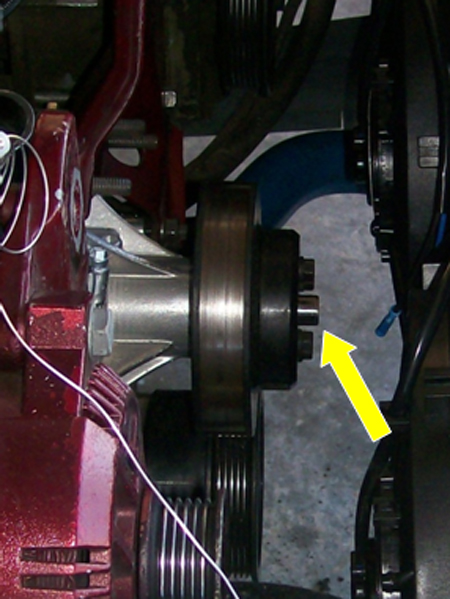
20. Take care not to bump the radiator against any objects (such as the water pump pulley – see photo). This will damage the cooling fins.
21. Place the radiator on the rubber pads at the bottom of the radiator support.
22. Secure the radiator using the brackets and bolts removed in step 3a.
NOTE:Once the brackets are bolted down, you may need to bend the brackets down to secure the radiator.
23. Using the 5/16” nut driver, connect the lower radiator hose to the radiator using a new hose clamp.
24. Using the 5/16” nut driver, tighten the lower radiator hose at the water pump.
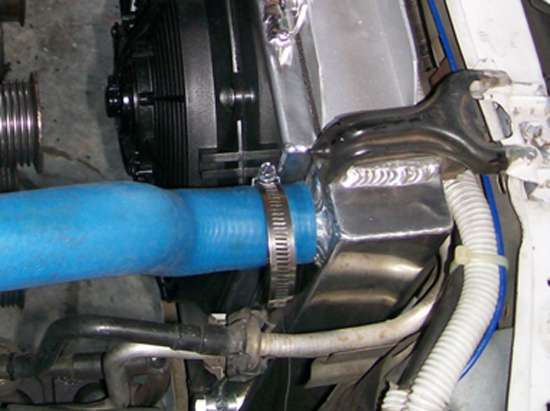
25. Using the 5/16” nut driver, connect the new upper radiator hose to the water pump and radiator using a new hose clamps.
26. Lower the shroud and fan together into place (reverse step 9).
27. Use two fan bolts to hold the fan in place.
28. Position the shroud against the new radiator.
29. Use two new M6 bolts, flat washers, split washers, and nuts (or SAE equivalent) to attach the stock shroud to the radiator.
30. Use two new M6 bolts, washers, and nuts (or SAE equivalent) to attach the bottom of the shroud to the radiator.
31. Install the serpentine belt.
32. Install the remaining fan bolts and tighten all four.
33. Connect the rubber hose from the overflow tank to the radiator.
34. Connect the low coolant connector to the overflow tank cap.
35. Using a 50/50 coolant solution, slowly fill the radiator until the solution almost reaches the top.
36. Connect the battery cable.
37. Leave the radiator cap off and start the car.
38. Slowly pour more coolant into the radiator until it almost reaches the top.
39. Secure the radiator cap to the radiator and allow the car to reach operating temperature.
40. Allow the engine to cool.
41. Once the engine is cool, remove the radiator cap and fill the radiator with Coolant.
Installation instructions provided by AmericanMuscle customer Lee Fuller 10.7.10
Related Guides
-
Installation
-
Installation
-
Installation

